Calibration Photo Boards for Remote Hardware Support: A Practical Field Guide
Help remote hardware teams collect clearer calibration photos, crop them consistently, preserve tiny labels, and package visual evidence into review-ready PDFs.
Calibration Photo Boards for Remote Hardware Support: A Practical Field Guide
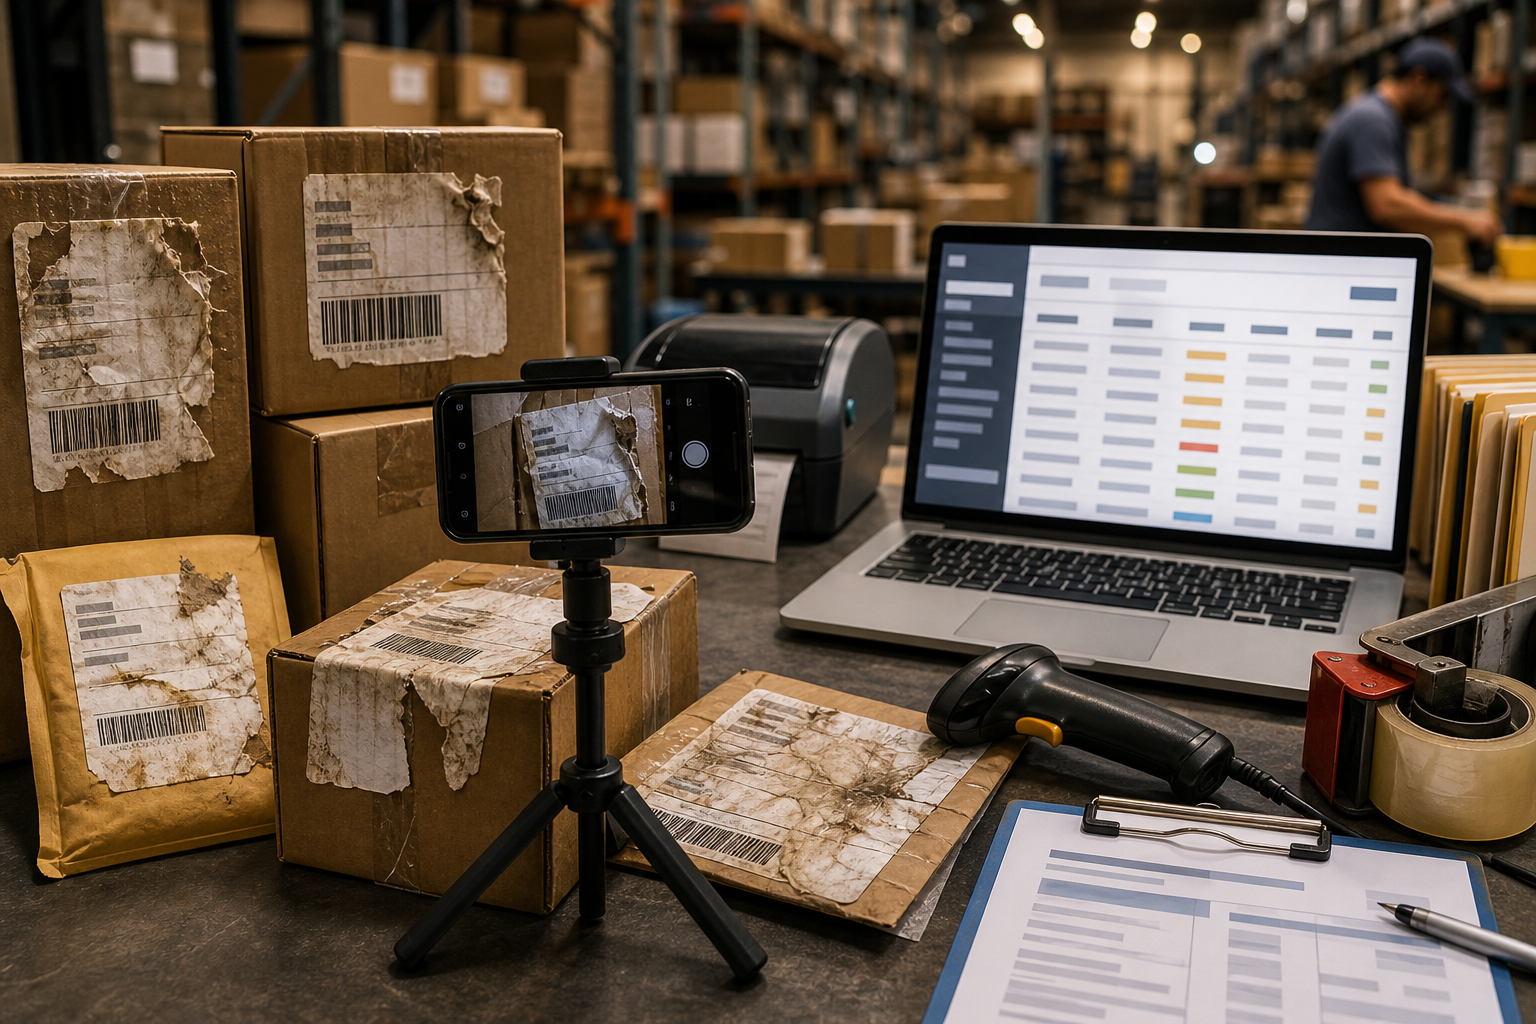
Remote hardware support depends on photos that were usually taken in a hurry. A customer, field technician, reseller, warehouse associate, or regional support partner points a phone at a device, sends three blurry images, and expects engineering to decide whether the unit is misaligned, mislabeled, damaged, counterfeit, misassembled, or simply photographed from a bad angle.
That creates a hidden cost: the support team spends more time interpreting the photo than solving the problem. Tiny serial labels become unreadable after compression. Reflective plastic hides molded alignment marks. A connector looks bent because the camera was tilted. A status LED appears orange in one image and red in another. The same device is photographed against five different backgrounds, making comparison almost impossible.
A calibration photo board is a simple answer. It is not a lab instrument. It is a repeatable capture surface: a printed or physical reference board that gives every remote photo scale, orientation, color context, and required framing. When paired with a consistent edit-and-package routine, it turns casual phone photos into useful support evidence.
This guide is for small hardware teams, repair desks, operations managers, and support leads who need cleaner visual evidence without asking every partner to buy studio equipment. It covers what to place on the board, which images to request, how to crop and compress them without destroying detail, and how to package them for review.
Why Calibration Photo Boards Matter
Remote support teams often ask for more photos when what they really need is more controlled photos. Ten inconsistent images can be less useful than four well-framed ones.
A calibration board helps solve five common problems.
First, it gives scale. If a connector gap, adhesive lift, scratch, warped case, or label placement is under review, a known ruler or grid makes size visible. Without scale, the reviewer has to guess.
Second, it gives orientation. A board can show where the top, bottom, left, right, front, and cable side should be. That prevents long comment threads about whether the device is upside down or mirrored.
Third, it gives color context. A small neutral gray card or color reference patch makes it easier to judge whether an LED, stain, discoloration, or printed mark changed in the photo or on the object itself.
Fourth, it standardizes composition. When the board tells the photographer where to place the device and which edges to align, every review image becomes easier to compare.
Fifth, it speeds packaging. If each image already follows a predictable pattern, the support team can crop, resize, convert, and assemble the evidence with fewer judgment calls.
The board does not need to be beautiful. It needs to remove ambiguity.
Use Cases That Benefit Most
Calibration boards are especially useful when visual differences are small but consequences are expensive.
They help with returned merchandise authorization decisions, where a team needs to confirm whether damage happened before shipping, during installation, or after use. They are useful for warranty claims where a loose connector, cracked housing, missing gasket, or altered label must be documented clearly.
They also help with field service checks. A technician can photograph a controller, sensor, access panel, battery bay, mounting bracket, or cable termination against a repeatable surface before requesting escalation.
Manufacturing and quality teams can use the same idea for first-article photos, pilot batch review, packaging verification, and post-repair inspection. Even if the company later moves to a more formal inspection rig, a board is a low-cost bridge that improves evidence immediately.
The best fit is any situation where someone far from headquarters must capture an object that another person must judge later.
The Reference Board: What Must Be Visible
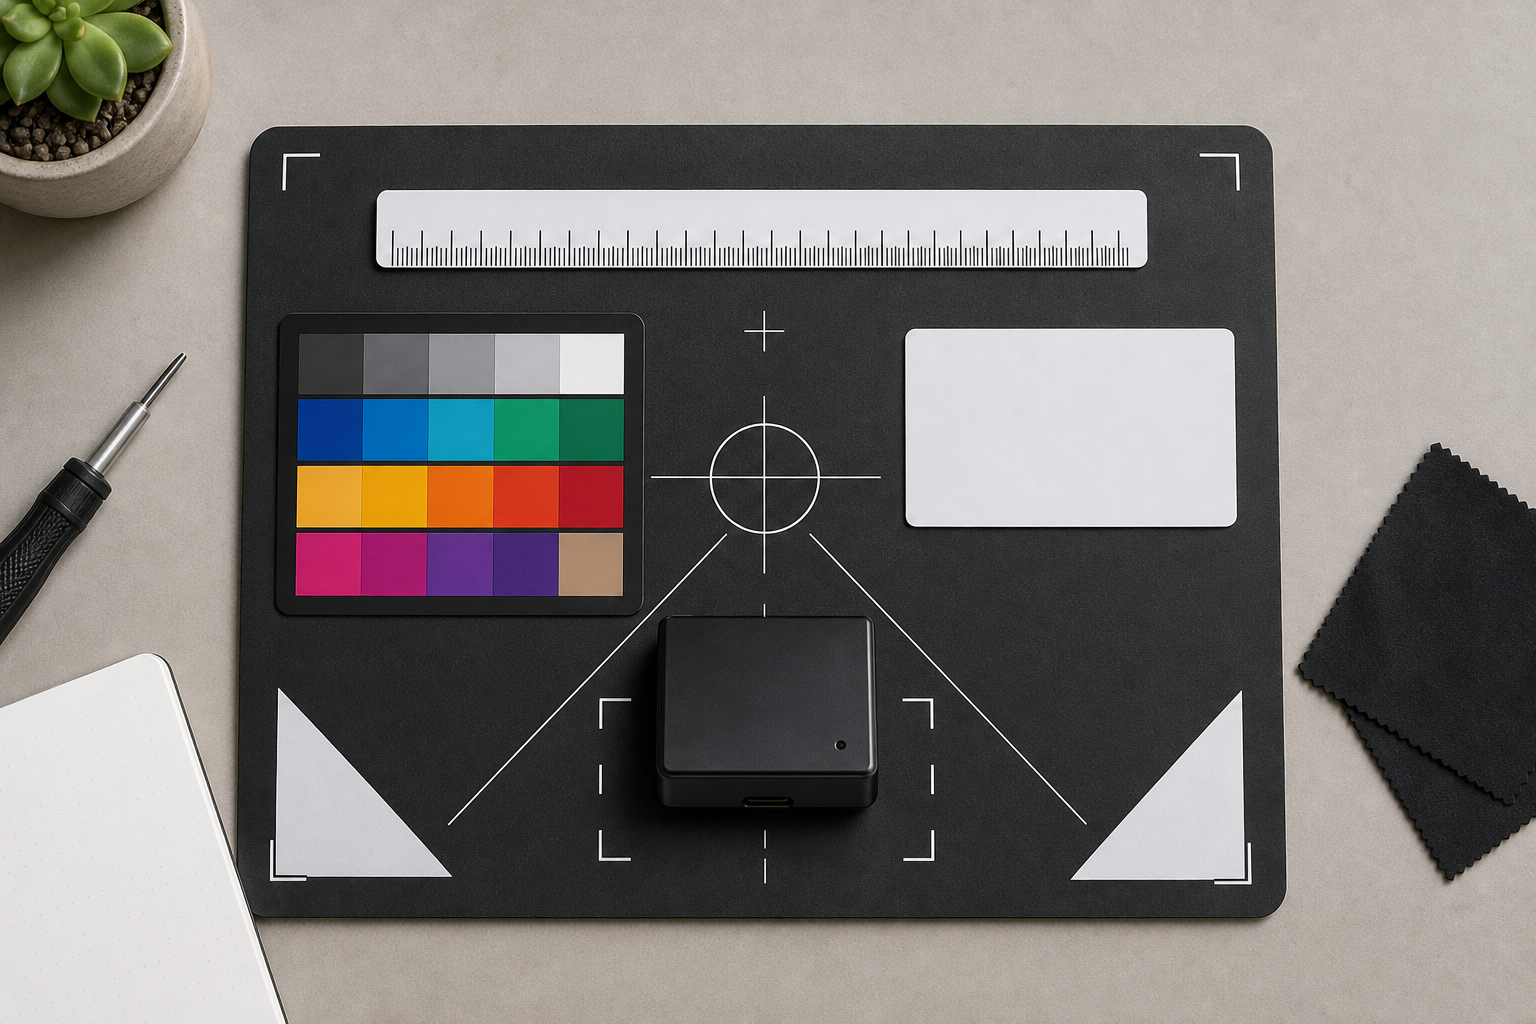
A useful board has only a few essential elements. Resist the urge to make it crowded. Every extra box, stripe, or decoration competes with the object being inspected.
Include a scale reference. A ruler strip along one or two edges is usually enough. Use millimeters if your team discusses small tolerances, and include inches only if your users expect them. The scale should sit flat on the same plane as the device whenever possible.
Include placement guides. A faint rectangle, corner marks, or alignment rails can show where the device should sit. If the object has a normal front edge, cable edge, label side, or connector side, show that orientation through simple shapes rather than written instructions on the board.
Include a neutral reference area. A matte gray or white patch helps reviewers understand exposure and color cast. This is especially useful when reviewing LEDs, stains, heat discoloration, label yellowing, or plastic color variance.
Include an ID area outside the device zone. The photographer may need to place a job number, return number, or ticket card in the frame. Keep that area away from the object so it can be cropped out if needed for privacy or partner sharing.
Include angle markers if side views matter. For example, a shallow stand, printed side-view guide, or 45-degree placement mark can help capture port alignment, case seams, and bent pins.
Avoid placing company secrets, private customer details, QR codes with sensitive links, or internal-only part tables on the board. The board may appear in external emails, claims, vendor reports, and training examples.
Board Materials
A printed sheet is enough for early testing. Laminate it with a matte finish if people will use it repeatedly. Glossy lamination can cause glare, especially under warehouse lighting.
For field kits, use a rigid board made from foam core, thin plastic, or a clipboard insert. The board should stay flat in a bag and survive light handling. If the device is heavy, use a non-reflective cutting mat or printed bench mat instead of paper.
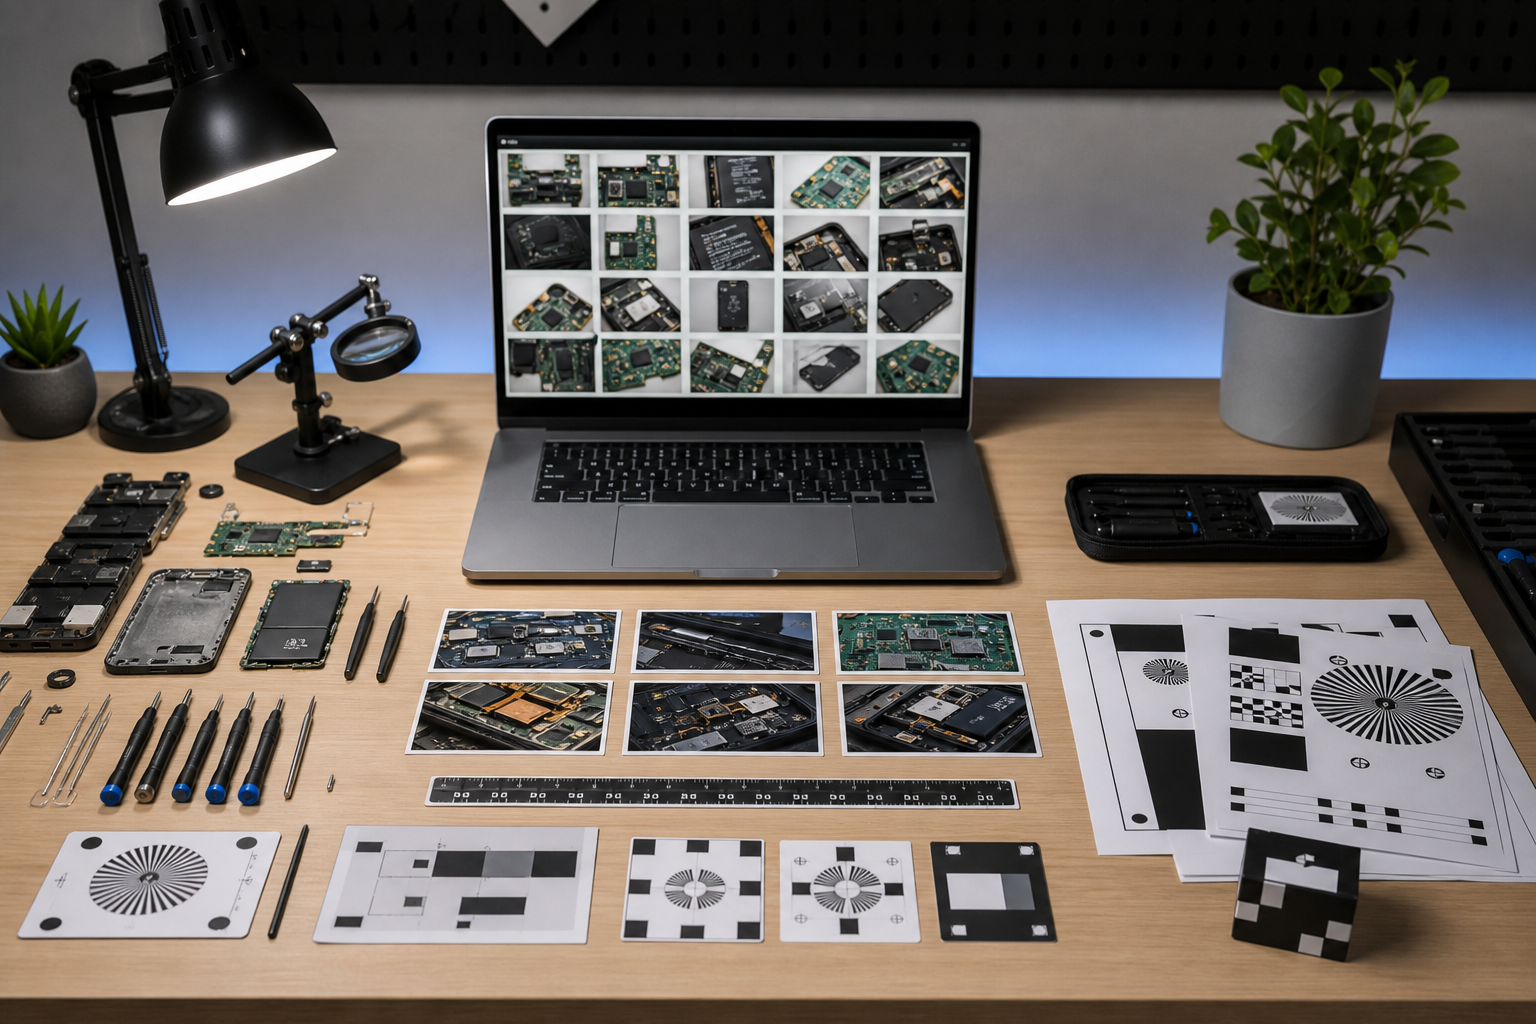
For very small objects, such as connectors, screws, labels, tiny modules, or sensor housings, make a smaller macro board. A large board can force the camera too far away, reducing useful detail.
The Minimum Photo Set
A calibration board works best when the requested image set is short and predictable. If you ask for twelve images, many people will skip steps or send duplicates. Start with the smallest set that answers most review questions.
For many hardware support cases, request these five images:
| Photo | Purpose | Capture Notes |
|---|---|---|
| Full top view | Confirms identity, orientation, and obvious damage | Device centered, all edges visible, ruler in frame |
| Label close-up | Captures serial, model, revision, and compliance marks | Crop close, avoid glare, keep label flat |
| Connector side | Shows ports, pins, cable wear, or bent housings | Shoot straight-on, not from above |
| Problem area close-up | Shows the reported fault | Include scale reference if size matters |
| Context view | Shows installation, packaging, or surrounding part | Use only when environment affects the issue |
This set is practical because it separates identity, condition, fault detail, and context. It also gives reviewers a predictable order when photos are later converted into a PDF packet.
For some teams, three photos are enough: full view, label, problem area. For others, especially warranty and compliance teams, five to seven may be necessary. The point is to define the set before the incident, not during the incident.
Capture Rules That Prevent Rework
Most bad support photos fail for simple reasons: glare, blur, low light, extreme perspective, or aggressive messaging-app compression. The capture rules should be short enough to fit in a ticket template.
Use bright indirect light. Window light, overhead diffuse light, or a desk lamp bounced off a white surface is better than direct flash. Flash often reflects off labels, molded plastic, metal shields, and glossy housings.
Keep the phone parallel to the board for top-down photos. If the phone is tilted, a square device becomes a trapezoid and measurements become unreliable.
Tap to focus on the label or fault area before taking close-ups. Many phones focus on the board edge or background instead of the tiny part that matters.
Send original photos when possible. Messaging apps and internal chat tools often shrink images automatically. If the team needs small text, connector pins, hairline cracks, or label microprint, ask for original file upload rather than pasted images.
Take one extra photo before moving the device. Once the unit is unplugged, repacked, cleaned, or disassembled, the original condition is gone. A slightly wider context photo can be valuable later.
Editing Without Damaging Evidence
The goal of editing support photos is clarity, not beautification. A reviewer should see the device more clearly, but the image should not imply that the physical condition changed.
Start by sorting images into keep, retake, and reference-only groups. A photo that is too blurry for label reading should not become the main evidence image just because it exists. Use it only as context or ask for a retake.
Crop to remove empty background while preserving scale and orientation. For top views, keep at least one ruler edge or board marker visible. For label close-ups, crop tightly enough to make the text readable but leave enough surrounding material to show that the label belongs to the device.
Resize only after cropping. If you resize first, then crop, you may throw away fine detail before deciding what matters. ConvertAndEdit's resize image tool is useful when you need consistent dimensions for a set of support images, such as 1600 pixels wide for review packets or 1200 pixels wide for help desk attachments.
Compress cautiously. Compression is helpful for email and ticket systems, but tiny printed labels, thin cracks, embossed marks, and small connector pins can degrade quickly. Use the compress image tool after checking whether the critical detail remains readable at the target size.
Convert formats when needed. Photos usually arrive as HEIC, JPEG, PNG, or WebP. A support archive is easier to search and package when formats are standardized. Use convert image to normalize images before assembling reports or sharing them with vendors.
Avoid cosmetic edits that can be misread as evidence alteration. Do not remove scratches, change LED colors, smooth surfaces, clone missing areas, or adjust labels. If you use AI-assisted cleanup for background distraction or exposure improvement, document that the edit was for readability and keep the original file. ConvertAndEdit's AI photo editor is best reserved for non-evidentiary presentation images, training examples, or cases where the edit does not affect the inspected area.
Reading Labels and Tiny UI Screens
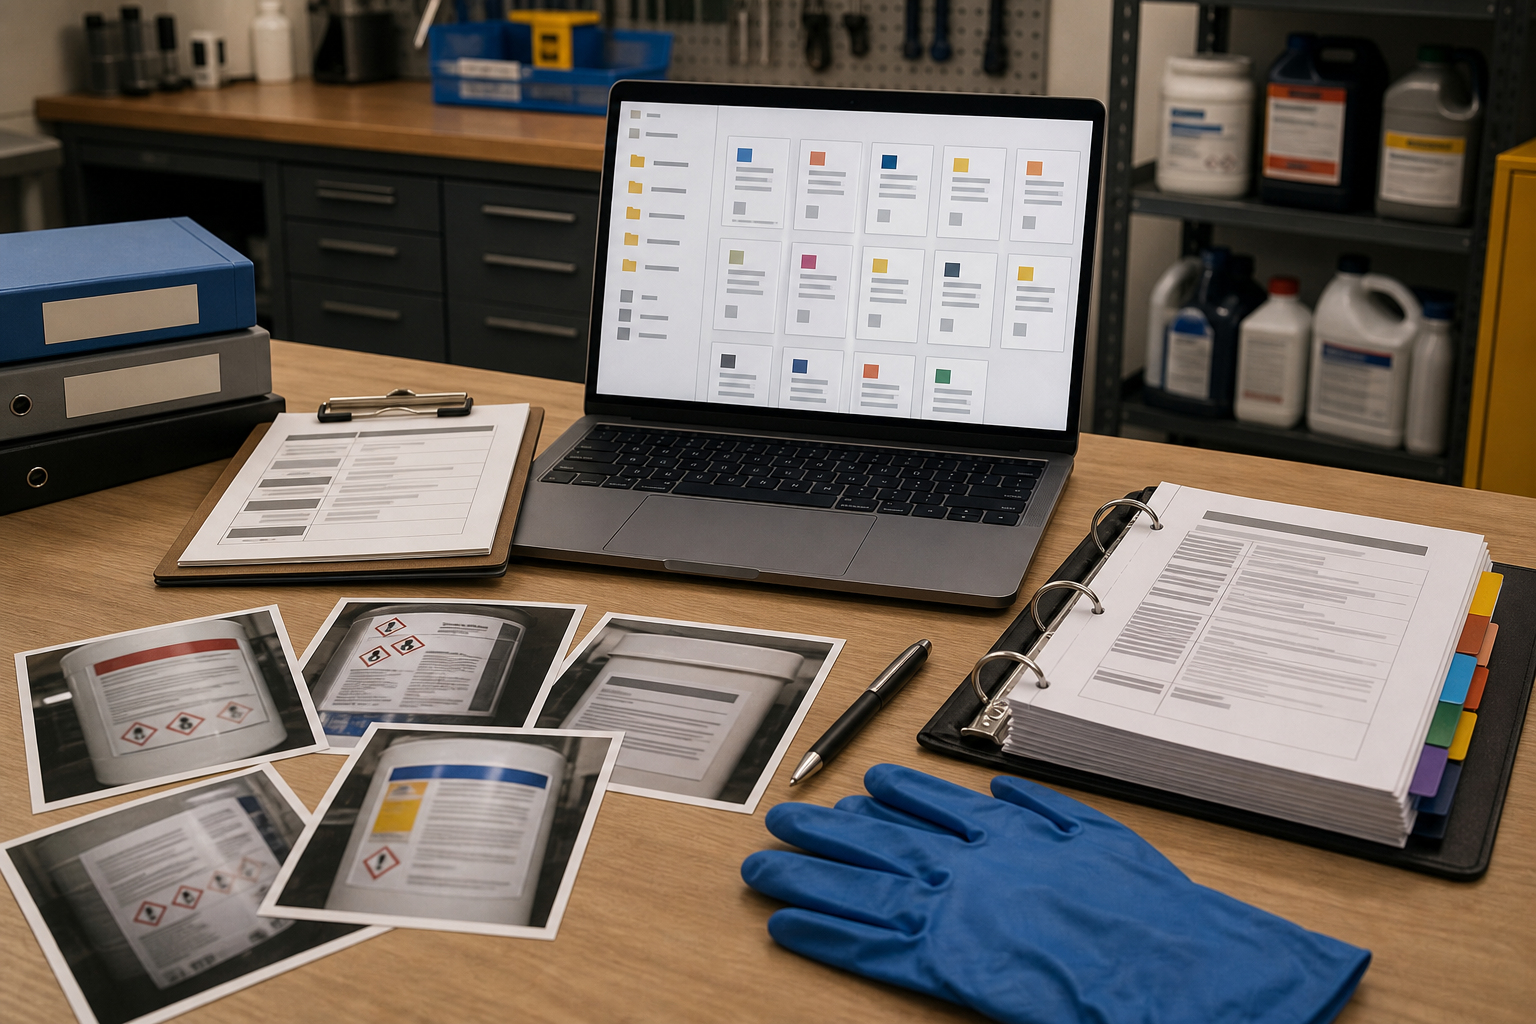
Hardware cases often include images of serial labels, etched markings, printed circuit board revisions, thermal stickers, small OLED screens, or device web UI pages shown on a display. These are easy to lose during capture and compression.
For physical labels, ask for a close-up shot that fills most of the frame. The label should be flat, evenly lit, and photographed straight-on. If it is reflective, rotate the light source rather than the camera. A tilted camera can make OCR less reliable.
For screens, reduce reflections and avoid moire patterns. If the screen refresh causes banding, the photographer can try a different angle, lower brightness, or another phone camera mode. The goal is not a perfect product shot; it is readable information.
After capture, crop around the label or screen and test OCR only on the relevant area. Running OCR on a full bench photo can confuse the result with ruler markings, background packaging, handwritten notes, or unrelated labels. ConvertAndEdit's image OCR tool is most useful after the image has been cropped to the exact region where text matters.
When OCR output is used in a ticket, treat it as extracted text that still needs human confirmation. A serial number with one mistaken character can send a replacement to the wrong case history.
Packaging the Evidence for Review
Once the photos are cleaned and standardized, package them so reviewers can make decisions without opening eight separate attachments.
A good review packet usually begins with the full top view, then the label close-up, then the reported problem area, then supporting angles or context. This order lets the reviewer confirm identity before judging condition.
Use one image per page when detail matters. Contact-sheet layouts are tempting, but they often shrink labels and fault areas too far. If a manager, vendor, insurer, or engineer must inspect small details, give each important image enough page space.
Use consistent image dimensions where possible. A packet with one huge portrait image, two tiny landscape images, and a cropped label floating in a corner feels harder to review. Resize images to a consistent width before packaging.
Convert the final set to PDF when the case needs to be shared, archived, or attached to a ticket. ConvertAndEdit's image to PDF tool can turn the selected images into a single packet. If the case includes vendor paperwork, repair forms, or shipping documents, PDF merge can combine the evidence packet with the supporting files.
Keep originals separately. The PDF is the review copy; the original images are the source record. That distinction matters when a dispute or audit asks whether the review packet was cropped, compressed, or reordered.
Naming Files So People Can Find Them Later
File names do not need to be elaborate, but they should prevent confusion. A good naming pattern carries the case ID, device ID, view type, and sequence number.
For example:
RMA-2841_Device-A_label_02.jpg
RMA-2841_Device-A_connector-side_03.jpg
RMA-2841_Device-A_problem-area_04.jpg
Avoid names like IMG_3482.jpg, photo-final-final.jpg, or broken-device.jpg. They are easy to lose, overwrite, or mix with another case.
If privacy matters, do not put customer names, personal addresses, phone numbers, or private site names in file names. Case IDs are usually safer than human-readable identifiers.
For multi-device cases, separate each device before creating the final packet. If Device A and Device B share a PDF, make the order unmistakable. Review mistakes often happen when two similar units are photographed on the same bench and the label close-up is separated from the main view.
Decision Table: Retake, Edit, or Accept
Support teams need a fast rule for deciding whether an image is usable. This table can be adapted into a ticket macro or internal review checklist.
| Issue | Retake | Edit | Accept |
|---|---|---|---|
| Label text unreadable | Yes, if identity depends on it | Crop or OCR only if characters are clear | Only if another image confirms the label |
| Minor background clutter | No | Crop it out | Yes, if device is clear |
| Glare hides fault area | Yes | Exposure changes rarely recover hidden detail | No |
| Device slightly off-center | No | Crop and rotate lightly | Yes, if scale remains visible |
| Heavy blur on connector pins | Yes | Sharpening may create false edges | No |
| Large file size blocks upload | No | Resize and compress carefully | Yes after detail check |
| Wrong angle for side view | Usually | Perspective correction can mislead | Only as context |
| Sensitive note visible | No, if original must be preserved | Crop or redact a copy | Accept only for internal restricted use |
This table is intentionally conservative. If the photo is the basis for a warranty denial, replacement decision, safety review, or vendor dispute, retaking is cheaper than arguing over an unclear image later.
Privacy and Evidence Boundaries
A calibration board can accidentally capture more than the device: customer paperwork, shipping labels, employee badges, shop drawings, medical equipment tags, Wi-Fi labels, facility names, and unrelated products. Decide early what should never appear in a review packet.
Use the ID area on the board for a case card, not for private customer details. If the technician needs to prove case association, a short ticket number is enough.
Crop out unrelated surroundings before sharing with vendors. If a context image must show installation, create an internal version and an external version. The external version should show only what the partner needs to review.
Do not alter the inspected area to hide sensitive information unless your policy allows it and the alteration is clearly documented. For example, cropping around a label is different from painting over part of a serial number. If the serial number is sensitive but required for review, share through the proper private channel instead of modifying the evidence image.
A Repeatable Checklist for Support Teams
Use this checklist when building the first version of your calibration photo board and review packet system.
- Choose the inspection cases the board must support: returns, repairs, warranty claims, install checks, vendor disputes, or batch QA.
- Define the minimum photo set, usually full view, label, connector side, problem close-up, and context.
- Design a simple board with scale, placement guides, neutral reference area, and an ID zone.
- Test the board with three real devices, including the smallest label and most reflective surface you expect.
- Write a short capture request that fits inside a ticket reply.
- Decide the accepted file formats and maximum practical upload size.
- Crop images before resizing, then compress only after checking critical detail.
- Run OCR on cropped label or screen regions when extracted text would save typing.
- Package the selected images into a PDF review copy.
- Store originals separately from edited review files.
The first version does not need to cover every edge case. It needs to improve the next support ticket. After ten cases, revise the board and photo list based on what reviewers still struggle to see.
Common Mistakes to Avoid
Do not make the board too busy. A crowded board with dense instructions, grids, logos, and labels can make photos harder to read. The object should dominate the image.
Do not rely on zoomed screenshots of photos inside chat apps. They often hide the original resolution and add another compression layer. Ask for original uploads when small detail matters.
Do not over-compress evidence images just to fit an arbitrary attachment limit. If a ticket system has a low size cap, create a smaller review copy but preserve the original in shared storage.
Do not crop away scale references in damage photos. A scratch, bend, crack, or gap needs context. A tight crop can make a minor mark look severe or a serious defect look trivial.
Do not mix edited and original images without naming them clearly. Use suffixes such as -original, -cropped, -review, or -ocr-region so nobody mistakes a cropped review copy for the source file.
Do not use AI cleanup on the fault itself. If the issue is a scratch, dent, stain, pin alignment, torn gasket, or damaged label, automated cleanup can change the exact evidence under review.
Example: A Connector Alignment Case
Imagine a customer reports that a power connector will not seat correctly. The first photo shows the device on a kitchen counter, shot at an angle, with the port partly in shadow. Engineering cannot tell whether the connector is bent, obstructed, or simply photographed poorly.
With a calibration board, the support reply asks for five photos. The customer places the device on the board, aligns the front edge, and takes a top view. The label close-up confirms the model and revision. The connector-side image shows the port straight-on against a scale edge. A problem-area close-up shows a slight deformation in the housing. A context image shows the cable that was used during installation.
The support team crops the connector image while keeping the scale visible, resizes the set to consistent width, compresses copies for upload, and packages the images into a PDF. The engineer can now compare the port opening against the ruler edge and device revision. The decision is faster, and the case history is clearer for anyone who reviews it later.
No expensive equipment was required. The improvement came from controlling the capture surface and preserving detail through editing.
Final Takeaway
Remote hardware support does not need studio photography, but it does need repeatability. A calibration photo board gives each image scale, orientation, and context. Careful cropping, resizing, compression, OCR, and PDF packaging turn those images into evidence that reviewers can trust.
Start with one board, one minimum photo set, and one clear review packet format. Keep the original files, edit only for readability, and make every image answer a specific support question. The result is fewer retake requests, cleaner escalations, and better decisions from the same phone cameras your team already uses.