Photogrammetry Turntable Image Preparation: A Field Guide for Small Object Scans
Prepare consistent turntable photos for small-object photogrammetry without erasing fine texture, confusing alignment, or wasting storage on unsuitable source images.
Photogrammetry Turntable Image Preparation: A Field Guide for Small Object Scans
Turntable photogrammetry appears simple: place an object on a rotating platform, take photographs from many angles, and let reconstruction software produce a 3D model. In practice, the quality of the model often depends less on the camera body than on dozens of small decisions made before the images enter the reconstruction application.
A photograph that looks polished to a person can be surprisingly poor evidence for photogrammetry. Aggressive noise reduction may erase the tiny surface variations used for alignment. Automatic exposure changes can make neighboring views appear unrelated. A perfect transparent background can remove useful silhouettes or introduce artificial edges. Excessive JPEG compression can turn fine texture into unstable blocks.
This field guide is intended for small studios, museum volunteers, repair shops, online sellers, makers, and researchers capturing objects that fit on a tabletop. It explains how to build a consistent image set, prepare copies without damaging alignment evidence, and identify frames that should be recaptured rather than repaired.
Why Photogrammetry Images Need Different Treatment
Conventional product photography tries to create a small number of attractive final images. Photogrammetry needs a large collection of technically compatible observations.
Reconstruction software searches neighboring photographs for repeatable visual features. A scratch, speckle, pore, paint chip, or transition between two materials may become a useful point. The software estimates camera positions by matching many of these points across overlapping frames. It then uses the combined observations to infer geometry and surface appearance.
Image editing becomes risky when it changes those features differently from one frame to the next. Local retouching, background replacement, generative fill, selective sharpening, and inconsistent denoising may all produce plausible photographs while weakening cross-image correspondence.
A useful rule is straightforward: prepare the set for consistency, not beauty. Preserve real surface evidence, make restrained global corrections, and apply the same treatment to every photograph from the same capture pass.
Build a Capture Set That Software Can Actually Align
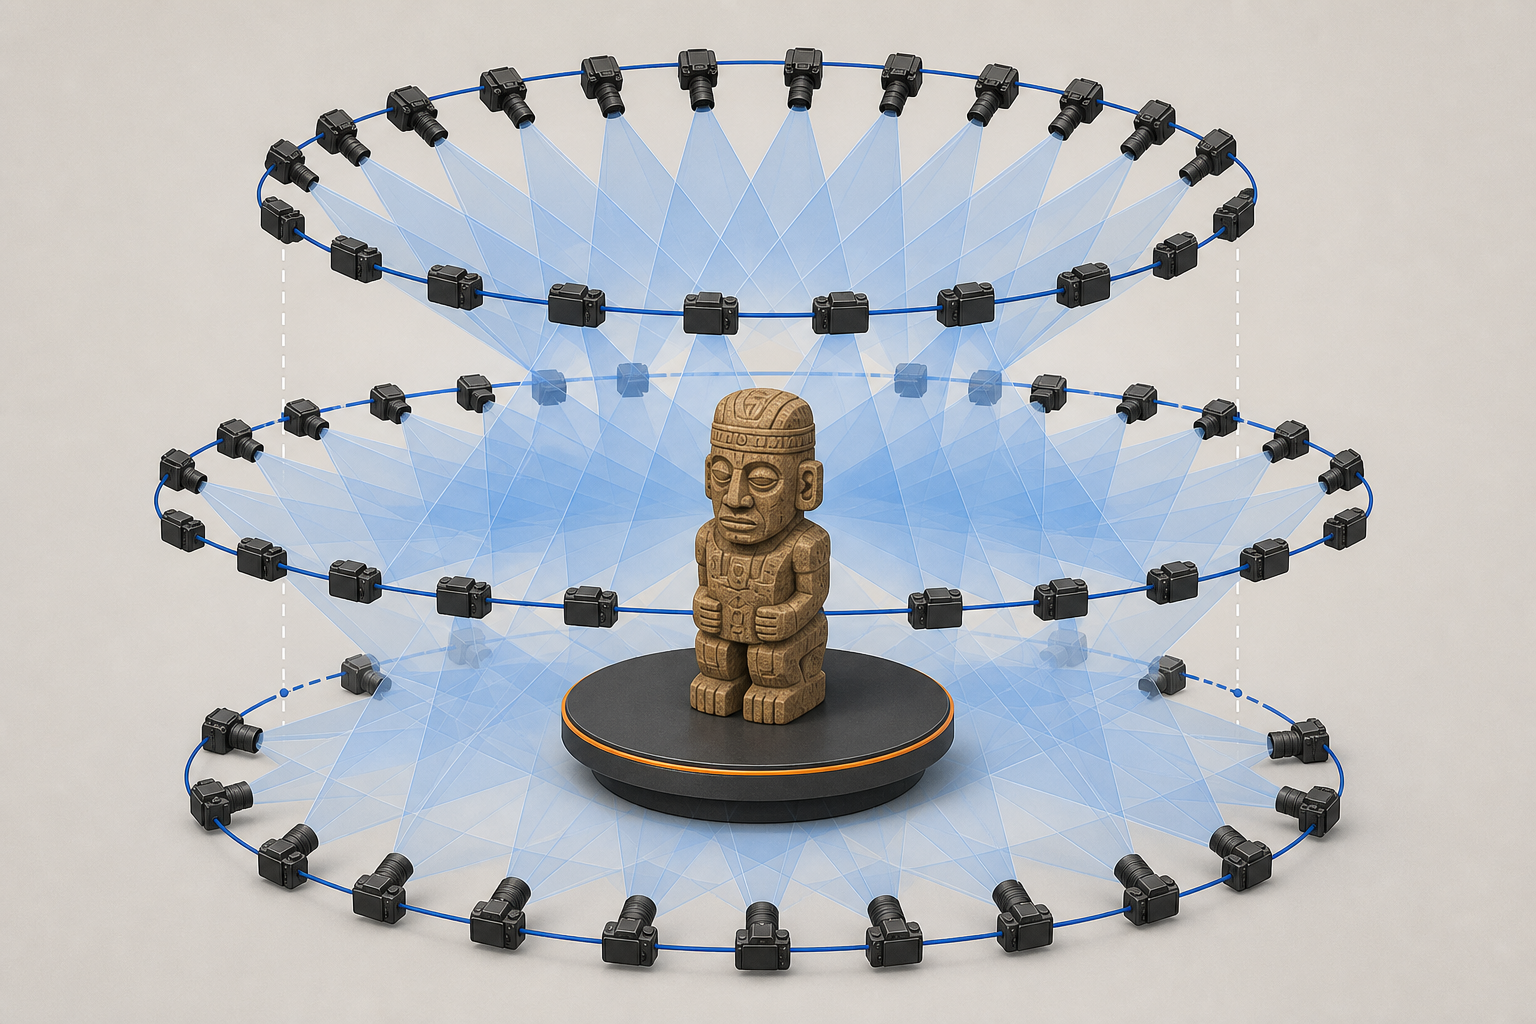
Good preparation begins during capture. Editing cannot restore an angle that was never photographed or recover texture from a frame blurred by movement.
Aim for Dense, Predictable Overlap
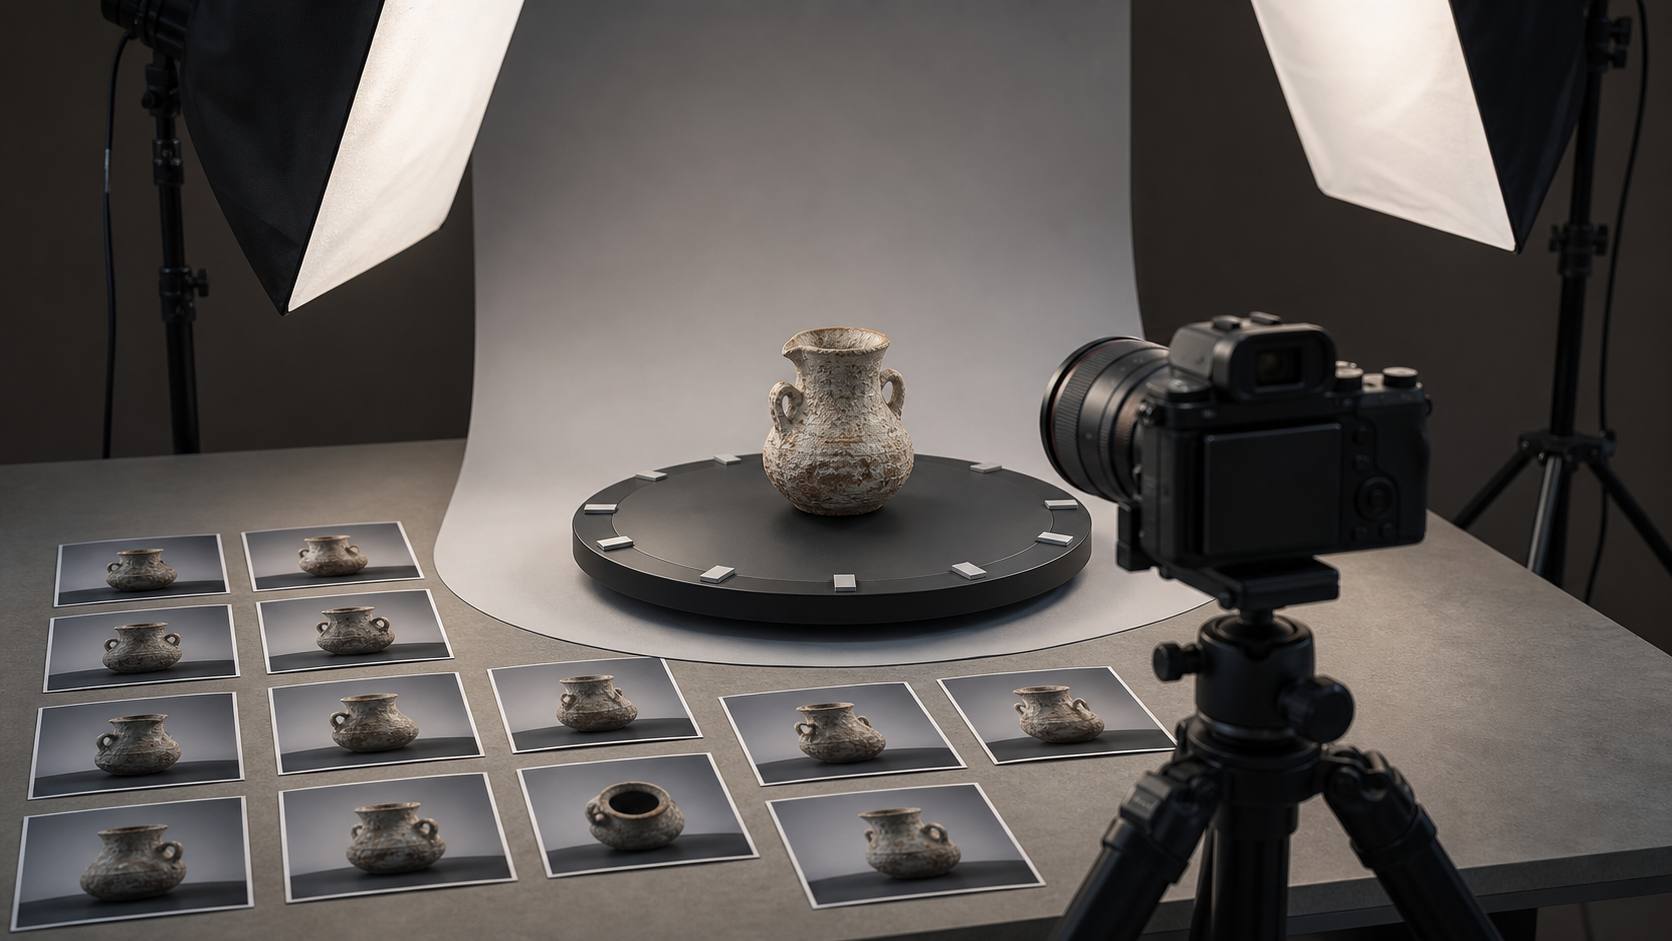
For a basic turntable set, rotate the object in small, regular increments. Thirty-six positions give a photograph every 10 degrees; seventy-two positions give one every 5 degrees. The better choice depends on surface complexity, available time, and how much each new image overlaps its neighbors.
Capture at more than one camera height. A practical small-object set often includes:
- A level pass aimed approximately at the center of the object.
- A raised pass angled downward to reveal the top and upper recesses.
- A lower pass when the base, underside lip, or low relief matters.
The goal is not merely to accumulate images. Each important surface should remain visible across several consecutive frames. Deep handles, cavities, overhangs, and thin projections may require additional targeted views.
Avoid changing focal length within a pass. Zooming changes the camera model and complicates calibration. Move the tripod or begin a clearly separated pass if a different framing is necessary.
Lock the Variables That Should Not Drift
Use manual exposure, manual white balance, and manual focus whenever the setup allows it. Automatic settings may change when a light or dark side of the object faces the camera.
Keep these variables stable:
- Aperture, shutter speed, and ISO.
- Focal length and focus distance.
- Light position and intensity.
- White balance.
- Camera height and tilt within each circular pass.
Apertures around the middle of a lens's range are often a reasonable starting point, but depth of field must suit the object's dimensions. Very small apertures increase diffraction, while wide apertures can leave the front or rear surface visibly soft. Test the actual object rather than relying on a universal setting.
Use a remote release or short timer, especially on lightweight floors and tables. Wait for the turntable and object to stop moving before each exposure.
Separate Object Motion From Background Evidence
A turntable creates a special problem: the object rotates while the camera and background remain fixed. Reconstruction software may align the stable background instead of the moving subject.
A smooth, featureless background reduces this conflict, but pure featurelessness can make masks and silhouettes harder to inspect. A curved matte paper sweep in a neutral tone is usually easier to manage than a room full of shelves, stands, cables, and high-contrast corners.
Markers placed on the stationary table can be counterproductive because they do not rotate with the object. If markers are needed, they should move consistently with the subject and remain outside critical geometry. Never attach removable marks directly to a delicate artifact merely to improve alignment.
Choose Source Formats Before Editing
RAW capture preserves the greatest correction latitude, especially for highlight recovery and white-balance adjustment. However, many reconstruction applications ultimately consume JPEG, TIFF, or another rendered format. That makes export settings part of the technical preparation.
A practical approach is to retain untouched RAW files as masters and export a separate reconstruction set. Keep the masters even after a successful model; future software may extract more detail or handle the images differently.
Use the following comparison as a starting point:
| Format | Suitable use | Main advantage | Main caution |
|---|---|---|---|
| RAW | Archival source and correction master | Maximum retained sensor data | Often requires rendering before reconstruction |
| TIFF | High-quality intermediate set | Lossless and broadly understood | Large files and slower transfers |
| High-quality JPEG | Routine reconstruction and sharing | Compact with wide compatibility | Repeated saves and low quality settings damage detail |
| PNG | Rendered graphics or special cases | Lossless compression | Usually inefficient for full-resolution photographs |
| WebP | Controlled tests and web delivery | Strong size efficiency | Confirm support in the chosen reconstruction software |
If camera files use HEIC or another format the reconstruction application cannot read, create copies with ConvertAndEdit's image converter. Do not overwrite the originals. Test a small group of converted frames before processing the entire set, and confirm that dimensions, orientation, color, and metadata remain sensible.
Use a Controlled Image Preparation Sequence
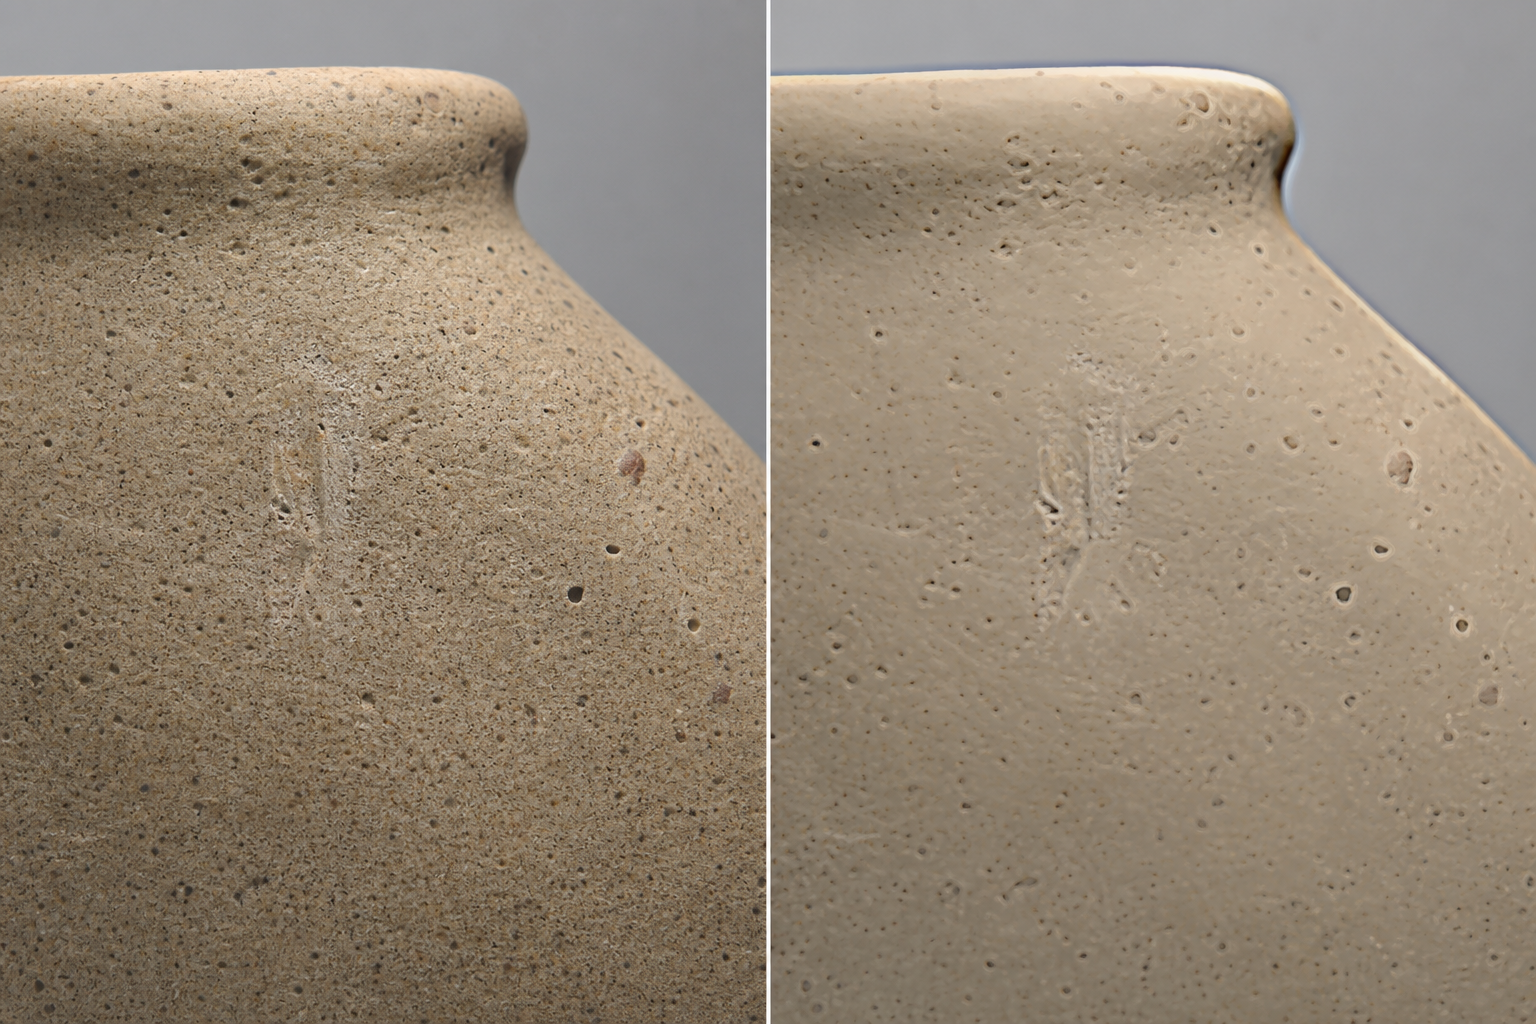
A restrained preparation sequence reduces accidental differences between frames. Work on duplicates, and keep every major operation reproducible.
1. Correct Lens Behavior Consistently
Apply one lens profile to every image made with the same camera, lens, focal length, and focus configuration. Distortion and vignetting corrections can help, but inconsistent correction is worse than a modest amount of consistent lens behavior.
Do not manually reshape individual frames. Perspective correction intended to make product photographs look upright changes image geometry independently and may interfere with camera calibration.
Chromatic aberration correction is generally useful when it removes colored edge fringes without softening fine boundaries. Inspect high-contrast edges at 100 percent magnification before applying it across the set.
2. Normalize Exposure Without Flattening Texture
Correct a consistent exposure error globally. If the entire set is one-third of a stop too dark, a shared adjustment is reasonable. Avoid making every frame independently fill the histogram. A dark side of the object should remain relatively dark if that difference comes from stable lighting and orientation.
Recover clipped highlights only when the RAW data contains real information. Painted ceramics, varnished wood, polished stone, and metal frequently produce small specular reflections. Strong highlight reconstruction can create flat patches whose appearance changes unpredictably between views.
Avoid clarity, texture, dehaze, and local contrast controls until a test reconstruction proves they help. These controls can exaggerate pores in one orientation while producing halos in another.
3. Set White Balance Once Per Lighting Setup
Choose a neutral reference captured under the same lights, or select a representative frame and synchronize the white balance across the pass. Per-image automatic white balance can shift the apparent color of the same surface as it rotates.
Color consistency matters for the texture map even when geometry still aligns. A calibration target photographed before the object can support later color work, but it does not need to appear in every reconstruction frame.
4. Use Conservative Noise Reduction
Noise is undesirable, but heavy denoising can erase exactly the small-scale variation needed for feature matching. Luminance noise reduction should be tested on the least textured area and the finest meaningful detail.
Color noise reduction can often be slightly stronger because colored speckles are rarely valuable geometry evidence. Even so, inspect boundaries between materials, fine engraving, printed markings, and hairline cracks.
If high ISO made strong denoising necessary, compare its result against a recapture at lower ISO with more light or a longer exposure. Stable tabletop subjects usually make recapture the better option.
5. Sharpen for the Source, Not for Presentation
Apply modest capture sharpening to counter normal sensor and lens softness. Avoid output sharpening intended for social media, print, or small web images. Strong halos create false boundaries, particularly around thin handles, wires, spikes, and chipped edges.
Judge sharpening at actual pixels. A frame displayed small may look crisp even when its detailed texture has become brittle and unnatural.
6. Export Once
Repeated JPEG saves compound compression damage. Render the prepared set from the master files in one export operation. If additional changes are required, return to the masters or lossless intermediate files instead of resaving the existing JPEGs.
Resize Only When the Pixel Budget Is Excessive
More pixels do not automatically produce a better model. Extremely large frames increase processing time, memory use, upload time, and storage demand. Yet resizing too aggressively removes small features and weakens thin geometry.
Begin by asking how many pixels cover the smallest surface feature the model must preserve. A maker documenting a 2-millimeter engraved line needs a different pixel budget from a seller producing a rotating preview of a plain vase.
Run a representative test before reducing a valuable set:
- Select 12 to 20 consecutive frames that include fine texture and a difficult edge.
- Keep one group at original dimensions.
- Create additional groups at 75 percent and 50 percent linear dimensions with the image resizer.
- Process each group using identical reconstruction settings.
- Compare aligned camera count, sparse point density, edge stability, and visible surface detail.
Reducing linear dimensions to 50 percent leaves only one-quarter of the original pixel count. That can dramatically lower processing cost, but it is a much larger reduction than the percentage may initially suggest.
Never enlarge undersized images in the hope of generating additional scan detail. Upscaling may make files larger, but it cannot recreate reliable observations of the object.
Compress Without Destroying Alignment Features
Compression is useful when hundreds of images must be transferred, archived, or processed on limited hardware. The safest amount depends on surface texture and source noise, so a single quality value is not appropriate for every set.
Use image compression on copies and inspect three types of areas:
- Fine random texture such as unglazed ceramic, stone, wood grain, or corrosion.
- Smooth gradients such as painted plastic or matte paper.
- High-contrast boundaries such as holes, thin projections, and dark engraving.
Look for block boundaries, ringing near edges, smeared grain, and color patches. Compression artifacts that remain fixed to image pixels do not behave like genuine object texture across changing viewpoints.
A useful test is to reconstruct a short arc from the original and compressed copies. File size alone is not the decision metric. Compare how many cameras align and whether the same physical features produce stable points.
| Observation after compression | Likely interpretation | Decision |
|---|---|---|
| File size falls and alignment remains unchanged | Redundant data was removed safely | Use the compressed copies |
| Smooth areas show mild banding but textured regions remain stable | Geometry may be acceptable, texture quality may not be | Keep for geometry tests, retain better files for texturing |
| Fine grain turns into square or smeared patches | Useful surface evidence is being damaged | Raise quality or use a lossless intermediate |
| Thin edges gain bright or dark halos | Compression or sharpening is too aggressive | Re-export with gentler settings |
| Fewer cameras align in the compressed set | The size saving has a reconstruction cost | Return to higher-quality files |
Mask Backgrounds With Restraint
Masks can tell reconstruction software which pixels belong to the object. They are valuable when the stationary background contains strong features or when the support rig would otherwise dominate alignment.
A mask is not the same as a polished marketplace cutout. For photogrammetry, consistency and edge accuracy matter more than visual elegance.
Do not cut into the silhouette. Removing a narrow strip of the object from alternating frames changes the apparent boundary. Leave a small safety margin if the reconstruction application tolerates it, especially around hair, fibers, wire, translucent edges, and motion-softened boundaries.
Avoid feathered masks unless the software explicitly expects them. Semi-transparent edge pixels can create ambiguity. Similarly, replacing the background with transparent pixels in each source image may discard metadata or introduce compatibility problems. Separate mask files are often easier to audit.
An AI editor can help create an initial selection, particularly for a solid object against a contrasting sweep. If you use the AI photo editor, treat its result as a draft mask rather than a final technical decision. Inspect every frame around cavities, handles, shadows, and regions where object color resembles the background. Never use generative reconstruction to invent missing edges for a measurement-oriented model.
Detect Frames That Should Be Rejected or Recaptured
One poor frame may be ignored by reconstruction software, but a cluster of weak neighboring frames can break an entire section of the camera path.
Review frames in capture order and flag:
- Motion blur or missed focus.
- Accidental zoom or focus changes.
- Exposure shifts caused by an automatic setting.
- Moving supports, cables, hands, or background objects.
- Severe glare that hides a large surface region.
- Object movement relative to the turntable.
- Duplicate angles and missing rotational positions.
- Cropped extremities that are visible in neighboring images.
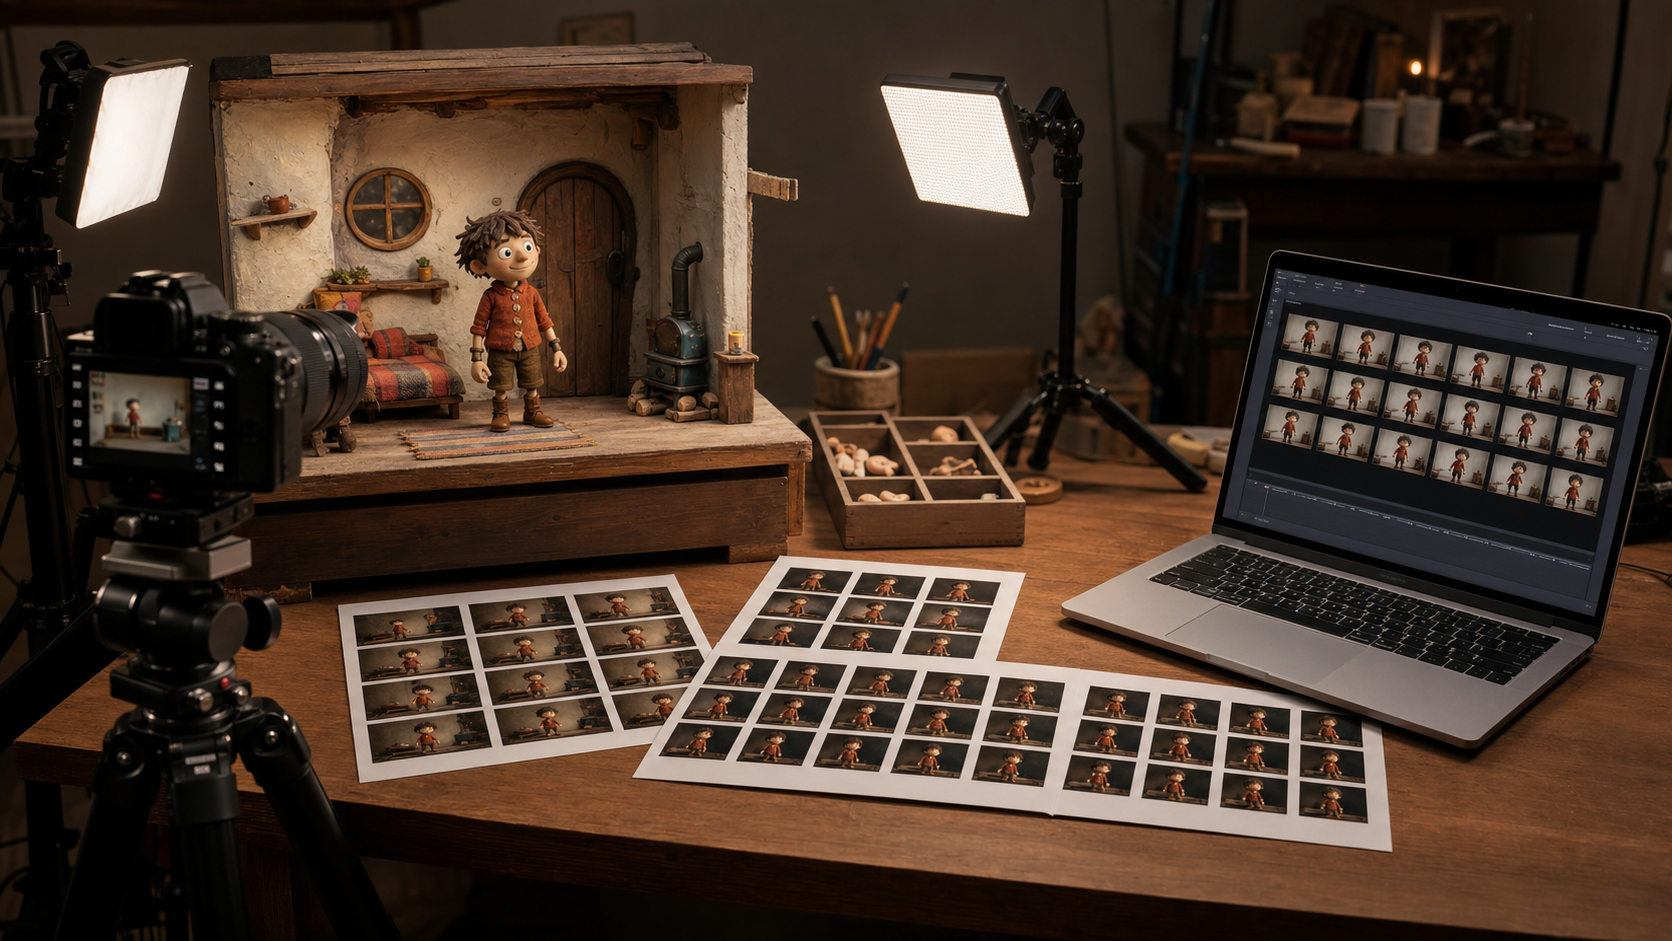
A contact sheet is helpful because capture gaps and exposure jumps become obvious when thumbnails sit in sequence. Keep filenames sortable, with fixed-width numbers such as artifactA_mid_001.jpg through artifactA_mid_072.jpg.
Do not silently renumber files after deleting rejects. A missing number preserves evidence that a capture position was removed. If replacement frames are taken later, record whether the camera, lighting, and object placement were recreated closely enough to belong to the original pass.
Handle Difficult Surface Types Deliberately
Glossy and Reflective Objects
Reflections move across a glossy object as it rotates, so the apparent pattern is not fixed to the surface. Large diffusers, cross-polarized lighting, or a removable matte scanning treatment may help, but only use coatings when they are safe, reversible, and appropriate for the object.
For valuable artifacts, coated finishes, electronics, or unknown materials, consult a conservator or responsible owner before applying anything. Image editing cannot reliably convert changing reflections into genuine surface detail.
Transparent or Translucent Objects
Clear glass and translucent plastic are difficult because rays pass through or bend within the object. Standard photogrammetry assumptions no longer hold. Backdrop replacement and contrast enhancement may improve visibility to a person without solving the underlying geometry problem.
Capture tests are essential. A temporary scanning spray may work for an expendable industrial part but be unacceptable for a collectible, medical item, or museum object.
Uniform Matte Objects
A plain, evenly colored surface may lack alignment features despite being easy to light. Removable projected texture can sometimes support camera alignment, while a separate clean pass supplies texture color. Confirm that the chosen software supports this strategy before investing in a full capture.
Do not digitally add random texture to each photograph. Unless the synthetic pattern maps consistently to the rotating physical surface, it creates misleading correspondences rather than useful evidence.
Organize Masters, Prepared Files, and Results
Keep the source photographs separate from every derived set. A compact directory structure might include:
01_raw_masterfor untouched camera files.
02_referencefor calibration targets and setup photographs.
03_prepared_fullfor consistently rendered images.
04_masksfor frame-matched masks.
05_test_reducedfor resized or compressed experiments.
06_reconstructionfor project files and exported models.
Store a short capture note with the set. Record the camera, lens, focal length, exposure, lighting arrangement, number of positions, pass heights, file preparation, and rejected frame numbers. This information is invaluable when a scan must be repeated months later.
If the photographs need to be shared as visual evidence rather than reconstruction sources, create a separate review document with image to PDF. A PDF is convenient for comments and approvals, but it should not replace the original image sequence used for reconstruction.
Final Preflight Checklist
Before starting a long reconstruction, verify the following:
- The H1-level project identifier and filenames refer to the correct object.
- Original camera files remain untouched and backed up.
- Every circular pass has regular angular coverage.
- Important surfaces appear in several overlapping frames.
- Exposure, white balance, focal length, and focus are consistent within each pass.
- No prepared image has been individually retouched or perspective-corrected.
- Denoising and sharpening preserve pores, scratches, engraving, and thin edges.
- Resized or compressed files have passed a small reconstruction comparison.
- Masks follow silhouettes without cutting into the object.
- Blurred, shifted, and badly exposed frames are flagged.
- File order remains clear after rejects are removed.
- A short note records capture and preparation settings.
Treat the First Reconstruction as a Diagnostic
The first model does not need to be the final model. Use it to diagnose the image set.
Inspect the camera alignment diagram. A clean circular or layered pattern generally indicates that the software understood the capture. Unaligned clusters may point to missing overlap, glare, background interference, or a change in camera settings. Look at the sparse point cloud before judging the textured mesh; geometry problems are easier to recognize before surface color hides them.
When a section fails, change one variable at a time. Compare alternative masks, gentler compression, original-size images, or the removal of a suspicious frame group. Reprocessing the set after several simultaneous changes makes it difficult to learn which decision mattered.
The most reliable small-object scans come from disciplined evidence management. Consistent capture supplies overlapping observations, conservative preparation preserves real surface features, and controlled tests reveal how much resizing or compression the set can tolerate. The result is not merely a cleaner collection of photographs, but a source archive that can support repeatable reconstruction today and better reconstruction tools in the future.