Vinyl Record Runout Etching Photography: A Catalog Guide for Pressing Identification
Photograph faint vinyl runout etchings, preserve ambiguous marks, prepare OCR-friendly reference images, and build consistent pressing records without specialist imaging equipment.
Vinyl Record Runout Etching Photography: A Catalog Guide for Pressing Identification
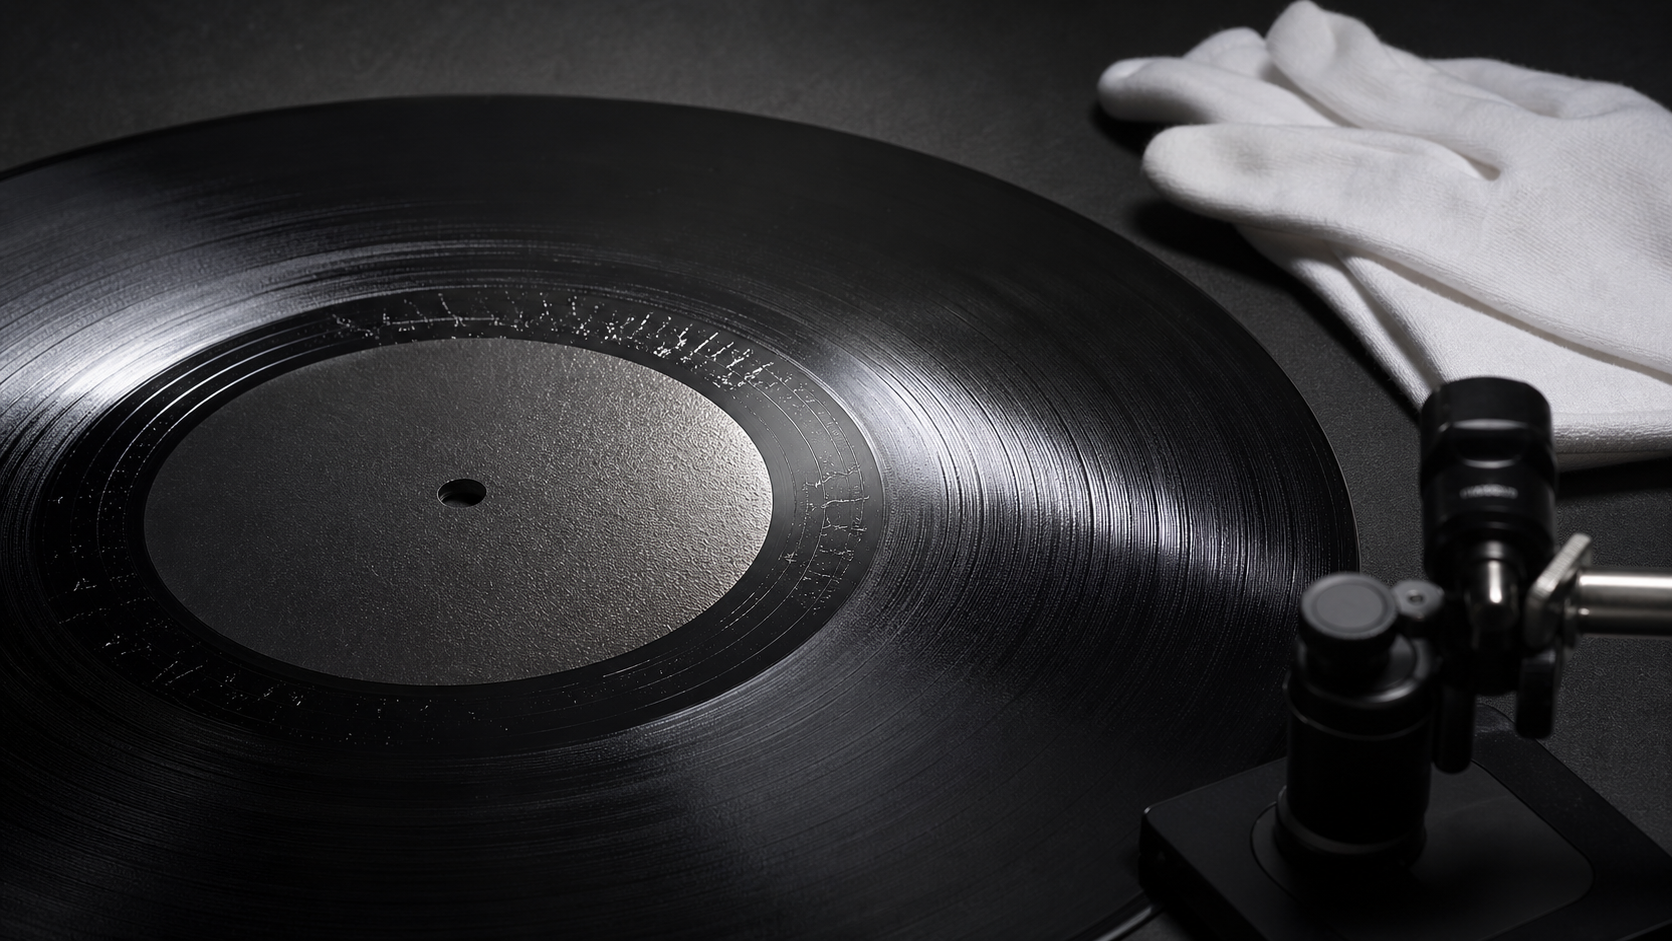
The most useful identification marks on a vinyl record are often the hardest ones to photograph. Matrix numbers, mastering signatures, pressing-plant symbols, scratched-out characters, and tiny stamped marks may sit in glossy black runout grooves only a few millimeters wide. Under ordinary room light, they can disappear completely. Under direct flash, the record may become a bright mirror.
A reliable catalog image must do more than look attractive. It should preserve the shape, order, and uncertainty of every visible mark so that another person can compare the record with a pressing reference later. That requires controlled light, repeatable framing, restrained editing, and careful transcription.
This guide presents a practical system for collectors, record shops, radio archives, and small cultural collections. It uses accessible equipment and browser-based image tools rather than a specialist copy stand or forensic imaging station.
Why Runout Marks Need Their Own Photo Method
A conventional record photograph is optimized for the label, sleeve, or overall condition. A runout photograph has a different purpose: revealing shallow physical changes in a reflective surface.
Hand-etched marks are narrow scratches that become visible when light catches one edge. Machine-stamped characters may be deeper but smaller. Some inscriptions cross groove reflections, while others are partly hidden by dust or manufacturing patterns. One lighting direction rarely reveals all of them.
The photograph also carries evidential value. A cataloger may initially read a character as 3, while a later reviewer recognizes it as B. If the original image is clear and minimally altered, the interpretation can be corrected without handling the record again.
Treat the image as a visual record first and an OCR source second. Automated recognition can accelerate transcription, but it should never replace inspection of the grooves.
Decide What the Catalog Record Must Prove
Before setting up the camera, define the identification questions the images need to answer. This prevents both under-documentation and an unmanageable pile of nearly identical frames.
A useful runout record commonly includes:
- Side designation, linked to the visible center label
- Full matrix sequence in reading order
- Mastering engineer initials or signature
- Pressing-plant stamps and geometric symbols
- Crossed-out, overwritten, or mirrored characters
- Approximate position of separate inscription groups
- Whether each mark is etched, stamped, or uncertain
- A confidence note for ambiguous readings
Do not rely on a runout close-up to establish which side was photographed. Capture one orientation frame showing the label and the beginning of the documented runout section. This frame can be visually ordinary; its role is to connect the details to the correct side.
For valuable or disputed pressings, retain an unedited source frame for every processed image. The source protects against accidental loss caused by aggressive contrast, cropping, or sharpening.
Assemble a Low-Cost Capture Kit
You can obtain useful results with a phone or compact camera if it can focus closely and remain stable. Gather the following items:
- A clean, stable table away from direct sunlight
- A phone clamp, tripod, or copy stand
- One small adjustable LED lamp or flashlight
- White paper or card for diffusion
- Black card for controlling reflections
- A neutral, lint-free surface beneath the record
- A clean manual air blower
- A ruler for setup measurements, kept away from the vinyl during capture
Avoid improvised supports that can fall onto the record. Keep metal tripod feet, lamp edges, and phone clamps outside the disc perimeter. If the record is especially fragile, place it on a clean inner sleeve with the center hole and runout fully supported.
A macro attachment can help, but it is not automatically better. Cheap clip-on lenses may soften the frame edges or introduce distortion. Test the lens on a low-value record before adopting it for catalog work.
Clean Conservatively Before Photography
Loose particles create bright points that can resemble punctuation or obscure small stamps. Use a manual air blower first. If the collection already has an approved cleaning procedure, follow it; otherwise, do not introduce an unfamiliar liquid merely to improve a photograph.
Never rub the runout with paper tissue. Fibers and hard trapped particles can mark the surface. A soft record brush may be appropriate for ordinary modern discs, but archival, lacquer, shellac, or unusually degraded objects can require material-specific care.
Photograph noteworthy residue, stickers, or manufacturing debris before attempting removal. What looks like dirt may be part of the object's history or a useful identification feature.
Build a Simple Raking-Light Setup
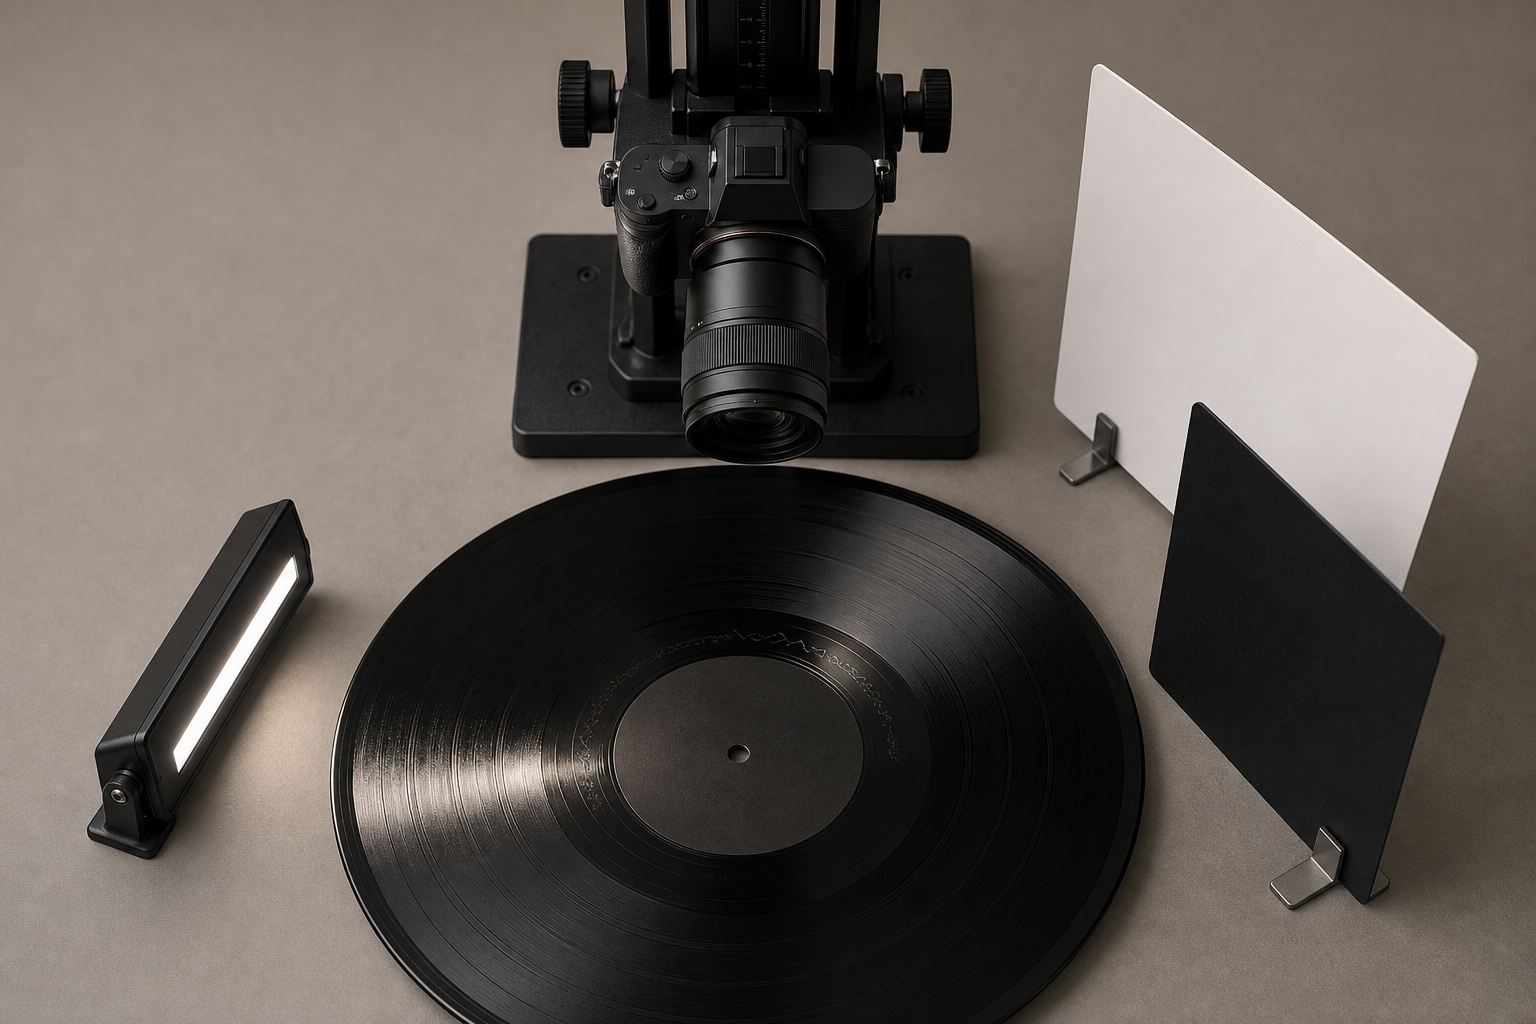
Raking light travels almost parallel to the record surface. It illuminates one wall of an etched line while leaving the opposite side comparatively dark, producing the local contrast needed to reveal shallow marks.
Place the camera above the runout and keep it as close to perpendicular to the record as practical. Then position the lamp low, approximately level with or slightly above the disc surface. Start with the lamp 20 to 40 centimeters away. Exact distances matter less than repeatability and the appearance of the inscription.
Move the light around the record rather than rotating the record immediately. Capture at least four lighting directions: from the top, right, bottom, and left relative to the camera frame. A mark that disappears in one photograph may become obvious in the opposite-light frame.
If the lamp creates a harsh white band, diffuse it with white paper or thin diffusion material placed safely away from heat. If the camera or room appears as a large reflection, position black card outside the frame to simplify the reflected environment. A narrow controlled reflection is easier to interpret than a patchwork of windows, ceiling lights, and clothing.
Do not try to eliminate every reflection. The inscription becomes visible because reflected light changes across its edges. The aim is to shape reflections, not erase them.
Lock Focus and Exposure
Automatic camera decisions can make a series inconsistent. Tap or manually focus on the inscription rather than the broad black surface. Lock focus if the device allows it, then capture several frames without moving the camera.
Reduce exposure until the brightest reflection retains visible detail. A slightly dark image can often be adjusted later; a clipped white region contains no recoverable surface information. Use the lowest practical sensitivity setting and a timer or remote shutter to reduce vibration.
Check sharpness at full magnification before documenting the entire record. Groove texture should look defined, and the finest visible stroke should have a clear edge. If only a small strip is sharp, increase camera distance slightly and crop later rather than forcing an extremely shallow close-focus view.
Photograph the Runout in Overlapping Segments
A single frame of the entire disc rarely provides enough resolution. Divide each side into segments and photograph them in a consistent direction.
Imagine the label as a clock face. Begin at 12 o'clock and move clockwise through overlapping sections. Include roughly 20 percent overlap between consecutive images. The overlap helps reviewers reconstruct the order of marks and prevents a character near a frame edge from being lost.
Use this capture sequence for each side:
- Take an orientation frame containing the label and runout.
- Photograph the first inscription group under four light directions.
- Move clockwise to the next group while preserving overlap.
- Capture isolated stamps or symbols at higher magnification.
- Repeat the sequence for the other side.
- Review every segment at full size before returning the record to its sleeve.
When rotating the disc is necessary, keep a temporary orientation reference outside the record. Never place adhesive markers on the vinyl or label.
Edit for Legibility Without Rewriting the Evidence
Runout images benefit from editing, but small changes can easily invent apparent strokes. Maintain two versions: a preserved source and a clearly identified access copy.
Start by cropping away irrelevant label and table area while retaining enough groove context to show where the inscription sits. Use Resize Image only after cropping, and avoid enlarging a tiny source dramatically. Upscaling makes pixels larger; it does not recover missing edges.
Next, make restrained tonal adjustments. Lower highlights if the reflection is too strong, lift shadows slightly, and add modest local contrast. Inspect stamped characters after every adjustment. If a faint line appears only after extreme editing, flag it as uncertain rather than treating it as confirmed.
Sharpening should clarify existing boundaries without creating halos. Bright and dark outlines around every groove indicate too much sharpening. Noise reduction can be equally damaging because it may smooth away shallow etched strokes.
The AI Photo Editor can assist with general cleanup or controlled adjustments, but generative removal and reconstruction are inappropriate inside the evidential runout area. Do not remove scratches, fill incomplete characters, or replace reflective patches. Such changes can make a visually cleaner image less trustworthy.
Keep Color or Convert to Grayscale?
Grayscale often makes reflective differences easier to compare and reduces distracting color casts from LEDs. Color, however, may preserve useful evidence about residue, marker ink, or unusual vinyl composition.
Keep the source in color. Create a grayscale derivative only when it improves reading. If both are useful, store them as paired access images rather than discarding either one.
A practical naming pattern is:
collectionID-itemID-side-segment-light-version.ext
For example, a filename might distinguish side B, the third segment, light from the left, and a contrast-adjusted access copy. Use terms your collection can apply consistently, and document the pattern in a short naming note.
Test OCR Without Trusting It Blindly
OCR systems are designed mainly for printed text on comparatively even backgrounds. Runout inscriptions violate those assumptions: characters curve around the label, spacing varies, strokes are incomplete, and groove reflections introduce false lines.
Even so, OCR can provide candidate readings when the source is prepared carefully. Begin with a tightly cropped duplicate. Rotate the inscription so its baseline is approximately horizontal. Try a grayscale version and a high-contrast version, but retain the ordinary adjusted image for comparison.
Submit each inscription group separately to Image OCR. A small crop containing one matrix sequence is more useful than an entire record side. Compare the output character by character against every lighting-direction frame.
Expect common substitutions:
| Visible form | Possible confusion |
|---|---|
| 0 | O, D, or Q |
| 1 | I, slash, or groove reflection |
| 2 | Z or 7 |
| 3 | B, 8, or a damaged 5 |
| 5 | S or 6 |
| C | G or an incomplete 0 |
| X | Two unrelated scratches |
| Hyphen | Groove highlight or shallow scratch |
Do not silently normalize spacing or punctuation. A dash, dot, or separated letter may distinguish one cutting or stamper from another. Record the literal observation and a normalized search form in separate fields if your catalog supports both.
Record Uncertainty Explicitly
A transcription becomes more useful when it communicates doubt. Use square brackets for uncertain characters, a question mark for a tentative interpretation, and a note for marks that are visible but unreadable. Establish the convention before cataloging many records.
For example, distinguish among:
A-1023— confidently observedA-10[2/7]3— two plausible readingsA-10?3— one character remains unclearA-10…3— a visible section cannot be transcribed
Keep OCR output in a separate field or note. The reviewed human transcription should not be overwritten simply because a second OCR attempt produced a different result.
Create a Runout Contact Sheet
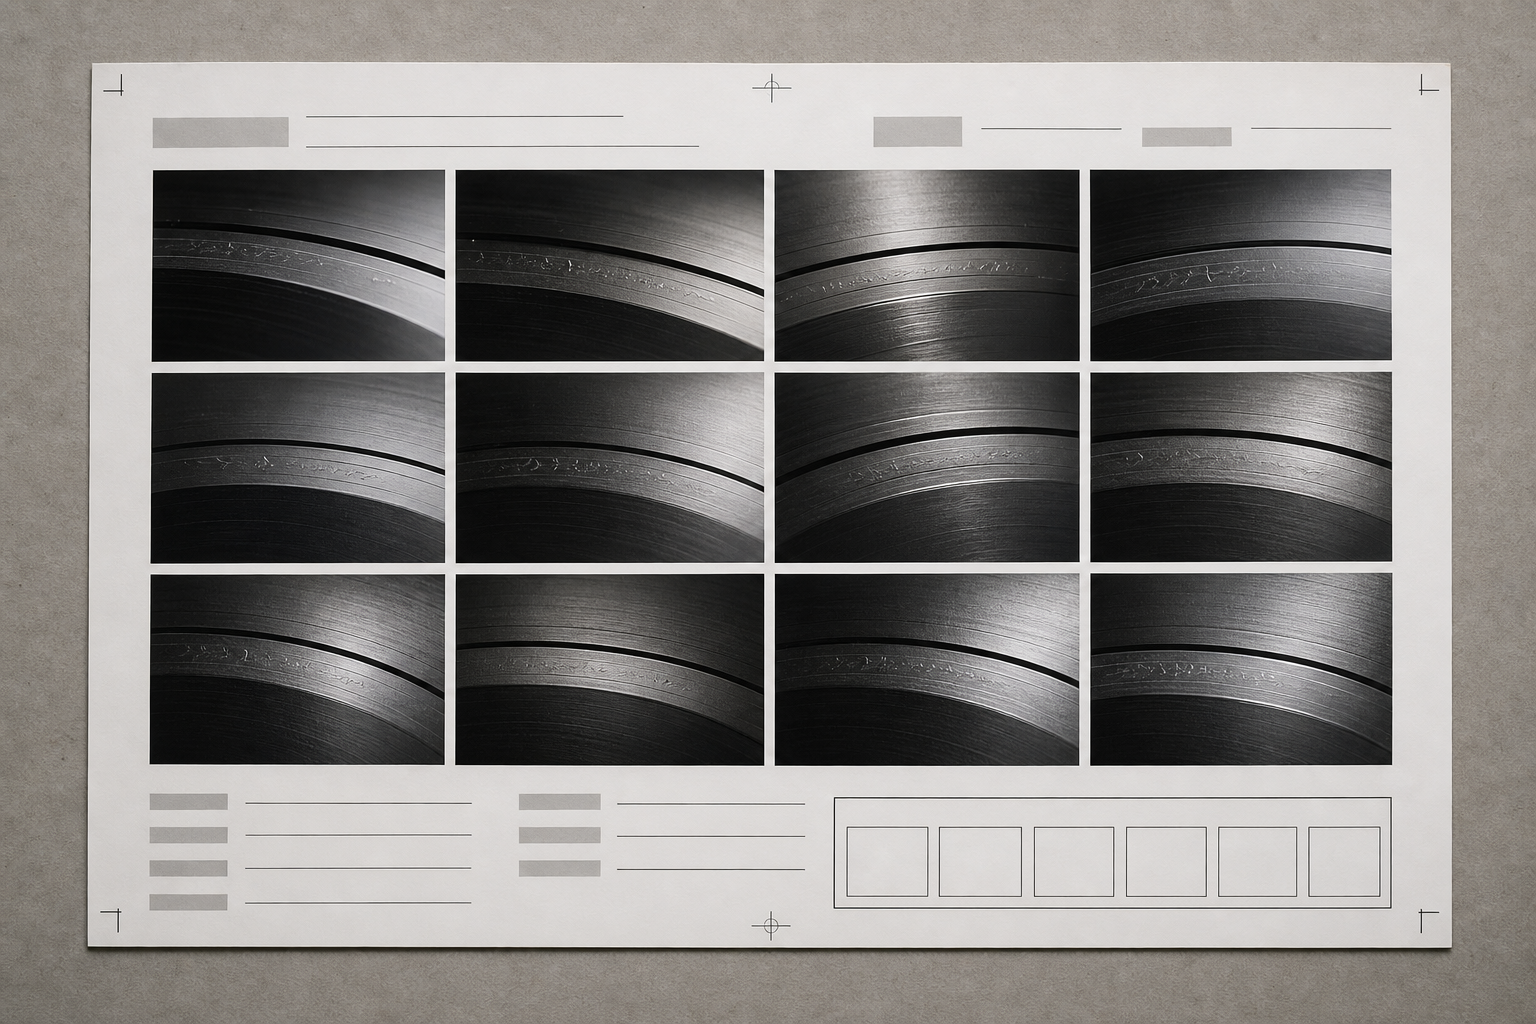
Individual close-ups provide detail, but they are cumbersome during side-by-side pressing comparisons. A contact sheet condenses the evidence into a predictable visual sequence.
Arrange the orientation frame first, followed by clockwise segments and isolated detail views. Keep all images upright according to the same reading convention. Beneath each image, include a short identifier rather than a speculative interpretation. The catalog record can hold the full transcription and uncertainty notes.
A useful contact sheet contains:
- Collection and item identifier
- Record side
- Capture date
- Segment order
- Light direction
- Source filename
- A scale statement if scale was measured reliably
- A note identifying adjusted derivatives
Export the sheet at a resolution suitable for screen review, then create a smaller sharing copy with Compress Image. Inspect the compressed result at 100 percent. Thin scratches and stamped edges are exactly the details that aggressive compression can damage.
For a two-sided record or multi-disc set, assemble the finalized sheets with Image to PDF. A PDF is convenient for review, but it should supplement rather than replace the original image files. Confirm that page order, side labels, and image orientation remain correct after export.
Use a Two-Pass Identification Method
Separating observation from interpretation reduces confirmation bias. During the first pass, document only what the object and photographs show. During the second, compare the transcription with external pressing references.
Pass One: Object-Level Observation
Record the literal sequence, stroke shapes, technique, location, and uncertainty. Describe a symbol geometrically if you do not recognize it: for example, “small stamped oval with vertical line” rather than immediately assigning a pressing plant.
Note whether a mark appears mirrored, crossed out, written above another mark, or separated by a large gap. Preserve these relationships in both the transcription and contact sheet.
Pass Two: Reference Comparison
Search recognized discographic references using several candidate strings. Compare the complete combination of label details, catalog number, matrix marks, mastering signature, pressing symbols, and physical format. One matching matrix fragment is rarely enough to establish a specific pressing.
If a reference influences the final reading, cite it in the catalog note and retain the original observation. This creates an audit trail between what was photographed and what was inferred.
Quality-Control Checklist Before Filing
Complete the following review while the record is still available:
- Both sides have orientation frames.
- Every inscription group appears in at least one sharp frame.
- Ambiguous marks have opposite-light views.
- Segment overlaps preserve reading order.
- Highlights do not erase important strokes.
- Source files remain untouched and identifiable.
- Adjusted copies contain no generative reconstruction.
- Filenames match the documented naming pattern.
- OCR output has been checked against the images.
- Uncertainty is visible in the transcription.
- Contact-sheet order matches the physical runout order.
- Compressed and PDF copies remain legible at normal viewing size.
Also open the files on a second screen if possible. A very bright editing display can conceal blocked shadows, while phone previews may apply their own enhancement. The catalog copy should remain understandable without relying on one particular display.
Common Failure Modes and Better Corrections
| Problem | Likely cause | Better correction |
|---|---|---|
| Record appears as a white glare patch | Light is too high or aligned with the camera | Lower the light and move it around the disc |
| Only half the inscription is visible | One-sided raking light | Capture the opposite lighting direction |
| Characters look doubled | Camera movement or strong sharpening | Stabilize the camera and reduce sharpening |
| Grooves are sharp but writing is soft | Focus locked on the wrong plane or area | Refocus directly on the inscription |
| OCR returns random punctuation | Crop contains too many grooves and reflections | Crop tighter, rotate, and test restrained contrast |
| Segment order is unclear | Insufficient overlap or inconsistent rotation | Use clockwise capture with orientation frames |
| Processed image looks convincing but differs from source | Excessive cleanup or generative editing | Return to the source and make only reversible tonal edits |
| Shared PDF is unreadable | Images were downsized or compressed too heavily | Export again from higher-resolution access copies |
Build a Catalog That Can Be Rechecked
A good runout record does not pretend that every mark is immediately knowable. It preserves enough visual evidence for future comparison, including disagreement and uncertainty.
Keep source images, adjusted access copies, OCR attempts, the reviewed transcription, and reference citations logically connected by the same item identifier. Store the contact sheet as a navigation aid, not as the only copy of the evidence. If file storage is limited, compress sharing versions while preserving full-resolution source frames in the collection's primary storage.
Consistency is more valuable than elaborate equipment. A modest camera, low-angle lamp, repeatable segment order, and conservative editing can produce records that are easier to verify than a beautiful but undocumented photograph. By treating reflections as controllable evidence and OCR as a fallible assistant, you can turn faint runout marks into durable, searchable pressing documentation.