Analog Synthesizer Patch Sheet Scan Cleanup for Searchable Sound Archives
Turn aging synthesizer patch sheets into clear, searchable reference files with careful capture, image cleanup, OCR verification, naming, and PDF assembly.
Analog Synthesizer Patch Sheet Scan Cleanup for Searchable Sound Archives
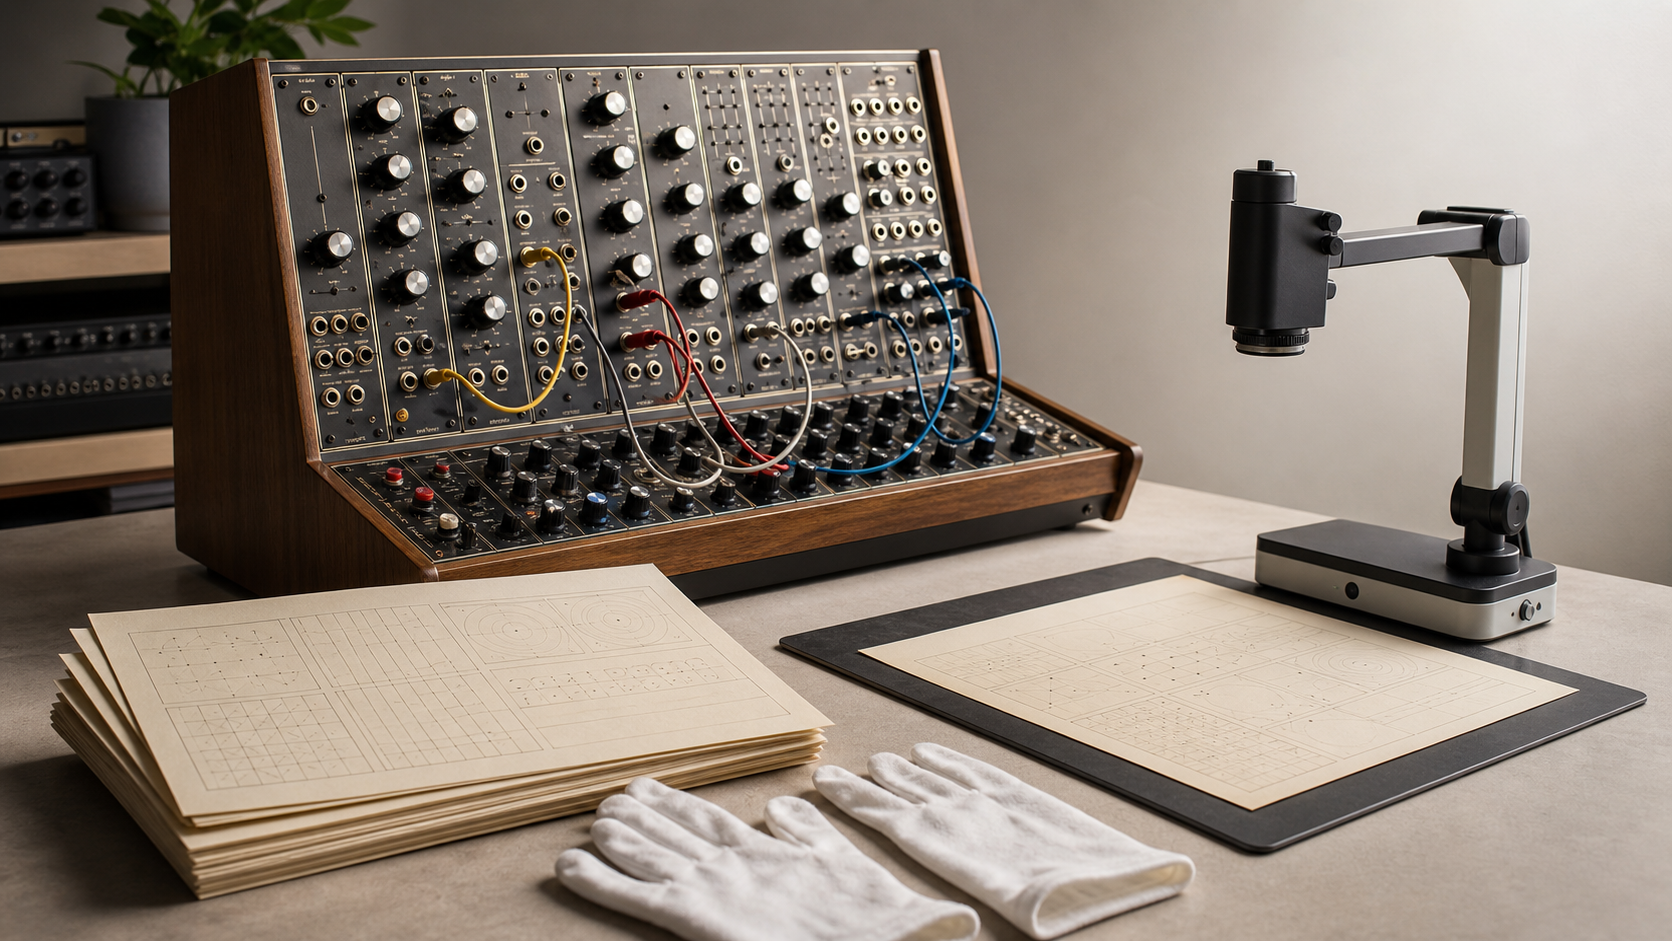
A handwritten patch sheet can be more valuable than a preset file. It may preserve the exact knob positions behind a recording, document a repair technician's calibration patch, or capture a sound created on an instrument with no patch memory at all. Unfortunately, these sheets often survive as folded photocopies, dim phone photographs, or yellowing pages covered with pencil arcs.
Digitizing them is not simply a matter of making the paper brighter. A useful archive must preserve faint marks, keep control diagrams recognizable, expose enough searchable text for retrieval, and distinguish verified information from uncertain OCR output. Excessive cleanup can erase the very pencil strokes the archive is meant to protect.
This guide presents a practical system for converting analog synthesizer patch sheets into reliable image files and searchable PDFs. It works for personal sound libraries, repair benches, small studios, university collections, and community archives. The same principles also apply to drum machine pattern sheets, modular patch diagrams, organ registrations, and outboard processor recall sheets.
Decide What the Archive Must Preserve
Start by defining the purpose of the collection. A musician looking for an old bass patch has different requirements from a conservator documenting a historically significant session.
A patch sheet normally contains four kinds of information:
- Printed labels identifying controls, signal paths, or model names.
- Handwritten names, dates, tempo notes, and performance instructions.
- Graphic marks showing knob positions, switch states, cable routes, or slider levels.
- Physical evidence such as erasures, revisions, stains, punched holes, and annotations in different inks.
OCR can help with the first two categories, but it cannot be trusted to interpret a knob arc or decide whether a faint line is intentional. Those visual elements must remain available in the image even when a searchable text layer is added.
Choose an archive level before editing:
| Archive level | Best for | Files to retain | Cleanup limit |
|---|---|---|---|
| Quick reference | Personal patches used during rehearsal | Clear image or compact PDF | Moderate contrast and crop corrections |
| Studio library | Repeatable recording and production notes | Master image, reading copy, searchable PDF | Preserve every control mark |
| Historical archive | Research, exhibitions, or provenance records | Original capture, edited derivative, metadata, verified transcript | Minimal changes to the master |
| Repair reference | Calibration settings and service comparisons | High-resolution image plus equipment metadata | Avoid geometric or generative changes |
When in doubt, retain more information. Storage is easier to manage than a patch mark erased by aggressive thresholding.
Inventory Before You Scan
Give each physical sheet a temporary identifier before capture. A simple sequence such as BOX02-SHEET014 prevents detached pages from becoming anonymous. Write the identifier on a removable archival slip placed beside the sheet, not on the document itself.
Record whatever can be established without interpretation:
- Synthesizer manufacturer and model.
- Printed patch-sheet edition or revision, if visible.
- Number of physical pages.
- Front, back, or foldout status.
- Approximate date and source.
- Related song, session, owner, or tape reel.
- Condition issues that affect capture.
- Whether the document is an original, photocopy, or later printout.
Do not silently normalize uncertain names. If the sheet appears to say Glass Pad but the handwriting could also read Class Pad, preserve the ambiguity in the notes. Search terms can be added later without pretending that an uncertain reading is definitive.
A quick inventory also reveals duplicates. Two sheets with the same patch name may show different revisions, so compare switch positions and handwritten dates before discarding either one.
Capture Patch Sheets Without Hiding Their Marks
A flatbed scanner is usually the simplest option for loose sheets. Scan in color even when the paper looks monochrome. Color differences can separate blue pencil from black printing, reveal erased marks, and distinguish an original from a photocopy.
For most patch sheets, 300 pixels per inch is adequate for ordinary reading. Use 600 pixels per inch when handwriting is very small, pencil marks are faint, or the page may need close inspection. Save the first capture in a lossless format such as PNG or TIFF if your equipment supports it.
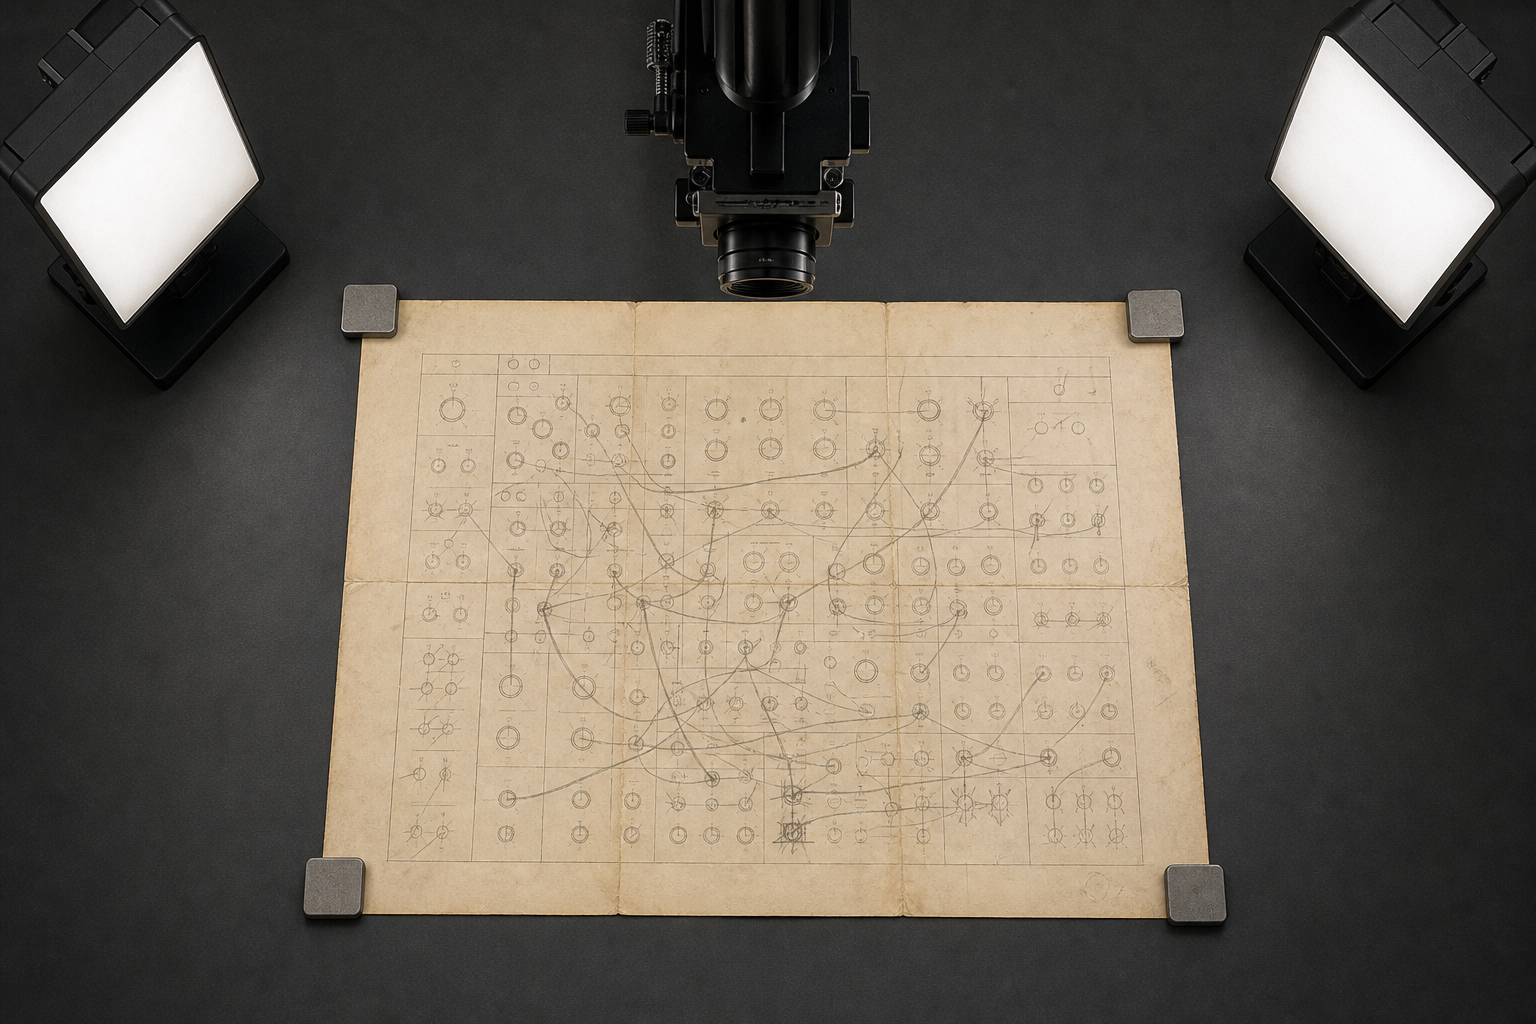
Bound manuals, fragile sheets, and oversized diagrams may require a camera. Use these capture practices:
- Place the camera parallel to the page rather than aiming from an angle.
- Support the sheet on a matte, contrasting background.
- Use two diffused lights at matching angles to reduce shadows and glare.
- Keep clips and weights outside the printed control diagram.
- Include a ruler and color reference in one documentation frame when scale or color matters.
- Photograph the reverse side even if it appears blank; pressure marks and transferred annotations may be relevant.
Avoid holding the page down with fingers. A fingertip can cover a small switch state or create a shadow that resembles a pencil stroke. Likewise, do not use portrait mode or automatic background blur. Patch sheets are flat technical records, and every area should remain equally legible.
Review each capture at high magnification before returning the physical sheet to storage. Confirm that the smallest labels, faintest knob indicators, page edges, and handwritten notes are in focus.
Correct Geometry Before Adjusting Contrast
Cropping and perspective correction should happen before detailed tonal editing. Otherwise, shadows and empty borders can influence automatic adjustment tools.
Begin by rotating the document so printed horizontal lines are genuinely horizontal. If a camera photograph forms a trapezoid, correct the four page corners cautiously. The control diagram should look rectangular, but the correction must not stretch circles into ovals or change the apparent angle of a knob mark.
Keep two crop variants when physical evidence matters:
- A preservation crop showing the complete page edge, tears, binding holes, and surrounding reference target.
- A reading crop containing the document with a narrow, consistent margin.
For quick derivatives, resize the image only after geometry is corrected. Resizing an angled photograph first can make fine labels harder to recover. Keep the high-resolution capture untouched and create smaller copies for browsing or sharing.
Check geometry against known shapes on the form. Circular knobs, square switch boxes, straight keyboard diagrams, and evenly spaced fader tracks make useful references. If these appear distorted, revisit the perspective adjustment rather than compensating with sharpening.
Build a Master File and a Reading Copy
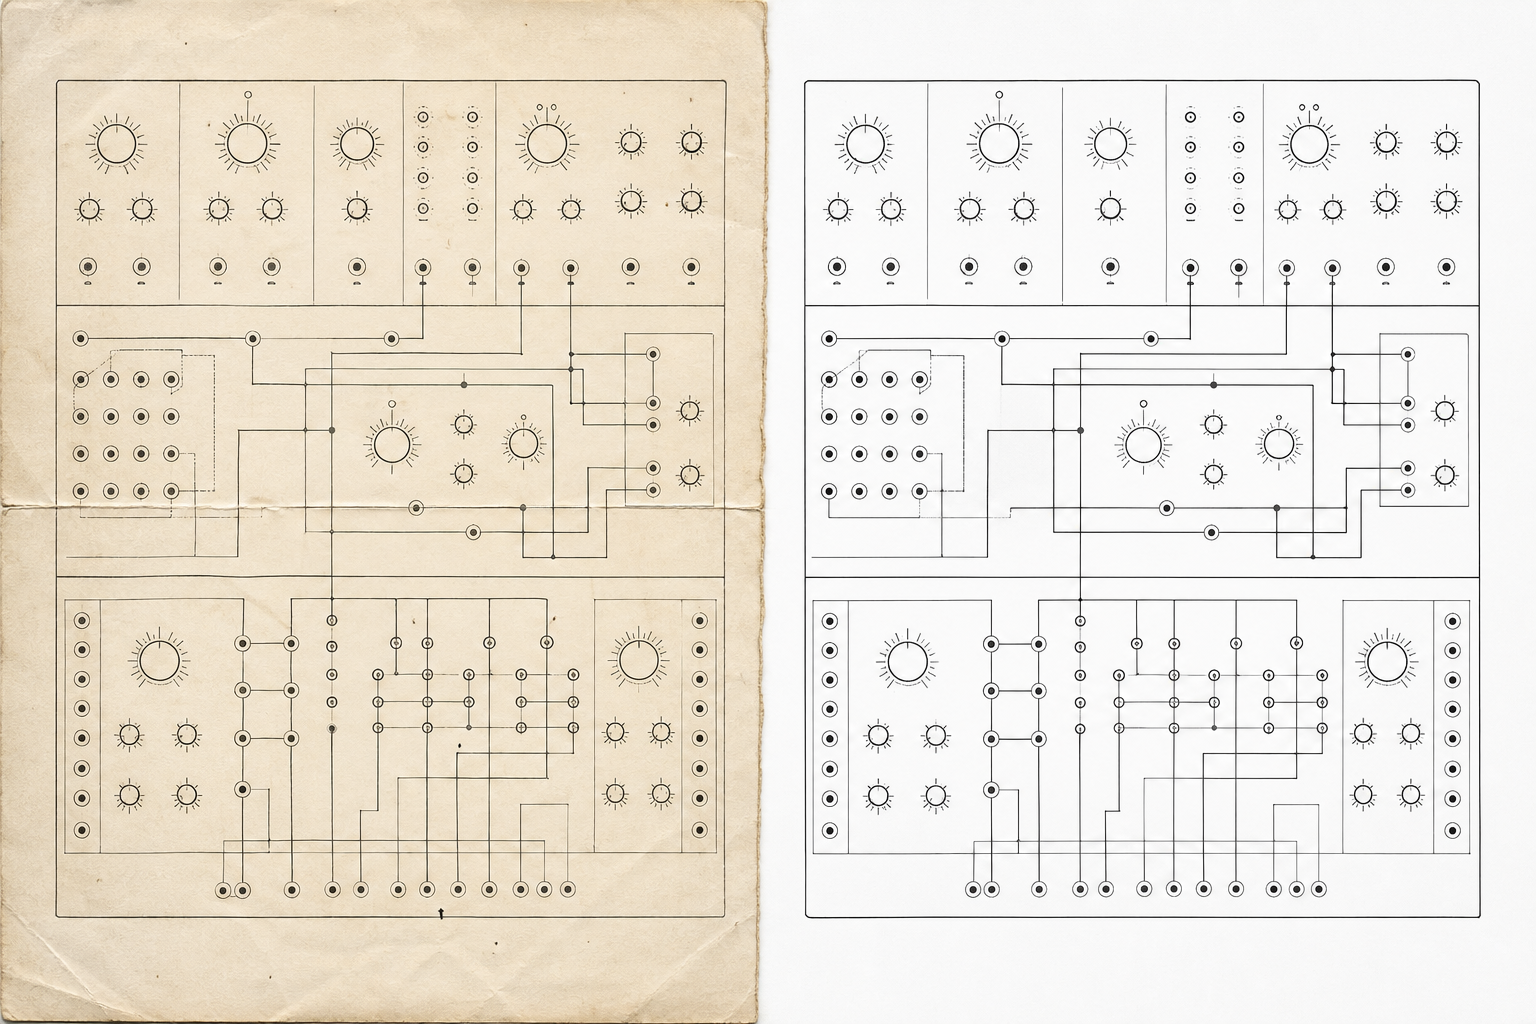
One image rarely serves every purpose. The safest arrangement is a minimally edited master plus a more assertive reading copy.
The master should retain the original color relationships and paper texture. Limit changes to rotation, careful perspective correction, and neutral exposure adjustment. Never overwrite the source capture.
The reading copy can receive stronger treatment:
- Adjust white balance so paper discoloration does not overwhelm colored annotations.
- Lift shadows gradually rather than forcing the page to pure white.
- Increase local contrast enough to separate pencil from paper fibers.
- Apply mild sharpening at the final output size.
- Remove empty background outside the page.
- Preserve stains that overlap or explain handwritten content.
Do not use a single black-and-white threshold on a sheet with faint pencil. Thresholding converts pixels to solid black or white; a light knob line may disappear completely. If a monochrome copy is useful for printing, generate it as an additional derivative and compare every control area with the master.
An AI photo editor can help with restrained background or exposure corrections, but generative changes are inappropriate for control positions, handwriting, cable paths, and equipment labels. Never ask an editing system to reconstruct a missing knob mark or complete obscured writing. A plausible reconstruction is not archival evidence.
A practical review is to blink between the master and reading copy at the same size. Every intentional line should remain in the same position. If a mark vanishes, thickens into a different angle, or merges with a printed control, reduce the adjustment.
Separate OCR Text from Graphic Patch Data
Patch sheets are unusually difficult OCR sources because printed labels compete with handwriting, arrows, circular scales, and cable lines. Treat OCR as a retrieval aid, not an authoritative transcription.
Run OCR on the reading copy after rotation and contrast correction. The image OCR tool can provide a starting point for extracting patch names, control labels, dates, and notes. Then compare the result against the image line by line.
Prioritize fields that help a person find the sheet later:
- Instrument and model.
- Patch name and category.
- Creator or performer.
- Session, song, or project.
- Date.
- Oscillator, filter, and effect terms.
- Free-form performance notes.
Do not spend hours correcting every printed control label if the same blank form appears across hundreds of sheets. Transcribe the stable form vocabulary once as template metadata, then focus verification on handwritten content that changes from sheet to sheet.
Use a confidence convention for uncertain readings. For example:
| Transcription form | Meaning |
|---|---|
Slow Brass | Reading is clear |
[Slow Brass?] | Probable but uncertain reading |
[illegible] | Writing is present but cannot be read |
[blank] | Field is confirmed empty |
[mark at 2 o'clock] | Visual control position described without claiming OCR recognition |
Descriptions of knob positions should be entered manually only when useful. Prefer clock-face descriptions such as approximately 2 o'clock over invented numerical values when the control has no printed scale. Keep the source image beside the description so another reader can verify it.
Verify Control Positions Systematically
A patch may be searchable yet unusable if its switch and knob states are unclear. Review the diagram in a fixed order rather than jumping to the most obvious annotations.
A suitable pass for a subtractive synthesizer is:
- Global performance controls and keyboard mode.
- Oscillator ranges, waves, tuning, and mixer levels.
- Filter cutoff, resonance, tracking, and modulation.
- Amplifier and envelope settings.
- Low-frequency oscillator and modulation routing.
- Effects, arpeggiator, sequencer, or external control notes.
- Patch cables and rear-panel connections.
For modular systems, trace each cable from output to input. Record uncertainty when lines cross or leave the page. Never infer a destination merely because it would produce a sensible sound; musicians routinely save experimental or unstable patches.
Use the master image whenever two marks appear merged in the reading copy. Colored pencil, pressure differences, and erasure traces can reveal which setting was earlier. If the document shows multiple revisions, describe them rather than selecting one without evidence.
Create Searchable PDFs Without Losing Image Quality
PDF is convenient for multi-page sets, session binders, and sharing with collaborators. Assemble pages only after individual images have been reviewed and named.
A useful order is:
- Front of the patch sheet.
- Reverse side.
- Continuation or modulation notes.
- Session notes associated with the patch.
- Optional verified transcription page.
Use image to PDF to assemble a stable reading copy, then open the result and inspect every page. Check rotation, page order, margins, and whether small pencil marks survive at normal zoom. If several PDFs belong to one recording session, merge the PDFs only after each component has passed its own review.
Compression requires restraint. Thin diagram lines and light handwriting are vulnerable to block artifacts and ringing. If the PDF becomes too large, reduce unnecessary image dimensions before applying heavy compression. Test the most difficult page—the one with the faintest pencil and smallest labels—rather than judging quality from a clean cover sheet.
Keep the preservation master outside the PDF. A PDF is a distribution container, not a substitute for the original image files and metadata.
Use Filenames That Survive Handoffs
A good filename should identify the asset without requiring a proprietary catalog. Use lowercase characters, hyphens or underscores consistently, and an ISO-style date when known.
One practical pattern is:
manufacturer_model_patchname_date_sheetid_variant.ext
Examples include:
roland_sh101_rubber-bass_1984-05_box02-sheet014_master.pngroland_sh101_rubber-bass_1984-05_box02-sheet014_reading.pngroland_sh101_rubber-bass_1984-05_box02-sheet014_searchable.pdf
If a date is incomplete, do not manufacture precision. Use 1984, 1984-05, or date-unknown according to the available evidence. If the patch name is uncertain, use a neutral identifier in the filename and place possible readings in metadata.
Avoid labels such as final, final2, and really-final. Prefer explicit variants such as master, reading, print, ocr, and transcript-verified. Add a revision date only when the file itself changes.
Quality-Control Checklist
Review the completed archive independently of the editing session. Fresh eyes are more likely to notice a reversed page or erased pencil mark.
Image checks
- The source capture is retained unchanged.
- The entire page is present in the preservation version.
- Circles and control panels are not distorted.
- Faint pencil, colored annotations, and erasures remain visible.
- Sharpening has not produced halos around labels.
- No automated edit has invented or removed technical information.
OCR and metadata checks
- Instrument model and patch name match the sheet.
- Uncertain handwriting is visibly marked as uncertain.
- OCR errors in dates, numbers, and control names are corrected.
- Visual settings are not presented as machine-recognized facts.
- Duplicate sheets and alternate revisions are distinguished.
PDF and delivery checks
- Pages appear in the intended order and orientation.
- Search finds several verified terms from the sheet.
- Fine markings remain readable at practical zoom levels.
- Filenames identify master and derivative versions clearly.
- The PDF opens in more than one viewer when long-term access matters.
Package the Archive for Future Use
A compact delivery folder can contain masters, reading-copies, pdf, and metadata directories. Include a plain CSV or JSON catalog if the collection is large enough to need filtering. Useful columns include sheet ID, instrument, patch name, creator, date, source, rights note, OCR status, and filename.
Document any transformation that could affect interpretation. A short processing note might state that the reading copy received rotation, perspective correction, neutral white balance, and mild contrast adjustment, while the master remained unchanged. This is especially important when files move between a musician, studio assistant, archivist, and researcher.
Back up both the image masters and the catalog. Test retrieval by searching for a patch name, instrument model, and session term, then confirm that each result opens the correct image and PDF. An archive is only successful when someone can locate a sound, inspect the original marks, and understand which information was transcribed or edited.
The central rule is simple: improve access without rewriting the artifact. A clean patch-sheet archive should make faded instructions easier to find and read while preserving every uncertainty, revision, and hand-drawn control position that gives the document its value.