Crinkled Receipt Photo OCR Cleanup for Expense Reimbursement Packs
A practical guide for turning folded, glossy, and low-light receipt photos into readable OCR text and tidy PDF reimbursement packets without losing key totals.
Crinkled Receipt Photo OCR Cleanup for Expense Reimbursement Packs
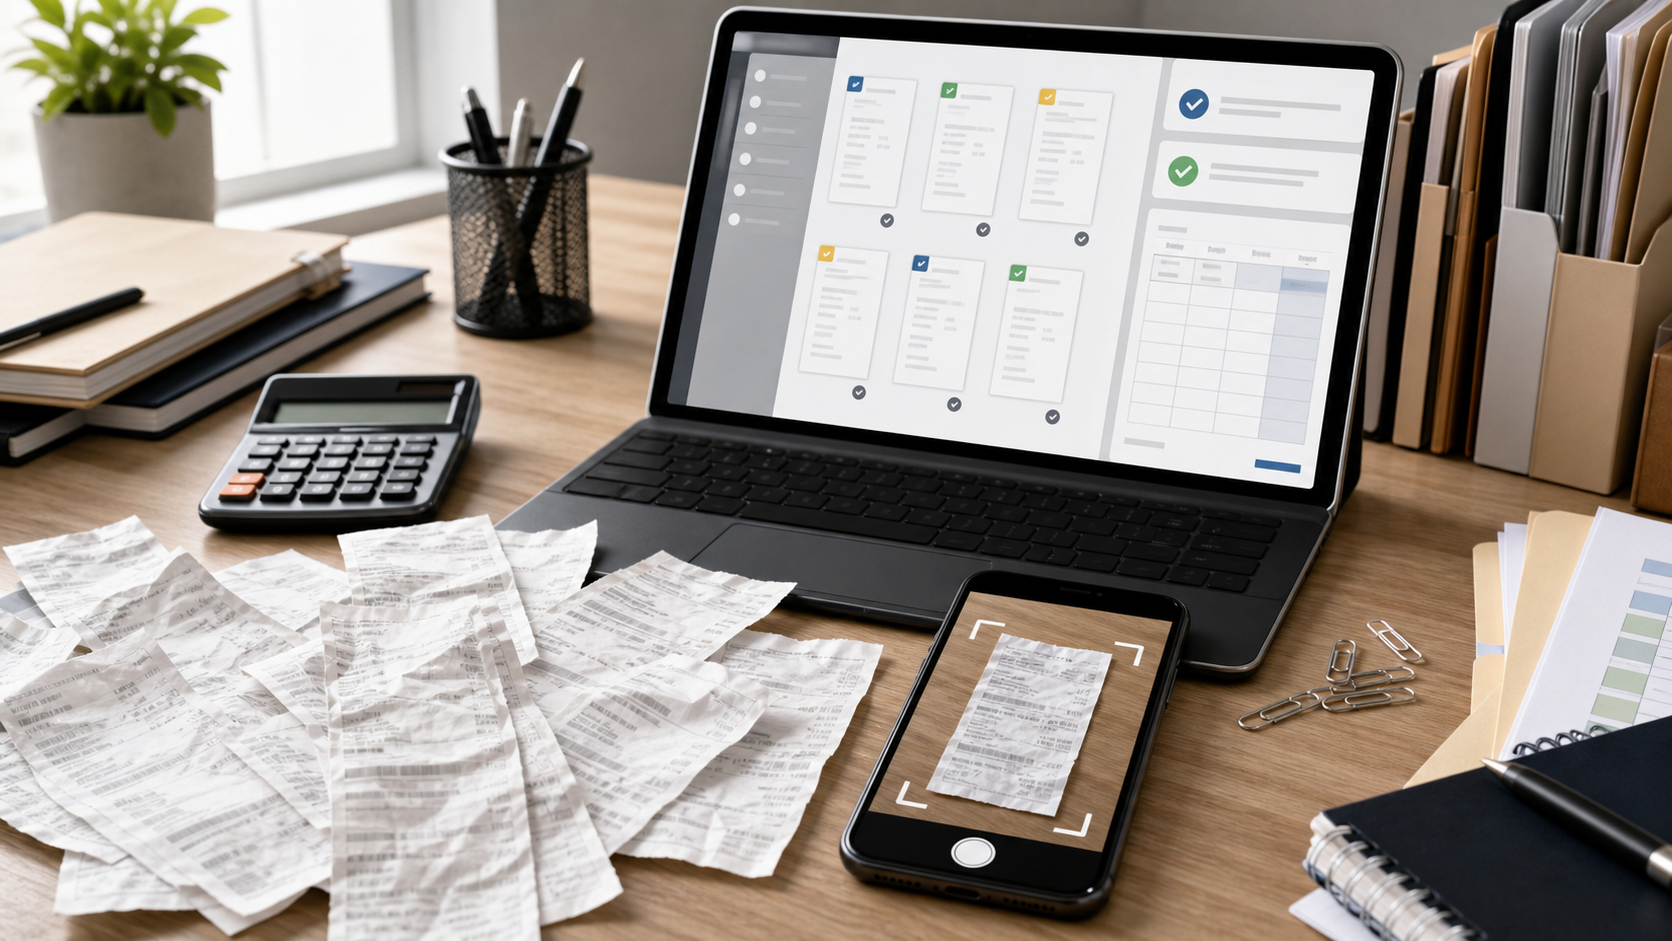
Expense receipts are small, fragile, and strangely good at becoming unreadable right when someone needs to submit them. Thermal paper fades in a hot car. Coffee shop receipts curl into tubes. Restaurant bills arrive with a glossy top copy, a handwritten tip line, and a shadow from the person taking the photo. By the time finance, an accountant, or a project coordinator receives the images, the packet may contain a mix of tilted JPEGs, dark phone photos, screenshots from email, and one folded receipt that hides the tax line.
This guide is for the practical middle ground: you are not building an enterprise expense platform, but you do need receipt photos that can be read, searched, attached, checked, and filed. The goal is not to make every receipt beautiful. The goal is to preserve the merchant, date, total, tax, payment method, and line items clearly enough that OCR and human review both have a fair chance.
A good receipt packet has three qualities. First, each image is readable before any software guesses at the text. Second, the file names and page order make review boring instead of detective work. Third, the final PDF is compact enough to email or upload, while still keeping the tiny numbers sharp. ConvertAndEdit tools can help at several points, especially when you need to clean images, run OCR, compress files, resize oversized photos, or combine pages into one packet.
Why Receipt OCR Is Harder Than Normal Document OCR
Receipts look simple because they are narrow and mostly text. In practice, they are some of the least forgiving documents for OCR. The fonts are tiny, the printing is inconsistent, and the paper often has physical damage before the camera ever sees it.
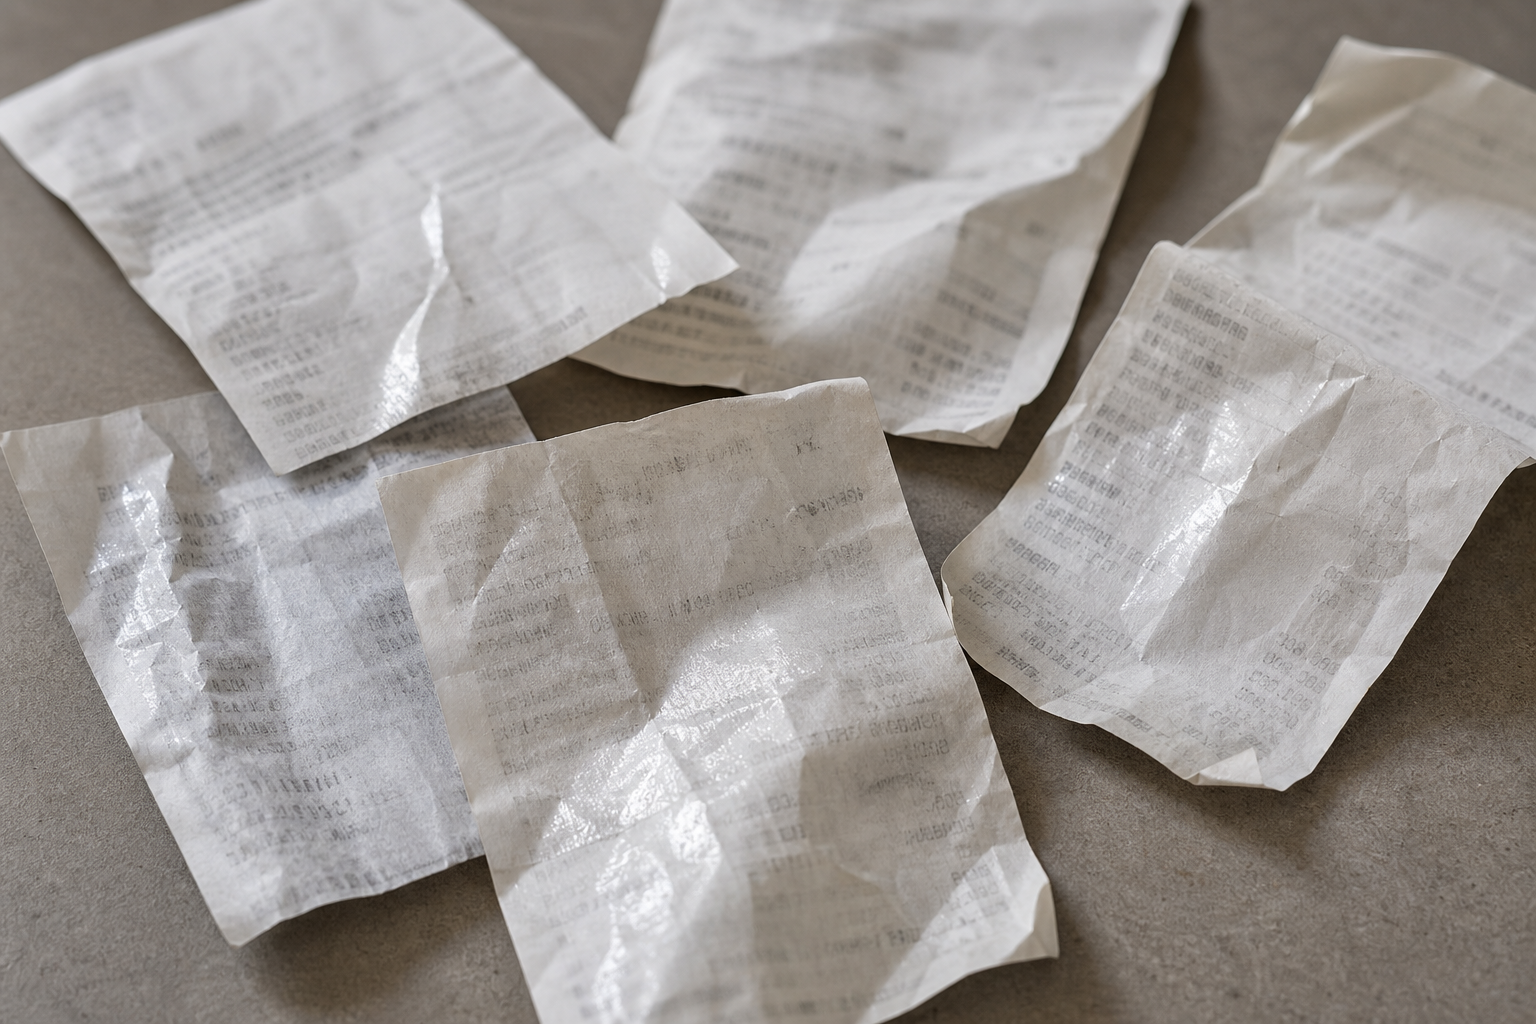
Thermal receipts are especially difficult. The ink is created by heat, which means the contrast can fade over time or darken unevenly when stored near heat sources. A folded receipt may have a white crease across a total line. A glossy restaurant receipt can reflect ceiling lights. A long supermarket receipt can curve upward at the edges, making the text scale change from top to bottom.
OCR is also sensitive to context. A clean invoice usually has predictable labels such as invoice number, due date, and subtotal. A receipt might use short labels, store codes, abbreviations, loyalty messages, coupon blocks, and dense item lists. A human can infer that 18.42 near the bottom is probably the total. OCR cannot reliably infer that if the digits are blurred, clipped, or split by a fold.
That is why the best cleanup starts before OCR. If the image has shadows, skew, compression artifacts, or too much background, those flaws become input data. OCR does not fix them; it interprets them.
The Receipt Problems That Break OCR
Before editing anything, sort receipt problems into physical, camera, and file issues. This prevents over-editing and helps you choose the smallest useful correction.
| Problem | What it looks like | OCR risk | Best first fix |
|---|---|---|---|
| Curling paper | Edges lift or receipt forms a tube | Text bends and line spacing changes | Flatten with light pressure before capture |
| Fold through totals | White or dark crease crosses key numbers | Digits split or disappear | Recapture at a slight angle with better light |
| Gloss glare | Bright patch over item lines or total | Missing text in reflected area | Move light source or rotate receipt |
| Low contrast thermal print | Gray text on gray paper | OCR confuses digits and punctuation | Increase contrast carefully |
| Busy background | Receipt lies on patterned table or carpet | OCR reads background marks as characters | Crop tightly around receipt |
| Over-compressed image | Blocky text edges and smeared numbers | Similar digits merge | Use a higher-quality source if available |
| Extreme perspective | Top is narrower than bottom | OCR reads columns out of order | Retake from directly above |
| Mixed receipts in one photo | Several receipts overlap | OCR combines unrelated text | Separate into individual pages |
The most important rule is simple: do not rely on editing to rescue a bad capture if a quick retake is possible. A new photo from directly above, on a plain background, with soft light, usually beats five minutes of aggressive sharpening.
Start With a Capture Standard
Receipt cleanup is much easier when everyone capturing receipts follows the same basic standard. This does not need to be complicated. A lightweight standard helps employees, assistants, field staff, and freelancers submit files that require less manual repair.
Use a matte, plain background. White, light gray, or pale neutral surfaces work well because they create a clear edge around the receipt. Avoid dark wood grain, patterned fabric, glass tabletops, and reflective counters.
Photograph the receipt alone. One receipt per image is best for OCR and later review. If a transaction includes an itemized receipt and a card slip, capture them separately, then place them next to each other in the final PDF order.
Keep the phone parallel to the paper. Perspective distortion makes OCR more likely to read columns incorrectly. The phone does not have to be perfect, but the receipt should not look like a trapezoid.
Leave a narrow border. Do not crop during capture so tightly that the edges of the receipt are cut off. A small background border gives you room to straighten and crop later.
Check the total before moving on. If the total, date, merchant, or tax line is unreadable in the camera preview, retake immediately. Those fields matter more than making every coupon code readable.
A Clean Capture Checklist for Reimbursement Packs
Use this checklist when receipt photos will become an expense packet, grant report, client bill-back, travel reimbursement, or accounting archive.
- One receipt per image unless a policy specifically requires grouped evidence.
- Merchant name visible.
- Purchase date visible.
- Final total visible.
- Tax, tip, or service charge visible when relevant.
- Payment confirmation visible if required by the reviewer.
- Receipt flat enough that lines remain horizontal.
- No fingers covering numbers.
- No flash reflection across the total area.
- File captured at original camera quality, not as a forwarded social app image.
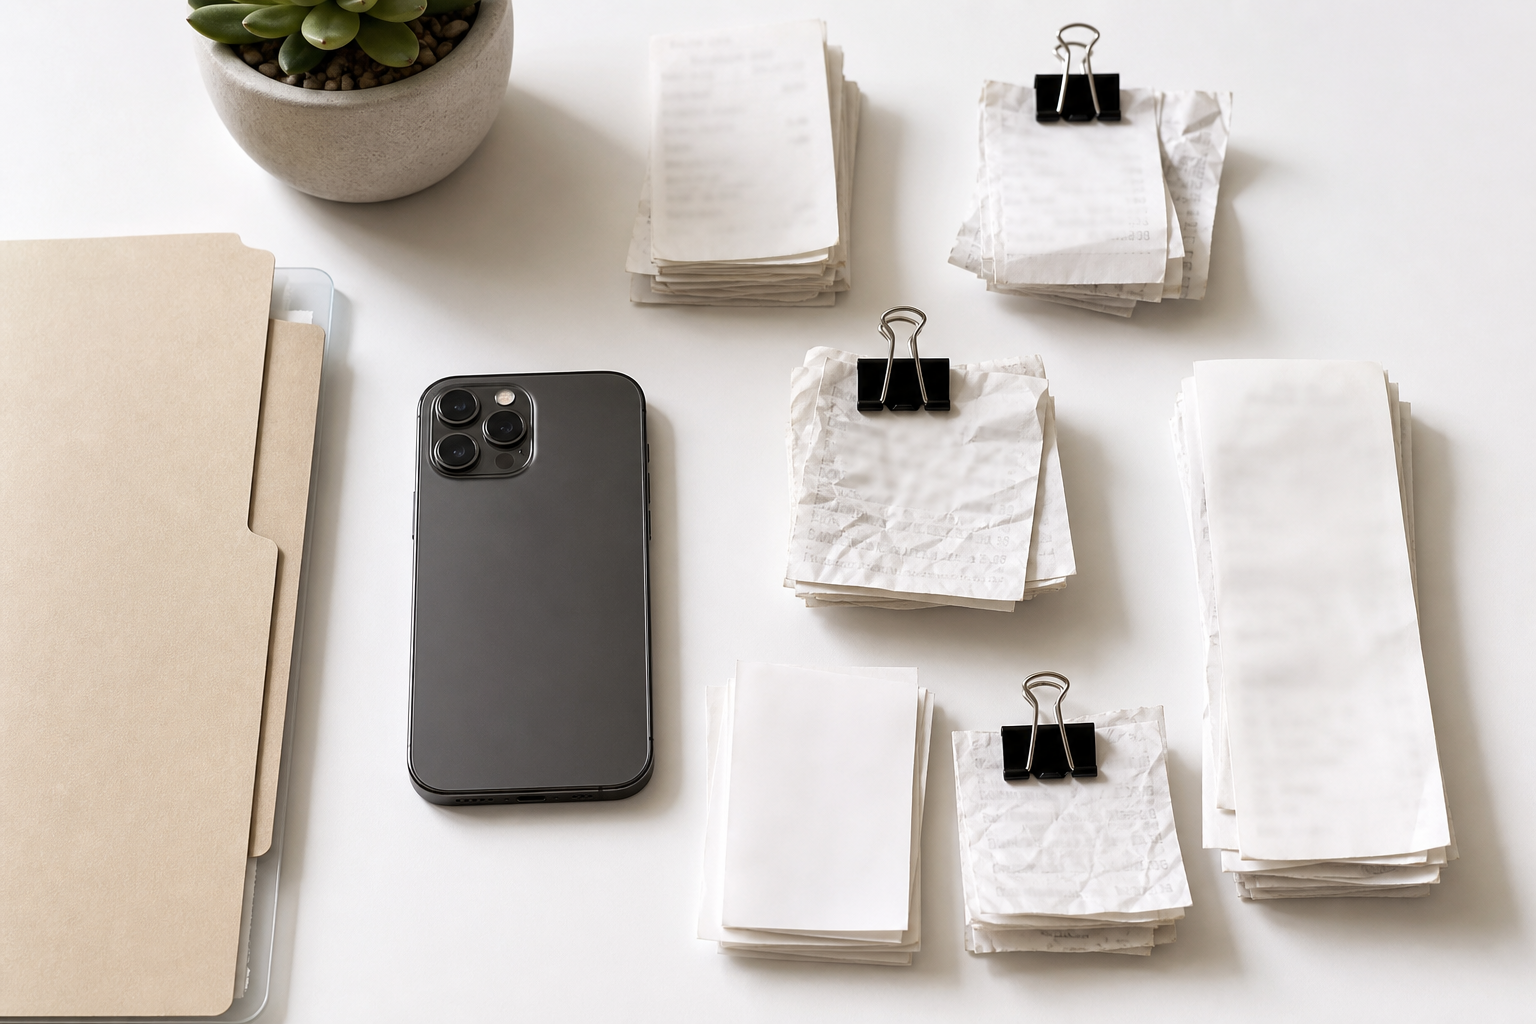
For small teams, it can help to keep a simple receipt capture spot near a window or desk lamp. A sheet of white paper, a binder clip, and a phone are enough. The point is consistency, not studio quality.
Clean the Image Before Running OCR
Once you have the best available receipt image, make conservative edits. The receipt still needs to look like evidence. Over-processed receipts can create distrust because totals may appear altered, even when the edits were innocent.
Start with rotation. A receipt tilted by a few degrees can reduce OCR accuracy, especially when item lines are close together. Straighten the image so the text baselines are as horizontal as possible.
Next, crop the image. Remove the table, keyboard, hand, or car seat around the receipt. A clean crop helps OCR focus on the receipt instead of background texture. If the receipt is very narrow, keep a small margin on all sides so edge characters are not clipped.
Then adjust brightness and contrast. Increase contrast enough to separate gray thermal print from the paper, but avoid crushing faint characters into black blobs. If the receipt has both faded text and dark logos, prioritize the fields needed for reimbursement over decorative elements.
If the image is oversized, resize it after readability checks. Many phone photos are far larger than needed for a receipt packet. A 3000-pixel-wide image of a small receipt may create a bulky PDF without improving review. Use resize image when you need consistent dimensions across a batch, and use compress image only after confirming the small text still looks sharp.
For harder images, the AI photo editor can help with cleanup tasks such as reducing distracting shadows or improving the look of a damaged capture. Keep edits factual and restrained. Do not remove lines, rewrite printed values, or create missing information. If a number is gone, mark it for manual review rather than trying to reconstruct it visually.
OCR Order: What to Extract First
Receipt OCR should focus on the fields that drive approval. Trying to perfectly extract every line item from every receipt can waste time, especially when policies only require proof of purchase and total.
Use a priority order:
- Merchant name.
- Transaction date.
- Final total.
- Tax, tip, delivery fee, or service charge.
- Payment method or last four digits, if policy requires it.
- Line items, if they are needed for category checks.
- Address, cashier ID, loyalty numbers, and store metadata.
The image OCR tool is useful when you need searchable text from a cleaned receipt image. Run OCR after cropping and straightening, not before. Then compare the extracted text against the visible image. Pay close attention to digits that often get confused: 0 and 8, 1 and 7, 5 and 6, decimal points, and currency symbols.
For reimbursement packets, the OCR text is a helper, not the legal record. The image should remain available so a reviewer can verify the text.
Building a PDF Packet That Reviewers Can Actually Use
A reimbursement packet is usually easier to review as a single PDF than as twenty loose image attachments. The trick is to keep the packet organized without destroying detail.
A strong packet order usually follows the expense report order. If the expense form lists meals, parking, lodging, and supplies, the receipts should appear in the same sequence. When a transaction has multiple proof images, place them together: itemized receipt first, payment slip second, supporting screenshot third.
Before combining, convert cleaned receipt images into pages with consistent orientation. Vertical receipts should stay vertical. Do not rotate every page to landscape just to fit a template. If a receipt is extremely long, split it into two readable pages rather than shrinking it until the total becomes tiny.
Use image to PDF when you need to turn cleaned receipt images into a reviewable document. If you also have policy forms, approval sheets, or exported expense summaries, combine them with PDF merge. Put the summary first, then receipts in the same order as the summary lines.
A useful packet structure looks like this:
| Page range | Content | Review purpose |
|---|---|---|
| Page 1 | Expense summary or cover sheet | Gives reviewer the claimed totals |
| Pages 2-4 | Travel receipts | Confirms transport costs |
| Pages 5-8 | Meals and tips | Checks date, attendees, and totals |
| Pages 9-10 | Supplies or client materials | Confirms project-related purchases |
| Final page | Notes or missing receipt declaration | Explains exceptions |
Do not bury important receipts after unrelated screenshots. Reviewers often scan packets quickly, and predictable ordering reduces back-and-forth.
Compression Without Ruining Tiny Numbers
Receipt packets need to be small enough to upload, but aggressive compression can make OCR and human review worse. Tiny thermal characters are exactly the kind of detail that disappears when compression is pushed too far.
Use visual checks after compression. Zoom to the total line, date, and tax line. If the digits have halos, blocks, or smeared edges, the file is too compressed. The final file size matters, but unreadable evidence costs more time than a slightly larger upload.
A practical approach:
- Keep the original images until the reimbursement is accepted.
- Create a cleaned working copy for OCR and PDF assembly.
- Compress the final packet only after page order is correct.
- Check the smallest receipt in the packet after compression.
- Avoid repeated compression cycles on the same file.
If your packet is too large, reduce oversized background areas first. Cropping and resizing often save more space than heavy compression. Use compress image for individual image assets and PDF compression only after the receipts are already readable in page form.
File Naming and Handoff Hygiene
Receipts fail review not only because they are unreadable, but because nobody can match them to the expense line. File naming is a low-tech fix with a large payoff.
Use names that contain date, merchant, amount, and person or project when appropriate. For example:
- 2026-03-14_parking-garage_18-00_maria.jpg
- 2026-03-15_client-lunch_84-62_project-north.pdf
- 2026-03-16_airport-taxi_42-10_daniel.jpg
Avoid vague names such as IMG_4821, receipt-final-final, scan, or lunch. If the amount contains a decimal, use a hyphen instead of a dot when your system treats dots as file extension separators.
For shared folders, group receipts by report period or project. Keep original captures separate from cleaned copies. A simple folder layout might be:
- originals
- cleaned-images
- ocr-text
- final-pdf
- exceptions
This structure makes it easier to answer questions later without overwriting the source image.
Handling Bad Receipts Without Creating Risk
Some receipts cannot be fully rescued. The paper may be faded, the photo may be blurred, or a fold may hide the total. When that happens, document the uncertainty instead of editing beyond the evidence.
If only one field is unclear, add a note beside the packet or in the expense system. For example, total verified from card statement, receipt image partially faded. If a policy allows card statements as backup, include the relevant statement snippet with unrelated transactions redacted according to your organization’s rules.
Never use image editing to invent missing digits, remove inconvenient items, or make a receipt appear cleaner than the evidence supports. The best cleanup improves legibility. It does not change the transaction.
For handwritten tip lines, keep both the signed receipt and itemized receipt if possible. The handwritten final total may be required even when OCR struggles with it. Human review is often better than OCR for handwriting, especially when the numbers overlap printed fields.
Decision Table: Retake, Clean, OCR, or Escalate
Use this table when deciding what to do with a difficult receipt.
| Situation | Best action | Why |
|---|---|---|
| Receipt is available and photo is blurry | Retake | A sharper source beats repair |
| Receipt is flat but image is tilted | Straighten and crop | Low-risk correction improves OCR |
| Total is hidden by glare | Retake with different light | Editing cannot recover reflected text |
| Merchant and total are readable, line items are faint | OCR key fields, keep image | Enough for many reimbursement checks |
| Receipt is torn but card statement confirms amount | Include note and backup | Preserves evidence trail |
| File is huge but readable | Resize and compress carefully | Saves upload space without changing content |
| Multiple receipts are in one photo | Split or recapture separately | Prevents mixed OCR output |
| OCR output conflicts with visible image | Trust visible evidence, correct manually | OCR is not authoritative |
This table also helps non-design staff make consistent choices. The decision should be based on evidence quality, not on how attractive the image looks.
Example: Cleaning a Restaurant Receipt Pair
Imagine a dinner reimbursement with two images: an itemized restaurant receipt and a signed card slip. The itemized receipt is slightly curled, and the signed slip has glare near the tip line.
First, check whether a retake is possible. If the person still has the receipts, ask for two separate photos on a plain background, taken from directly above. If a retake is not possible, clean the existing images.
For the itemized receipt, straighten the image and crop out the table. Increase contrast just enough that the item lines and subtotal are distinct. Run OCR to extract merchant, date, subtotal, tax, and item names if meal policy requires them.
For the signed slip, do not over-sharpen the handwriting. Crop the slip, adjust brightness, and keep the original visible. If OCR fails on the handwritten total, enter it manually after visual review. Place the itemized receipt first and the signed slip second in the PDF packet.
Finally, compare the claimed amount with the signed total. If they differ, add a reviewer note rather than hiding the mismatch. Most approval delays come from unexplained differences, not from imperfect scans.
Quality Control Before Submission
Before sending the packet, perform a five-minute review. This is faster than responding to a rejection later.
Check every page at normal viewing size and at zoom. Confirm that the merchant, date, and final total are readable. Make sure no receipt is sideways unless that orientation is clearly best for reading. Verify that page order matches the expense report. Confirm that the final PDF opens correctly after upload or download.
Then check OCR text for numeric errors. Search for each total if the PDF is searchable. If OCR reads 38.90 as 88.90, correct the text field in your records if your system permits it, but keep the image visible.
Also check privacy. Receipts can include partial card numbers, loyalty IDs, addresses, phone numbers, employee names, table numbers, and delivery details. Only redact information when your policy allows it, and avoid covering the fields needed for reimbursement.
A Practical Receipt Packet Standard
For teams that handle receipts every week, create a short standard that fits on one page. Keep it specific enough to be useful but simple enough that people follow it.
Recommended standard:
- Capture one receipt per image.
- Use a plain background and soft light.
- Keep merchant, date, total, and tax visible.
- Retake immediately if the total is blurry or covered.
- Clean only for readability: rotate, crop, brightness, contrast, and size.
- Run OCR after cleanup.
- Keep originals until approval is complete.
- Build one PDF per reimbursement report.
- Order receipts to match the expense summary.
- Compress only after confirming tiny numbers remain readable.
This standard can be shared with employees, contractors, event staff, or anyone who submits purchases for reimbursement. It reduces ambiguity and makes the final packet easier to audit.
Final Thoughts
Receipt cleanup is not about making messy paper look polished. It is about protecting small but important details from being lost between a phone camera, an OCR pass, a PDF export, and an upload form.
The best results come from a boring sequence: capture clearly, crop tightly, correct gently, OCR only after cleanup, assemble pages in review order, and compress with care. When a receipt is too damaged, document the gap instead of trying to visually repair facts that are no longer present.
For occasional packets, a few ConvertAndEdit tools are enough: clean and adjust the image, extract text with image OCR, convert pages with image to PDF, merge supporting documents with PDF merge, and reduce file size carefully with compress image. The result is a reimbursement packet that is easier to read, easier to search, and less likely to come back with avoidable questions.