Garment Care Label Photo OCR: A Practical Catalog Guide
Learn how to photograph, clean, transcribe, and archive garment care labels so fiber content, care instructions, supplier codes, and compliance details remain searchable.

Garment Care Label Photo OCR: A Practical Catalog Guide
A garment care label may contain more operational information than the product photograph beside it. Fiber percentages, washing instructions, country of origin, supplier identifiers, production codes, certification references, and regional compliance statements can all be packed into a few square centimeters of wrinkled fabric.
That density makes care labels valuable to resale teams, costume departments, apparel archives, rental businesses, quality-control staff, and small ecommerce catalogs. It also makes them difficult to digitize. Fine print bends around seams, satin reflects light, faded ink disappears into woven texture, and familiar care symbols cannot always be represented by ordinary text recognition.
A reliable label record therefore requires more than pointing a phone at the garment and accepting the first OCR result. The aim is to preserve the visual evidence, create a useful transcription, and clearly mark anything that remains uncertain.
This guide presents a practical system for photographing and extracting information from garment care labels without expensive copy-stand equipment.
Decide What the Record Must Answer
Before taking photographs, define what someone should be able to retrieve later. A resale catalog may need fiber content and care instructions. A costume collection may care more about manufacturer, period clues, alteration history, and the label's physical location. A quality team may need supplier codes, production dates, and exact compliance wording.
A useful minimum record usually includes:
- Internal garment or item identifier
- Brand shown on the main label
- Fiber composition and stated percentages
- Care instructions written in words
- Care symbols present on the label
- Country of origin
- Manufacturer, importer, or distributor details
- RN, CA, style, lot, batch, or supplier codes when present
- Label language or languages
- Location of the label inside the garment
- Confidence notes for uncertain characters
- Original photographs and cleaned derivatives
Do not force every label into one text field. A long undifferentiated transcription is difficult to filter and makes later corrections risky. Separate fields let a catalog manager find all wool garments, isolate items requiring dry cleaning, or review records with uncertain supplier codes.
Keep an exact transcription in addition to normalized fields. If a label says “100% COTON,” the evidence field should preserve that wording. A separate normalized fiber field may contain “cotton: 100%.” This distinction prevents helpful catalog corrections from silently replacing what the object actually says.
Photograph the Label Before Trying OCR
OCR quality is usually determined at capture time. Editing can improve contrast and orientation, but it cannot reconstruct characters hidden by a fold or blown out by glare.
Start with a contextual photograph showing where the label is attached. Then create close views of every printed side. Multi-layer labels should be photographed page by page in their natural order. If a folded label contains printing inside the fold, document the closed state before opening it.
For each side, capture at least two versions:
- A complete view showing every edge of the label.
- A tighter view optimized for small text.
The complete view proves that the crop has not omitted a line, symbol, or nearby secondary label. The tight view gives recognition software enough pixels to distinguish characters such as 8, B, 0, and O.
Avoid digital zoom. Move the camera closer while maintaining focus, or use a phone's optical macro capability if it produces a sharp, undistorted result. Fill most of the frame with the label, but leave a small border so automatic cropping does not cut off the first or last character.
When the garment has several labels, photograph them in a consistent sequence: brand label, size label, primary care label, reverse side, secondary page, and any detached or replacement label. Consistent order reduces filename mistakes during larger cataloging sessions.
Build a Repeatable Label Photography Setup

A basic setup needs a stable camera, soft light, and a way to hold the label nearly flat. A phone stand or small tripod is preferable to hand-holding because tiny motion blur can make fine text look sharp on the screen while still damaging recognition accuracy.
Use two diffused lights placed to the left and right of the label. The opposing angles reduce shadows from curled edges. For reflective satin labels, raise the lights, move them farther to the sides, or rotate the garment until glare leaves the printed area. A sheet of white paper or translucent diffusion material can soften a harsh lamp, provided it is kept safely away from hot bulbs.
Choose a matte gray, black, or neutral background that contrasts with the label. White labels often disappear against white tables, making their edges hard to verify. Dark garments can also surround the label with deep shadows, so place a removable neutral card beneath the exposed label when this can be done without stressing the seam.
Small non-damaging weights may help flatten a label, but keep them outside the printed area. Avoid adhesive tape, pins, aggressive clips, and repeated folding. For valuable, fragile, or historically significant garments, preservation requirements take priority over obtaining a perfectly flat image.
Run this capture checklist before moving to the next item:
- The item identifier appears in the session notes or first reference frame.
- The label is in focus from corner to corner.
- No fingertip covers text or symbols.
- Glare does not cross printed characters.
- All pages and reverse sides have been recorded.
- The label edges remain visible in at least one photograph.
- A contextual image shows where the label is attached.
- One frame is close enough for character-level inspection.
Handle Difficult Label Materials
Different label constructions fail in different ways. Adjust the capture method to the material rather than applying the same correction to every image.
| Label type | Common failure | Best capture adjustment | Editing caution |
|---|---|---|---|
| Shiny satin | Bright glare hides ink | Move lights outward and change the camera angle slightly | Heavy contrast may turn glare into false white characters |
| Woven label | Threads break character strokes | Use even frontal light and maximum optical detail | Oversharpening exaggerates the weave |
| Faded printed cotton | Ink and fabric have similar tones | Try soft side lighting and several exposures | Strong black-point changes can erase weak strokes |
| Curled synthetic label | Parts of a line fall outside focus | Support the label gently and keep the camera parallel | Perspective correction cannot fix blur |
| Translucent label | Garment color shows through | Place a neutral removable card behind it | Background removal may remove pale printing too |
| Multi-layer booklet | Pages cast shadows and hide lines | Photograph each page separately | Never combine pages before preserving originals |
White balance matters less than legibility, but extreme color casts can reduce the separation between faded ink and fabric. If the phone offers exposure compensation, make one normal frame and one slightly darker frame for reflective white labels. The darker version often retains characters that would otherwise clip to pure white.
Prepare an OCR Copy Without Altering the Evidence
Treat the original photograph as evidence and make edits on a duplicate. Never overwrite the source file. The edited copy exists to improve reading; it should not become the only surviving representation of the label.
Begin by rotating the label so its text lines are horizontal. Crop away most of the garment while retaining a narrow border around the label. Correct perspective only when the label is visibly trapezoidal. Excessive correction can stretch characters near an edge and make manual comparison harder.
Next, make restrained tonal changes. Raise contrast enough to separate ink from fabric, reduce distracting color when grayscale improves clarity, and apply only modest sharpening. Fine woven threads are easily mistaken for character strokes, so aggressive clarity filters can reduce OCR accuracy even when the image looks more dramatic.
For a stained, shadowed, or uneven label, selective cleanup may help. The AI Photo Editor can be used to reduce peripheral distractions or balance a difficult background, but generated or reconstructed areas must not be treated as documentary text. Keep the printed characters untouched and compare every edited copy with the original.
If the source is exceptionally large, create an OCR derivative with the image resizer. Preserve the original aspect ratio and retain enough resolution for the smallest characters. Upscaling a soft photograph rarely recovers missing detail; recapturing the label is usually better.
Compression should come last. A modestly compressed derivative is convenient for catalog systems, but visible ringing around letters can change character shapes. Use the image compressor conservatively, inspect the smallest text at 100 percent, and keep the uncompressed source separately.
Extract Text in Short, Verifiable Sections
Run OCR on one label side at a time. A tool such as Image OCR works best when text is upright, reasonably large, and isolated from logos, seams, and garment texture.
Do not immediately paste the result into the final catalog. Compare it line by line with the photograph. Short sections are easier to verify than one large block, especially when a label switches languages or places a supplier code beside a care symbol.
Use a three-pass review:
Pass 1: Capture Literal Text
Preserve capitalization, punctuation, spelling, and line order as far as practical. Record unclear characters with a neutral marker such as [unclear] rather than guessing. If only one character is uncertain, write a constrained note such as [8/B].
Pass 2: Check High-Risk Characters
Inspect values where one mistaken character changes the meaning. These include fiber percentages, temperatures, model numbers, registration identifiers, web addresses, batch codes, and country abbreviations.
Typical OCR confusions include:
0andO1, lowercasel, and uppercaseI5andS8andBrnandmclandd- Decimal points and fabric specks
- Degree marks and stray dots
Compare repeated information across label pages. If the same style code appears twice, the clearer instance can help interpret the weaker one, but note that the comparison was used.
Pass 3: Normalize Selected Fields
Translate catalog values only after the literal transcription is secure. Standardize fiber names, language labels, and care categories according to the catalog's own controlled vocabulary. Keep the original wording beside the normalized value.
For example:
| Record field | Stored value |
|---|---|
| Exact label text | 55% LIN / 45% VISCOSE |
| Normalized fibers | linen 55%; viscose 45% |
| OCR confidence | High |
| Review note | Percentages confirmed against original close view |
This structure supports searching without erasing linguistic or historical evidence.
Record Care Symbols Separately
Care symbols are not ordinary text. OCR may ignore them, turn them into punctuation, or invent nearby characters. Record symbols in a dedicated field and verify their meaning against the standard or reference system appropriate to the label's region and date.
Describe what is visibly present before interpreting it. A useful evidence description might be “wash tub with number, triangle crossed by two diagonal lines, square containing circle with one dot.” The normalized field can then hold the approved care meanings used by your organization.
Do not infer a missing symbol from neighboring instructions. Fading, folds, and cropped frames can hide small marks that materially change the instruction. A crossed symbol and an uncrossed symbol must never be treated as interchangeable.
Historical labels require extra caution. Symbol sets, language, and labeling rules change over time and differ between markets. If the record supports conservation, compliance research, or authentication, include the label's apparent region and date context rather than silently applying a current interpretation.
Create a Record That Separates Evidence from Interpretation
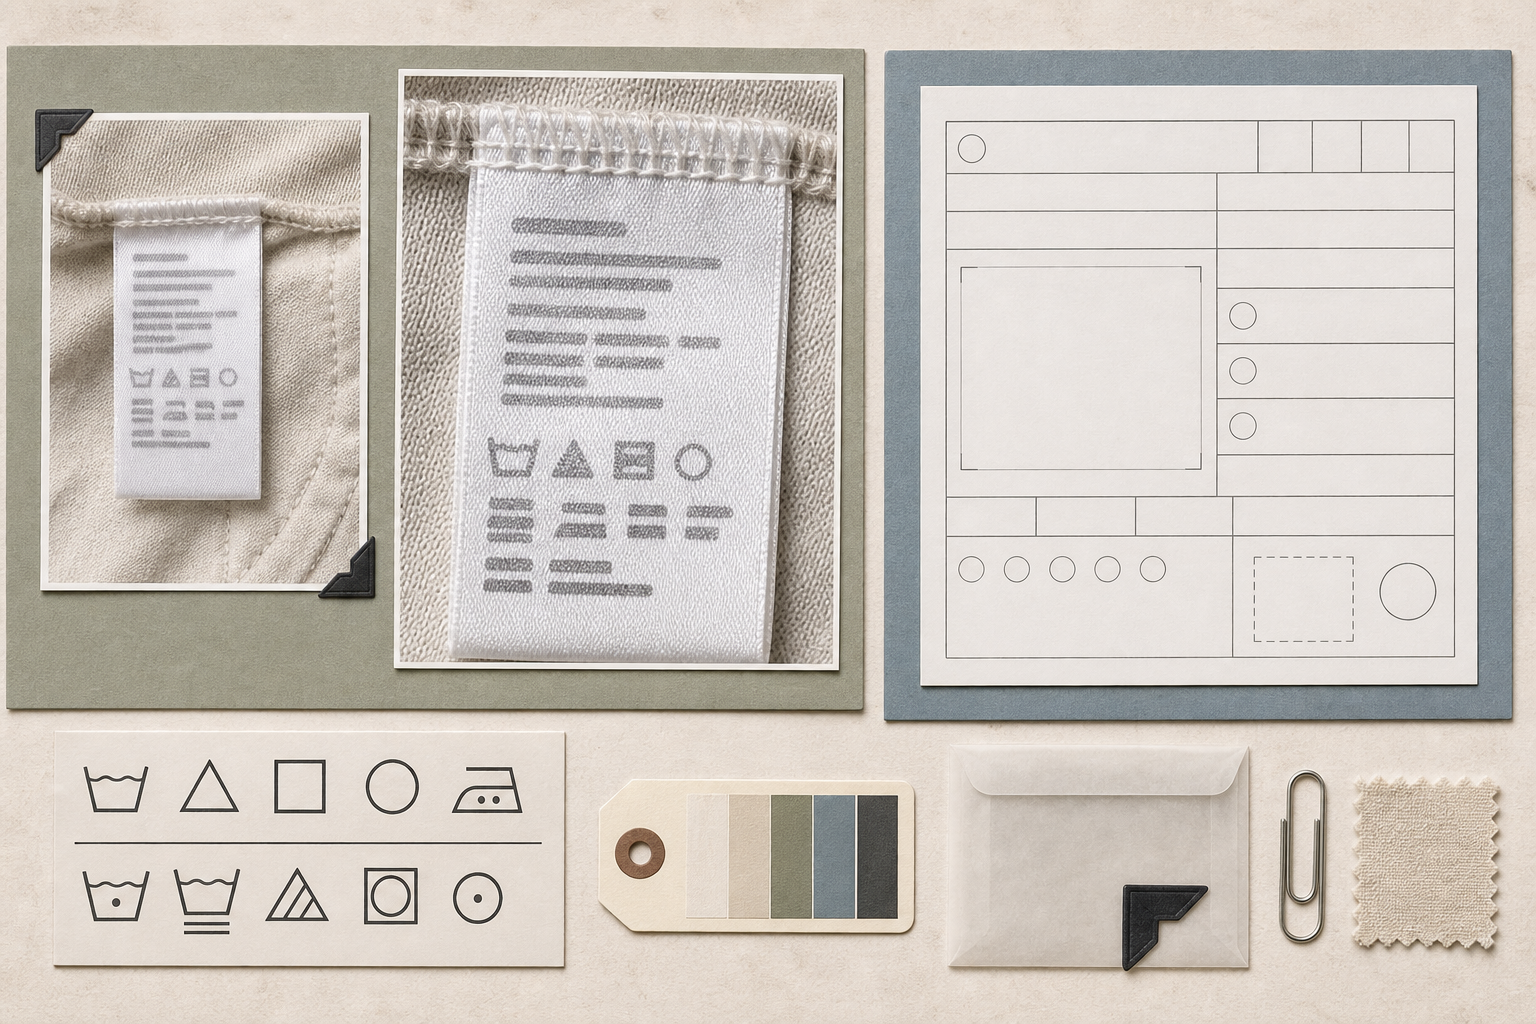
A durable garment-label record should make it obvious which parts came directly from the object and which parts were added by the cataloger.
Use four layers:
- Source evidence: untouched contextual and close photographs.
- Reading derivative: rotated, cropped, and gently enhanced images.
- Literal transcription: text copied as it appears, including uncertainties.
- Normalized catalog data: standardized fibers, care categories, languages, and identifiers.
Assign confidence at the field level when possible. One label may have a perfectly clear fiber composition but an unreadable final digit in its supplier code. A single confidence rating for the entire record hides that distinction.
A simple confidence scale is sufficient:
- High: directly legible in more than one suitable frame.
- Medium: legible after restrained enhancement or contextual comparison.
- Low: partly obscured, faded, or dependent on an uncertain interpretation.
- Unresolved: insufficient evidence; recapture or specialist review needed.
Document corrections rather than silently replacing them. If a second reviewer changes RN 108350 to RN 108850, retain a short correction note, date, and reviewer identifier according to your organization's record policy.
Package Images for Review and Handoff
Individual image files are best for detailed inspection, while a compact PDF can make a complete label set easier to review. Arrange the contextual photograph first, followed by the front, reverse, additional pages, and enhanced crops.
The image-to-PDF tool can assemble those frames into a portable evidence packet. Use one garment per PDF unless a collection specifically requires grouped records. Avoid shrinking many labels onto a single page when the result makes fine print unreadable.
A practical filename pattern is:
ITEMID_label_sequence_view.ext
Examples include:
CST-00418_label_01_context.jpgCST-00418_label_02_front.tifCST-00418_label_03_reverse.tifCST-00418_label_04_front-ocr.pngCST-00418_label_record.pdf
Use plain ASCII separators and fixed-width sequence numbers when files must sort reliably across systems. Do not put unverified fiber claims or care instructions in filenames; those values may change during review.
Before handoff, confirm that the PDF and folder contain the same label sides, the item identifier is correct, and enhanced files are visibly distinguishable from originals. If a shared catalog imposes file-size limits, compress delivery copies while retaining preservation-quality sources elsewhere.
Audit a Sample Before Scaling Up
Test the method on a varied sample before processing hundreds of garments. Include at least one reflective label, one woven label, one faded label, one multi-page label, and one example containing several languages.
Measure more than raw OCR output. Check whether the resulting record answers real retrieval questions:
- Can a reviewer verify every fiber percentage from an image?
- Can records be filtered by normalized fiber name?
- Are care symbols visible at normal review size?
- Are uncertain characters explicitly marked?
- Can originals be distinguished from enhanced copies?
- Does the file order match the physical label order?
- Can another cataloger understand the record without asking the photographer?
Track recurring errors. If glare affects most satin labels, change the lighting rather than correcting every image afterward. If operators frequently omit reverse sides, add a capture checkpoint. If OCR repeatedly confuses woven texture with punctuation, create a separate enhancement preset for woven labels.
A ten-record audit will often reveal more than an elaborate policy written before real labels are tested.
Final Quality-Control Checklist
Before marking a garment-label record complete, verify the following:
- The H1 item or garment identifier matches the catalog record.
- The source photographs have not been overwritten.
- Every label side and booklet page is represented.
- At least one contextual frame shows the attachment location.
- Small text is sharp enough for manual verification.
- Glare, fingers, clips, and folds do not obscure critical content.
- OCR output has been checked against the image line by line.
- Fiber percentages and temperature values receive a second look.
- Care symbols are recorded independently from ordinary text.
- Literal wording is retained beside normalized catalog values.
- Uncertain characters are marked instead of guessed.
- Confidence is assigned to the relevant fields.
- Edited derivatives are labeled as derivatives.
- Filenames sort in the intended order.
- Any review PDF remains legible at ordinary zoom.
The strongest garment care-label archive is not the one with the most aggressive image enhancement or the longest transcription. It is the one that lets a future reviewer move cleanly from a searchable catalog value back to the exact visual evidence. Careful capture, restrained editing, structured OCR review, and explicit uncertainty turn a difficult piece of fabric into a trustworthy record.