Sewing Pattern PDF Test Prints: A Preflight Guide for Home Pattern Sellers
A practical guide for sewing pattern sellers who need cleaner test print pages, readable scale squares, smaller PDFs, and fewer customer support issues.

Sewing Pattern PDF Test Prints: A Preflight Guide for Home Pattern Sellers
Digital sewing patterns live or die by trust. A buyer downloads a PDF, prints a test page, measures the scale square, and decides within minutes whether the pattern seller seems careful. If the square is off, the tile borders are confusing, the file is too large for a phone, or the instructions look fuzzy after compression, the customer may assume the pattern itself is wrong even when the drafting is fine.
This guide is for small pattern sellers, indie designers, Etsy shops, craft educators, and sewing bloggers who prepare printable PDF patterns without a full prepress department. The goal is not to turn every seller into a print technician. The goal is to create a repeatable preflight habit that catches the problems most likely to trigger refunds, confused messages, and bad first impressions.
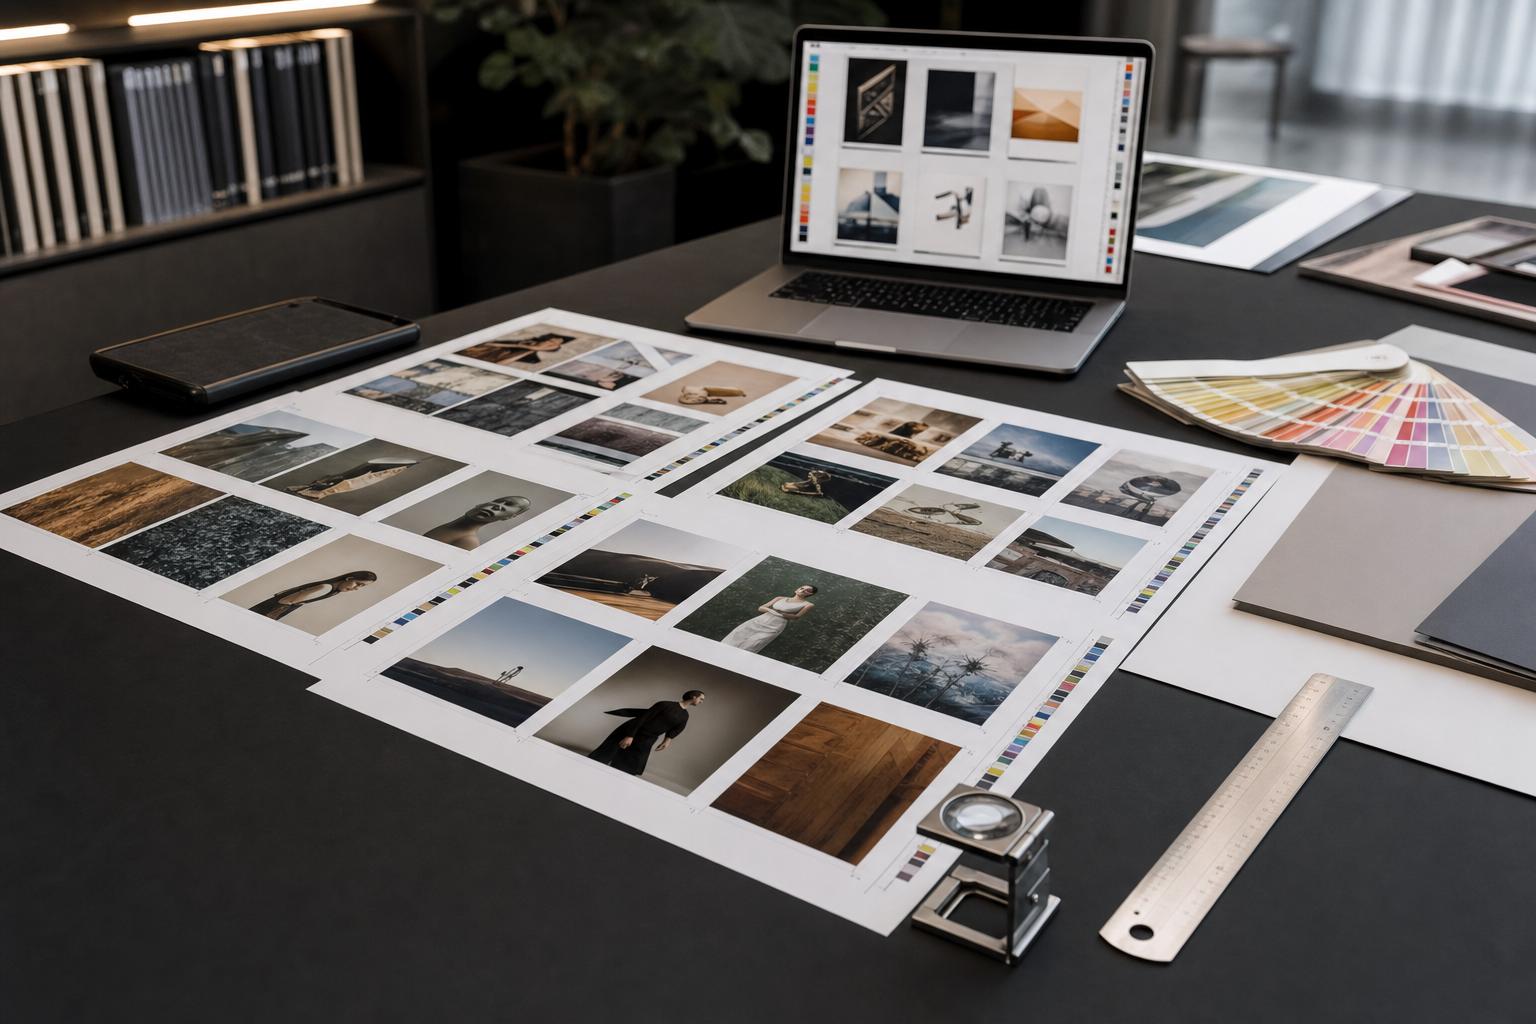
The focus is narrow: test print pages, tiled home-print files, instruction PDFs, and supporting product images. You can use professional layout software if you have it, but the checks below are useful even when your source files come from simpler design tools.
Why Sewing Pattern PDFs Need a Different Kind of Preflight
Most PDF advice is written for office documents, resumes, brochures, or print shops. Sewing patterns have a stranger job. They need to be attractive enough to sell, precise enough to sew from, light enough to download, and plain enough for home printers that may be ten years old.
A pattern PDF often includes several different asset types in one package:
- Vector pattern lines that must stay sharp at actual size.
- Instruction diagrams that need clean contrast on cheap paper.
- Product photos that should look polished but not inflate the file.
- Tile labels, page numbers, and trim marks that must remain legible.
- A scale square that customers use as a trust checkpoint.
Those elements do not fail in the same way. Photos can survive moderate compression. Thin pattern lines and small labels cannot. A beautiful cover page may be harmless at 2 MB, while one oversized lifestyle photo can turn a simple download into a 90 MB support problem.
The best preflight for sewing patterns is therefore practical and buyer-focused. It asks: Can a real customer download this, find the right file, print the right page, confirm scale, assemble the tiles, and start sewing without writing to you?
The Scale Square Is the First Support Ticket

The scale square is tiny, but it carries a lot of weight. Many sellers treat it as a simple design element. Customers treat it as evidence that the whole pattern is reliable.
A useful test page should make the scale check obvious before anything else. Avoid hiding the square in a busy instruction page, placing it too close to decorative artwork, or surrounding it with dense copy. The customer should be able to print one page, measure one box, and know whether their printer settings are correct.
For most home sewing patterns, include a dedicated test print page near the front of the tiled file. Put the scale square on a page that also shows the same line weight, page border, and label style used in the actual tiles. That way the test page checks more than scale. It also previews print contrast and margin behavior.
Scale Square Checks
Before uploading the file, print the test page from at least one common PDF viewer at 100 percent scale. Do not rely only on the export preview from your design tool. The print dialog is where many customer problems begin.
Check these points:
- The scale square measures exactly as labeled when printed at actual size.
- The page does not rely on borderless printing.
- The square is not cropped by typical printer margins.
- The instruction to print at actual size is near the square, not buried later.
- The square outline is dark enough to measure on inexpensive copy paper.
- The page includes a simple warning against fit to page or shrink to printable area settings.
If your pattern supports both Letter and A4, test both formats separately. Do not assume that a file exported for one paper size behaves cleanly on the other. Even when the pattern pieces are identical, the tile boundary and printable margin can change the customer experience.
Choose File Formats by Job, Not Habit
Many pattern sellers use PDF for everything because the final product is a PDF. That is reasonable, but it does not mean every source asset should be treated the same way.
The cleanest pattern packages usually keep each asset in the format that matches its purpose before final assembly.
| Asset | Best practical format | Main risk |
|---|---|---|
| Pattern lines | Vector PDF or SVG source | Rasterizing lines into fuzzy images |
| Instruction diagrams | Vector or high-resolution PNG | Low contrast after export |
| Product photos | JPEG or WebP source | File size bloat |
| Transparent overlays | PNG or WebP with alpha | Dirty edges around cutouts |
| Scan-based notes | Cleaned image or OCR-backed PDF | Crooked pages and low readability |
If you need to convert supporting images before placing them into instructions, use a clean conversion pass instead of repeatedly exporting screenshots from different apps. ConvertAndEdit's image converter is useful when you need consistent JPEG, PNG, or WebP versions of product photos and diagrams before adding them to a PDF.
For image-heavy instruction pages, resizing photos before PDF export matters. A 5000 pixel wide image placed into a small instruction column does not make the printed page better. It only increases file size. Prepare web and PDF versions separately when possible with image resizing, then use the smaller version in the instruction booklet.
Keep Pattern Lines Sharp
The biggest preflight mistake is flattening a pattern page into a low-resolution image. It may look acceptable on screen at normal zoom, but customers print at actual size. Thin curves, notches, grainlines, and labels need crisp edges.
If your pattern drafting tool exports vector PDF, preserve that vector data through the final file whenever possible. Avoid taking screenshots of pattern pieces. Avoid exporting tiles as JPEGs. Avoid placing flattened pattern images into a new PDF unless you have tested the print at real size and the line quality is still acceptable.
A quick zoom test helps. Open the final PDF and zoom to 300 or 400 percent. Vector lines should remain clean and mathematical. Rasterized lines will show stair steps or blur. A little screen aliasing is normal, but the actual line should not become a gray smudge.
Line weight also deserves attention. Ultra-thin lines may look elegant in a mockup and nearly disappear on a home printer set to economy mode. Very heavy lines can make cutting imprecise. Many indie patterns benefit from a modest, dark line that stays visible without becoming a thick border.
Use consistent styling for sizes. If your pattern has nested sizes, make sure each size can be followed in black-and-white print. Color alone is not enough. Combine line style, dash pattern, or clear labels with color, especially for customers printing on monochrome printers.
Tile Pages Should Be Boring in the Best Way
A tiled sewing pattern is a map. The less decorative it is, the easier it is to assemble. Customers do not need clever tile labels. They need predictable information in the same place on every page.
A strong tile page usually includes:
- A page label in a consistent corner.
- Clear trim or overlap indicators.
- Enough blank margin to avoid printer clipping.
- Registration marks that are visible but not distracting.
- Pattern piece labels placed away from cut lines when possible.
- No large background fills that waste ink.
The tile grid itself should be simple. A1, A2, A3 style labels are common because they are easy to scan. If you use a different system, make sure the assembly diagram explains it visually.
Do not let product branding interfere with assembly. A logo on the first page or cover is fine. A heavy logo on every tile is usually clutter. If you include a footer, keep it small and away from areas customers need to tape or trim.
Letter and A4 Need Separate Attention
Many buyers assume a PDF labeled home print will work for their paper. Sellers sometimes provide a single tiled file and hope it behaves everywhere. That can create support friction.
If you offer both Letter and A4, name them clearly and test them independently. A good file name is plain and boring: brand-pattern-name-letter.pdf and brand-pattern-name-a4.pdf are easier to understand than final-v7-print-new.pdf.
When possible, include a short file guide in the download package. It should tell customers which file to open for home printing, which file is for copy shop or A0 printing, and which file contains instructions. Keep it short. The file names should do most of the work.
Compress Without Damaging Instructions
Compression is useful, but it can harm the wrong parts of a pattern package. The goal is not to make the smallest possible PDF. The goal is to make a file that downloads easily while preserving the details customers need to sew accurately.
Photos are the safest compression target. Product images, step photos, and cover artwork can usually be optimized without affecting pattern accuracy. Thin diagrams, labels, and pattern lines deserve more caution.
If your instruction booklet includes many photos, compress the images before assembling the PDF or compress a duplicate export and inspect the result. ConvertAndEdit's image compression tool can help reduce product photo weight before those images enter the final document.
After compression, check pages with small UI-like details: size charts, cutting layouts, seam allowance notes, and diagrams with arrows. If small type becomes fuzzy or pale, the compression setting is too aggressive for that file.
Practical Size Targets
There is no universal perfect file size, but these targets are reasonable for many small sewing pattern shops:
| File type | Practical target | Notes |
|---|---|---|
| Home-print tiled pattern only | 2-15 MB | Vector-heavy files can be much smaller |
| Instruction booklet with photos | 5-35 MB | Depends on photo count and page count |
| A0 or copy-shop file | 1-10 MB | Usually mostly vector lines |
| Full download bundle | Under 50 MB when possible | Easier for mobile buyers and marketplace uploads |
These are not rules. A complex coat pattern with detailed photo instructions may be larger. The important part is knowing why a file is large. If one cover image adds 20 MB, fix that image. If a 60 page illustrated booklet is 30 MB and prints beautifully, that may be acceptable.
Product Photos Should Match the Pattern Package
Sewing pattern sellers often think of product photos as marketplace assets only, separate from the PDF. In practice, they shape the whole customer experience. A buyer may compare the shop listing, the cover page, the instruction images, and the finished garment photos in one sitting.
Keep visual assets consistent. If the cover page uses a polished garment photo, the instruction PDF should not rely on dim, yellow process shots that hide seam details. You do not need expensive studio photography, but you do need readable images.
Basic image preparation helps:
- Crop out distracting background space.
- Resize images to the actual size needed in the PDF.
- Compress duplicates instead of embedding the same huge image repeatedly.
- Keep color reasonably accurate for fabric and notions.
- Avoid over-sharpening, which can make thread and fabric texture harsh.
If you need to clean a process photo, remove a distracting background object, or improve lighting without rebuilding the shoot, ConvertAndEdit's AI photo editor can be useful for controlled edits. Keep edits honest: do not change fit, seam placement, garment proportions, or construction evidence in a way that misrepresents the pattern.
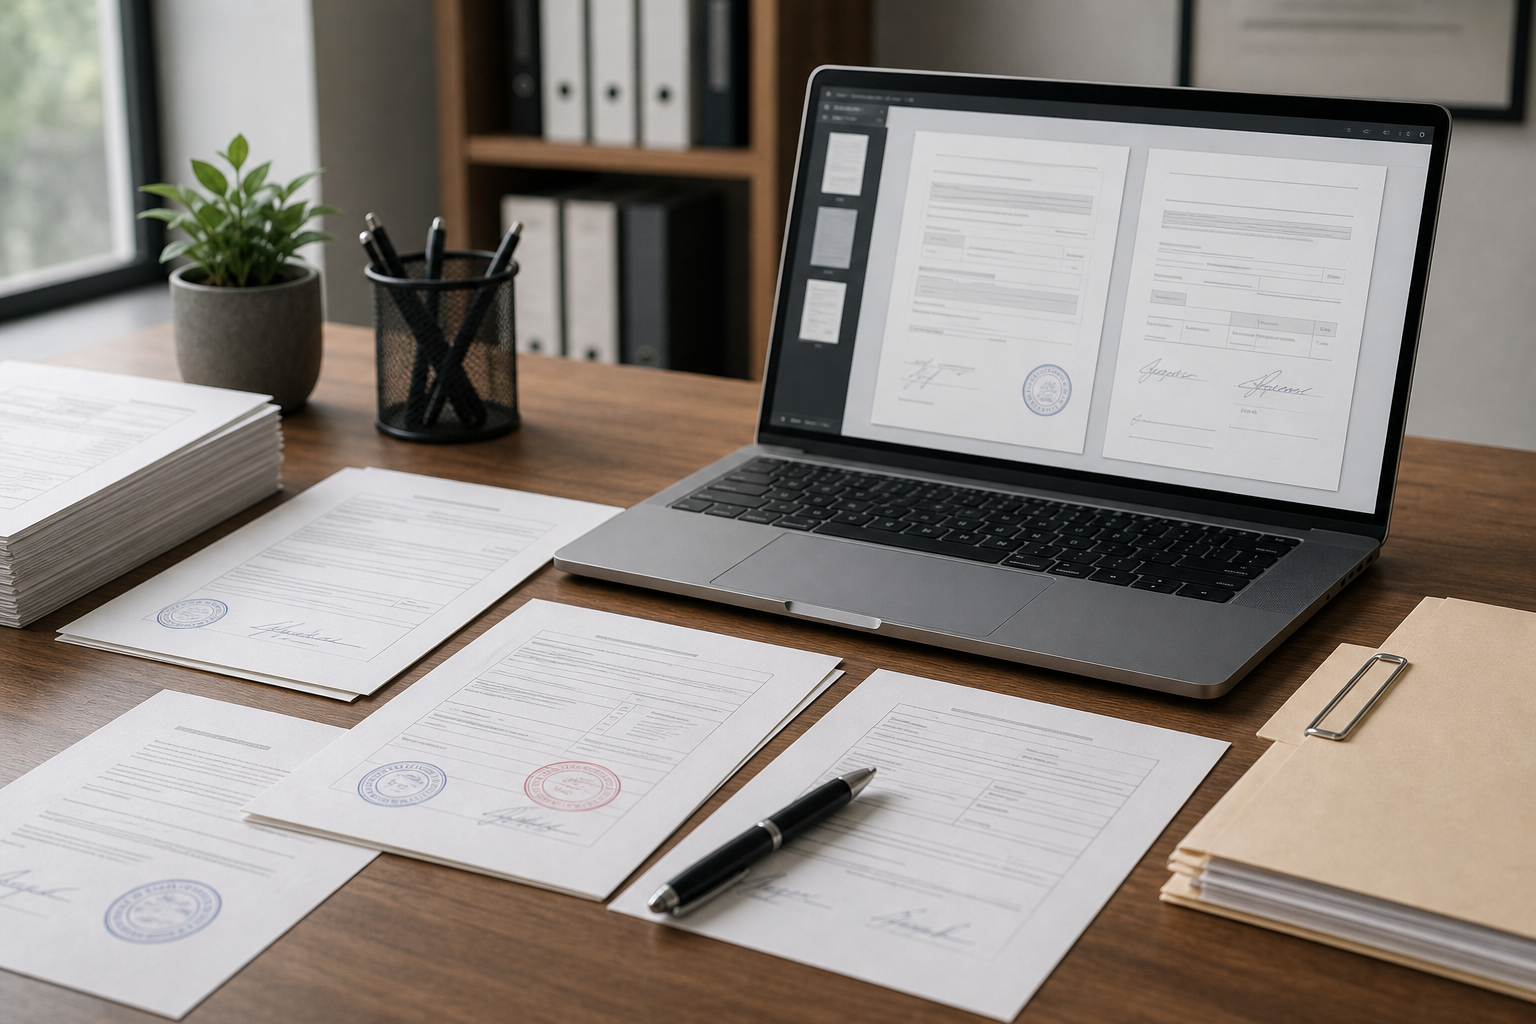
Turning Scans and Hand Notes Into Clean PDFs
Some pattern businesses include bonus pages, vintage drafting notes, classroom worksheets, or scanned block adjustments. These can be useful, but scans introduce a different set of problems: skewed pages, gray backgrounds, uneven lighting, and hard-to-read handwriting.
Before adding scanned material to a customer PDF, clean it like a document rather than a photo. Straighten the page, crop to the paper edge, increase contrast enough for print, and remove obvious shadows. If the scanned page is meant to be searchable or copied, OCR can help. ConvertAndEdit's image OCR tool is useful when you need to extract text from a clean scan or image before rebuilding a clearer instruction page.
If you are collecting several visual pages into a single customer handout, use image to PDF after preparing the images. This is especially useful for class handouts, fitting worksheets, or printable cutting logs that begin as separate images.
Be cautious with old or third-party material. Only include scans you have the right to distribute. Cleaning a scan does not create permission to sell it.
A Practical Preflight Checklist Before You Upload

A good preflight list should be short enough that you actually use it. The following checklist is designed for the final hour before publishing or updating a sewing pattern listing.
1. Check the Download Folder
Open the exact folder or zip file customers will receive. Do not inspect only your source folder.
Confirm that:
- File names are clear and customer-facing.
- Draft exports, old versions, and private notes are removed.
- Letter, A4, A0, projector, and instruction files are labeled plainly.
- The newest files are inside the final download package.
- The folder opens correctly after download or extraction.
This step catches a surprising number of mistakes. Sellers often fix the PDF but forget to replace the copy inside the upload bundle.
2. Print the Test Page
Print the scale page from the final home-print PDF. Use actual size or 100 percent. Measure with a physical ruler.
Confirm that:
- The scale square is accurate.
- The page is not clipped.
- Important labels are readable.
- The page tells customers which print setting to use.
If you updated the tile layout, repeat this check. Do not rely on a previous version's test print.
3. Inspect Tile Assembly Pages
Print a small group of adjacent tiles, not necessarily the whole pattern. Choose pages that include curves, labels, and registration marks.
Confirm that:
- Lines continue cleanly across page edges.
- Overlap or trim areas are obvious.
- Page labels match the assembly diagram.
- Nested sizes are distinguishable in black and white.
- No pattern piece label is cut off by the printer margin.
If the test group is confusing, the full pattern will be worse.
4. Zoom the Final PDF
Open the final PDFs and zoom in. This catches flattening, fuzzy type, and accidental low-resolution exports.
Confirm that:
- Pattern lines stay sharp at high zoom.
- Diagrams are not pixelated.
- Small labels remain readable.
- Photos do not contain accidental private information in the background.
- Cover images are not needlessly huge.
This step is especially important after using PDF compression or exporting from a design app with new settings.
5. Test on a Phone
Many buyers download patterns on a phone first, even if they later print from a computer. Send the final download link to yourself and open it on a mobile device.
Confirm that:
- The file names are understandable on a small screen.
- The download is not painfully large.
- The instruction PDF opens without long delays.
- The first page tells the buyer what to do next.
You are not testing every sewing detail here. You are testing the first customer impression.
Decision Table: What to Fix First
When a pattern package has several problems, fix the ones that cause the most confusion or rework first.
| Problem | Customer impact | Fix priority |
|---|---|---|
| Scale square prints wrong | Pattern may be unusable | Highest |
| Tile labels mismatch assembly map | Customers cannot assemble pages confidently | Highest |
| Pattern lines are fuzzy | Cutting accuracy suffers | Highest |
| Instruction PDF is very large | Download friction and marketplace upload issues | Medium |
| Cover photo is slightly oversized | Mostly file size and polish | Medium |
| Decorative branding crowds tile pages | Annoying but often fixable later | Medium |
| File names are unclear | Support questions increase | High |
| Product photos differ from final garment | Trust issue | High |
This order keeps you focused. A beautiful cover does not compensate for a broken scale page. A tiny file size does not help if the pattern lines have been rasterized.
Common Export Mistakes to Avoid
A few mistakes show up again and again in small pattern shops.
First, avoid exporting a print pattern through a social media image path. If a file has passed through a screenshot, phone image editor, or presentation export, assume it may have lost precision.
Second, avoid using the same image settings for every page. Photo pages and pattern pages have different needs. If your tool lets you preserve vector content while compressing images, use that option.
Third, do not forget black-and-white testing. Many customers print instructions and pattern tiles without color. If size lines are separated only by color, the pattern may become difficult to use.
Fourth, watch page rotation. Some PDF tools rotate pages automatically, especially when mixing portrait instruction pages with landscape A0 or projector pages. Open the final files and move through them page by page.
Fifth, keep old exports out of the customer package. A file called updated-final-final.pdf might make sense to you today. It will not make sense to a customer six months from now.
Support-Saving Notes to Include in the Pattern
A clear pattern package reduces messages before they start. You do not need a long troubleshooting section, but a few notes can prevent common confusion.
Include concise guidance for:
- Printing at actual size or 100 percent.
- Measuring the scale square before printing all pages.
- Choosing Letter or A4 files.
- Understanding trim, overlap, or no-trim assembly.
- Finding the copy-shop or A0 file if included.
- Contacting you with order information and a photo of the test square if scale fails.
Keep these notes near the beginning. Customers should not have to read the full instruction booklet to learn how to print the pattern.
It also helps to name files in the same language you use inside the instructions. If the PDF says use the A4 tiled file, the download should include a file that visibly says A4 tiled. Consistency is a quiet form of customer service.
Version Control for Tiny Pattern Shops
You do not need complex software to keep pattern versions organized, but you do need a system. The risk is not just losing files. The risk is uploading the wrong export after making a correction.
Use a simple folder structure:
- Source files for editable pattern and instruction documents.
- Exported review files for your own checks.
- Final customer files ready to upload.
- Archive folder for old versions.
Add a version note inside the instruction PDF or on a low-profile page. It can be as simple as Version 1.2 and a date. This helps when a customer asks about a correction or when you update a marketplace listing.
When you revise a pattern, update all related files together. If the A4 tiled file changes but the Letter file does not, note why. If the instructions change but the pattern pieces do not, keep the distinction clear.
A Lean Tool Stack for Pattern File Prep
You can prepare strong customer files with a small set of tools. The exact software matters less than preserving precision and checking the final result.
A practical stack includes:
- A drafting or layout tool that exports vector PDF.
- A PDF viewer for print testing.
- An image converter for consistent source assets.
- An image resizer and compressor for instruction photos.
- An OCR tool for scanned notes or worksheet text.
- A final manual check on paper.
ConvertAndEdit can support the asset preparation parts of that stack: convert images before layout, resize images for instruction placement, compress images before export, extract text with OCR, and build simple visual handouts with image to PDF.
The key is to use each tool for a specific job. Do not keep re-exporting the same file through multiple apps without checking what changed. Every conversion is an opportunity to improve the package or accidentally damage it.
Final Review: Think Like a First-Time Buyer
Before publishing, step away from the designer mindset. Pretend you bought the pattern, downloaded it on a slightly busy day, and want to start sewing without studying your shop policies.
Ask yourself:
- Which file do I open first?
- Can I find the test print page in seconds?
- Do I know whether to use Letter or A4?
- Can I measure the scale square without guessing?
- Are the tile pages calm and predictable?
- Do the instructions still look clear after compression?
- Is the download package free of old drafts and confusing names?
That buyer-centered pass is often where the last important fixes appear. It catches the small frictions that do not look serious in a design file but feel serious to a customer trying to print.
A sewing pattern PDF does not need to be flashy. It needs to be precise, readable, and calm. If the scale page works, the tiles assemble cleanly, the instructions print clearly, and the file names make sense, customers can spend their energy on fabric and fit instead of troubleshooting the download.