Thermal Camera Image Cleanup for Building Inspection Reports
A practical guide to cropping, resizing, annotating, and compressing thermal camera images while preserving temperature scales, context, and credible inspection evidence.
Thermal Camera Image Cleanup for Building Inspection Reports
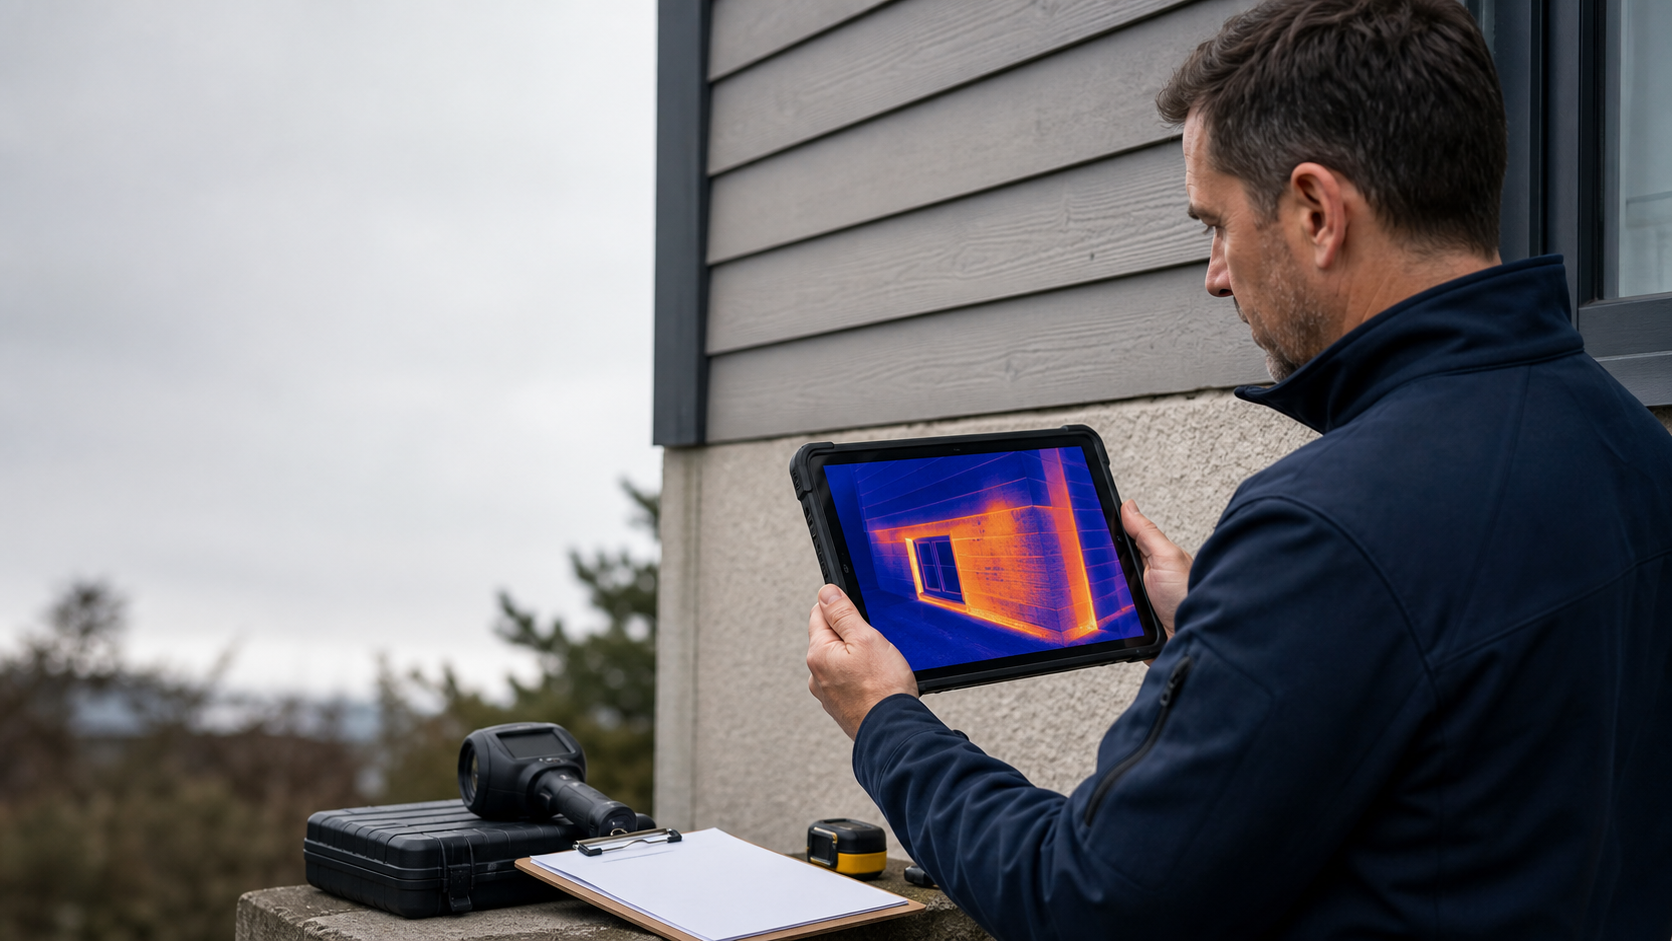
Thermal camera images can make a building inspection report immediately more useful. A cold bridge around a window, an irregular patch above a ceiling, or a warm electrical component may be easier to discuss when the reader can see the temperature pattern rather than decode several paragraphs of notes.
Yet thermal images are unusually easy to damage during routine editing. An aggressive crop can remove the temperature scale. Automatic enhancement can exaggerate contrast. Heavy JPEG compression can turn a gradual transition into a hard-edged patch. A report designer may even stretch an image to fit a template, subtly changing the apparent shape of the anomaly.
This guide explains how to prepare thermal building images for clear reports without confusing presentation improvements with measurement. It is intended for inspectors, energy assessors, maintenance teams, restoration contractors, and property managers who receive exported images from a thermal camera and need dependable files for PDFs, portals, or client records.
The central rule is simple: improve readability while preserving evidence. Keep the original export, make restrained edits on a copy, and ensure that every report image retains enough context to be interpreted correctly.
Why Thermal Images Need Special Handling
An ordinary site photograph records visible appearance. A thermal image represents detected infrared radiation through a selected palette and temperature range. Its colors are therefore not universal labels. Bright yellow does not always mean a defect, and dark blue does not automatically mean moisture. The meaning depends on the camera settings, surface properties, environmental conditions, and the question being investigated.
That makes presentation decisions consequential. Consider four common mistakes:
- Removing the scale leaves the reader unable to relate colors to the displayed range.
- Applying a dramatic filter creates colors that no longer correspond to the original palette.
- Cropping away surrounding construction hides useful comparison areas.
- Recompressing the same JPEG repeatedly introduces blocks, halos, and false boundaries.
Image cleanup cannot correct an unsuitable inspection setup. It cannot compensate for solar loading, reflective surfaces, insufficient temperature difference, an incorrect emissivity setting, or a poorly focused capture. Those issues belong in capture practice and professional interpretation. Editing begins only after a usable source image exists.
Preserve the Three Layers of a Useful Thermal Image
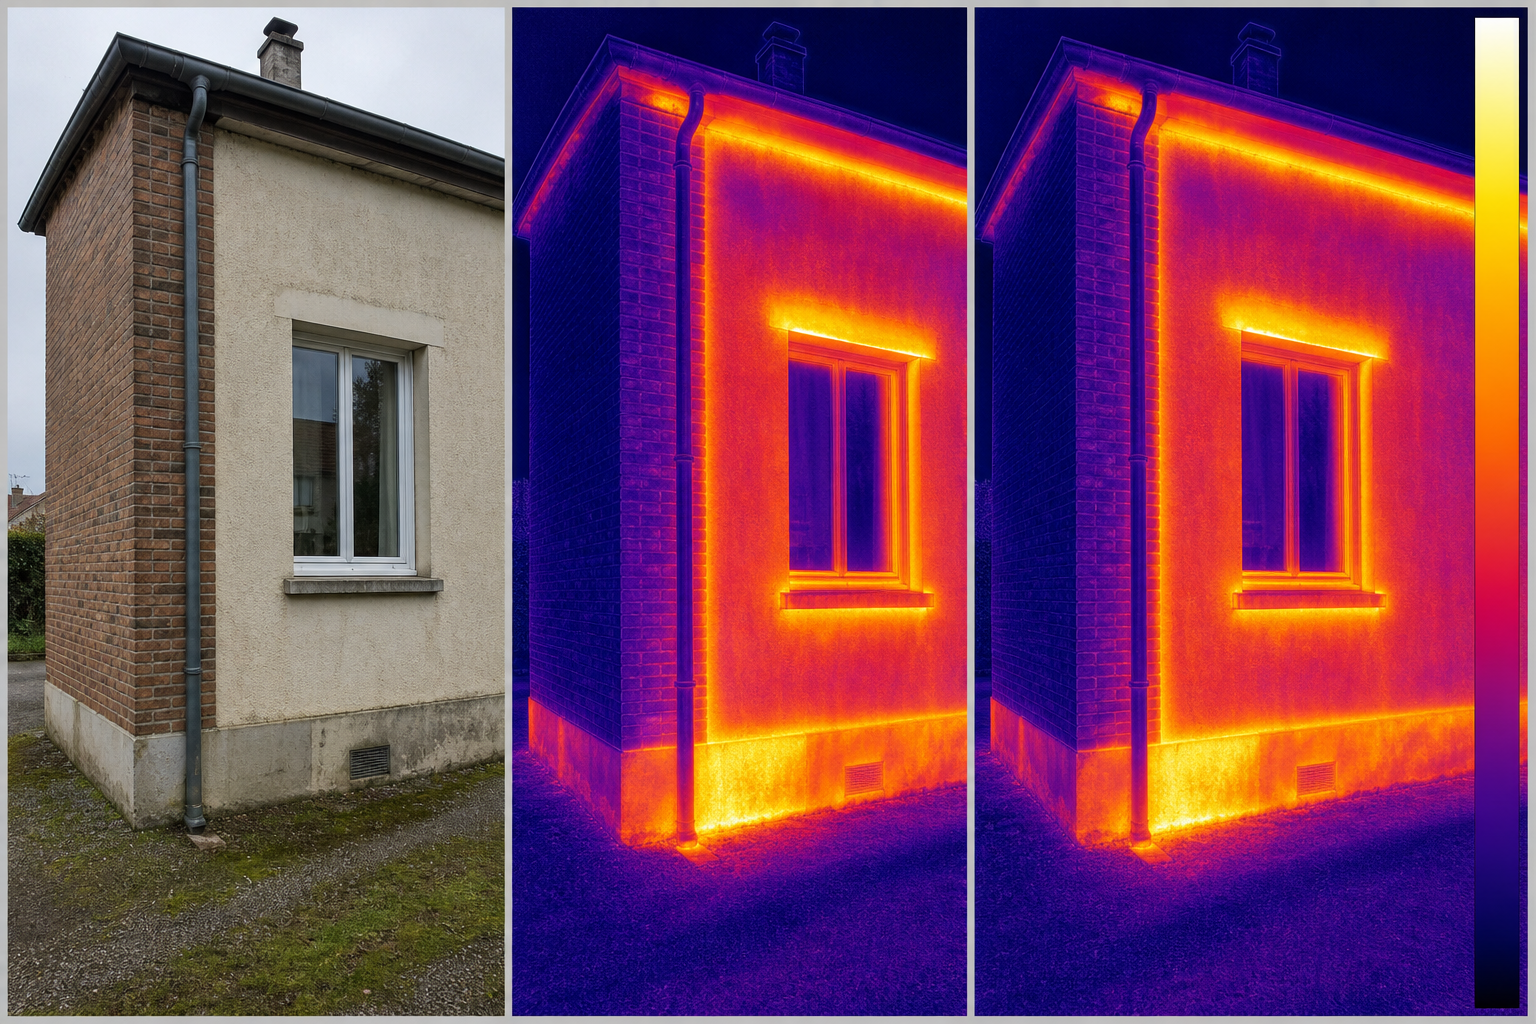
A strong report figure usually communicates three layers at once: location, pattern, and measurement context.
Location context
The reader should be able to tell what part of the building is shown. A thermal close-up of a blue rectangle is ambiguous; a wider view showing the rectangle within a window reveal is far easier to understand.
When possible, pair the thermal frame with a visible-light photograph taken from a similar position. Some cameras create both files automatically. If they do not, a phone photograph can still provide orientation, provided it is clearly identified as a separate reference image.
The thermal pattern
The anomaly must remain large enough to inspect. Fine framing is helpful, but do not crop so closely that normal neighboring surfaces disappear. Those neighboring areas provide the visual baseline that makes an irregular pattern noticeable.
Preserve gradients, too. A gradual cold transition along a junction may carry different implications from a compact isolated patch. Oversharpening or excessive contrast can make both appear similarly abrupt.
Measurement context
Retain the temperature scale, palette, measurement markers, and other camera-generated information that supports interpretation. If the camera export includes a scale beside the image, treat it as part of the evidence rather than decorative interface clutter.
A report caption should separately document relevant capture conditions and interpretation. Image pixels alone do not explain outdoor temperature, indoor temperature, recent weather, camera settings, or whether the view is qualitative or intended to support a measured comparison.
Start with an Untouched Source Set
Before cropping or compressing anything, create a simple source structure. A small inspection does not require elaborate asset management, but it does benefit from predictable separation between originals and report derivatives.
A practical folder layout is:
01-original-exportsfor files copied directly from the camera02-visible-referencefor corresponding ordinary photographs03-report-imagesfor edited derivatives04-final-reportfor the assembled PDF
Do not overwrite the original exports. Thermal camera software may store information that is unavailable after conversion or screenshot capture. Even when a file looks like a normal JPEG, associated metadata or a separate radiometric format may be valuable later.
Use stable filenames that connect related files without claiming more than they prove. For example:
B12_north-bedroom_window_thermal_original.jpgB12_north-bedroom_window_visible.jpgB12_north-bedroom_window_report.png
The shared B12 identifier links the assets and the report observation. Descriptive names also reduce the risk of placing an image from the wrong room beside a finding.
If files need format normalization, use a copy in the image converter and retain the camera export separately. Conversion should create a publishing derivative, not replace the inspection record.
Audit Each Image Before Editing
A short visual audit prevents wasted effort and catches frames that should not enter the report at all.
Check the following:
- Is the subject in focus?
- Is the inspected component identifiable?
- Is the relevant pattern visible at the chosen span and palette?
- Is the temperature scale present and legible?
- Are measurement markers unobstructed?
- Is there enough surrounding structure for comparison?
- Is a visible-light reference available?
- Does the filename match the room, elevation, or asset record?
- Are there reflections or other conditions that require explanation?
- Is this image distinct from the other selected frames?
Reject redundant frames unless they show a meaningful change in angle, time, load, or environmental condition. Five nearly identical images do not strengthen a finding. They make the reader search for differences that may not exist.
Also distinguish technical weakness from cosmetic weakness. A slightly crooked but well-focused frame may be usable after a restrained rotation. A blurred image with an unreadable scale is not rescued by sharpening.
Crop Without Removing the Evidence
Cropping should remove accidental empty space, not the information needed to evaluate the frame. Use a consistent sequence.
First, identify protected elements: the inspected component, adjacent comparison surfaces, scale, measurement markers, palette, and any camera overlay that must remain associated with the frame.
Second, choose a crop that retains those elements with a modest margin. Avoid placing a temperature marker directly against the edge. Tight margins can be clipped later by report templates or PDF viewers.
Third, check whether the crop still makes spatial sense to a person who was not present. If the building element is no longer recognizable, widen the frame or add a visible-light companion image.
Fourth, maintain the original aspect ratio unless the report design has a compelling reason not to. Never stretch the image independently in width or height. If a template uses fixed boxes, fit the image within the box and allow neutral padding rather than distorting it.
Cropping is also where paired images often become inconsistent. If a thermal image and visible photograph are meant to compare the same area, align them approximately, but do not imply pixel-perfect registration unless they truly share the same optical geometry.
Resize for the Final Report Slot
Thermal images rarely need the enormous dimensions associated with commercial photography, but they do need enough pixels to keep scales, markers, and construction edges readable.
Resize according to the final display size rather than choosing an arbitrary percentage. Estimate the widest placement in the report, then prepare a derivative with enough resolution for that use. A full-width landscape figure requires more pixels than a two-column thumbnail.
A useful decision table is:
| Final use | Preparation priority | Main risk |
|---|---|---|
| Small portal thumbnail | Recognizable subject and simple composition | Scale becoming unreadable |
| Half-page report figure | Balanced context and pattern detail | Thin overlays softening |
| Full-page comparison | Preserved gradients and aligned companion views | Oversized PDF |
| Projected presentation | Clear shapes and restrained annotations | Low contrast on the display |
| Archive derivative | High fidelity and stable format | Confusing derivative with original data |
Use the image resizer on a report copy and preserve the aspect ratio. After resizing, inspect the result at approximately the size at which it will appear in the PDF. A scale that looks clear at 300 percent zoom may be illegible on a normal page.
Do not enlarge a small thermal export merely to reach an impressive pixel count. Upscaling can make the file larger without restoring missing detail. If the source is too small for a full-page placement, use a smaller figure and support it with a close caption or a separate contextual photograph.
Choose Compression by Evidence Type
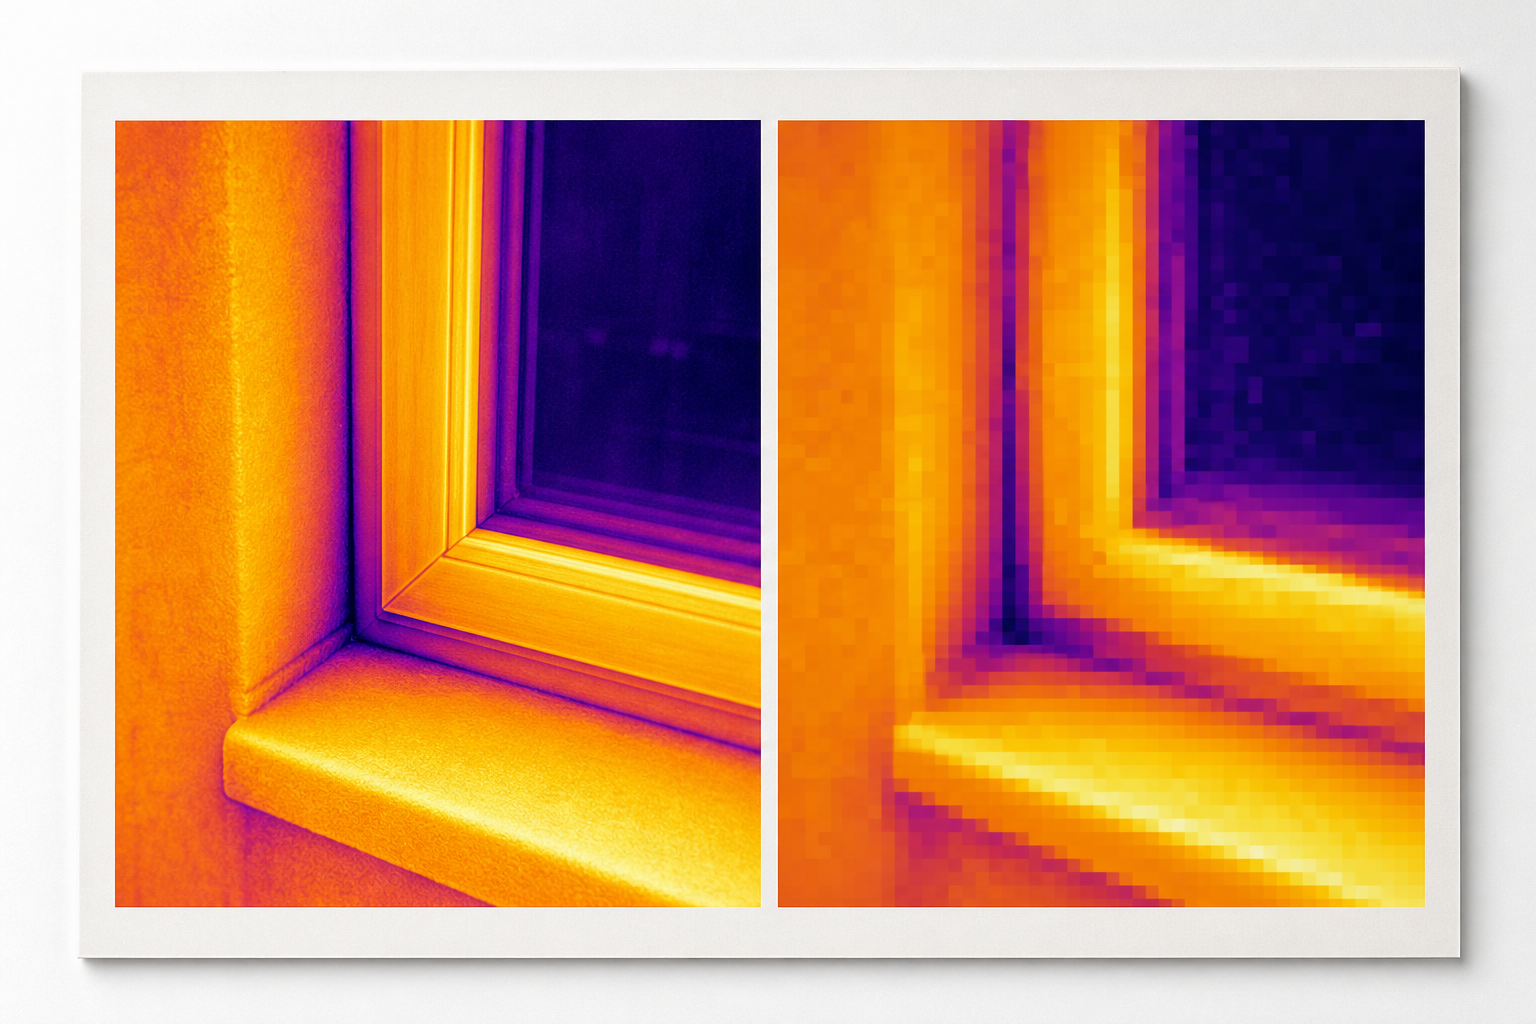
Compression should reduce delivery size without introducing shapes that could be mistaken for thermal features. This is particularly important in areas containing smooth color transitions.
JPEG can be suitable for photographic report figures at conservative quality settings. It handles complex imagery efficiently, but strong compression may create square blocks, ringing around markers, and bands in gradients. Repeated JPEG saves compound the damage.
PNG uses lossless compression and is often useful when the frame contains thin overlays, hard interface edges, or annotations that must remain crisp. It may produce a larger file, especially for detailed visible-light photographs.
WebP can produce compact publishing derivatives, but compatibility with the report authoring system and recipient environment should be checked. A web portal may accept WebP while a legacy document template does not.
A practical selection rule is:
| Image content | Sensible derivative | Reason |
|---|---|---|
| Thermal frame with fine scale and markers | PNG or lightly compressed high-quality image | Protects thin graphical elements |
| Visible-light context photograph | High-quality JPEG | Efficient for photographic detail |
| Website preview | WebP or optimized JPEG | Reduces transfer size when supported |
| Long-term camera record | Untouched original export | Preserves source information |
When reducing delivery size with the image compressor, compare the result beside the derivative that entered the compressor. Inspect the temperature scale, corners of window frames, pipe edges, small markers, and gradual palette transitions. If blocks or halos are visible at normal reading size, increase quality or choose a lossless format.
Compress only after cropping and resizing. This avoids spending bytes on discarded pixels and limits the number of lossy saves.
Use Annotations That Do Not Resemble Thermal Data
Annotations can guide a reader toward a joint, fitting, or surface region, but they should remain visually distinct from the thermal palette.
Choose a neutral annotation color that contrasts with the local image and does not suggest an additional temperature class. A thin white outline with a dark outer edge often remains visible across both hot and cold colors. Use arrows or boxes sparingly, and explain them in the caption.
Avoid painting translucent red or blue clouds over the image. Those colors can blend with the palette and alter the perceived extent of a pattern. If a large region needs explanation, place a numbered marker near it and describe the area beneath the figure.
Keep an unannotated derivative alongside the annotated report image. This allows later reviewers to distinguish camera output from editorial markup.
If an annotation obscures the temperature scale, a measurement marker, or the boundary under discussion, move it outside the thermal frame and connect it with a leader line. Decorative shadows, glow effects, and dramatic color grading add no evidential value.
Be Cautious with AI-Assisted Editing
Generative editing is inappropriate for reconstructing missing parts of inspection evidence. Do not use content-aware fill to extend a cropped wall, remove an obstruction, redraw a temperature scale, or invent a sharper construction edge. A plausible-looking result may no longer represent the captured scene.
An AI photo editor can be useful for clearly separated presentation assets, such as cleaning the background of a cover illustration or preparing a non-evidential header image. It should not silently alter the pixels used to support a building finding.
For evidential frames, prefer deterministic changes that can be described plainly: crop, proportional resize, format conversion, restrained compression, and separately layered annotation. If a change cannot be explained in one sentence to a client or peer reviewer, it probably does not belong in the report image.
Build Thermal and Visible-Light Pairs
Paired figures help readers connect a thermal pattern with physical construction. A useful pair follows several principles:
- Both images identify the same component.
- Their orientations are similar enough to compare without implying exact registration.
- Neither image is stretched to match the other.
- Captions state which frame is thermal and which is visible light.
- The thermal frame retains its complete scale.
- Markers use matching identifiers across the pair.
A simple two-column arrangement works well for landscape images. For portrait frames or narrow report pages, stack the visible image above the thermal image. Keep the order consistent throughout the report so readers do not have to relearn the layout for every finding.
If the visible-light photograph contains personal items, faces, access codes, or other irrelevant sensitive details, recapture or apply a clearly disclosed privacy treatment to that reference image. Do not crop so tightly that the physical location becomes uncertain.
Assemble a PDF Without Accidental Reprocessing
Once the images are prepared, the report application may resize or compress them again. This hidden second pass is a common source of soft scales and muddy gradients.
Run a small test before assembling dozens of pages. Insert one representative thermal frame, one visible photograph, and one annotated pair. Export the PDF using the intended preset, then inspect it on screen at normal reading size and at moderate zoom.
Check:
- scale legibility
- gradient smoothness
- marker sharpness
- image proportions
- caption-image alignment
- file size
- page rendering on a second viewer
If the report is primarily a visual packet, the prepared frames can be assembled with image to PDF. Whatever method is used, maintain the planned order and verify that automatic rotation has not turned portrait frames sideways.
Do not judge only from the source document. The exported PDF is the deliverable and may differ because of downsampling, font substitution, or compression settings.
Example: A Cold Pattern Around a Window Reveal
Imagine an inspection frame showing a cooler band along the lower and side edges of a bedroom window. The camera export includes a vertical scale, a center marker, and a large amount of ceiling above the window.
A careful preparation sequence would be:
- Copy the original export into the protected source folder.
- Confirm the room and window identifier against the site notes.
- Select a visible-light photograph showing the same window.
- Crop only enough ceiling to improve emphasis while retaining the entire reveal and scale.
- Resize the derivative for a half-page paired figure.
- Save a crisp version that preserves the scale and marker.
- Add one restrained outlined arrow on a separate annotated copy.
- Export a test PDF and inspect the gradient around the reveal.
- Write a caption that distinguishes the observed surface-temperature pattern from its possible causes.
The caption should avoid turning appearance into certainty. A cooler pattern may justify further investigation, but the image alone may not establish air leakage, missing insulation, moisture, or a specific construction defect. Interpretation belongs to the qualified inspector and should reflect the complete inspection context.
Final Quality-Control Checklist
Before issuing the report, review every thermal figure against the same checklist.
Source integrity
- The untouched camera export is retained.
- Report images are clearly stored as derivatives.
- Filenames connect each frame to the correct observation.
- Any camera-specific data files remain associated with the inspection record.
Visual integrity
- No image is stretched or disproportionately scaled.
- The temperature scale and relevant markers remain visible.
- Crops retain adequate construction context.
- Gradients do not show obvious banding or compression blocks.
- Annotations are distinct from the thermal palette.
- Thermal and visible-light pairs show the same component.
Report integrity
- Captions identify image type and location.
- Presentation edits are not described as new measurements.
- Environmental or capture limitations are documented where relevant.
- The exported PDF has been inspected, not merely the authoring file.
- Pages remain readable at normal viewing size.
- The final file opens correctly in more than one viewer when practical.
Thermal image cleanup is successful when it becomes almost invisible. The reader sees a clear component, a legible temperature pattern, and enough context to understand the inspector's discussion. The editing itself does not compete with the evidence, exaggerate it, or conceal its limitations.
By protecting original exports, cropping conservatively, resizing for the real page slot, testing compression, and separating annotations from camera data, small inspection teams can produce reports that are easier to read and easier to defend.