Lab Vial Rack Photo OCR Cleanup for Sample Intake Sheets
A practical guide for turning messy lab vial rack photos into cleaner OCR text, reviewable PDFs, and reliable sample intake records without specialized capture hardware.
Lab Vial Rack Photo OCR Cleanup for Sample Intake Sheets
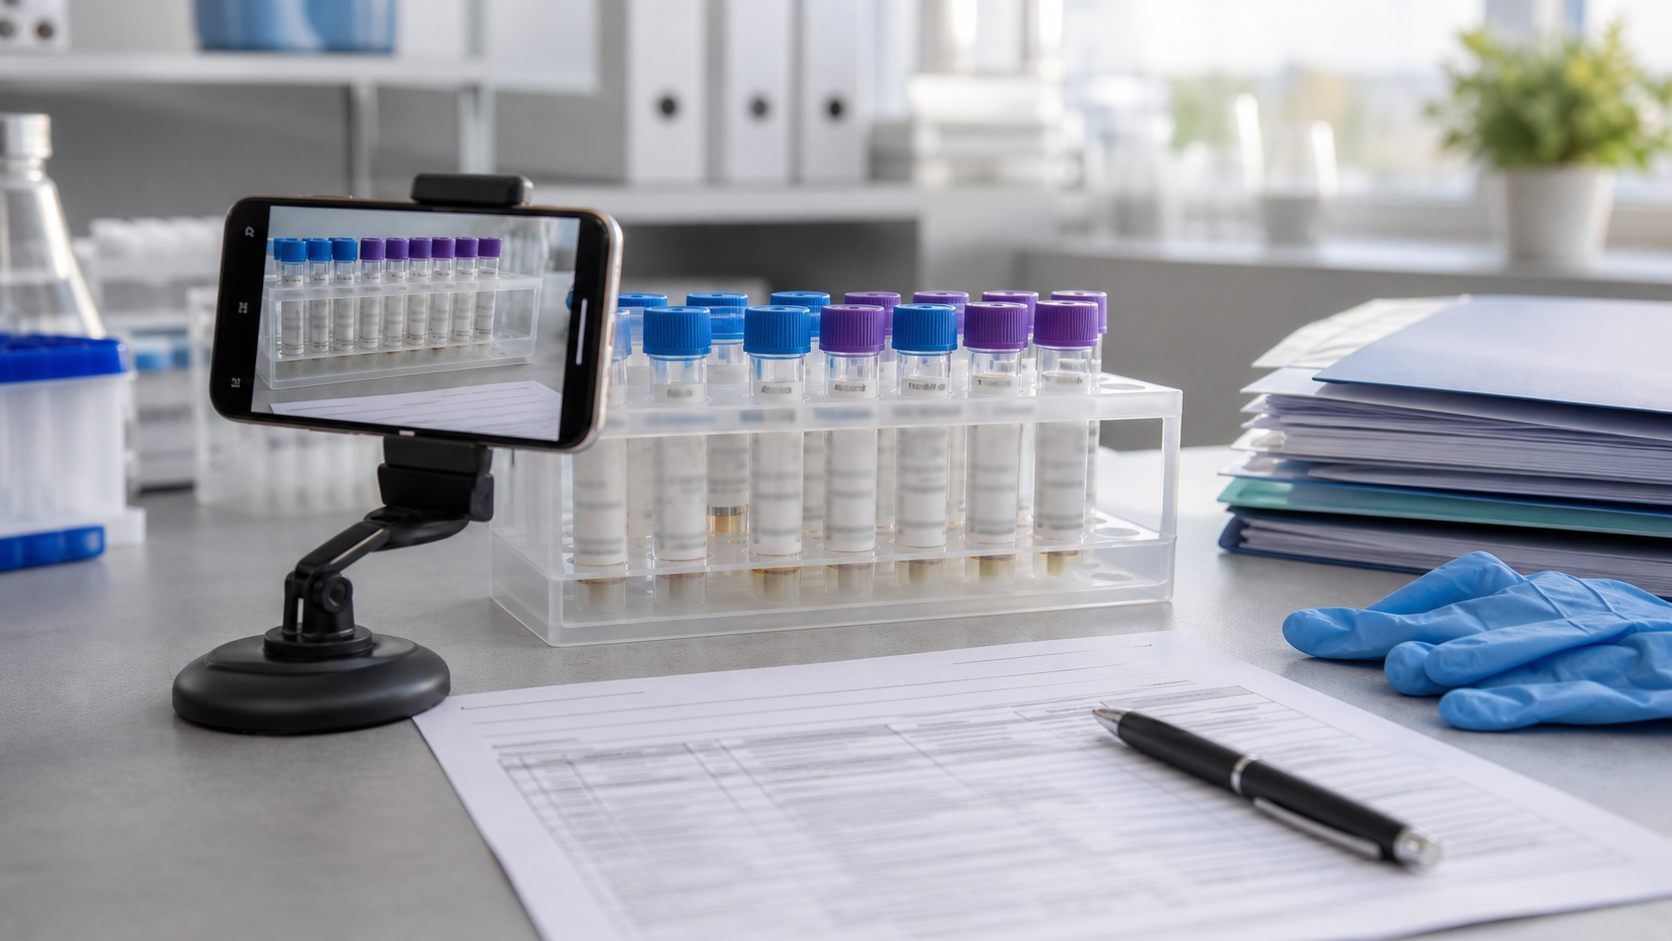
Small labs, university groups, food testing rooms, cosmetics formulators, and field research teams often receive samples faster than they can document them. A rack arrives with tubes labeled by hand. Someone takes a phone photo before refrigeration, transport, aliquoting, or disposal. Later, that image becomes the only fast reference for sample IDs, initials, dates, dilution notes, and rack positions.
That is where photo OCR can help, but vial rack images are unusually hostile to text extraction. Labels wrap around curved plastic. Condensation softens ink. Caps hide the first or last character. Handwritten characters sit next to printed barcodes, colored stickers, and marker arrows. If you send that straight into OCR and paste the result into a sample intake sheet, you can create quiet errors that are hard to catch later.
This guide is for cleaning up vial rack photos before OCR, then reviewing the extracted text in a way that supports real sample intake work. It is not a replacement for a laboratory information management system, chain-of-custody procedure, or regulated quality process. It is a practical documentation layer for teams that need to turn imperfect photos into more searchable, reviewable records.
The goal is simple: make the photo easier to read, extract what can be extracted, flag what still needs human review, and package the evidence so another person can verify it.
Why Vial Rack Photos Break OCR
OCR engines prefer flat, high-contrast, evenly lit text. Vial labels are the opposite.
A single rack photo can include four text problems at once. First, labels are cylindrical, so characters bend away from the camera and stretch near the edges. Second, most labels are small, which means a slight blur can turn 8 into B, S into 5, or O into 0. Third, lab benches often use harsh overhead lights that create glare on glossy label stock. Fourth, sample labels rarely follow one tidy layout. One tube may have a printed ID, another may have marker initials, and another may have a barcode sticker partially covered by tape.
The rack itself adds another issue: repeated objects. OCR can pick up the same partial label from two angles, merge adjacent tubes into one line, or read the molded rack coordinates as if they are sample IDs. If the image includes a clipboard, gloves, pipette box, or instrument screen nearby, the OCR result may contain unrelated text that looks official but does not belong in the intake record.
A reliable cleanup pass is not about making a beautiful image. It is about removing distractions, improving contrast, preserving the original evidence, and creating a second version that OCR can parse more cleanly.
When Photo OCR Is Useful and When It Is Not
Use photo OCR when the image is a support document, not the only authority. It is useful for quick search, pre-filling a review sheet, building a draft inventory, or finding likely sample IDs across many rack photos.
Do not treat OCR as final when samples are regulated, safety-critical, clinically significant, legally sensitive, or tied to irreversible handling decisions. In those cases, OCR can still help with indexing, but a qualified person should verify the record against the original label and the applicable procedure.
Here is a simple decision table:
| Situation | OCR role | Human review level |
|---|---|---|
| Internal research rack photo with informal labels | Draft text and search aid | Review every uncertain ID |
| Food, water, or materials testing intake | Pre-fill sample list | Verify IDs, dates, and rack positions |
| Chain-of-custody samples | Indexing support only | Follow formal procedure |
| Training photos or example documentation | Text extraction for notes | Spot-check unclear labels |
| Archived rack photos with no other list | Recovery aid | Mark confidence and unknowns clearly |
The important habit is to separate extracted text from verified text. OCR output is a candidate, not a record.
The Capture Setup That Saves the Most Cleanup Time
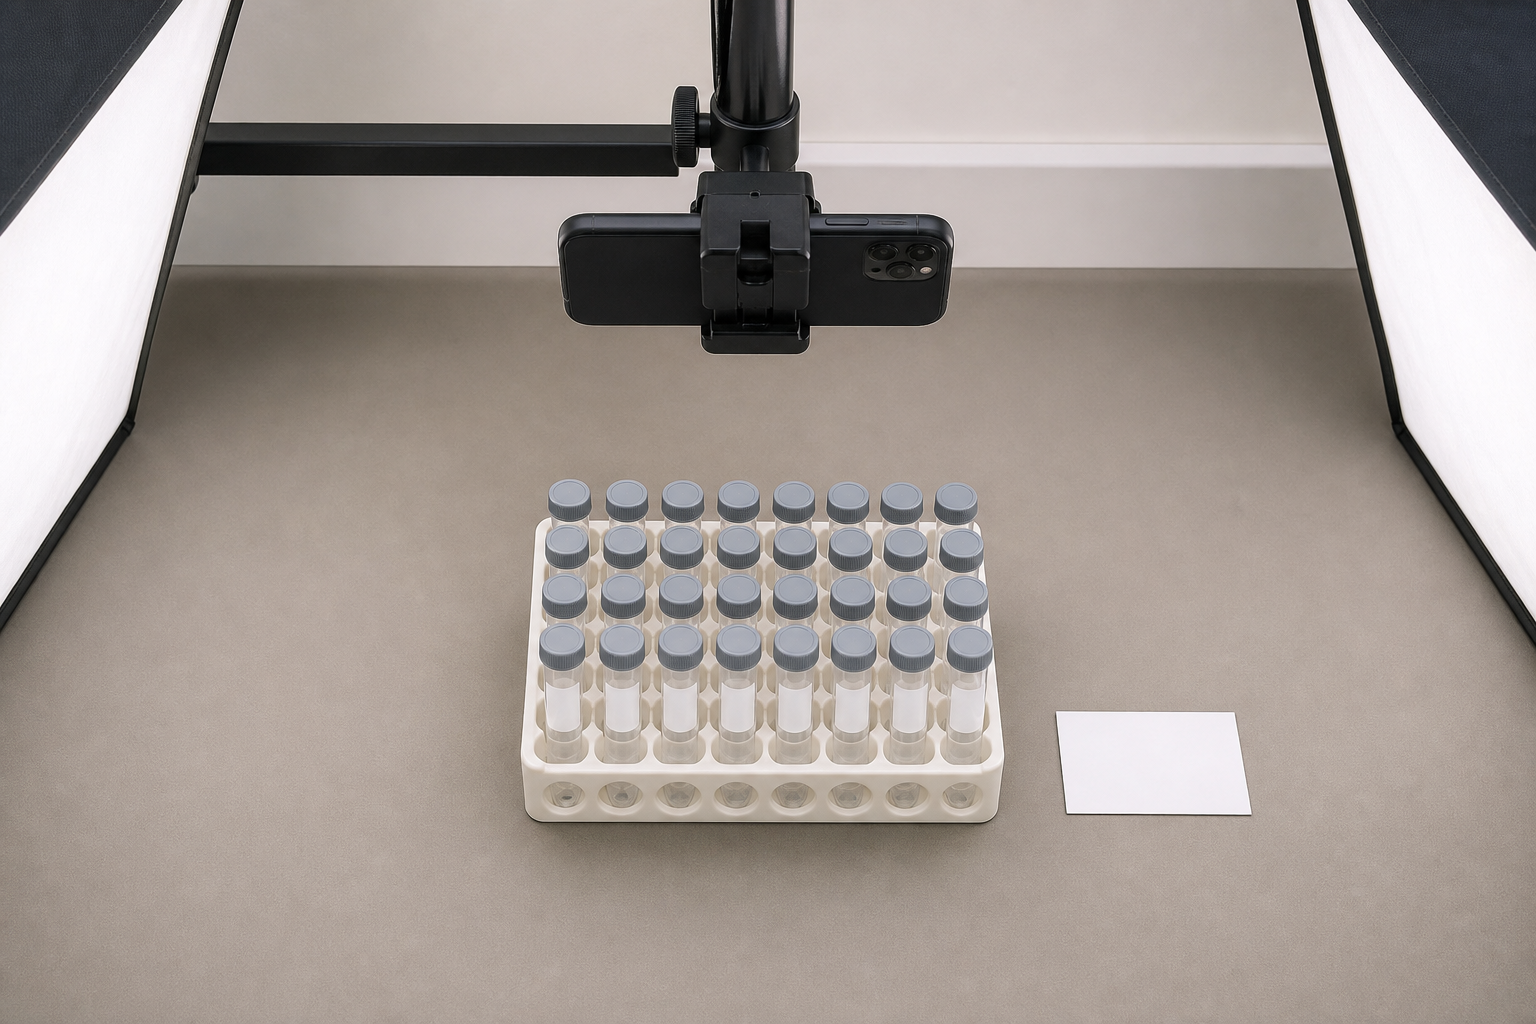
The best cleanup happens before editing. A one-minute capture setup can prevent twenty minutes of guessing later.
Place the rack on a plain, matte surface. A white bench can work, but light gray is often better because it reduces glare and keeps white labels visible. Remove unrelated papers, boxes, and tools from the frame unless they are part of the evidence. If you need context, take a separate context photo rather than crowding the main OCR image.
Shoot from directly above when labels are on caps or top stickers. Shoot at a shallow front angle when labels are wrapped around the side of tubes. If you need both, take both. Do not expect one photo to capture cap codes, side labels, and rack coordinates perfectly.
Use diffuse light. Move away from a bright overhead fixture or place the rack near indirect window light. Avoid flash when labels are glossy or plastic bags are present. If condensation is visible, wait a moment when safe and permitted, or gently reposition the rack so droplets do not sit over text.
Add a blank reference card near the rack edge if your team uses later annotation. The card should not contain real sample information. It gives reviewers a visual place to add arrows, batch notes, or crop boundaries later without writing over the tubes.
Take one full-rack photo and then close-up rows. For example, capture the whole rack, then row A, row B, row C, and row D. OCR usually performs better on a tight image of ten labels than a wide image of eighty small tubes. The full-rack image preserves context; the row images improve extraction.
Before leaving the bench, zoom in on the phone and inspect three problem areas: the first tube, the last tube, and any handwritten label. If those are soft or cropped, retake the image immediately.
Build a Clean OCR Copy Without Losing the Original
Keep the original photo unchanged. Rename it with a stable, boring file name, such as 2026-07-08_rack-03_original.jpg. Then create an OCR copy for editing. This prevents accidental evidence loss and makes review easier when someone asks what changed.
A good cleaned copy usually needs four edits: crop, straighten, contrast, and size.
Crop tightly around the rack or row. Remove bench clutter, gloves, pipette boxes, unrelated labels, and background forms. If the rack coordinates are important, keep them. If they are not important and OCR keeps reading them as sample IDs, crop them out or create a second crop just for label text.
Straighten the image so rows run horizontally or vertically. OCR engines do not require perfect alignment, but a crooked rack increases character confusion and line merging. If the labels are on tube sides, straighten based on the label rows rather than the rack border.
Increase contrast carefully. You want dark ink and light label stock, not crushed shadows. Over-sharpening can create halos around small letters, especially on thermal labels and marker strokes. If the image has yellow lab lighting, a mild color correction can make black and blue ink easier to distinguish.
Resize only after cropping. If the image is huge, a tightly cropped row may still be large enough for OCR. If the image is tiny, resizing can help readability, but it cannot restore detail that was never captured. For web sharing or intake review packets, resize the image after you have preserved a higher-resolution original.
When file size becomes a problem, use compression cautiously. Thin label text can break apart if compression is too aggressive. A cleaned OCR image should remain legible at full zoom. For sharing review copies, compress the image only after checking the smallest labels.
Recommended File Set for Each Rack
For each rack, create a small set of files instead of one overloaded image:
| File | Purpose | Example name |
|---|---|---|
| Original full rack | Evidence and context | rack-03_original.jpg |
| Clean full rack | Reviewable overview | rack-03_clean.jpg |
| Row crops | Better OCR targets | rack-03_row-a_clean.jpg |
| OCR text export | Draft extraction | rack-03_ocr-draft.txt |
| Review PDF | Handoff packet | rack-03_review.pdf |
This structure keeps the process transparent. The reviewer can compare the OCR draft to the cleaned image and return to the original if a label looks suspicious.
Crop Strategy for Wrapped Labels
Wrapped labels deserve special handling because the readable area is often a narrow strip.
If the label text runs horizontally around the tube, crop one row at a time and include only the central band where the label is most flat to the camera. Avoid including the far left and right edges of the tube when the letters curve away. OCR may read distorted edge characters as separate words.
If each tube has a different rotation, do not force a single crop to solve every label. Create close-up crops for the problem tubes. A file named rack-03_b07_closeup.jpg is more useful than a wide crop where B07 is technically present but unreadable.
For cap labels, overhead images are usually best. Keep the rack square in the frame and crop so each cap has some breathing room. If caps are color-coded, keep the color in the review image, even if you later create a high-contrast black-and-white OCR copy. Color may be part of the intake context.
For mixed cap and side labels, create separate OCR copies. One image optimized for cap codes and another optimized for side labels is easier to review than one compromise image that is mediocre for both.
Using OCR Without Polluting the Intake Sheet
Once your images are cleaned and cropped, send the best crops through image OCR. Start with the row crops before the full-rack image. A full-rack OCR pass can be useful for search, but row crops usually produce cleaner sequences.
Paste OCR output into a temporary review document, not directly into the final sample sheet. Keep line breaks because they can reveal how the engine interpreted rows. If the OCR result places two adjacent labels on one line, that is a signal to inspect that area manually.
Do not silently correct uncertain characters. Instead, use a visible convention:
| Mark | Meaning | Example |
|---|---|---|
[?] | Unreadable character or segment | A12-[?]7 |
[check] | Needs visual confirmation | SMP-1902 [check] |
[blank] | Label position appears empty | B04 [blank] |
[not label] | OCR captured unrelated text | blue cap [not label] |
This habit prevents a dangerous kind of cleanup: making the text look more certain than the image supports.
If the OCR tool returns unrelated bench text, remove it from the draft but note the deletion if it could be confused with sample information. For example, if a nearby box label reads CONTROL, and the sample rack also has control tubes, a reviewer should know that the extracted word came from the background, not the tube.
A Practical Review Pass for Rack Positions
Vial rack photos are not just about sample IDs. Position matters. A clean review should connect each extracted label to a rack coordinate or a visible order.
If the rack has molded coordinates, keep them in at least one image. If the rack does not have coordinates, create a row-and-column convention for the review copy. For example, number tubes left to right within each row. Do not draw heavy marks over labels. Use margins or a duplicate annotation layer if your editor supports it.
A simple review table can look like this:
| Position | OCR draft | Reviewer value | Status |
|---|---|---|---|
| A01 | F17-0B | F17-08 | corrected |
| A02 | F17-09 | F17-09 | verified |
| A03 | [?] | F17-10 | verified from close-up |
| A04 | [blank] | empty | verified |
The reviewer value is the only column that should move into an intake sheet. The OCR draft remains useful because it shows where the machine struggled.
Clean Images for Human Review, Not Just Machines
It is tempting to make an extreme black-and-white version for OCR. Sometimes that helps, especially with printed black text on white labels. But human reviewers may need color, shadow, cap type, liquid level, sticker color, or marker ink tone.
Keep two image versions when necessary. The OCR copy can be high contrast and tightly cropped. The review copy should remain natural enough for a person to understand what they are seeing.
Use convert image when you need a predictable format for sharing. JPEG is common for photos, but PNG can preserve sharper label edges after annotation. WebP can reduce size while keeping good quality, but make sure the recipient can open it easily. For conservative handoffs, a PDF packet is often simpler.
If a label is partly obscured, avoid using generative edits to reconstruct the missing characters. AI cleanup can be useful for removing glare from non-critical background areas or improving a presentation image, but it should not invent sample text. If you use AI photo editing for a supporting visual, keep the original and clearly review the edited copy against it.
A Review Checklist Before You Trust the Extracted Text
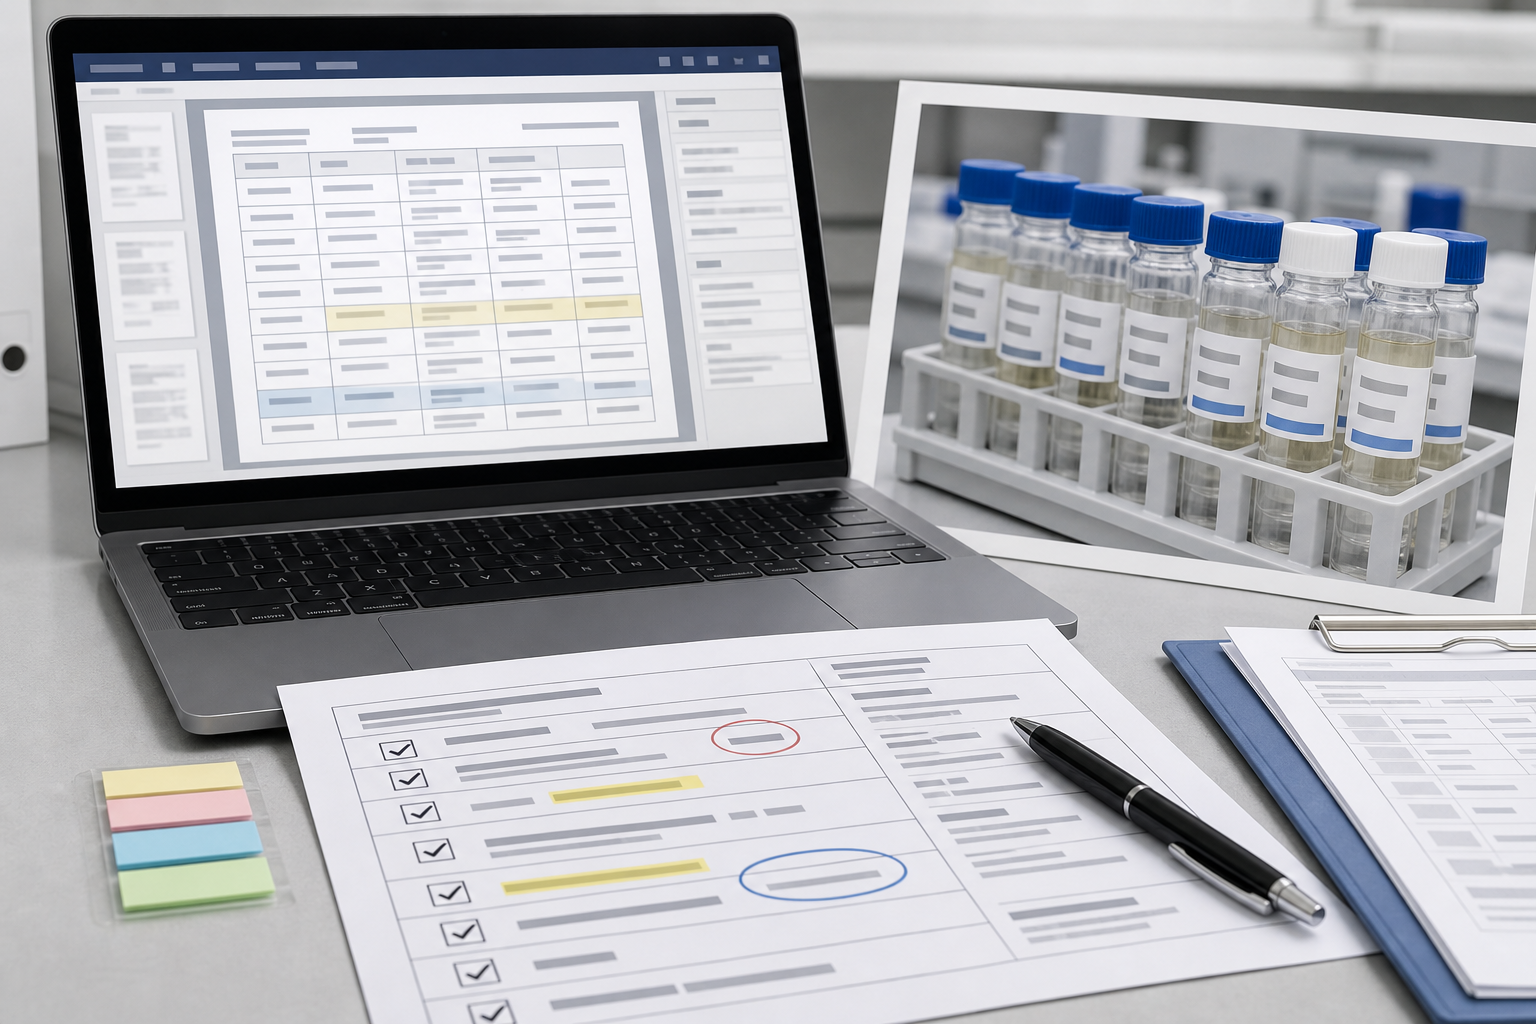
Before any extracted text is used in an intake sheet, run a focused review. This checklist is short enough to be practical but strict enough to catch common failures.
| Check | What to look for | Action if it fails |
|---|---|---|
| First and last characters | Cropped or curved label edges | Use close-up crop or mark uncertain |
| Similar characters | 0/O, 1/I, 5/S, 8/B, 2/Z | Compare with naming pattern |
| Row order | OCR merged adjacent tubes | Rebuild row manually |
| Background text | Box labels, forms, instrument screens | Remove from OCR draft |
| Empty positions | OCR invented text from shadows | Mark as empty only after visual check |
| Duplicate IDs | Same ID appears twice | Confirm with original photo |
| Date formats | Ambiguous day and month | Follow team standard and verify |
| Handwritten notes | Initials, dilution marks, arrows | Manual review required |
The most valuable check is pattern awareness. If all sample IDs follow F17-08, F17-09, F17-10, an OCR result of F17-O8 is suspicious. Pattern awareness can help reviewers catch errors, but it should not be used to guess missing labels without visual confirmation.
Turning Rack Photos Into a Review PDF
A PDF packet gives you a stable review artifact. It can include the original rack photo, cleaned overview, row crops, and OCR draft. This is especially helpful when a supervisor, client contact, or remote teammate needs to check the record without opening a folder of images.
A useful order is:
- Original full-rack photo
- Cleaned full-rack review image
- Row crop images in order
- Close-ups of uncertain labels
- OCR draft or review table
You can use image to PDF to package the image set into one document. If there are multiple racks from the same intake event, create one PDF per rack or one combined packet with clear section pages. If your team already has a final intake PDF, use PDF merge to attach the rack photo packet behind the official form.
Keep the packet boring. Fancy layouts can shrink images and make small labels harder to inspect. Use full-width images, consistent order, and plain file names.
Common Mistakes That Create Bad Sample Records
The first mistake is cropping too aggressively. A crop that shows only label text may remove the rack position, cap color, or neighboring sample needed to resolve ambiguity. Tight crops are useful, but keep an overview image in the packet.
The second mistake is compressing early. Compression artifacts around tiny text can look like extra strokes. Preserve the original, then make smaller sharing copies later.
The third mistake is mixing extracted and verified text. Once OCR output is manually corrected, it should be clear which field is machine output and which field is reviewed. A spreadsheet with one column called sample ID can hide uncertainty.
The fourth mistake is relying on a single image. One overhead photo may not capture side labels. One angled photo may hide cap codes. Two or three targeted images are usually more reliable than one heroic shot.
The fifth mistake is editing away context. Removing glare is fine when it improves readability. Removing a cap mark, colored sticker, or handwritten arrow can erase information that matters.
Example: Cleaning a Crowded Intake Rack
Imagine a small testing team receives forty tubes in a 5 by 8 rack. The labels are printed, but several are wrapped around the tube sides. Two positions are empty. Three tubes have handwritten dilution notes. The team needs a draft intake list by the end of the hour.
A practical sequence would be:
- Photograph the full rack from above for position context.
- Photograph each row from the front angle so side labels are readable.
- Save originals with rack and row names.
- Crop each row image to the label band.
- Straighten and lightly increase contrast.
- Run OCR on row crops.
- Paste OCR into a temporary review table.
- Mark uncertain characters and empty positions.
- Create close-up crops for the three handwritten notes.
- Build a review PDF with originals, clean crops, and the table.
This sequence does not eliminate manual review. It makes the review faster and more traceable. The reviewer can see why a value was corrected, which image supports it, and which positions remain uncertain.
Naming Conventions That Make Search Easier Later
File names matter when rack photos become part of a larger archive. Use names that sort naturally and avoid private or sensitive sample details when possible.
A good pattern is:
YYYY-MM-DD_project-or-batch_rack-row_version.ext
Examples:
| Purpose | File name |
|---|---|
| Original full rack | 2026-07-08_batch-14_rack-03_original.jpg |
| Clean overview | 2026-07-08_batch-14_rack-03_clean.jpg |
| Row crop | 2026-07-08_batch-14_rack-03_row-a_clean.jpg |
| Problem tube | 2026-07-08_batch-14_rack-03_b07_closeup.jpg |
| Review PDF | 2026-07-08_batch-14_rack-03_review.pdf |
Avoid names like final, final2, and new final. They become meaningless quickly. If you revise a packet, use v02 or a date stamp.
Privacy and Sensitive Information
Rack photos can contain more than sample IDs. They may show names, project codes, accession numbers, location details, instrument displays, or client references. Before sharing a review PDF outside the immediate team, inspect the full image for background information.
Crop out unrelated documents. Blur or remove background identifiers only if doing so does not alter the sample evidence. If the background information is part of the evidence, keep an internal copy and create a separate external copy with the required redactions according to your organization’s rules.
Do not upload sensitive, regulated, or confidential images to tools unless your team has approved that use. The practical techniques in this guide still apply with local tools and approved internal systems.
Final Takeaway
Vial rack OCR succeeds when the image set is built for verification. The clean crop helps the machine. The original protects context. The review table separates guesses from confirmed values. The PDF packet lets another person check the result without hunting through scattered files.
For small teams, that structure can turn messy phone photos into useful intake support without pretending OCR is perfect. Capture the rack clearly, clean a copy carefully, extract text conservatively, and keep every uncertain character visible until a person verifies it.