Warranty Card Photo OCR Cleanup for Appliance Resellers
A practical guide for turning photographed appliance warranty cards into readable, searchable records for resale listings, service notes, and buyer handoffs.

Warranty Card Photo OCR Cleanup for Appliance Resellers
Used appliance resale often depends on small pieces of paper that were never meant to survive years in drawers, glove boxes, garage folders, or taped plastic bags. Warranty cards, registration inserts, service stickers, add-on protection certificates, and installation paperwork can decide whether a buyer trusts a listing, whether a technician can verify a model, or whether a shop can prove what was included at intake.
The problem is that these records rarely arrive as tidy scans. They arrive as phone photos: curled corners, glossy reflections, weak ink, handwritten purchase dates, store stamps, serial numbers, and logos competing for the same OCR attention. A normal scan-to-text pass may grab half the useful information and invent the rest.
This guide is for appliance resellers, refurbishers, liquidation teams, and small repair shops that need searchable warranty-card records without building a complicated document system. The goal is not museum-grade digitization. The goal is reliable evidence: clean images, readable text, sensible filenames, and compact PDFs that can be attached to inventory records, resale listings, or buyer handoff packets.
Why Warranty Cards Are Harder Than Ordinary Forms
Warranty cards look simple until you try to extract text from hundreds of them. They combine several OCR-unfriendly features on one small surface.
Many cards use tiny condensed type for warranty limitations, model families, registration addresses, and appliance categories. Older cards may have faded ink or yellowed stock. Fold lines often cross the exact area where a model number, store name, or purchase date appears. If the appliance was already in service, the card may contain handwritten notes from a previous owner or technician. Some cards have glossy finish, which creates glare bands across black text. Others use pale gray legal copy, which is visually readable to a person but weak for OCR.
There is also a practical resale issue: not every word matters equally. A perfect extraction of every legal paragraph may be less useful than a reliable capture of the brand, model, serial reference, coverage period, registration status, dealer stamp, and date fields. Treating the card like a generic page can waste time. Treating it like structured evidence gives you a faster and more dependable result.
What To Capture From Each Card
Before cleaning images, decide what information you are trying to preserve. A warranty card packet usually needs three layers: the original visual record, searchable text, and a short human-readable summary.
For appliance resale, the most useful fields are usually:
- Brand or manufacturer name
- Appliance type, such as refrigerator, washer, dryer, oven, dishwasher, or range hood
- Model number or model family
- Serial number if present
- Purchase date, installation date, or registration date
- Dealer, store, or service company stamp
- Coverage length and obvious limitations
- Previous owner notes, if they are relevant and legible
- Any detachable registration stub or proof-of-purchase reference
Do not assume OCR alone will separate these fields cleanly. Warranty cards often mix marketing language, registration instructions, and legal copy around the important values. Your cleanup process should make the image easy for OCR, then your review pass should confirm the few fields that matter most.
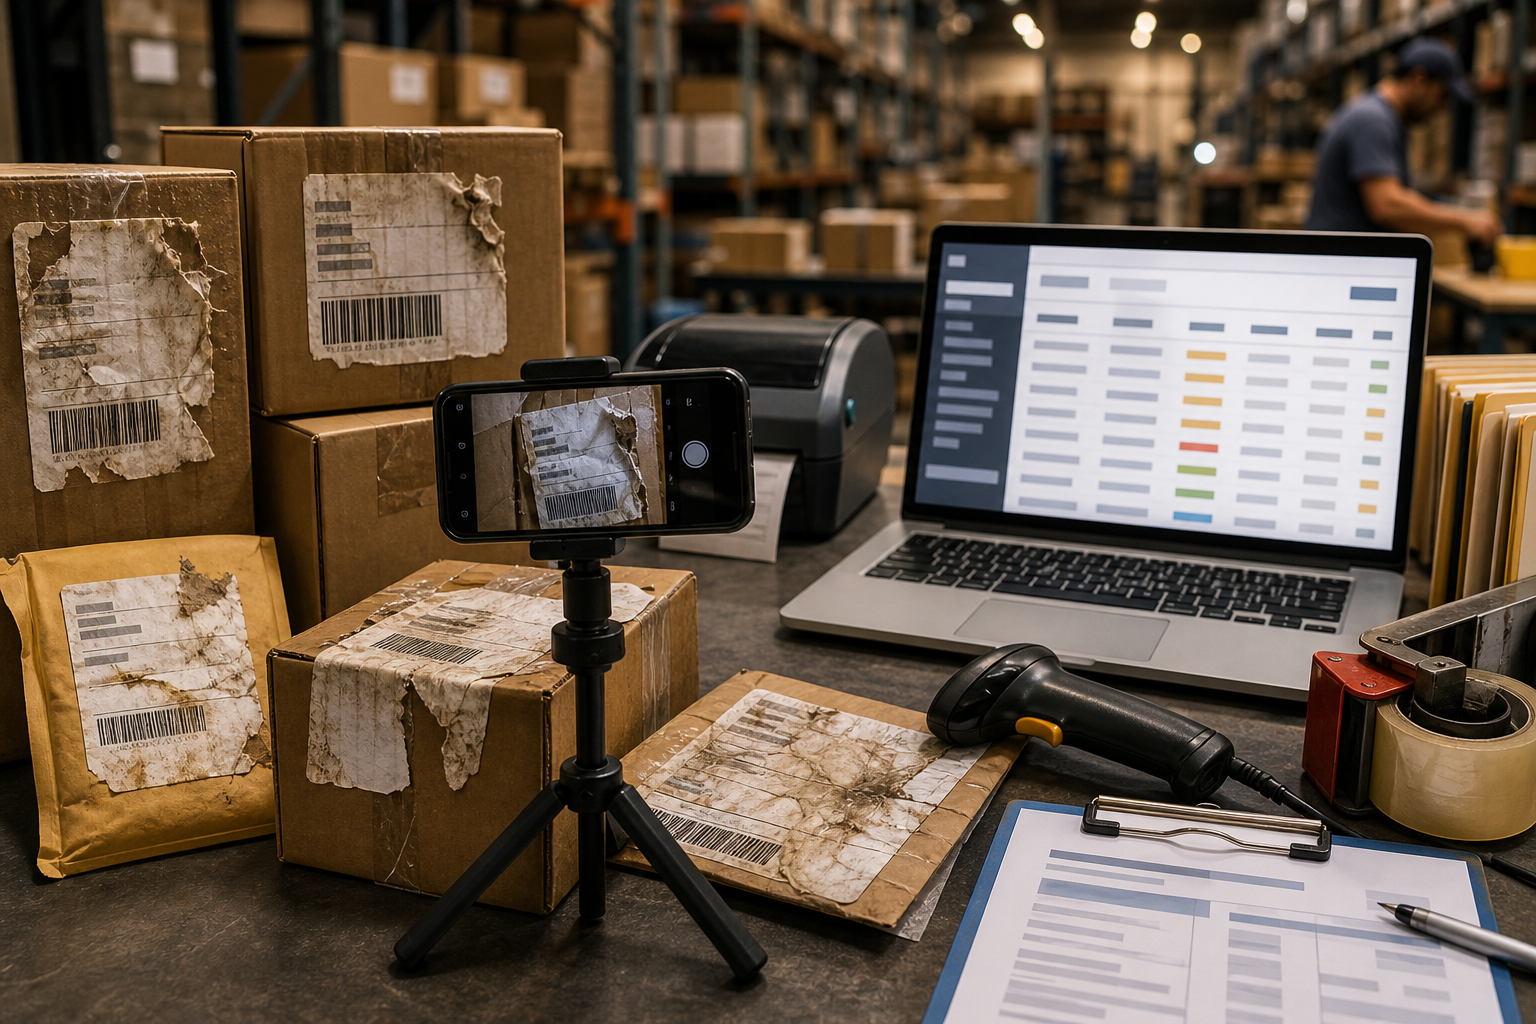
The Capture Setup That Saves the Most Cleanup Time
The best OCR cleanup begins before OCR. A careful photo takes seconds and can save several minutes of repair later.
Use a flat, matte backing surface. A plain gray, off-white, or dark neutral sheet works better than a patterned desk because it gives the crop tool a clear edge. Avoid glossy countertops and wood grain with strong lines. If the card is curled, hold the corners down with small clean weights placed outside the printed area. Do not put fingers over the card, because skin tones and shadows can confuse automatic cropping.
Place the phone directly above the card, not at an angle. If you cannot mount the phone, rest your elbows on the table and align the card edges with the screen grid. Keep the full card visible with a small border around it. Cropping later is easier than recovering clipped corners.
Lighting matters more than camera resolution. Use soft side light from a window or lamp and avoid direct flash. Glossy cards should be rotated until glare leaves the printed areas. If the card has a fold, light it from two sides if possible so the crease does not become a dark line through the text.
Take two photos when the card contains handwriting or stamps: one normal exposure and one slightly darker exposure. The darker frame can preserve ink detail that disappears in a bright automatic phone correction. You may only use one final image, but having both options prevents a second capture session.
File Naming Before You Start Editing
A small naming rule prevents a large mess later. Warranty-card images often get separated from the appliance photos, listing notes, and invoices. A useful filename should connect the card to inventory before any OCR happens.
A practical pattern is:
inventoryid_brand_appliancetype_cardtype_sequence.jpg
Examples:
A1842_maytag_washer_warranty_01.jpgR2207_bosch_dishwasher_registration_01.jpgD0915_ge_range_service-plan_02.jpg
Use lowercase words and hyphens only where they clarify the card type. Avoid spaces, punctuation-heavy serial numbers, and vague names like IMG_4821.jpg. If a serial number is sensitive or buyer-facing policy says not to expose it in filenames, keep it inside the record rather than the filename.
When multiple cards belong to the same appliance, keep the sequence number. That makes it easier to create a clean packet later with image to PDF or attach a small set to an inventory system.
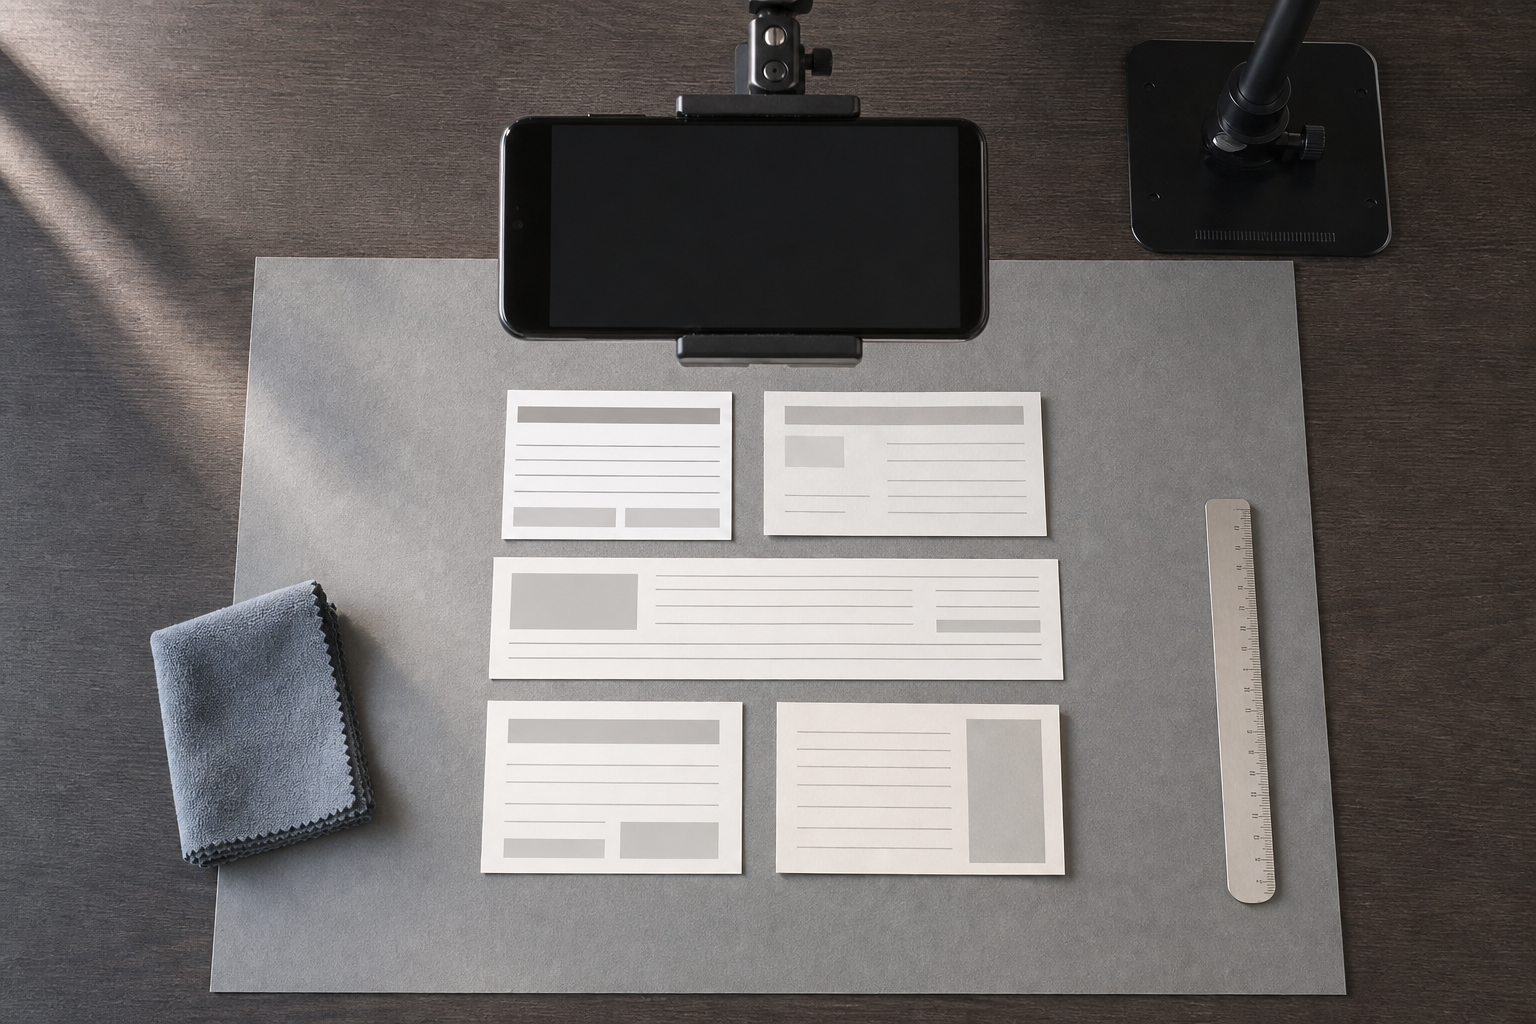
A Practical Cleanup Pass Before OCR
The cleanup pass should make the photo boring. OCR likes boring images: straight, evenly lit, high contrast, and free of distracting borders.
Start with rotation and perspective correction. Warranty cards are small, so even a mild camera angle can stretch letters on one side. Straighten the long edges first, then crop close to the card while leaving a thin margin. If the card has a detachable section, keep it in the same image only if it is still physically attached or clearly part of the same record. Otherwise, photograph it separately and sequence it as another file.
Next, adjust exposure. Raise brightness only enough to make the paper background clean. If you push it too far, pale gray text and pencil marks can vanish. Increase contrast moderately, but avoid a harsh black-and-white look unless the card is only printed text with no stamps or handwriting.
Then check sharpness. A little sharpening can help thin letters, but too much creates halos around small type. Halos are especially bad around serial numbers because OCR may read the halo as punctuation or extra digits. If the image is very large, resize it after cleanup rather than before. Keeping enough resolution through the correction stage gives OCR more detail to inspect. For final web or email use, resize the image only after you have preserved the readable master.
If the card background is yellowed, resist the temptation to make it pure white. A natural off-white background can keep faded ink visible. The goal is readability, not cosmetic perfection.
Cleanup Decisions Table
Use this table when choosing the least destructive edit for a warranty-card photo.
| Problem in the photo | Best first move | Avoid |
|---|---|---|
| Card photographed at an angle | Perspective correction, then crop | Heavy sharpening before straightening |
| Gloss glare across printed text | Retake with rotated card or softer light | Trying to recover invisible letters with contrast |
| Yellowed paper with faded ink | Mild brightness and contrast lift | Pure white background correction |
| Handwritten purchase date is faint | Keep a darker exposure version | Aggressive noise removal |
| Dealer stamp is blurry | Compare alternate photo, crop stamp area separately if needed | Guessing the store name from partial OCR |
| Legal copy is tiny but not important | Preserve visual record, summarize key fields | Spending time correcting every paragraph |
| Fold line crosses model number | Retake with card flattened and side-lit | Overcropping the damaged area |
The table is intentionally conservative. Most warranty-card mistakes come from over-editing: pushing contrast until stamps disappear, compressing too early, or cropping away context that later proves useful.
OCR Settings And Review Priorities
Once the image is clean, run OCR on the best version. If your tool lets you choose language, choose English unless the card clearly uses another language. If the appliance brand uses many model codes, keep automatic spell correction off when possible. Model numbers are not normal words, and correction can turn WDT730HAMZ into something that looks cleaner but is wrong.
After OCR, review in priority order. First confirm model numbers, serial references, dates, and dealer information. Then check appliance category and coverage length. Last, skim the legal copy only if it affects resale communication or buyer handoff.
A good review habit is to compare OCR text against the original image at 150 to 200 percent zoom. Small digits and letters cause the most expensive errors. Common confusions include:
0andO1,I, andl5andS8andB- hyphenated model suffixes lost at line breaks
- stamped dates read in the wrong order
If you use image OCR, keep the cleaned image open nearby while reviewing the extracted text. OCR is a starting point, not a witness. The photograph remains the source of truth.
Handling Handwriting, Stamps, And Store Labels
Handwriting and stamps deserve separate attention because they are often more important than printed warranty language. A handwritten purchase date, installer name, or previous owner note can explain the appliance history. A store stamp may support the sale date or show where service was originally arranged.
If handwriting is faint, try a second crop focused only on the handwritten area. Increase contrast slightly and avoid smoothing. For ballpoint pen on glossy card, a darker exposure often works better than a brighter one. For pencil, keep shadows gentle because pencil marks rely on subtle texture.
For dealer stamps, preserve the surrounding area. A stamp may be partly unreadable, but the city, phone number, or logo shape can still help a human reviewer identify it. Do not let OCR confidence trick you into accepting a made-up business name. If the stamp is uncertain, mark it as uncertain in your summary rather than forcing a clean value.
Store labels and barcode stickers are a special case. If a sticker covers warranty language but contains inventory or sale information, photograph the full card first, then take a close-up of the sticker. The full image shows placement and context; the close-up helps OCR capture the sticker content.
Creating A Searchable PDF Packet
For resale records, a searchable PDF is often easier to store than a folder of loose images and text files. It keeps the visual card, the OCR layer, and the appliance packet together.
A simple packet order works well:
- Front of warranty card
- Back of warranty card
- Registration stub or detached insert
- Dealer stamp close-up, if needed
- Related receipt or service-plan card, if available
Before combining, make sure the image dimensions are not wildly inconsistent. Oversized photos can make PDFs heavy and slow to open. After OCR and review, use compress image carefully to reduce file size while checking that small type remains legible. If compression creates blocky edges around thin letters, back off and accept a slightly larger file.
When the images are ready, use image to PDF to create a packet. If you have separate appliance documents, such as a receipt PDF and a warranty-card PDF, combine them with PDF merge. Keep the final packet name tied to the inventory ID, not just the brand.
Example final names:
A1842_maytag_washer_warranty-packet.pdfR2207_bosch_dishwasher_buyer-docs.pdfD0915_ge_range_service-warranty-record.pdf
A searchable PDF does not replace your inventory notes. It supports them. Put the most important confirmed fields in your inventory system, and attach the PDF as evidence.
Quality Control Checklist For Each Appliance
Use a short checklist so every reseller, assistant, or technician follows the same standard.
- The full card is visible with no clipped corners.
- The image is straight enough for comfortable reading.
- Glare does not cover model, date, dealer, or coverage fields.
- Handwriting and stamps are checked at zoom.
- OCR text has been reviewed for model and serial confusion.
- The filename includes inventory ID, brand, appliance type, and sequence.
- The final PDF opens quickly and remains readable on a phone.
- Sensitive owner information is removed or handled according to shop policy.
- The inventory record includes confirmed fields, not raw OCR guesses.
This checklist is short on purpose. If it becomes too long, people skip it. The goal is a repeatable minimum standard for records that may need to be reviewed months later.
When To Edit With AI And When To Avoid It
AI photo editing can help with background cleanup, shadow reduction, and mild restoration, but warranty cards are evidence. Any edit that changes letters, numbers, dates, stamps, or handwriting can create a record you should not rely on.
Use AI tools for cosmetic or readability support only when the original remains available. For example, you might use AI photo editor to soften a distracting table background around the card, reduce shadows outside the printed area, or prepare a cleaner listing illustration. Do not use AI to reconstruct missing model numbers, complete a store stamp, rewrite legal copy, or make a damaged date look certain.
A practical rule: if the edited image will be used as evidence, keep an untouched original beside it. If an AI-edited version improves readability, label it as cleaned or enhanced in your internal notes. Buyers and service partners should never need to wonder whether a number was captured or invented.
Redaction And Buyer Handoff Notes
Warranty cards sometimes contain previous owner names, addresses, phone numbers, or registration IDs. Appliance resellers should treat that information carefully. Even if the card came with the unit, buyer-facing packets should include only what is needed for the sale, support, or warranty transfer.
Before sending a packet externally, review for personal data. If you need to redact, do it on a copy and keep the unredacted original according to your shop policy. Redaction should fully cover the information, not just blur it lightly. A blurred phone number can sometimes be guessed from OCR text or visual remnants.
For buyer handoff, include a brief note in the listing or delivery packet such as: warranty card photographed from included documentation; coverage and transferability should be confirmed with the manufacturer. That avoids promising more than the document proves. A warranty card may show original terms, but it may not prove current eligibility, transfer rights, or remaining coverage.
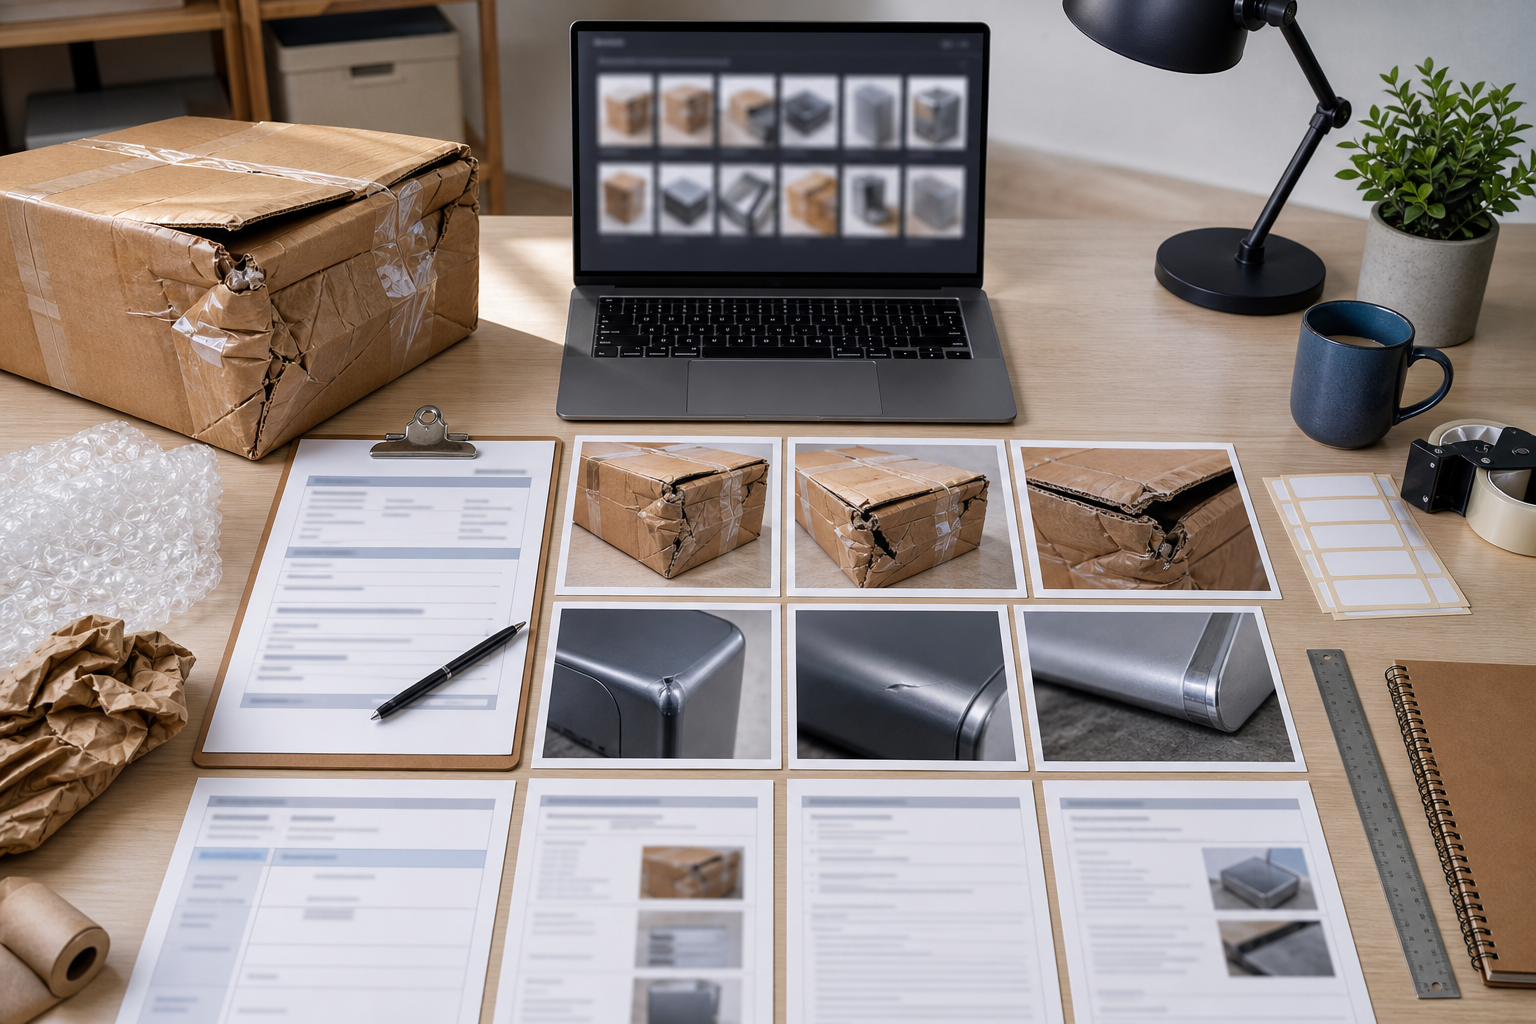
Batch Handling Without Losing Accuracy
When a liquidation lot includes dozens of appliances, speed matters. The safest batch method separates capture, cleanup, OCR, and review into clear passes.
First, photograph all cards using the same setup. Second, rename files while the physical cards are still sorted by appliance. Third, clean images in batches with similar lighting problems. Fourth, run OCR. Fifth, review only the high-value fields for each item.
Do not mix unidentified cards into a general folder and plan to sort them later. Warranty cards can look nearly identical across models, and a single misplaced card can attach the wrong paperwork to a resale item. Keep each appliance in its own folder or use inventory IDs from the first capture.
A small batch folder might look like this:
A1842_maytag_washer/
  originals/
  cleaned/
  ocr-text/
  A1842_maytag_washer_warranty-packet.pdf
This structure is plain, but it prevents accidental overwrites and gives you a path back to the original photo if a buyer, technician, or marketplace reviewer asks for clarification.
Common Mistakes That Create Bad Records
The most common mistake is compressing too early. Compression is useful for storage and email, but it can damage tiny letters before OCR has a chance to read them. Clean and OCR from the best readable image, then compress copies for sharing.
The second mistake is trusting extracted text without checking the image. OCR can be impressively plausible when it is wrong. It may convert a model suffix into a word, drop a digit from a serial number, or read a stamped date as the nearest printed date.
The third mistake is overcropping. A close crop looks neat, but warranty cards often use context. A dealer stamp may appear near a corner. A coverage note may sit in a side column. A handwritten date may be in the margin. Keep a thin border and avoid removing anything that could later explain the record.
The fourth mistake is blending multiple appliances into one packet. If a receipt, warranty card, and service note are not clearly tied to the same unit, keep them separate until verified. A searchable PDF is only useful if it represents the right appliance.
A Simple Standard For Resale Teams
A good warranty-card record should answer four questions quickly: What appliance is this for? What document was included? What important fields are visible? Where is the original image if someone needs to check it?
That standard does not require expensive scanning hardware or complex software. It requires consistent capture, conservative cleanup, reviewed OCR, and tidy PDF packets. For small appliance resellers, that can be the difference between a vague listing note and a document trail that supports buyer confidence.
Start with one product category, such as washers or dishwashers, and refine the process for ten units. Track where errors appear: glare, filenames, OCR confusion, missing backs of cards, or overlarge PDFs. Once the standard works for one category, apply it to the rest of the inventory.
Warranty cards are easy to dismiss because they are small and often outdated. But for resale operations, they can carry useful proof: dates, model families, dealer context, service clues, and buyer-facing documentation. Clean them carefully, keep originals, review the important fields, and package the result so it can still be understood long after the appliance leaves your floor.