Archive Label OCR Workflow for Local History Collections
A practical workflow for turning archive box photos, folder labels, accession slips, and shelf tags into cleaner OCR outputs for small museums and local history teams.
Archive Label OCR Workflow for Local History Collections
Small museums, historical societies, family archives, school libraries, and local history volunteers often have the same quiet problem: important information is already visible, but it is trapped in photos of boxes, folder tabs, accession slips, shelf tags, binder spines, and handwritten notes. The collection may not need a full digitization project yet. The immediate need is simpler. Staff and volunteers need searchable names, dates, place references, donor notes, and object numbers without retyping every label by hand.
That is where an archive label OCR workflow helps. Instead of treating OCR as a single upload-and-hope step, you treat it as a small production process: capture clearly, crop aggressively, clean only what matters, run OCR in batches, review uncertain fields, then package the evidence in a way that another person can audit later.
This workflow is built for low-budget teams. It assumes mixed source material, inconsistent lighting, old handwriting, thermal labels, faded ink, tape shadows, and volunteer time. It does not require layout software or a dedicated DAM. It does require patience, naming discipline, and a repeatable path through image, OCR, PDF, and compression tools.
Why Archive Labels Are Harder Than Normal Documents
OCR tools perform best when the source looks like a flat page of clean typed text. Archive labels rarely do. They are often photographed in place, attached to textured cardboard, wrapped around curved binder spines, or partly hidden behind plastic sleeves. The text may be a mix of typed accession numbers, pencil annotations, old catalog codes, donor surnames, and short subject phrases.
The challenge is not only recognition accuracy. It is context. A shelf tag that says 1948 parade is only useful if the team can connect it back to the box, folder, shelf, or photograph group where it appeared. If OCR output becomes separated from its visual source, later review becomes frustrating. A good workflow preserves both machine-readable text and a visual trail.
Common archive label OCR problems include tilted folder tabs, shadows from box lids, glossy reflections on plastic sleeves, mixed handwriting and type, repeated accession numbers, abbreviations understood only locally, and cropped photos that remove the relationship between a label and the container it belongs to.
For local history teams, the goal is not perfect automated transcription. The goal is a practical first pass that reduces manual typing, catches searchable terms, and gives reviewers a structured way to correct the important fields.
Choose the Right Target Before Capturing Anything
Before taking photos, decide what the OCR output needs to become. This prevents over-processing and keeps volunteers aligned.
If the goal is discovery, you may only need searchable names, dates, neighborhoods, and event labels. If the goal is migration into a catalog system, you need stricter field separation. If the goal is an audit of unlabeled boxes, you may need proof images more than polished text.
Use this decision table before starting a session:
| Project goal | Capture priority | OCR priority | Best final package |
|---|---|---|---|
| Find names and places across boxes | Wide context plus cropped labels | Searchable text snippets | Spreadsheet plus proof PDF |
| Audit shelf or box labels | Consistent container photos | Object numbers and locations | Merged PDF with filenames |
| Prepare catalog import notes | One label per image | Field-level review | CSV or spreadsheet export |
| Share with remote volunteers | Clear cropped images | Easy manual correction | Compressed PDF packet |
| Document condition before rehousing | Context photos first | Secondary text capture | Image-to-PDF evidence set |
This choice affects every later step. For example, a catalog import workflow should use stricter file names and one label per crop. A discovery workflow can tolerate wider photos as long as the source location stays visible.
Build a Capture Station Before You Open the OCR Tool
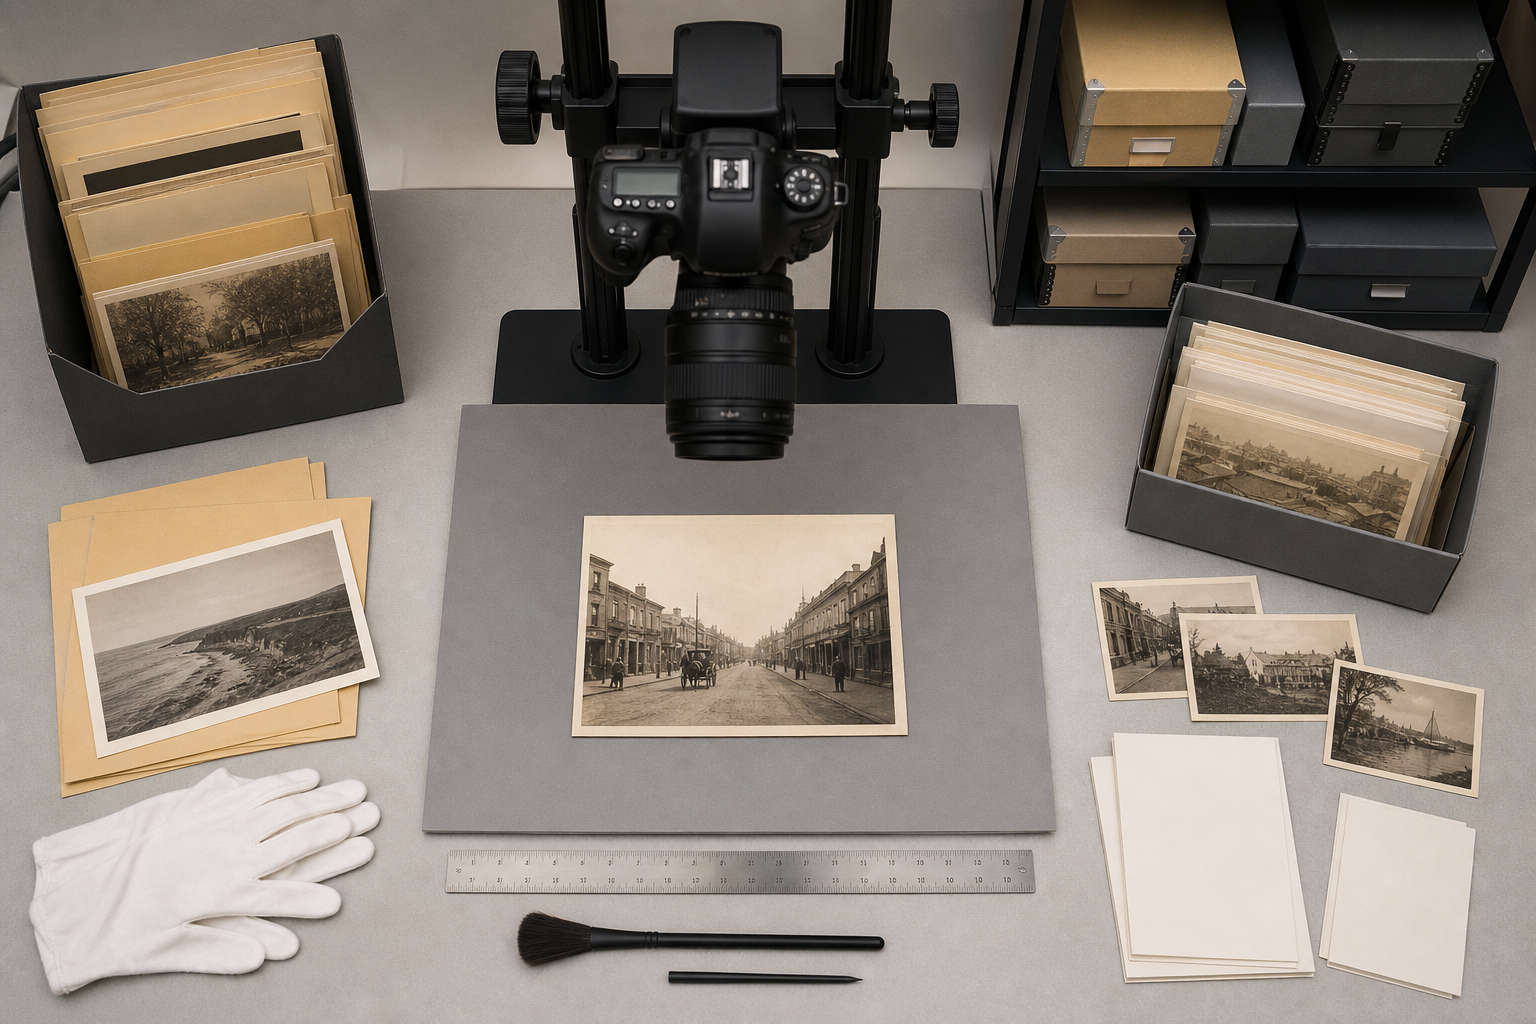
Good OCR begins before the image is uploaded. A basic capture station can outperform an expensive scanner if it produces consistent, glare-free, high-contrast photos.
Set up a flat neutral background near steady light. Avoid direct sunlight because it creates harsh shadows and bright paper patches. A phone camera is fine if it is kept parallel to the label. A simple stand, stack of books, or copy stand helps keep the angle consistent. Place a small ruler or gray card near the object when useful, but keep it outside the label crop if it might confuse OCR.
For boxes and folders, capture two images when possible. First, take a context image showing the whole box, drawer, binder, or folder group. Second, take a close crop of the specific label. The context image protects against later confusion. The label crop gives OCR the best possible input.
Use a plain naming pattern from the beginning. Do not wait until the end of the project to organize files. A simple convention like room-shelf-box-label-sequence is often enough. For example, readingroom-s03-b12-label-001.jpg is much more useful than IMG_4827.jpg.
Keep these capture rules visible during volunteer sessions:
- Fill most of the frame with the label, but do not cut off edges.
- Keep the camera parallel to the surface.
- Retake photos with glare, motion blur, or deep shadow.
- Photograph handwritten additions separately if they sit far from the typed label.
- Keep context and crop files next to each other in the same folder.
- Do not edit original files directly; make cleaned copies for OCR.
This is also the right moment to separate source types. Put box labels, folder tabs, binder spines, accession slips, and loose notes into different folders. OCR review is faster when similar images are processed together.
A Simple Cleanup Pass for Labels, Slips, and Shelf Tags
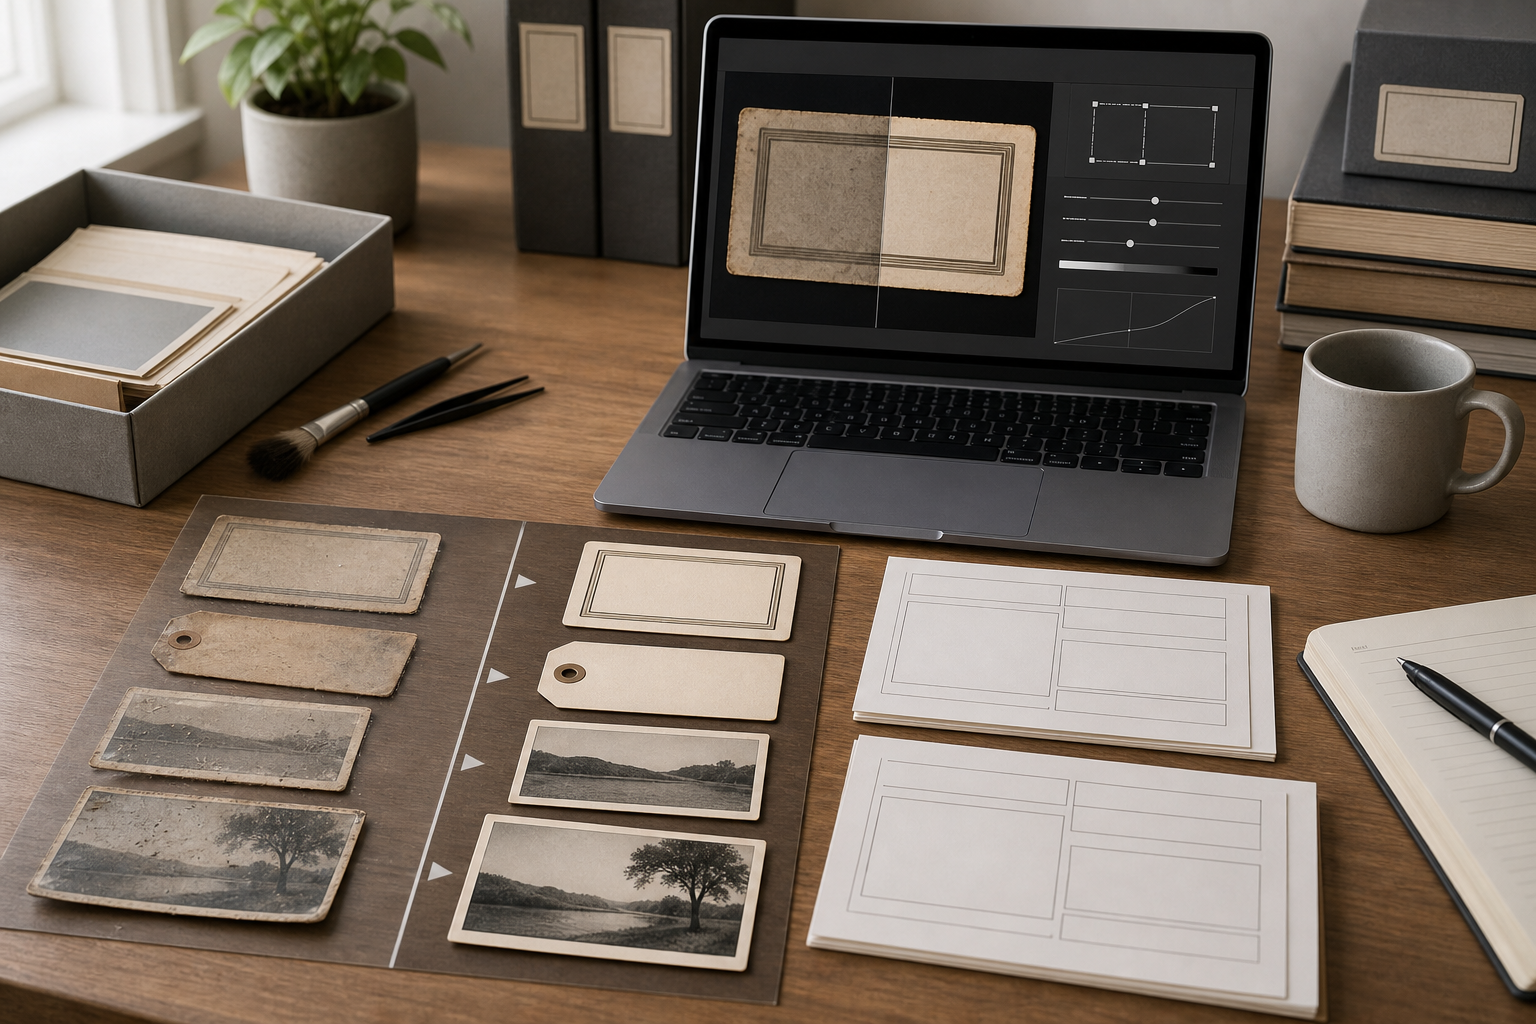
Image cleanup for OCR should be restrained. The goal is not to make the archive label beautiful. The goal is to make letters, numbers, and spacing easier for OCR and human reviewers to read.
Start with crop and rotation. Remove shelves, hands, background clutter, rulers, and unrelated labels. Straighten the text line if the image is tilted. If a folder tab is angled, rotate the crop so the text baseline is horizontal. OCR tools usually handle small tilt, but consistent orientation reduces errors across a batch.
Next, resize only when the original is too small. Very tiny crops can produce broken characters, especially with accession numbers and dates. A label image should be large enough that small punctuation and handwritten marks are visible. If you need to standardize image dimensions, use Resize Image after cropping, not before. Resizing a cluttered full photo wastes pixels on background.
Then adjust contrast gently. Increase contrast enough to separate ink from paper, but avoid crushing faint pencil notes. If the paper is yellowed, do not force it to pure white if that destroys pale writing. For mixed typed and handwritten labels, preserve the handwriting even if the typed text could be made sharper with stronger processing.
Use compression only after OCR images are prepared. Heavy compression can create halos around thin letters and make old typewriter characters look like broken symbols. For archive review packets, Compress Image is useful after you have retained a clean master crop. Keep one high-quality OCR source and one lighter sharing copy.
A practical cleanup order looks like this:
- Duplicate originals into a working folder.
- Crop to the label or note.
- Rotate until the text line is level.
- Resize only if the crop is too small for review.
- Adjust contrast conservatively.
- Save in a stable format for OCR.
- Compress copies only for sharing or web upload.
If the label has a transparent sleeve, glossy tape, or laminated surface, do not fight the reflection with extreme contrast. Retake the photo at a slight lighting angle instead. Better capture beats aggressive cleanup.
Convert Odd Image Formats Into a Stable OCR Set
Archive projects often gather files from phones, scanners, old cameras, email attachments, and volunteer laptops. The folder may contain HEIC, JPG, PNG, TIFF, and occasional screenshots. OCR review becomes easier when the working set is consistent.
Use Convert Image to normalize unusual formats before uploading to OCR or creating review PDFs. JPG is usually fine for photos of boxes and labels. PNG can be useful for screenshots, scans, and high-contrast label crops where you want to avoid extra compression. TIFF may be useful for preservation workflows, but many lightweight browser tools and volunteer computers handle JPG or PNG more smoothly.
Do not convert everything blindly. Decide based on source and next step:
| Source image | Recommended working format | Reason |
|---|---|---|
| Phone photo of box label | JPG | Good balance of quality and size |
| Cropped scan of typed accession slip | PNG or JPG | PNG preserves sharp edges; JPG is smaller |
| Screenshot from a catalog system | PNG | Keeps UI text and lines crisp |
| Large TIFF scan | JPG copy for OCR | Easier to share and batch review |
| Faded pencil note | High-quality JPG or PNG | Avoid heavy compression artifacts |
Keep original files untouched. The normalized OCR set is a derivative working set, not the preservation master. This distinction matters when a volunteer makes a mistake or when a reviewer needs to compare a questionable OCR result with the original capture.
Run OCR in Small, Similar Batches
Once images are cropped, leveled, and normalized, run OCR in batches grouped by source type. Use Image OCR for label crops, shelf tags, typed slips, and short notes. Smaller batches are easier to review than a massive mixed upload, especially when the materials have different error patterns.
A batch of typed box labels may produce clean accession numbers but miss faint pencil additions. A batch of handwritten folder tabs may capture surnames inconsistently. A batch of binder spines may confuse vertical orientation or split words at curved edges. If everything is processed together, reviewers have to switch mental models constantly.
Use batches like these:
box-labels-room-afolder-tabs-family-collectionsbinder-spines-newspapersaccession-slips-1990sshelf-tags-map-cases
After OCR, review for predictable errors. Accession numbers are especially vulnerable. A zero may become the letter O. A one may become lowercase l. A slash may disappear. Dates may be reordered or split. Local abbreviations may be expanded incorrectly by a human reviewer later if the image is not available.
Create a correction pass with three fields: raw OCR, corrected text, and reviewer note. The reviewer note should be short, but it is valuable for uncertainty. Examples include surname unclear, pencil addition, box context needed, or possible duplicate accession.
For archive work, uncertainty is not failure. It is metadata. Marking uncertainty clearly is better than silently inventing a clean transcription.
Keep File Names Attached to OCR Results
OCR text without source filenames is almost useless in archive cleanup. The filename is the bridge between the extracted text and the physical or digital item.
When exporting or copying OCR output, preserve the source image name beside the recognized text. If the tool output is copied manually, paste it into a spreadsheet with columns like this:
| source_file | source_type | raw_ocr | corrected_text | location | reviewer | notes |
|---|---|---|---|---|---|---|
| readingroom-s03-b12-label-001.jpg | box label | Raw OCR text | Corrected text | Shelf 03, Box 12 | Initials | Notes |
The source_type column helps later filtering. The location column connects the file to a physical place. The reviewer column creates accountability without overcomplicating the process. The notes column prevents uncertain readings from being treated as facts.
If the collection uses accession numbers, add a separate possible_accession column. Do not rely on one combined text field if the number will be used for matching records. Accession numbers often need stricter review than descriptive words.
This structure also helps with future deduplication. If several labels mention the same donor, event, or neighborhood, the team can search corrected text while still tracing each result back to its source image.
Package Proof Images for Review
Remote review is common in local history work. A retired volunteer may know local surnames. A curator may need to verify accession numbers. A board member may review a donor collection from home. Sending a messy folder of image files creates friction.
For review packets, turn cleaned label images into a PDF using Image to PDF. A PDF packet lets reviewers scroll, annotate, and compare images without opening dozens of separate files. If you have multiple batches, create one PDF per source type or shelf section.
If several volunteers prepare separate packets, combine them with PDF Merge into a single review document for the coordinator. Keep the order logical: context photo first, label crop second, OCR table or notes after that if included.
A useful packet order is:
- Cover page created outside the tool, if your team uses one.
- Context photos for the shelf, box, or drawer.
- Cropped label images in filename order.
- OCR correction table exported or printed to PDF.
- Notes page for unresolved items.
Avoid oversized review PDFs. If the packet is too large for email or shared drives, compress image copies before building the PDF, or compress the final PDF if your workflow supports it. The important rule is to keep a higher-quality working set somewhere safe before creating lightweight review versions.
When AI Photo Editing Helps, and When It Does Not
AI photo editing can help with archive label preparation, but it needs guardrails. It is appropriate for removing irrelevant background clutter, improving a damaged crop for readability, or extending a neutral background around a label for presentation. It is not appropriate for inventing missing letters, guessing names, or making uncertain handwriting look confidently legible.
If you use AI Photo Editor, keep edits visual and reversible. For example, it can be reasonable to clean stains around a label edge if they distract from review. It is risky to ask an editor to restore a torn word if that restored word might be mistaken for evidence.
Use this rule: if an edit changes the information content of the label, do not use it as the OCR source. Keep it as a presentation copy only, and label it clearly in your internal folder structure.
Good AI editing tasks for this workflow include:
- Removing a distracting background outside the label.
- Extending blank paper margin around a crop.
- Reducing visual clutter from a table surface.
- Creating a cleaner illustration for a report.
Avoid these tasks for evidence images:
- Reconstructing missing handwriting.
- Sharpening text until characters change shape.
- Replacing torn or stained label sections.
- Removing marks that may be meaningful archival annotations.
The safest archive OCR workflow keeps original, cleaned, OCR, and presentation versions separate.
Quality Control Checklist for Archive OCR
Before a batch is accepted, run a short quality control pass. This does not need to be elaborate. It only needs to catch errors that would make the work hard to trust later.
Use this checklist for each batch:
- Every OCR row has a source filename.
- Every filename points to an existing image.
- Context images exist for boxes, shelves, or binders where location matters.
- Accession numbers were reviewed separately from general text.
- Uncertain readings are marked instead of silently corrected.
- Handwritten notes were reviewed by a person, not treated as fully automated output.
- Crops do not remove important neighboring labels or container context.
- Compressed sharing copies are not the only surviving files.
- Review PDFs are small enough to open on normal laptops.
- The batch folder name matches the physical area or collection being reviewed.
For higher-risk collections, sample the batch. Pick ten random images and compare the OCR row, corrected text, and source image. If several have missing filenames, broken accession numbers, or overconfident corrections, pause and fix the process before continuing.
Example Workflow: Processing One Shelf of Community Event Boxes
Imagine a local history room has one shelf of boxes from annual community events. The labels include parade years, committee names, donor surnames, and a few accession numbers. The team wants searchable text before deciding which boxes deserve full cataloging.
The workflow could look like this:
- Photograph the whole shelf.
- Photograph each box front straight on.
- Photograph each label close up.
- Name files by shelf and box order.
- Crop label photos into a working folder.
- Convert any HEIC phone images into JPG.
- Run OCR on the cropped label batch.
- Paste raw OCR into a spreadsheet beside filenames.
- Correct names, dates, and accession numbers.
- Mark unclear handwriting for local expert review.
- Build a PDF proof packet from the label crops.
- Merge the proof packet with reviewer notes.
- Store originals, cleaned crops, OCR output, and review PDF in separate folders.
The team now has a searchable index of the shelf without pretending the work is final cataloging. They can search for a surname, find the source label, open the proof image, and decide whether to inspect the physical box.
Folder Structure That Stays Understandable
A clear folder structure prevents confusion when the project resumes after a month. Use plain names and avoid hiding important state in personal desktop folders.
A practical structure:
archive-ocr-community-events/
  01-original-captures/
  02-working-crops/
  03-ocr-output/
  04-review-packets/
  05-corrected-metadata/
  06-presentation-copies/
The numbered folders keep the workflow order visible. Originals stay untouched. Working crops are the images used for OCR. OCR output contains raw text exports or copied results. Review packets contain PDFs for humans. Corrected metadata contains the reviewed spreadsheet. Presentation copies are optional and should never replace evidence files.
Use a short readme file if multiple volunteers are involved. It can define naming rules, review status, and who owns the next pass. The readme does not need to be formal. It only needs to prevent accidental mixing of originals and derivatives.
Common Mistakes to Avoid
The most common mistake is capturing too wide and expecting OCR to find the important label. Wide context photos are valuable, but OCR needs focused crops. Capture both.
Another mistake is over-compressing images before recognition. Compression artifacts are especially harmful around typewriter text, small dates, and faded pencil. Keep the best crop for OCR, then create lighter files for review.
A third mistake is correcting OCR text without marking uncertainty. Archive metadata often becomes more authoritative as it moves through systems. A guessed surname in a spreadsheet may later look like a confirmed fact. Use notes for uncertainty.
Teams also lose time when they mix source types. Handwritten folder tabs, typed box labels, and glossy binder spines each need different review expectations. Separate batches are easier to process and easier to troubleshoot.
Finally, do not let a PDF packet become the only artifact. PDFs are good for review, but spreadsheets and source images are better for future search, migration, and correction.
Final Handoff
An archive label OCR workflow should produce four things: source images, cleaned OCR images, corrected text, and review evidence. When those pieces stay connected by filenames, even a small team can turn a shelf of confusing containers into a searchable working index.
The process is intentionally modest. It does not replace cataloging, conservation, or expert transcription. It gives local history teams a practical bridge between visible labels and usable metadata. With careful capture, restrained cleanup, consistent file names, and a review packet that others can audit, OCR becomes less of a magic trick and more of a dependable archive routine.