Before-and-After Photo Packets for Renovation Punch Lists
A practical workflow for contractors, designers, and property teams who need clean before-and-after renovation photo packets without heavy layout software.
Before-and-After Photo Packets for Renovation Punch Lists
Renovation work creates a strange documentation problem. Everyone asks for photos, but almost nobody wants to review a folder full of random phone images. A designer wants proof that the paint issue was corrected. A property manager wants to confirm that the appliance panel was replaced. A client wants to see progress without opening 80 attachments. A subcontractor wants to know which markups are still unresolved.
That is where a before-and-after photo packet is useful. It is not a portfolio, a marketing case study, or a legal evidence bundle. It is a compact working document that pairs each issue with a clear visual status: what was there, what changed, and what still needs attention.
The best packets are boring in a good way. They use consistent image sizes, predictable ordering, short captions, and clean PDF delivery. They avoid decorative layouts because the goal is not to impress. The goal is to let a reviewer make decisions quickly.
This guide walks through a practical workflow for contractors, remodelers, interior designers, facilities teams, and property managers who need renovation punch list packets without using heavy design software. You can do the whole process with simple browser tools such as image resizing, compression, conversion, OCR, and PDF creation.
When a Before-and-After Packet Is Better Than a Photo Folder
A shared folder is fine while a project is active and people are still collecting raw material. It becomes a problem when review starts.
Raw folders usually contain duplicates, blurry shots, unrelated site photos, and inconsistent naming. They also force every reviewer to reconstruct the story. Which photo is the original issue? Which one is the corrected version? Was the photo taken from the same angle? Is the scuffed cabinet door the same cabinet door shown in the repair image?
A packet solves that by turning scattered images into a sequence of review decisions. Each item has a location, a before image, an after image, and a status note. The reviewer can approve, reject, or ask for another correction.
This format is especially useful for:
- Apartment turnover repairs where multiple units are reviewed at once
- Hospitality room refreshes with many small finish items
- Retail fit-outs where brand standards require visual confirmation
- Residential remodels with owner punch list feedback
- Facilities repairs where finance or operations needs proof of completion
- Insurance-adjacent repair documentation where teams need clarity but not a formal claim file
The packet does not need to include every photo taken during the project. It should include only the images that help someone verify a specific issue or decision.
The Packet Structure That Keeps Reviews Moving
A good renovation packet has a repeatable structure. Reviewers should not need to learn your format each time you send one.
Use this basic order:
| Section | Purpose | Recommended length |
|---|---|---|
| Cover summary | Identifies the project, area, review date, and preparer | 1 page |
| Review index | Lists each item by room, location, and status | 1 to 2 pages |
| Before-and-after pairs | Shows the visual evidence for each item | As needed |
| Open items | Groups anything still unresolved | 1 page |
| Appendix | Includes extra context photos only when useful | Optional |
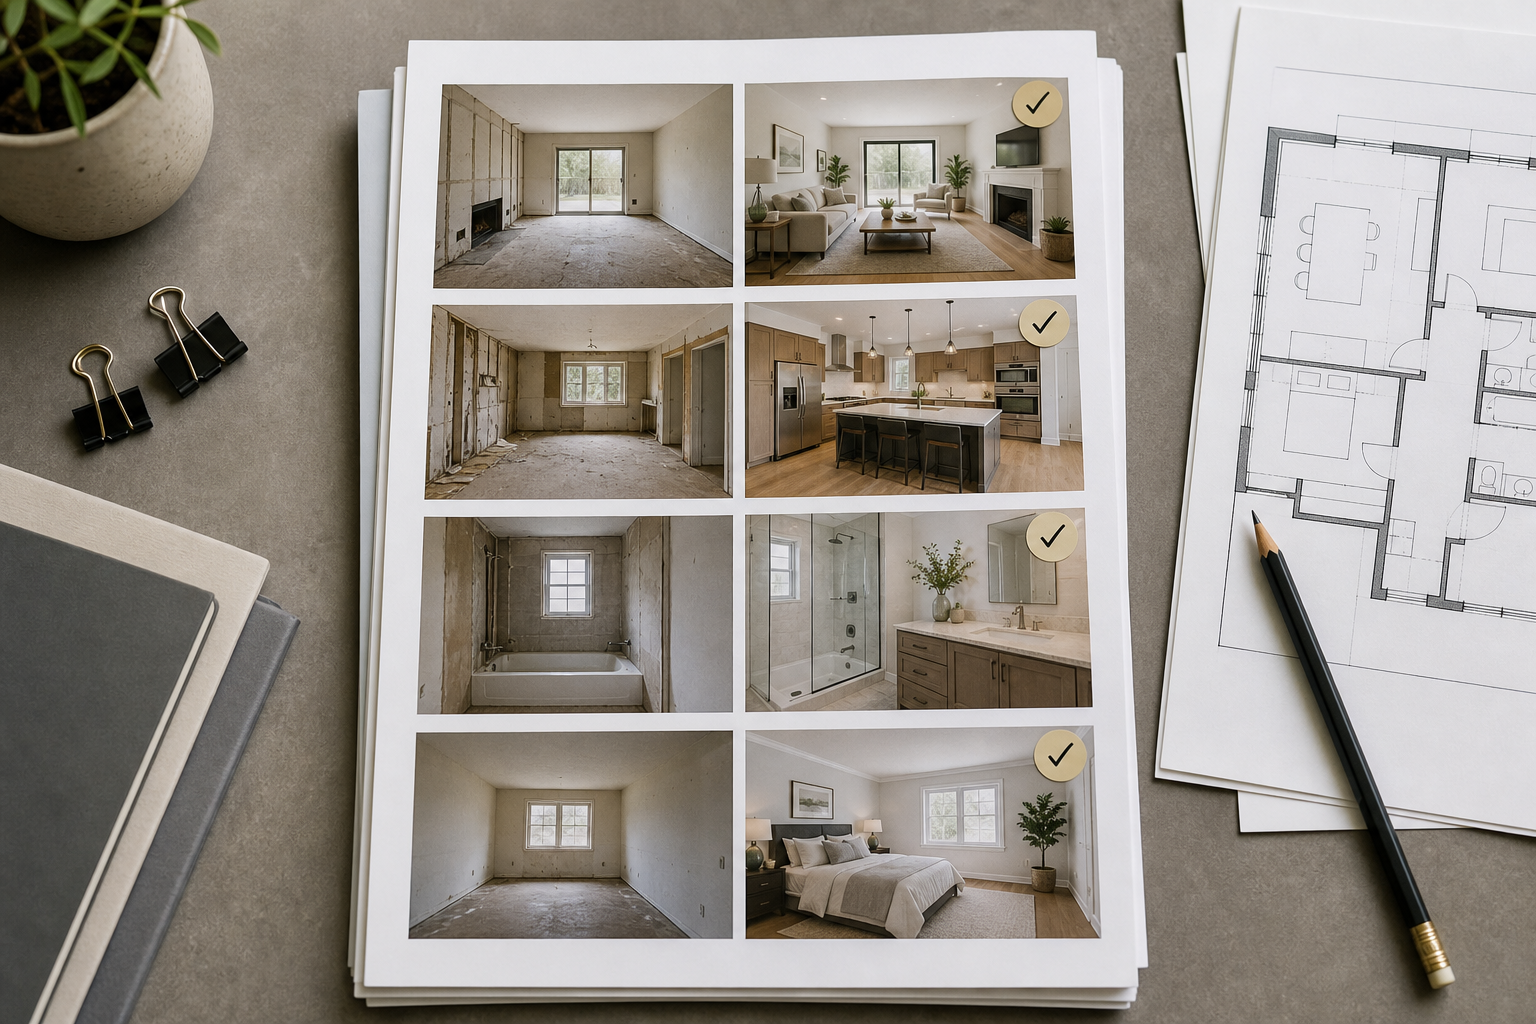
The most important section is the before-and-after pair. Keep each item visually consistent. A simple layout can be enough:
- Item number
- Room or area
- Short issue description
- Before photo
- After photo
- Status: complete, needs review, blocked, or follow-up required
- Optional note about the next action
Do not overload each page. One or two punch list items per page is usually easier to review than a dense grid of tiny photos. If the project has dozens of minor items, a grid can work for the appendix, but the primary review section should remain readable.
Use Item Numbers That Survive the Whole Project
Item numbers are more important than they look. If the project manager says "see bathroom item 14," everyone should be able to find the same item in the folder, spreadsheet, PDF, and email thread.
A useful naming pattern is:
PROJECT-AREA-ITEM-STATUSFor example:
RIVERHOUSE-UNIT3B-014-COMPLETE
RIVERHOUSE-UNIT3B-015-REVIEW
RIVERHOUSE-LOBBY-006-BLOCKED
Use the same number for the before image, after image, and final PDF page. Do not renumber items just because a new issue appears. Add it at the end or give it a suffix such as 014B if it belongs next to an existing item.
What Makes Renovation Photos Hard to Review
Before-and-after packets fail when the photos look clear to the person who took them but confusing to everyone else.
The most common problems are simple:
| Problem | Why it slows review | Better approach |
|---|---|---|
| Different angles | Reviewers cannot confirm it is the same surface | Recreate the original angle when possible |
| Overly wide photos | The issue is too small to inspect | Crop around the relevant area |
| Extreme close-ups | There is no room context | Include one context shot and one detail shot |
| Mixed orientation | Pages feel chaotic and waste space | Standardize landscape or portrait per section |
| Dark jobsite lighting | Finish issues disappear | Brighten carefully without changing material appearance |
| Huge file sizes | Email and upload workflows fail | Resize and compress before making the PDF |
| Missing labels | Reviewers guess what they are seeing | Use consistent item numbers and short captions |
The goal is not to beautify the site. It is to preserve enough detail for review while removing distractions that make decisions slower.
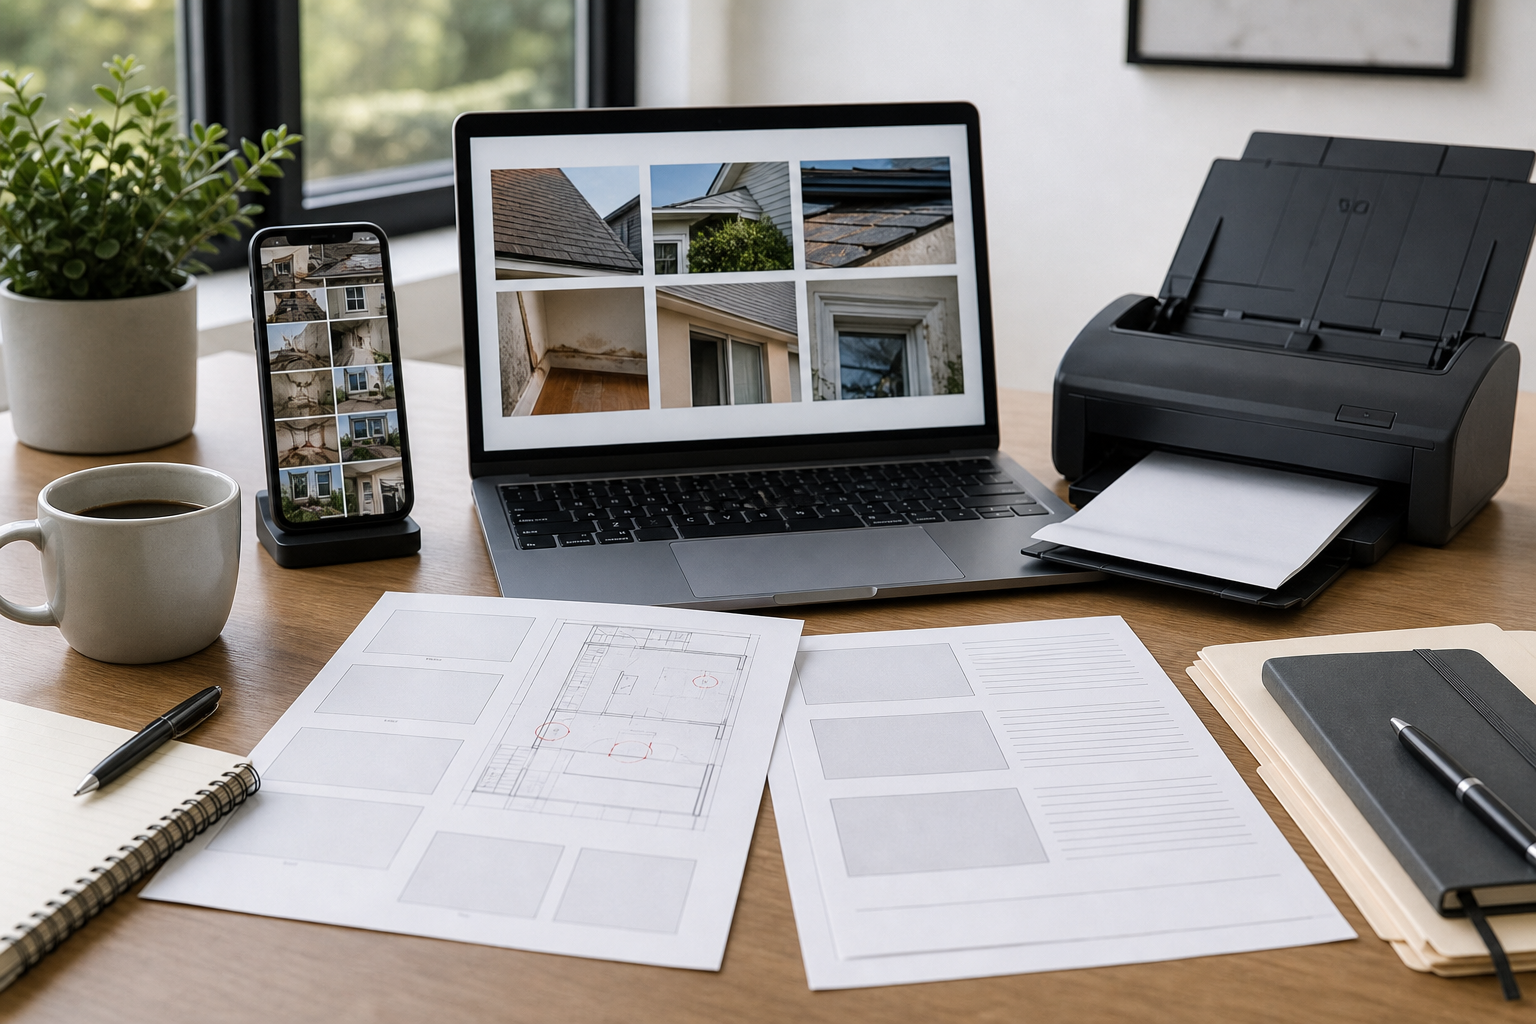
A Practical Image Prep Workflow
Start with the raw photos, but do not build the packet directly from them. Create a prepared image set first. This gives you a clean working folder and protects the originals from accidental overwrites.
Step 1: Split Raw Photos Into Three Buckets
Create three folders:
01_raw
02_selected
03_prepared
Put everything from the phone, camera, or subcontractor message thread into 01_raw. Do not rename or edit those files first. Then copy only the useful review images into 02_selected.
This selection step is where you remove duplicates, pocket shots, accidental videos, blurry images, and photos that do not support a punch list decision. A smaller selected set makes every later step faster.
For each punch list item, try to select:
- One before photo with enough context to identify the location
- One after photo from a similar angle
- One optional detail photo if the issue is small or technical
If the before photo is missing, do not fake a pair. Use a single after photo and label the item clearly as "after only" in your own notes. The packet is more credible when it is honest about missing context.
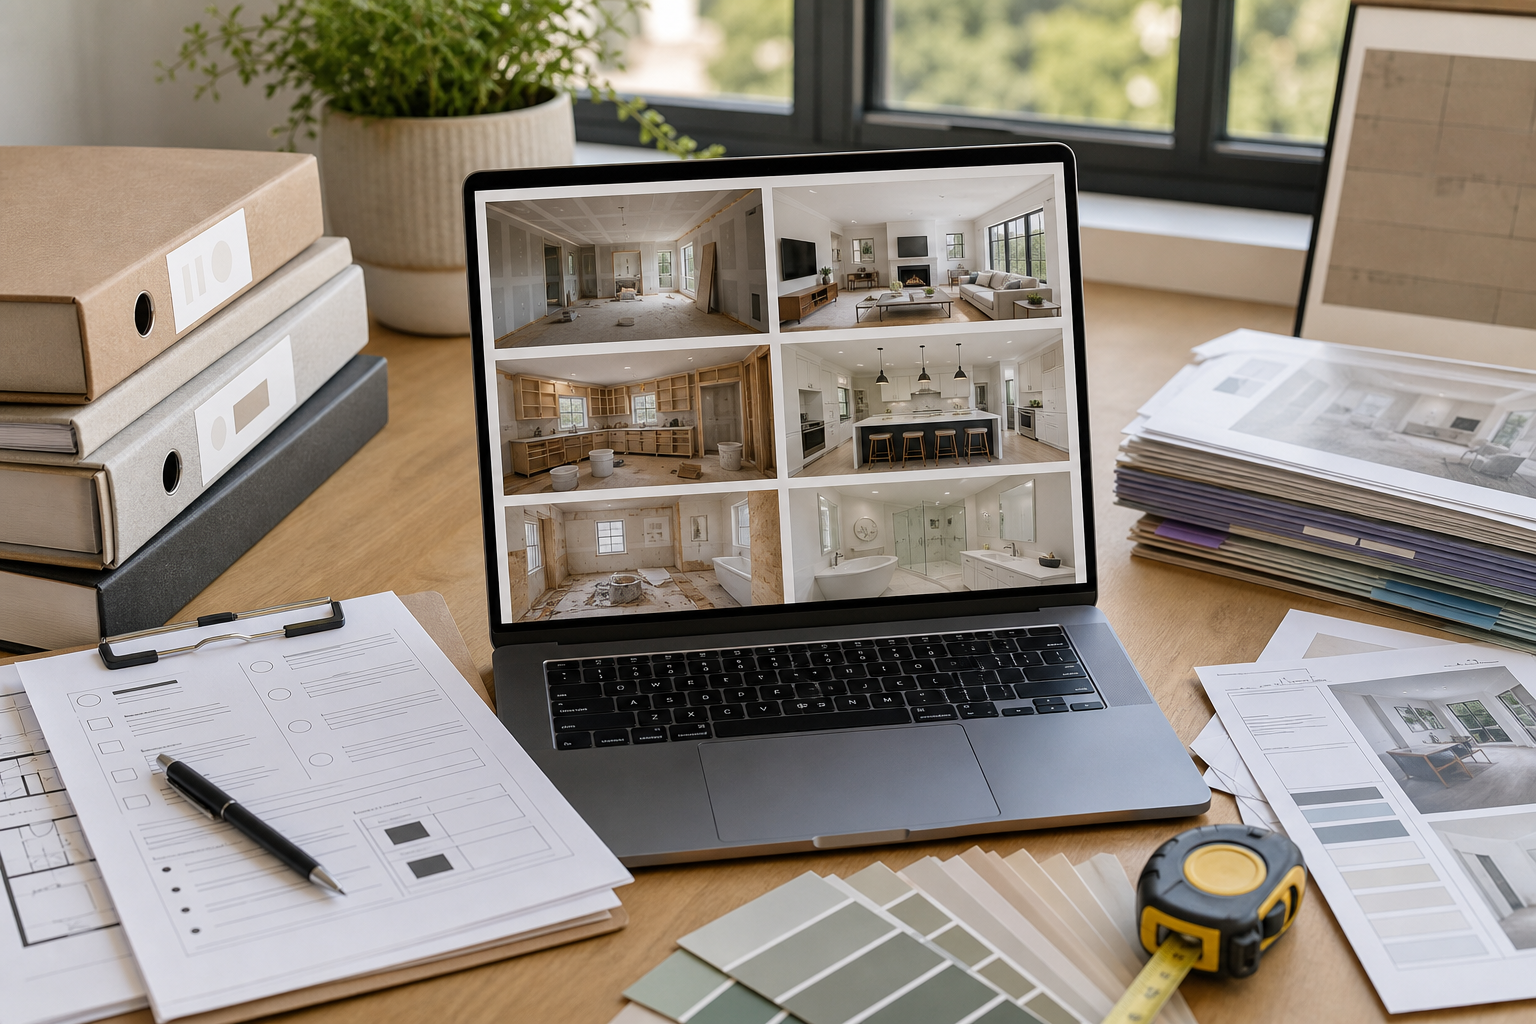
Step 2: Crop for the Decision, Not for Beauty
Cropping is where many packets either improve dramatically or become misleading. A good crop removes irrelevant ceiling, floor, tools, and background clutter while keeping enough room context.
For a cracked tile, show the tile and surrounding grout lines. For a cabinet door alignment issue, show both adjacent doors. For a paint touch-up, include enough wall area to judge whether the sheen matches.
Avoid crops that make the fix look better than it is. If the repair only looks complete from one angle, include the angle that a reviewer would naturally inspect in person.
Step 3: Resize Before You Build the PDF
Phone photos are often far larger than a review packet needs. A single modern phone image can be several megabytes. Multiply that by 40 images and the PDF becomes painful to email, upload, or open on a tablet.
For most punch list packets, resize images before layout. A practical target is:
| Use case | Long edge target | Notes |
|---|---|---|
| Email review packet | 1600 to 2000 px | Good balance of clarity and size |
| Tablet field review | 2000 to 2400 px | Keeps detail visible when zooming |
| Archive copy | 2400 to 3000 px | Use only when long-term detail matters |
| Thumbnail index | 800 to 1200 px | Enough for quick scanning |
Use a tool like Resize Image to make the selected images consistent before placing them into a packet. Consistent dimensions make the final PDF easier to scan and reduce layout surprises.
Step 4: Convert Odd Formats Early
Renovation photos often arrive from mixed devices. One subcontractor sends HEIC images from an iPhone. Another sends PNG screenshots with markup. A project manager exports JPEGs from a field app. Some systems accept all of these; others do not.
Before building the final packet, normalize the working set into a common format. JPEG is usually fine for site photos. PNG is useful for screenshots, marked-up drawings, or images with sharp annotation lines. WebP can be efficient for web publishing, but it is not always ideal for client review PDFs if the recipient's workflow is conservative.
Use Convert Image when you need to turn mixed inputs into predictable JPEG or PNG files. This is especially helpful when preparing a packet for a client portal, municipal upload system, or asset manager that rejects unfamiliar formats.
Step 5: Compress Without Destroying Finish Detail
Compression should make the packet easier to handle without hiding the issue being reviewed. That means you need to look at the actual content, not just chase the smallest possible file size.
Be careful with:
- Fine cracks in tile, stone, glass, or plaster
- Paint sheen differences
- Hairline gaps around trim
- Small hardware scratches
- Thin annotation lines from markup apps
- Text on appliance labels or fixtures
Use Compress Image after resizing, then inspect a few representative images at 100 percent zoom. If the issue becomes harder to see, use lighter compression or a larger image size.
When AI Cleanup Helps and When It Does Not
AI image editing can be useful for renovation documentation, but it needs strict boundaries. A punch list packet is a review document, not a beauty retouching exercise.
Appropriate uses include:
- Brightening a dark image so the reviewed area is visible
- Removing a temporary obstruction from a duplicate reference image, if the original is retained elsewhere
- Extending a background for a presentation copy, not for evidence-style review
- Cleaning visual noise in a non-critical context photo
Avoid using AI cleanup to alter the actual defect, repair, finish, alignment, damage, color, or installation quality. If the image is meant to prove that work was completed, the edited version should not change what the reviewer is approving.
A simple rule works well: if the edit changes the answer to "is this item complete?" then it does not belong in the review packet.
For presentation-only images, AI Photo Editor can help clean distracting context. For formal punch list approval, keep the original or a lightly adjusted version that preserves the work exactly as photographed.
Captions: Short, Specific, and Reviewable
Captions should help reviewers decide, not narrate the whole project.
Weak caption:
Bathroom fixed.Better caption:
Unit 3B bath vanity: left drawer face realigned; reveal now matches adjacent drawer.The better caption names the location, the element, and the visible correction. It also avoids vague claims such as "perfect" or "fully resolved" unless the responsible reviewer has already approved it.
Use a consistent caption pattern:
Area: element corrected; review focus.Examples:
Kitchen: backsplash outlet cover replaced; confirm plate sits flush.
Hallway: baseboard corner repainted; confirm sheen match in daylight.
Suite 214: shower threshold resealed; confirm no visible gap at right return.
Lobby: brass kick plate reinstalled; confirm lower left fastener alignment.
If a photo includes a manufacturer label, appliance serial, or small printed instruction that matters, use Image OCR to extract the text instead of retyping it from a blurry zoomed view. OCR is also useful for turning handwritten room labels or temporary site tags into cleaner internal notes before building the packet.
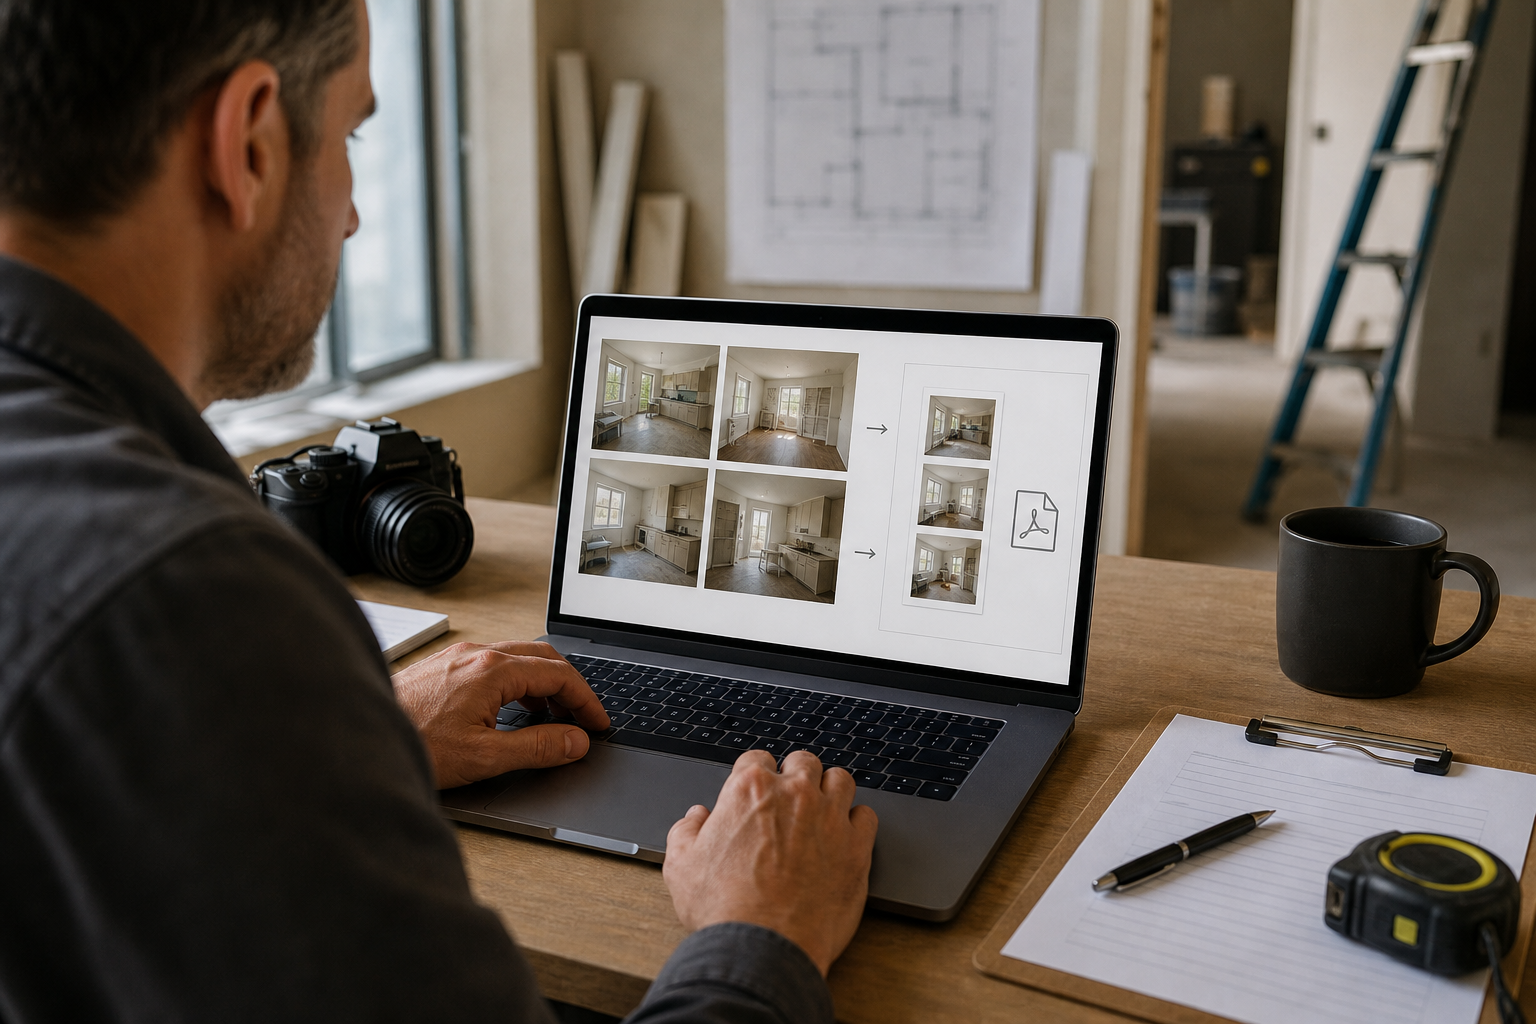
Build the PDF as a Review Tool
Once the images are selected, resized, converted, compressed, and captioned, turn them into a PDF packet. PDF is still the easiest format for mixed reviewers because it travels well across email, tablets, project management tools, and client portals.
Use Image to PDF when you need a straightforward packet from prepared images. If you already have a cover sheet, exported punch list, or signed review page, combine it with the image pages using PDF Merge.
A practical final order looks like this:
- Cover page
- Summary table or exported punch list
- Completed items
- Items needing review
- Blocked or incomplete items
- Appendix photos
Keep the completed and unresolved sections separate. Reviewers should not have to hunt through approved work to find the remaining decisions.
PDF Naming That Prevents Confusion
Use a file name that tells people exactly what they are opening.
Good pattern:
project-area-punch-list-review-date-version.pdfExample:
riverhouse-unit3b-punch-list-review-2026-05-13-v02.pdfAvoid names like:
final.pdf
photos_new.pdf
client_version_latest.pdf
The word "final" becomes a liability when another correction cycle appears. Use dates and version numbers instead.
A Decision Table for Common Packet Choices
Different renovation reviews need different levels of detail. Use the table below to choose the right packet style.
| Situation | Best packet style | Why |
|---|---|---|
| Owner needs quick approval | One item per row with before and after | Fast visual comparison |
| Designer checks finish quality | Larger images, fewer per page | Details matter more than page count |
| Property manager reviews many units | Grid index plus detail pages for exceptions | Speeds scanning across repeated spaces |
| Subcontractor receives corrections | Open items first, with close crops | Reduces ambiguity about remaining work |
| Finance needs completion backup | Summary plus completed item photos | Supports payment review without excess detail |
| Archive record for future maintenance | Higher-resolution PDF with appendix | Preserves context for later reference |
Do not use one universal packet style for every audience. A client approval packet and a subcontractor correction packet may use the same images but should not necessarily use the same order.
Quality Control Before You Send
Before sending the packet, review it like someone who was not on site.
Use this checklist:
- Every item number appears only once in the main review section
- Before and after images are paired correctly
- Captions identify the room or area clearly
- Crops still show enough context to locate the item
- File size is practical for the delivery method
- Images are not accidentally rotated
- Any AI-edited or presentation-only images are not used as proof of completion
- Open items are separated from completed items
- The PDF file name includes project, area, date, and version
- The packet opens correctly on a phone or tablet
The phone check matters. Many renovation reviews happen while someone is walking a site, sitting in a car, or forwarding a packet between meetings. If the PDF is unreadable on a phone, the review may stall even if the content is technically complete.
Check the First Three Pages Like a Reviewer
The first three pages should answer three questions quickly:
- What project and area is this?
- What am I being asked to review?
- Where do I find the unresolved items?
If those answers are buried, revise the cover summary or reorder the packet. A reviewer should not need to understand your folder structure to make a decision.
Example Workflow for a Small Apartment Turnover
Imagine a property team preparing a move-out repair packet for Unit 3B. The unit had 22 punch list items: paint touch-ups, cabinet adjustments, appliance panel replacement, bathroom caulk, two damaged blinds, and several trim repairs.
A clean workflow might look like this:
- Export the punch list from the project tracker.
- Copy all raw photos into
01_raw. - Select two images per item where possible and place them in
02_selected. - Rename selected files using the item number and status.
- Crop each image around the reviewed surface while preserving room context.
- Resize the long edge to 2000 pixels using Resize Image.
- Convert HEIC and mixed formats into JPEG using Convert Image.
- Compress the prepared set with moderate settings using Compress Image.
- Create a PDF from the prepared images using Image to PDF.
- Merge the PDF with the exported punch list and cover page using PDF Merge.
- Review the final PDF on desktop and phone.
- Send version
v01for owner review.
The important part is not the exact tool order. It is that selection, cleanup, resizing, and compression happen before PDF assembly. That keeps the final packet controlled instead of becoming a heavy container for messy source files.
Handling Markups and Annotations
Sometimes the clearest review image includes arrows, circles, or notes added by a project manager. Markups are useful, but they can also clutter the packet if every image becomes a screenshot of a screenshot.
Use markups when they identify a small issue that would otherwise be hard to find. Avoid them when the issue is obvious from the photo alone.
A good markup image should:
- Point to one issue, not five unrelated items
- Use high contrast so the mark is visible after compression
- Preserve the original photo separately
- Avoid covering the defect or repair being reviewed
- Be used consistently across the packet
If the markup includes text, make sure it remains readable after resizing. Thin red or yellow annotation lines can degrade quickly under aggressive compression, so inspect them carefully before final PDF assembly.
What Not to Include
A packet becomes harder to review when it tries to be everything.
Leave out:
- Unrelated progress photos
- Duplicate angles that do not add information
- Personal items, faces, or private documents visible in the background
- Raw camera bursts
- Photos from unrelated rooms
- Decorative before-and-after collages
- Overly edited images that make finishes look different
- Long explanations that belong in the project tracker
If an extra image might be useful later, put it in the appendix or keep it in the project folder. The main packet should stay focused on decisions.
Privacy and Site Sensitivity
Renovation photos often capture more than the repair. They may show tenant belongings, family photos, access codes, floor plans, invoices, computer screens, or personal mail.
Before sending a packet outside the core project team, scan every image for sensitive details. Crop them out when they are irrelevant. If cropping would remove needed context, consider masking the sensitive area in a copy while retaining the original internally.
Be especially careful with:
- Residential units that are still occupied
- Hospitality back-of-house areas
- Healthcare or education spaces
- Retail stock rooms
- Security panels, keys, and access badges
- Whiteboards or paperwork visible in reflections
The packet should show the work, not expose the people or operations around it.
Final Delivery Tips
When the PDF is ready, send it with a short message that tells the reviewer what action is needed. Do not make them infer the purpose from the attachment.
A concise delivery note might say:
Attached is the Unit 3B punch list photo packet for review. Items 1-18 are marked complete. Items 19-22 need owner review before closeout. Please reply with approvals or requested corrections by Friday.That message gives the recipient a clear task. The packet gives them the visual basis to complete it.
If the PDF is too large for email, do not split it randomly. First check whether oversized raw images slipped through. Resize and compress the prepared images, rebuild the PDF, and only then consider splitting by area or status.
A Cleaner Closeout Habit
Before-and-after photo packets are not about making renovation work look glamorous. They are about reducing friction at the moment when projects often slow down: final review, correction, approval, and closeout.
A clean packet helps each stakeholder do their part. The contractor can show what changed. The designer can inspect finish details. The property manager can track unresolved items. The client can approve without digging through a messy folder.
The workflow is straightforward: select only useful photos, crop for the decision, resize consistently, normalize formats, compress carefully, caption clearly, and assemble the final PDF in an order that matches the review task.
Once the habit is in place, every project closeout becomes easier. The photos stop being a pile of attachments and become a working document that moves decisions forward.