Stage Lighting Cue Sheet Digitization: A Practical Guide for Searchable Show Records
Turn handwritten stage lighting cue sheets into clear, searchable show records with better photography, careful OCR, structured verification, and compact PDF archiving.
Stage Lighting Cue Sheet Digitization: A Practical Guide for Searchable Show Records
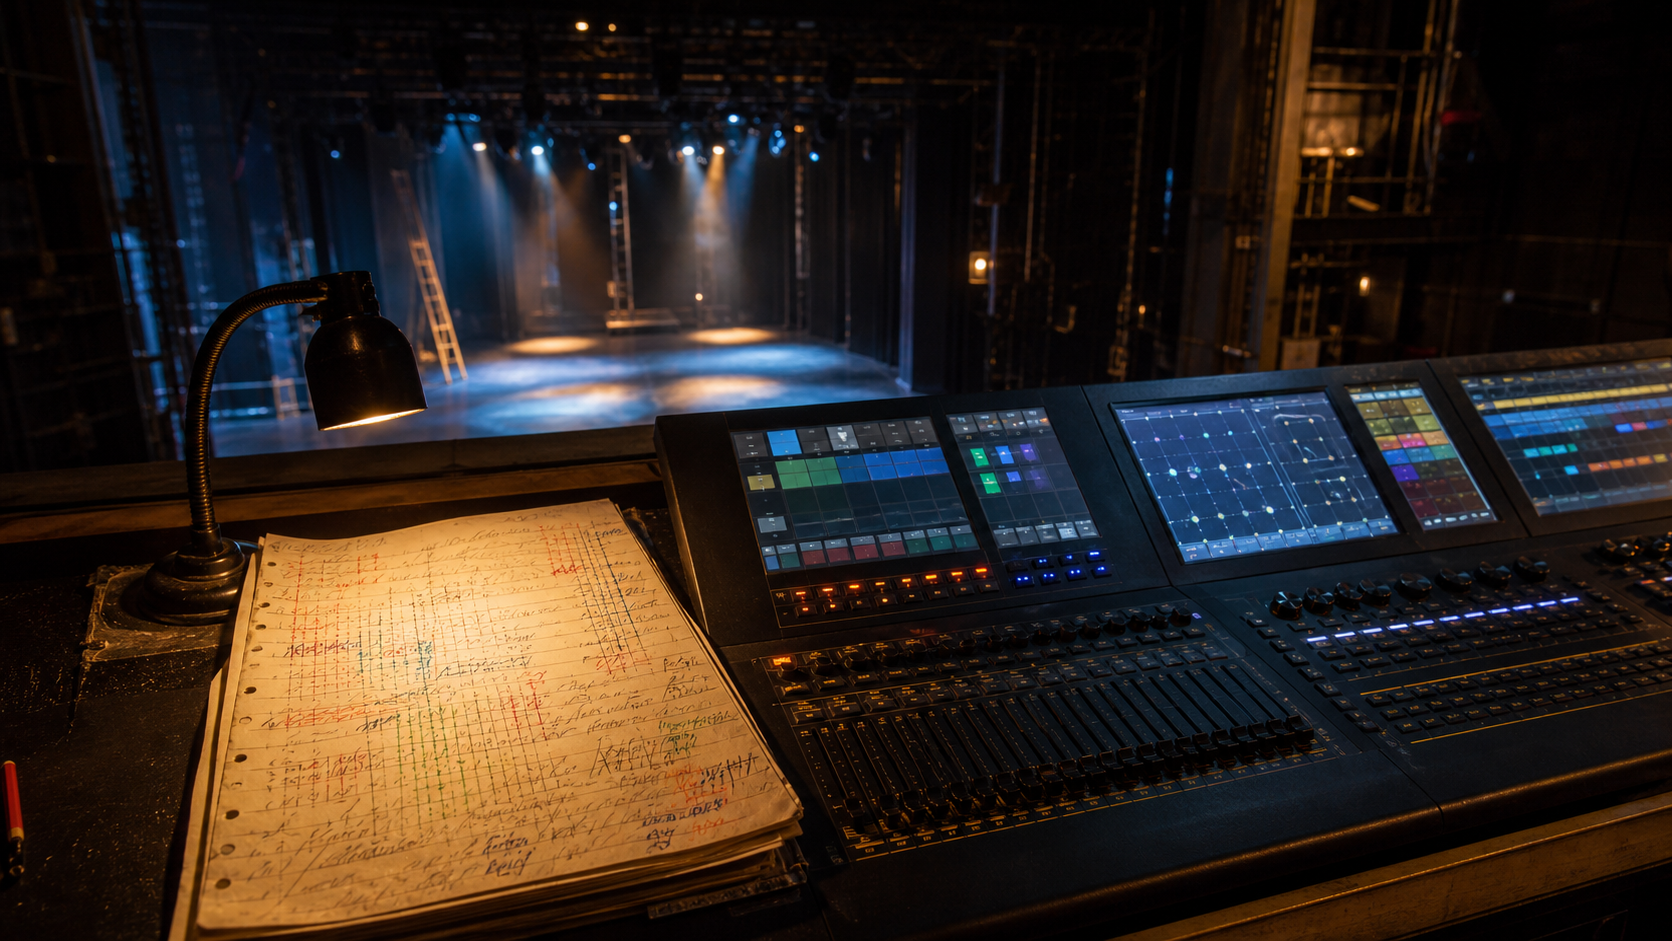
A stage lighting cue sheet can look deceptively simple: a grid, a few cue numbers, some timing notes, and perhaps a colored pencil mark indicating a special. In practice, it may be the only surviving record of how a production moved from one visual state to another.
Older sheets are especially difficult to reuse. Pencil fades. Erasures leave ghosts. Coffee stains cross several rows. Operators add notes in the margin during previews, then squeeze revised timings between existing entries. A single box may contain a cue number, an abbreviated action, a count, and an arrow whose direction carries more meaning than the words around it.
Digitizing these sheets is therefore not a matter of pointing an OCR tool at a photograph and accepting the output. The useful goal is a defensible show record: an image that preserves the source, searchable data that helps people find cues, and a clear indication of anything that could not be interpreted confidently.
This guide presents a practical method for theatre companies, school auditoriums, touring crews, rental houses, and performing arts archives. It focuses on handwritten and mixed-format lighting documents rather than clean console exports.
Why Lighting Cue Sheets Are Difficult to Digitize
Cue sheets combine several characteristics that document-recognition systems handle poorly.
First, their meaning depends on layout. The difference between a note in the cue-description column and the same note in the standby column is operationally important. Flattening the page into an unstructured block of text destroys that distinction.
Second, handwriting is usually compressed. Operators write quickly, use personal abbreviations, and place corrections wherever space remains. Similar characters are common: 1, I, and L; 0 and O; or 5, S, and a hurriedly written 8.
Third, lighting notation is not entirely textual. Arrows can mean fade direction. Circles may flag a cue that requires special attention. Brackets can group several actions. Highlight colors may distinguish automated cues from manual calls. A check mark might mean completed, confirmed, or transferred to the console depending on local practice.
Finally, the physical sheets are often imperfect. They may have been folded into a script, taped to a console, printed on colored paper, or annotated with several generations of graphite and ink.
These conditions make full automatic transcription unrealistic. OCR is still valuable, but it should create a draft for controlled verification rather than act as the final authority.
Decide What the Digital Record Must Preserve
Before photographing anything, decide how the archive will be used. This prevents needless transcription while ensuring that important evidence is not discarded.
A small venue trying to remount last year's production may need cue numbers, trigger lines, fade times, and warnings about manual effects. A historical archive may care more about preserving every handwritten revision. A touring company may need a compact reference PDF that can be opened on a phone during a load-in.
Use the following preservation levels as a starting point:
| Record level | Preserve | Suitable for |
|---|---|---|
| Reference image | Corrected page image and basic filename | Short-term backup or informal consultation |
| Searchable archive | Page image, OCR text, show metadata, and verification notes | Company archives and remount planning |
| Operational reconstruction | Structured cue rows, exact timings, trigger language, revision history, and unresolved marks | Rebuilding a show or transferring it to another venue |
Do not assume the most detailed option is always best. Transcribing every marginal doodle from hundreds of pages may consume time without improving future decisions. Write a short capture policy instead: which columns are mandatory, how uncertain entries will be marked, and whether color annotations carry meaning.
Build a Capture Checklist Before Handling the Pages
Prepare the capture area before moving fragile or heavily annotated sheets. A basic setup needs a camera or modern phone, a stable overhead support, two diffused lights, a neutral backing board, and a ruler or scale reference.
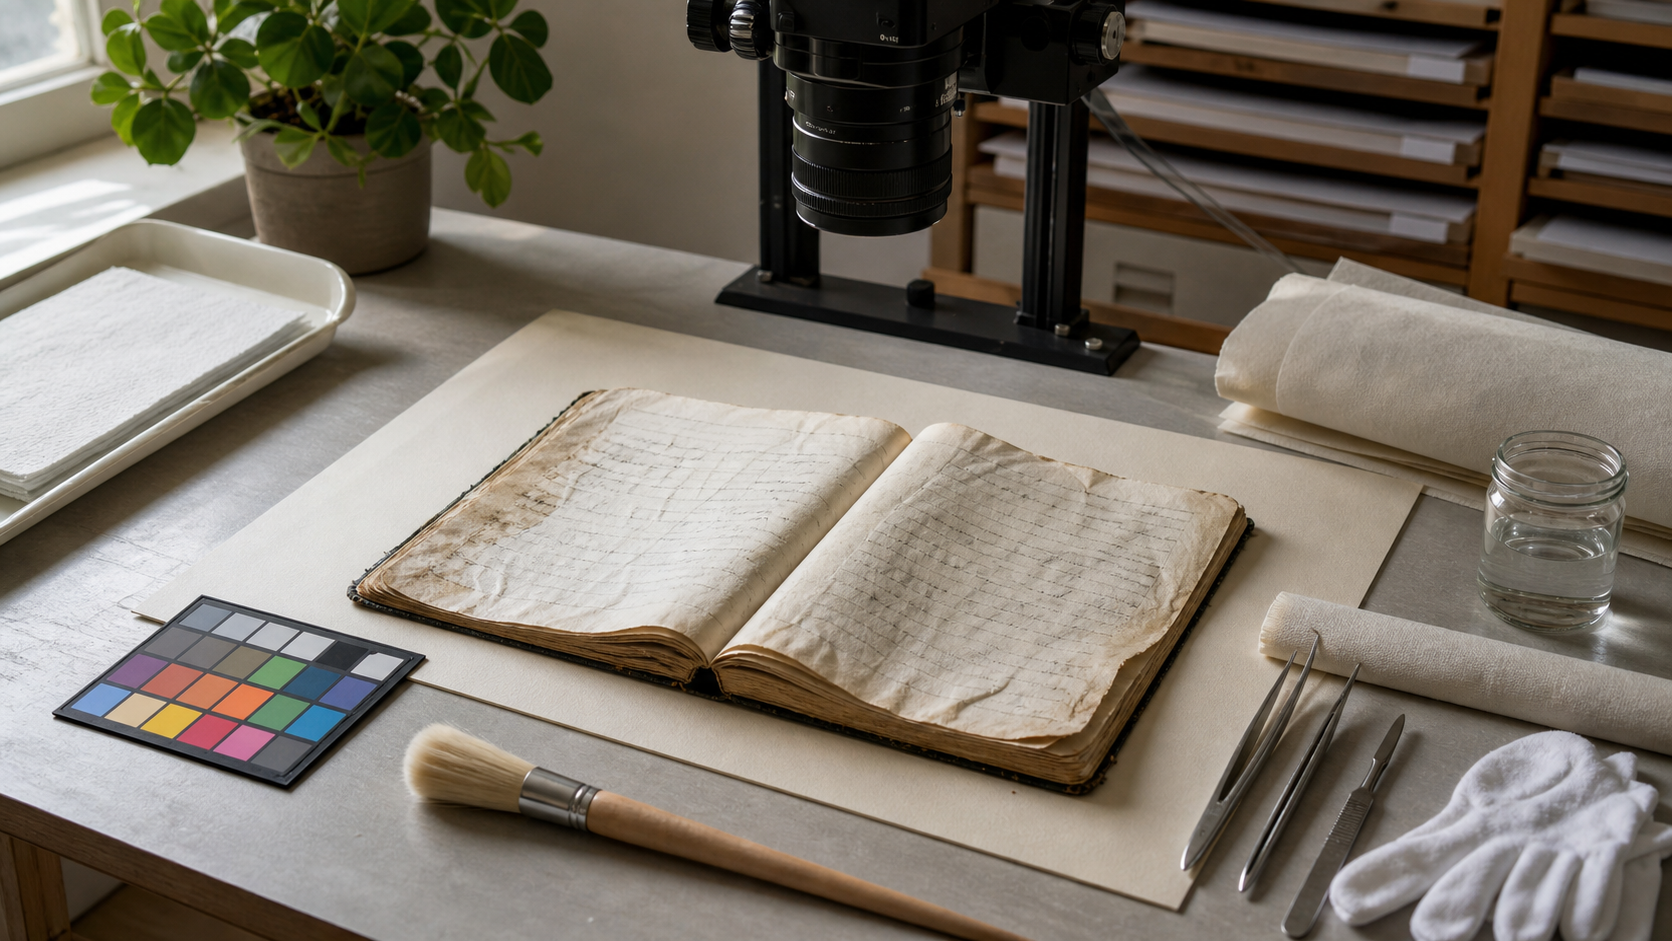
Add a soft brush or air blower for loose dust, but do not erase, clean with liquids, or remove tape unless a conservator has approved it. What appears to be dirt may be production evidence, such as a mark showing where a sheet was repeatedly clipped to a prompt desk.
Create a capture log with these fields:
- Production title and season
- Venue or tour location
- Document type
- Page or sheet number
- Printed revision date, if present
- Operator or designer, if known
- Capture date
- Missing pages
- Physical damage
- Color coding that appears meaningful
Assign identifiers before photography. A practical pattern is production-year-document-page, such as winterguest-2019-lx-cues-003. Avoid relying on filenames such as IMG_4821, which reveal nothing after files are copied away from the original phone.
Photographing Cue Sheets Without Losing Pencil Marks
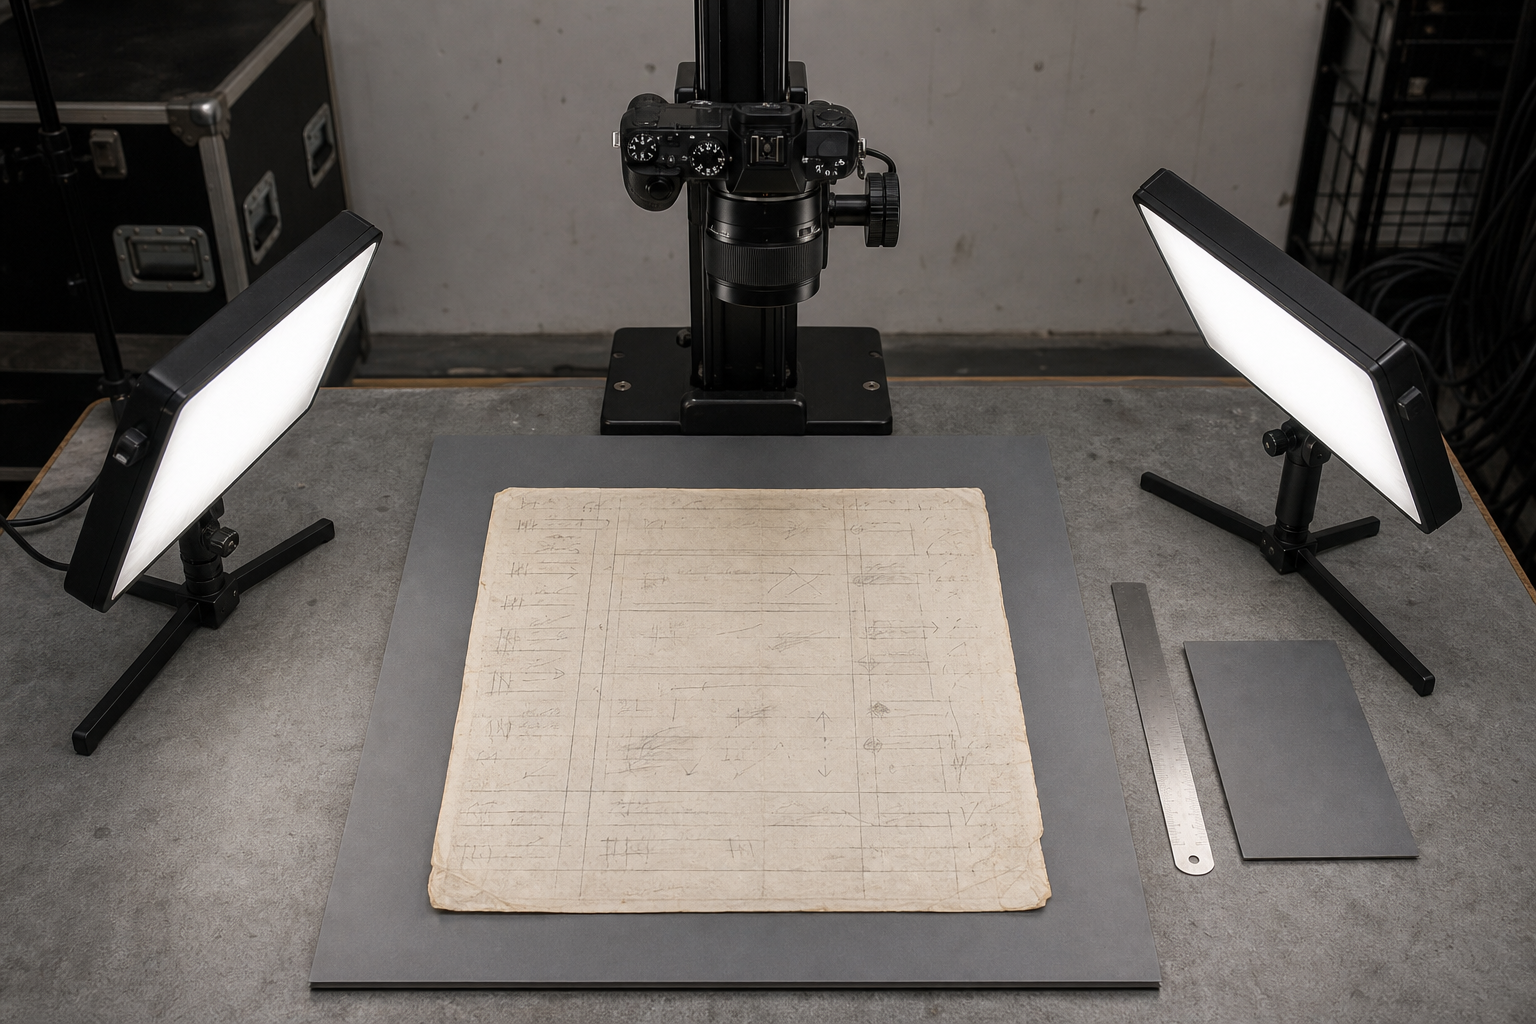
Mount the camera so its sensor is parallel to the page. Even a slight angle can turn rectangular cells into trapezoids, causing OCR lines to drift from one column into another. Use the on-screen grid to align the page edges.
Place two diffused lights at opposing angles, approximately 45 degrees from the paper. This reduces shadows from wrinkles and minimizes glare from transparent tape. Turn off mixed room lighting if it creates patches of different color temperature.
Pale graphite requires careful exposure. Automatic camera settings may brighten the paper until faint notes disappear. Tap or meter on the paper, then lower exposure slightly while checking that pencil strokes remain distinct. Photograph in the camera's highest practical resolution. If RAW capture is available and the collection matters, save RAW files alongside ordinary image copies.
Include a ruler and neutral gray reference card in the first frame of each batch, but keep them outside the page area in the archival master. They help establish scale and correct color later.
Capture each sheet in this order:
- A full-page reference frame including the identifier.
- A clean full-page frame with no object covering the sheet.
- Detail frames of faint, folded, overwritten, or damaged areas.
- The reverse side if marks, bleed-through, tape, or annotations are present.
Check sharpness at the corners as well as the center. Phones sometimes focus on a raised fold, leaving the surrounding handwriting soft. A two-second timer or remote shutter reduces movement from touching the device.
When a Scanner Is the Better Choice
Use a flatbed scanner for loose, stable sheets that can rest safely against glass. Scanning offers consistent geometry and even illumination. A resolution of 300 pixels per inch can be enough for clean ink, but 400 to 600 pixels per inch is safer for faint pencil, small superscripts, and correction marks.
Do not force bound prompt books flat or press brittle paper under a lid. An overhead photograph with minor curvature is preferable to physical damage. Large folded plots may also be easier to photograph in overlapping sections than to feed through an office document scanner.
Correct the Page Without Rewriting Its History
Create a preservation master before making visual corrections. The master should retain the original color, stains, edge information, and annotations. Perform cleanup on a duplicate.
Start with geometric corrections: rotate the sheet, fix perspective, and crop just beyond the paper edge. You can use the image resizing tool to create consistent access copies after the high-resolution master is safely retained.
Next, adjust tonal range gently. Move the white point enough to separate the paper from gray background haze, but stop before faint pencil strokes vanish. Increase local contrast rather than applying aggressive global contrast. A small amount of sharpening can clarify handwriting; heavy sharpening creates halos around grid lines and may turn paper fibers into false characters.
For stains crossing text, consider producing two derivatives:
- A natural-color version that preserves the sheet's appearance
- A high-contrast reading version optimized for handwriting and grid lines
The AI photo editor can assist with localized image corrections, but historically meaningful marks should not be removed from the preservation copy. Never reconstruct missing handwriting merely because a generated result looks plausible.
Color annotations deserve special attention. Converting everything to grayscale may erase the distinction between red warnings, blue timing changes, and yellow highlights. If color appears meaningful, retain a color derivative even when a monochrome copy performs better in OCR.
Separate the Grid Before Running OCR
A whole-page recognition pass is useful for discovery, but it rarely produces a dependable cue table. Vertical rules can be mistaken for letters, and text from adjacent columns may be merged into one sentence.
Create a duplicate image and divide it into logical regions. For a typical sheet, those regions might include:
- Cue number
- Trigger or action
- Fade time
- Delay or wait time
- Channel, group, or submaster reference
- Standby note
- Operator annotation
Run image OCR on the full page first, then on cropped columns or groups of rows. The full-page result provides context, while the smaller passes often recognize characters more accurately.
Do not crop each cell so tightly that ascenders, descenders, arrows, or marginal corrections are cut off. Leave a narrow border around the target region. When the grid is very dark, test one copy with reduced line contrast, but keep the original crop available for comparison.
Treat Handwriting Recognition as a Candidate List
For critical fields, OCR output should be treated as one possible reading. Record uncertainty explicitly instead of silently choosing the most convenient interpretation.
A simple confidence system works well:
| Status | Meaning | Required action |
|---|---|---|
| Confirmed | Clear in the image and consistent with context | No further review |
| Probable | Most likely reading, but one character or abbreviation is unclear | Second-person review recommended |
| Unresolved | Multiple plausible readings or missing source area | Preserve the crop and do not guess |
For example, a timing entry recognized as 8 sec might actually be 3 sec. The visual difference is small, but the operational difference is obvious on stage. Cue numbers, timing values, channel references, and trigger phrases should receive stricter review than descriptive comments.
Use a Two-Layer Record: Image Evidence and Searchable Data
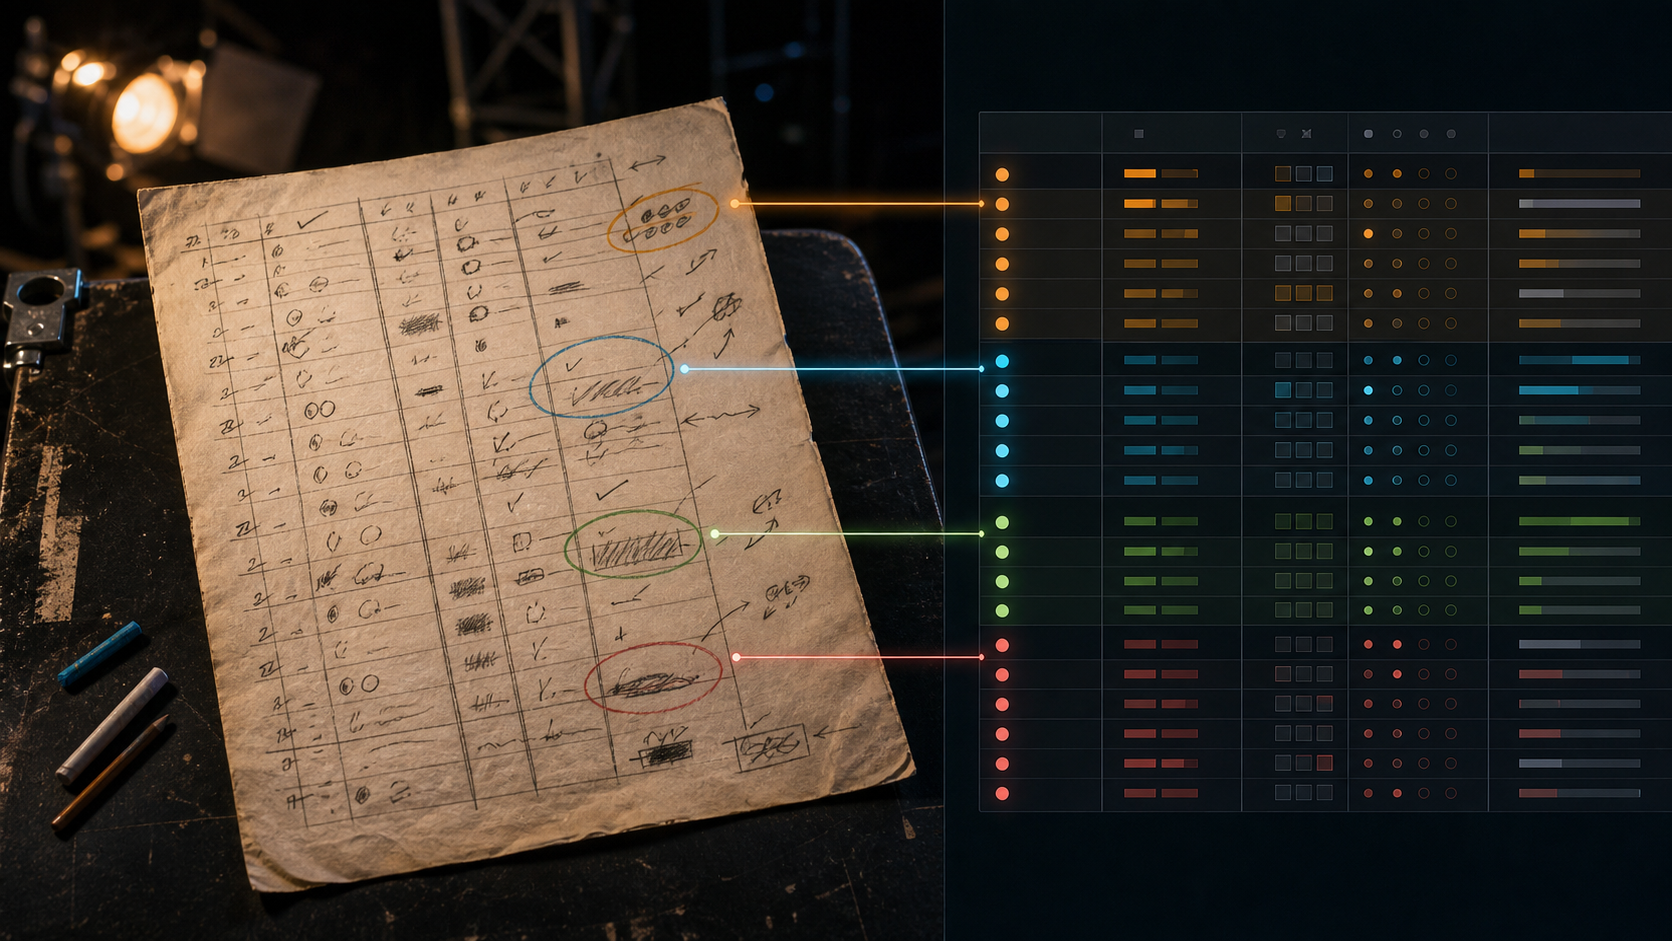
The most robust digital record has two connected layers.
The evidence layer contains the corrected page image and relevant detail crops. It allows future users to inspect the original marks and challenge a transcription.
The data layer contains normalized fields that can be searched, sorted, or compared. A basic cue record might include:
| Field | Example format |
|---|---|
| Document ID | winterguest-2019-lx-cues-003 |
| Cue number | LX 47 |
| Trigger | Actor closes upstage door |
| Transition | Slow fade to cool backlight |
| Duration | 6 seconds |
| Source notation | 6s |
| Confidence | Confirmed |
| Reviewer note | Arrow continues into next row |
Keep the normalized value and the source notation when they differ. Expanding 6s to 6 seconds improves searching, but retaining 6s shows what was actually written.
Avoid translating local abbreviations during transcription unless the expansion is certain. A separate glossary is safer. It might explain that S/B means standby in this particular collection or that a circled cue number indicates a manual followspot action.
Verify Cues in Context, Not as Isolated Rows
Context resolves errors that remain ambiguous at character level. Review neighboring cues, the prompt script, console paperwork, and any available video recording.
Suppose a faded entry could read 12 or 17. If the surrounding sequence is 10, 11, ambiguous, 13, then 12 is strongly supported. Record that contextual reasoning in the review note instead of pretending the image alone was clear.
Timing also provides clues. A handwritten 0 may actually be the letter O, especially in a column used for blackout or out states. An apparent channel number may be a cue part such as 24.5. Preserve punctuation because decimal cues often represent late additions.
For operational reconstruction, ask a second reviewer to check high-risk fields against the image. The reviewer should not simply compare two text files; they need access to the source crop. Prioritize:
- Cue identifiers and decimal suffixes
- Trigger words tied to dialogue or movement
- Fade and delay times
- Blackout, safety-light, and house-light instructions
- Manual followspot or practical-light actions
- Notes concerning performers, moving scenery, or pyrotechnic coordination
The digital record is historical documentation, not a substitute for current technical rehearsals or venue safety procedures.
Package the Archive for Everyday Use
Preserve high-resolution masters separately from access copies. Masters may be TIFF, high-quality PNG, or original camera files, depending on local storage policy. Access copies can use smaller JPEG or WebP files when exact pixel preservation is not required. The image compression tool can reduce reference-image size, but compare faint handwriting before and after compression at 100 percent zoom.
Create a page-order PDF for people who prefer to browse documents as a set. Use image to PDF to assemble corrected access images in the proper sequence. Include a short cover page listing the production, document range, capture date, known omissions, and the meaning of confidence labels.
A sensible folder structure is:
01_masters02_corrected_pages03_detail_crops04_ocr_drafts05_verified_data06_access_pdf07_capture_log
Place a plain-text readme at the top level. Explain filenames, file formats, color markings, missing sheets, and which version is considered authoritative. This small document can save future staff from reverse-engineering the archive.
Final Quality-Control Checklist
Before declaring the set complete, inspect it as if you had never seen the physical pages.
Image checks
- Every expected page has a master and access copy.
- Page edges are visible in the master.
- Corners and small handwriting are in focus.
- Perspective correction has not stretched the grid unnaturally.
- Faint pencil remains visible.
- Color-coded annotations are preserved where relevant.
- Detail photographs are linked to the correct page identifier.
Data checks
- Cue numbers have been compared with neighboring entries.
- Decimal cues and letter suffixes remain intact.
- Timing values retain their units.
- Trigger phrases have not been merged with adjacent rows.
- Uncertain readings are labeled rather than guessed.
- Normalized terms can be traced back to the source notation.
- High-risk cues received a second review.
Package checks
- Filenames sort in page order.
- The PDF opens and contains every intended page.
- Search results point to useful cue records.
- The readme explains abbreviations and confidence states.
- At least one backup exists outside the primary storage device.
- A sample archive can be opened on an ordinary phone or laptop.
Preserve Ambiguity Instead of Hiding It
The best digitized cue sheet is not necessarily the cleanest-looking one. It is the record that lets another person distinguish evidence from interpretation.
A stain may obscure half a character. A pencil arrow may point to either of two rows. A timing note may have been superseded during previews without anyone striking it out. Digital cleanup cannot honestly resolve every uncertainty, and it should not conceal that uncertainty behind polished formatting.
By combining careful photography, restrained correction, region-based OCR, structured verification, and linked source images, a theatre organization can turn fragile cue sheets into records that are both searchable and trustworthy. The result supports remounts, training, research, and institutional memory while preserving the marks made by the people who actually ran the show.