Conference Badge Photo OCR Cleanup for Attendee Lead Lists
A practical field guide for turning conference badge photos into cleaner OCR results, safer lead notes, and review-ready PDF packets without exposing messy event data.
Conference Badge Photo OCR Cleanup for Attendee Lead Lists
Conference badge photos are a strange kind of business record. They are quick to capture, easy to forget, and surprisingly useful after an event. A sales rep may photograph a badge after a booth conversation. A community manager may collect badge images from a meetup check-in table. A sponsor team may use them to reconcile scanned leads with handwritten notes. The problem is that badge photos are rarely clean enough for reliable OCR on the first try.
Badges bend under lanyards. Plastic sleeves reflect ceiling lights. First names are large, company names are tiny, job titles are squeezed into one line, and QR codes compete with sponsor logos. A human can usually understand the badge. OCR software often cannot.
This guide gives event, sales, and operations teams a practical system for cleaning badge photos before extracting text. It is not about building a surveillance database or scraping attendee information without consent. It is about reducing manual retyping when your team already has a legitimate reason to process the badge image, such as a recorded booth interaction, an opt-in lead capture, or an internal event operations note.
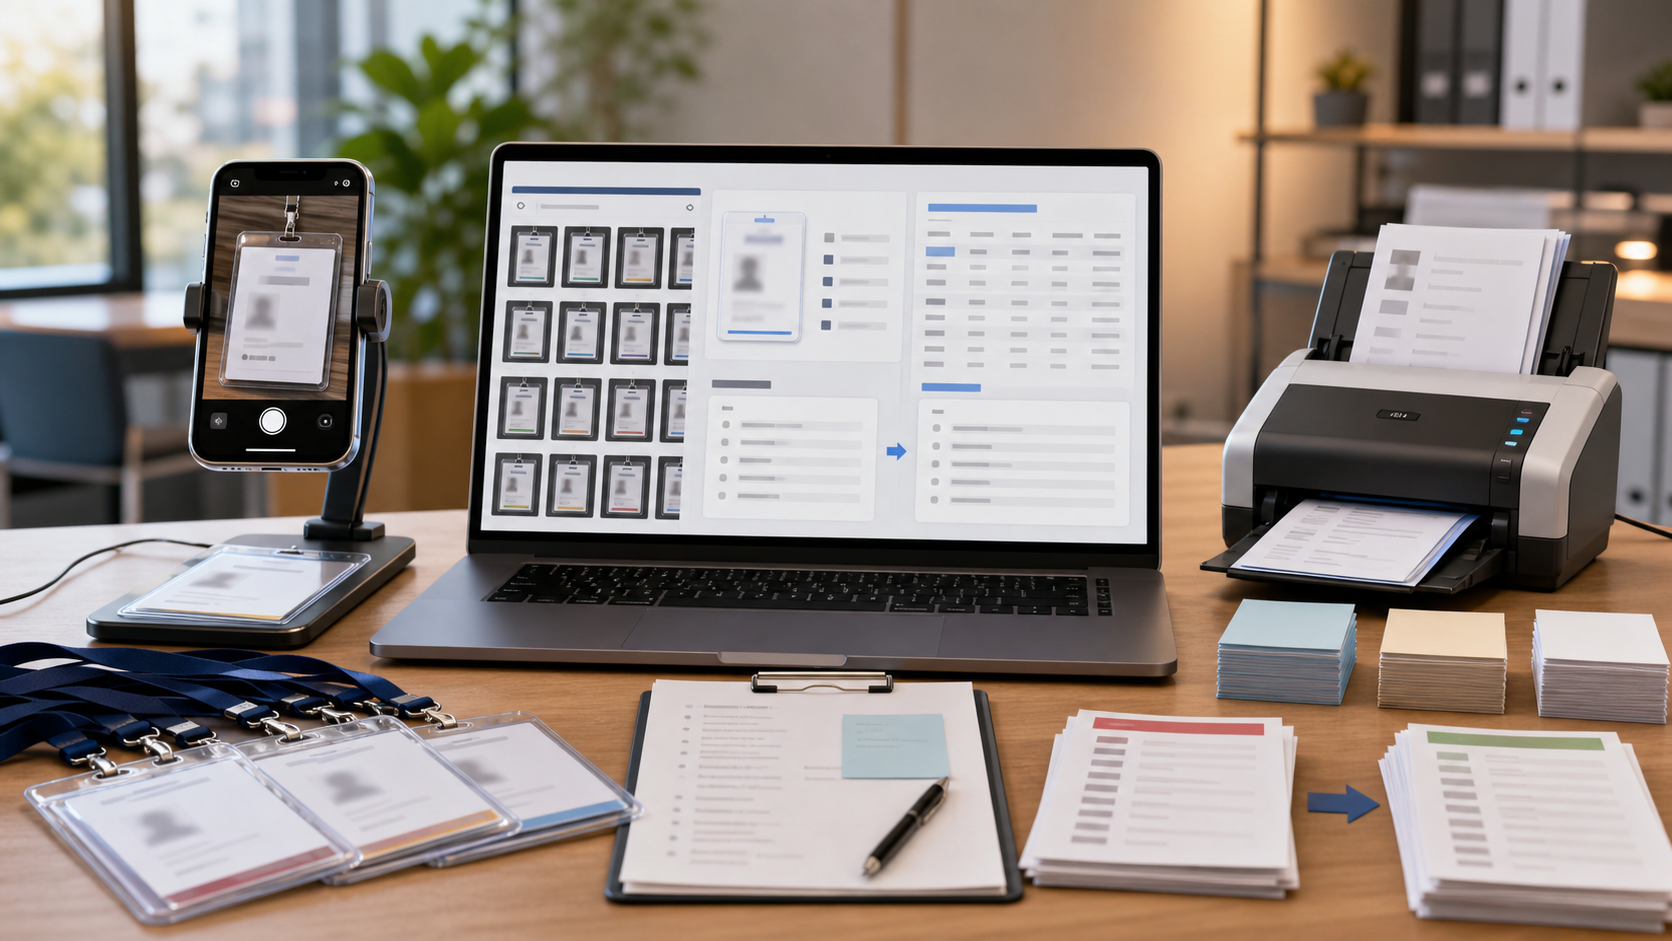
You can do much of the cleanup with simple browser tools. Crop the photo, improve readability, resize copies for review, run OCR, and place verified images into a PDF packet when humans need to approve the final list. ConvertAndEdit tools such as Image OCR, Resize Image, Compress Image, and Image to PDF fit naturally into that cleanup chain.
Why Conference Badge OCR Fails
Badge OCR is difficult because the image contains several competing signals. A typical badge may include a first name in large type, a last name in smaller type, a company logo, an event logo, a QR code, a color band, a track label, and a sponsor mark. OCR tries to decide what is text, what is decoration, and what belongs together.
The common failure cases are predictable:
- The first name is captured, but the last name is missed.
- The company name is merged with the job title.
- A QR code or barcode is interpreted as random characters.
- A sponsor logo becomes fake text.
- Glossy sleeve reflections hide thin letters.
- Curved badges produce warped lines.
- Small gray subtitle text disappears after compression.
- Handwritten notes on the side are mixed into the badge text.
The cleanup goal is not to create a beautiful image. The goal is to create an image that separates useful text from noise. That usually means fewer distractions, more even contrast, and a tighter crop.
When Badge Photo OCR Is Appropriate
Before touching the images, decide whether OCR is appropriate for the set you have. Conference badges often contain personal information. Your team should only process images that were collected under a clear and appropriate event context.
Good use cases include:
- Cleaning badge photos tied to opt-in booth conversations.
- Reconciling scanned lead data with a rep's written notes.
- Preparing internal review packets for event follow-up.
- Extracting company names from speaker, sponsor, or staff badges your team is allowed to document.
- Standardizing attendee records from a private workshop where participants agreed to registration processing.
Poor use cases include photographing random attendees without context, collecting badge images from public social media posts, or using OCR to bypass event lead retrieval rules. If your team is unsure, pause and check the event policy or your internal data handling rules before processing.
A simple rule helps: if you would not feel comfortable explaining why your team has the badge photo, do not run it through OCR.
The Badge Photo Standard That Makes OCR Easier
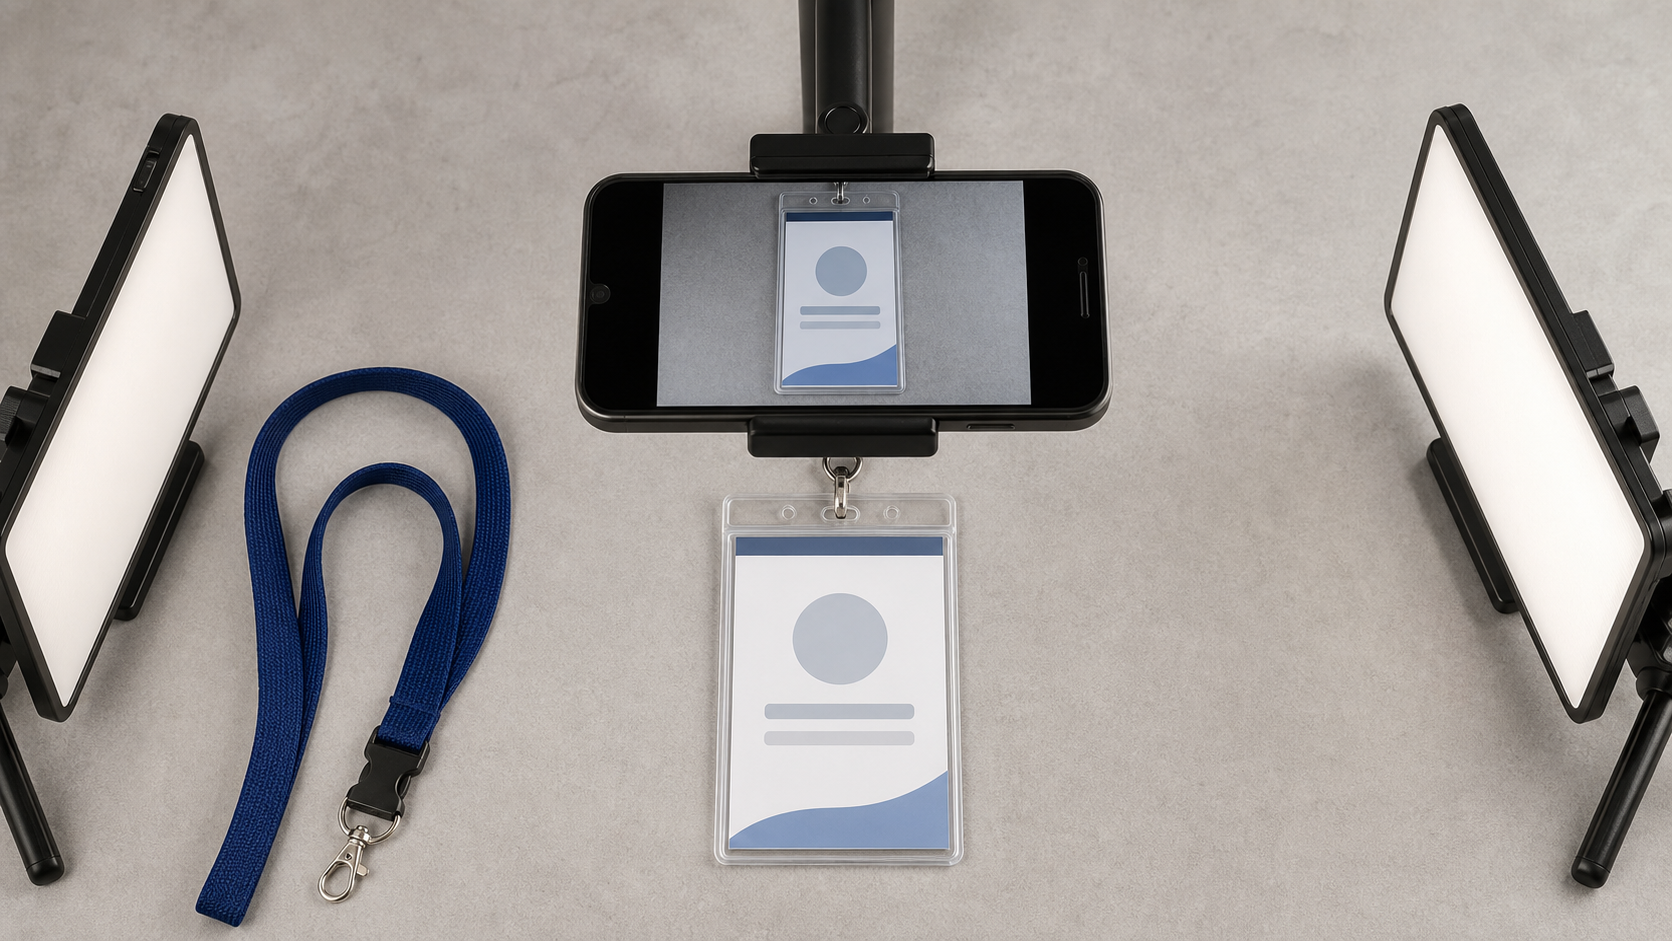
The best OCR cleanup happens before the image exists. If your team is still at the event, set a quick badge photo standard. It takes a few seconds per image and saves hours later.
Use this capture checklist:
- Place the badge on a plain, non-glossy surface.
- Remove or move the lanyard so it does not cover names.
- Photograph the badge straight on, not at an angle.
- Fill most of the frame with the badge, but do not cut off edges.
- Avoid direct overhead reflections from venue lights.
- Take a second shot if the badge is inside a shiny sleeve.
- Capture handwritten notes separately instead of writing over the badge image.
- Keep one badge per photo when possible.
The camera should be parallel to the badge. A slight angle may look harmless to a person, but it can distort small company names and titles. If the venue lighting is harsh, moving the badge one meter away from a spotlight often works better than trying to correct glare later.
If you are training a booth team, give them three examples: a good badge photo, a usable but messy one, and one that should be retaken. People learn faster from visual examples than from a long policy note.
Sorting Badge Photos Before Cleanup
Do not start by editing every file. First, sort the images into practical groups. This keeps your team from wasting time on photos that cannot be saved.
Use four folders or labels:
| Group | What it means | Action |
|---|---|---|
| Clean | Straight, readable, little glare | Run OCR after light cropping |
| Fixable | Readable to a human, but cluttered or skewed | Crop, rotate, resize, then run OCR |
| Manual review | Important but partly blocked or blurry | Keep image, add human verification |
| Reject | Unreadable, duplicate, or collected by mistake | Remove from OCR batch |
This sort also helps with privacy. If an image was collected accidentally or includes unrelated people in the background, do not include it in the OCR set. Crop only when the collection itself is appropriate. Cropping should not be used to justify keeping images your team should not have stored.
Duplicates deserve special attention. Event teams often capture the same badge twice: once by a rep, once by a scanner, and once in a shared chat thread. Keep the clearest version and mark duplicates before anyone starts typing notes into a CRM.
Crop Strategy: Remove Noise Without Losing Context
Cropping is the highest-value edit for badge OCR. Most failed results come from the OCR engine paying attention to the wrong things.
A strong badge crop includes:
- Full first and last name.
- Company or organization line.
- Job title if it is part of the follow-up record.
- Badge category if relevant, such as speaker, sponsor, press, or staff.
- QR code only if your team needs to preserve it for review.
A strong badge crop excludes:
- Table texture.
- Hands and fingers.
- Lanyards crossing the badge.
- Neighboring badges.
- Booth signage in the background.
- Receipts, business cards, or random notes beside the badge.
If the badge has a QR code beside the attendee name, create two versions when needed. One version can be text-focused for OCR. Another can preserve the full badge for human review. This avoids forcing the OCR engine to process square code patterns while still keeping the original evidence for internal checks.
For large image sets, crop a few samples first and compare OCR output before editing all files. A slightly wider crop may perform better if the badge uses unusual spacing. A tight crop may perform better when logos and sponsor marks dominate the layout.
Rotation, Perspective, and Glare Fixes
Rotation is simple: horizontal text should look horizontal. Even a few degrees of tilt can hurt small text recognition. Correct rotation before resizing or compression.
Perspective correction is more delicate. If the badge was photographed from an angle, straightening the rectangle can help. But aggressive correction may stretch letters, especially near the corners. If the name line becomes thinner or distorted after correction, use a less aggressive edit and flag the record for review.
Glare is the hardest issue. A white reflection across a name may remove information that no tool can restore. Try these practical fixes first:
- Use a second photo if one exists.
- Crop away glare that is outside the text area.
- Increase contrast lightly, not dramatically.
- Convert to a cleaner image format before OCR if the current file is heavily compressed.
- Send the record to manual review if letters are missing.
Avoid over-sharpening. It can make badge edges look crisp while turning small letters into broken shapes. OCR needs letter structure, not a dramatic image.
Choosing Image Size for OCR
Badge photos from modern phones are often much larger than needed. Huge files slow review, upload, and sharing. But shrinking too far can destroy tiny company names and job titles.
For most badge OCR, a good working copy keeps the badge text area clear at a practical size. If the original is a 4000-pixel phone image, you can usually resize after cropping. Use Resize Image to create a copy that is easier to handle while keeping the badge text readable.
A useful target is not a single magic dimension. It depends on the crop. The important question is whether the smallest line of useful text remains legible at normal zoom. If the job title line looks fuzzy to a human, OCR will probably struggle too.
Use this decision table:
| Situation | Suggested handling |
|---|---|
| Large clear phone photo | Crop first, then resize to a practical review size |
| Tiny company text | Keep a larger copy for OCR and review |
| Blurry original | Do not shrink further; try OCR and mark for review |
| Shared email packet | Use a compressed review copy, but keep a sharper source copy |
| CRM note attachment | Use the smallest readable version allowed by your internal standard |
The key is to keep separate purposes separate. OCR copies, human review copies, and archive copies may not need the same size.
Compression Without Breaking Thin Badge Text
Compression can make badge sets manageable, but it can also damage the exact details OCR needs. Thin gray letters, small titles, and company names are especially vulnerable.
Use compression after the main cleanup, not before. A heavily compressed original gives you less to work with. First crop, rotate, and resize. Then create a compressed copy with Compress Image for sharing or packet building.
Check compressed samples at actual review size. Do not only inspect the large preview. Zoom to the point where a teammate would realistically read the badge. If the company name becomes uncertain, the compression is too strong.
A practical rule: compress the review packet, not the evidence out of existence. Keep a cleaner source file until the lead list has been verified.
Running OCR and Cleaning the Extracted Text
Once the image is cropped and readable, run it through Image OCR. Treat the OCR result as a draft, not a finished record.
A clean verification pass should check:
- First name.
- Last name.
- Company or organization.
- Job title if captured.
- Badge type or role if relevant.
- Any event-specific identifier your team legitimately uses.
Do not automatically trust capitalization. Conference badges often use all caps for names and title case for companies. Decide your output style before cleanup begins. For example, your lead list may use title case names, original company capitalization, and plain text job titles.
Also watch for logo contamination. If the event sponsor is printed near the attendee company line, OCR may include the sponsor name. This can create embarrassing follow-up mistakes, such as assigning the wrong company to a lead.
Use a two-column review sheet when possible: OCR text on one side, badge image on the other. A reviewer can correct mistakes much faster when they do not need to open each file separately.
Field Names That Prevent Messy Lead Lists
OCR cleanup is only useful if the extracted text lands in consistent fields. If every reviewer invents their own labels, the final list will still be messy.
Use a compact field set:
| Field | Notes |
|---|---|
| First name | Separate from last name when visible |
| Last name | Leave blank if uncertain rather than guessing |
| Organization | Company, school, agency, or group shown on badge |
| Role | Job title, attendee type, speaker, sponsor, press, or staff |
| Event note | Short human note from the interaction, not copied badge clutter |
| Confidence | High, medium, low, or manual check |
| Source image | File name or packet page reference |
The confidence field is important. It lets sales or operations teams filter uncertain records before importing data elsewhere. A low-confidence record should not silently become a polished lead.
If a badge includes multiple organizations, such as a parent company and a product brand, capture what is visible and mark the record for review. Do not infer details from memory unless the team has a separate verified source.
A Review Packet Structure for Sales and Event Teams
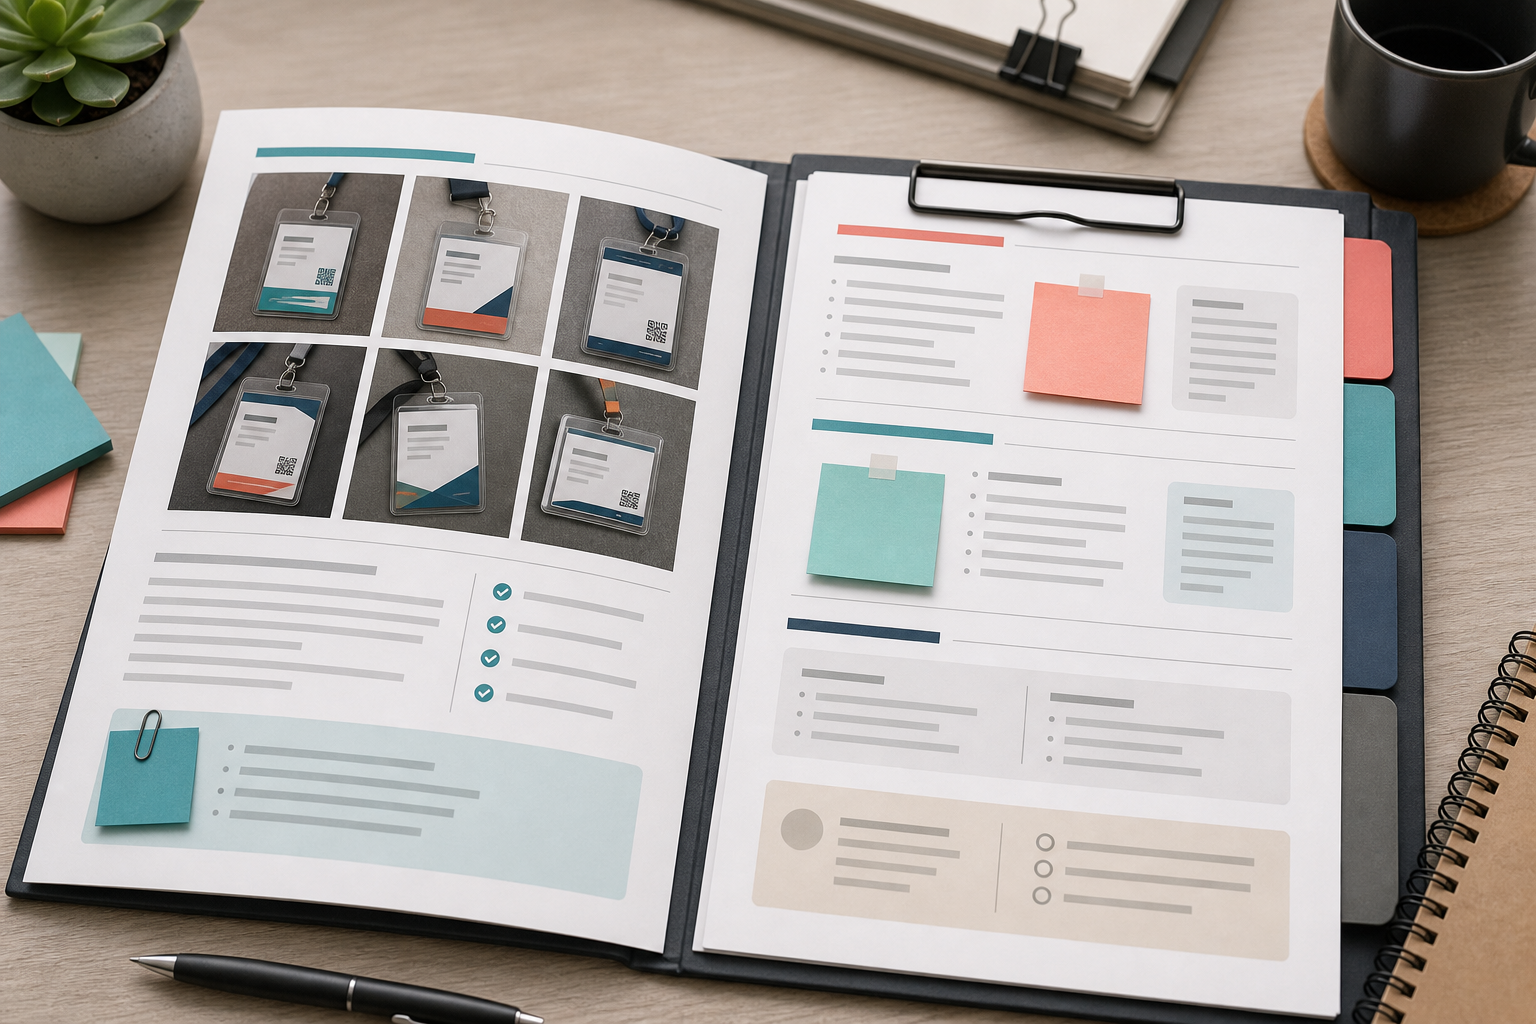
For small events, a spreadsheet and image folder may be enough. For larger events, a review packet is easier. A packet lets a manager, sales lead, or operations coordinator review badge images and OCR output in sequence.
A useful packet structure includes:
- Cover page with event name, date, and internal owner.
- Section for clean OCR records.
- Section for manual review records.
- Section for rejected or duplicate images if your policy requires documentation.
- One badge image per record, or a small grid when images are very clear.
- OCR text placed near the source image.
- Reviewer notes and correction space.
You can use Image to PDF to turn cleaned badge images into a reviewable PDF. If your team has separate PDFs from scanners, sponsor exports, or registration reports, combine final review materials with PDF Merge so the event record is not scattered across folders.
Do not overload the packet. If a page contains six tiny badge photos and nobody can read them, the packet has failed. The right density is the one that lets reviewers catch errors quickly.
File Naming That Makes Review Less Painful
Badge image names from phones are usually useless: IMG_4821, PXL_20260708, or a chat export number. Rename copies before review so records can be traced.
A practical naming pattern is:
event-shortname_source_sequence_status
Examples:
- expo26_booth_001_clean.jpg
- expo26_booth_002_review.jpg
- expo26_meetup_014_duplicate.jpg
Keep names boring. Avoid putting full personal names in file names unless your internal policy explicitly allows it. The file name should help operations, not expose personal information in every folder view.
Status labels are especially helpful when several people touch the same set. A reviewer can immediately see which files still need attention.
Common Badge Layouts and How to Handle Them
Different events design badges differently. Treat the layout as part of the cleanup task.
| Badge layout | OCR risk | Best handling |
|---|---|---|
| Large first name, small surname | Last name missed | Crop around the full name block and keep enough resolution |
| Logo-heavy sponsor badge | False company text | Exclude sponsor area when it is not part of the attendee record |
| QR code beside name | Random characters | Create a text-focused crop without the code |
| Dark badge with light text | Weak contrast | Test OCR before compression and keep a larger copy |
| Vertical badge | Rotation errors | Rotate to readable orientation before OCR |
| Plastic sleeve glare | Missing letters | Use alternate photo or manual review |
| Handwritten notes on badge | Mixed OCR output | Capture notes separately when possible |
The most dangerous errors are plausible errors. If OCR turns one company into another real-looking company, the mistake may survive review. This is why image-adjacent verification matters.
Privacy and Retention Checklist
Badge photos should not live forever in random shared drives. Decide how long your team needs them and who can access them.
Use this checklist before sharing a packet:
- Remove accidental background faces or unrelated personal items.
- Exclude images collected without a valid event reason.
- Limit the packet to people involved in follow-up or review.
- Keep source images only as long as your internal policy requires.
- Mark low-confidence records instead of guessing.
- Avoid sending raw badge folders through informal chat channels.
- Separate public event photos from lead processing files.
This is not legal advice, and requirements vary by organization and region. The practical point is simple: treat badge photos as business records with personal data, not as casual snapshots.
Example: Cleaning a Messy Booth Badge Set
Imagine a team leaves a two-day trade show with 180 badge photos. The photos came from four reps. Some are clear. Some include lanyards. Some were taken at an evening reception under dim light.
A realistic cleanup pass might look like this:
- Remove duplicates and accidental photos, reducing the set from 180 to 142 images.
- Sort the remaining photos into clean, fixable, manual review, and reject groups.
- Crop 95 clean or fixable badges around name, organization, and role.
- Rotate 18 vertical or tilted images.
- Keep 23 difficult images for manual review without aggressive editing.
- Run OCR on the cleaned set.
- Review extracted names and companies beside each source image.
- Create a PDF packet for the 23 uncertain records.
- Finalize the lead list with confidence labels.
- Remove temporary exports according to team policy.
The result is not perfect automation. It is a controlled cleanup that reduces retyping while keeping human review where it matters.
Quality Control Before Importing Leads
Before importing anything into a CRM, spreadsheet, or event follow-up list, run a final quality check.
Look for:
- Single-word names that may be missing a surname.
- Company fields that match event sponsors instead of attendees.
- Job titles copied into company fields.
- Duplicate names with different organizations.
- Obvious OCR symbols inside names.
- Records marked low confidence.
- Images without a matching text record.
- Text records without a source image reference.
A ten-minute audit can prevent hours of awkward cleanup later. It also protects the team from sending follow-up messages based on bad data.
A Practical Tool Chain
For most teams, the tool chain can stay simple:
- Use Resize Image when oversized badge photos need practical review copies.
- Use Compress Image after cleanup when packets or uploads are too heavy.
- Use Image OCR to extract draft text from readable badge images.
- Use Image to PDF when managers or sales leads need a page-by-page review set.
- Use PDF Merge when badge packets need to sit beside scanner exports or event reports.
The important part is sequence. Crop and correct readability first. Extract text second. Compress and package after the record is understandable.
Final Checklist
Use this checklist when your team returns from an event:
- Confirm the badge photos were collected for an appropriate purpose.
- Remove accidental, duplicate, and unrelated images.
- Sort photos into clean, fixable, manual review, and reject groups.
- Crop away lanyards, table clutter, background objects, and irrelevant logos.
- Rotate tilted or vertical images before OCR.
- Keep enough resolution for the smallest useful text.
- Run OCR on cleaned images, not raw cluttered photos.
- Verify names, organizations, roles, and confidence levels.
- Build a review packet for uncertain records.
- Retain source files only according to your team's policy.
Conference badge OCR will never be completely hands-off. The source material is too varied, and the data is too easy to misread. But with disciplined capture, careful cropping, readable image sizes, and a review packet for uncertain cases, badge photos can become useful event records instead of a folder full of half-readable snapshots.