Scale Model Decal Sheet Scan Cleanup: A Preservation Guide for Fragile Transfers
Learn how to scan, straighten, color-check, clean, and archive aging scale model decal sheets without erasing fine markings or creating misleading replacement references.
Scale Model Decal Sheet Scan Cleanup: A Preservation Guide for Fragile Transfers
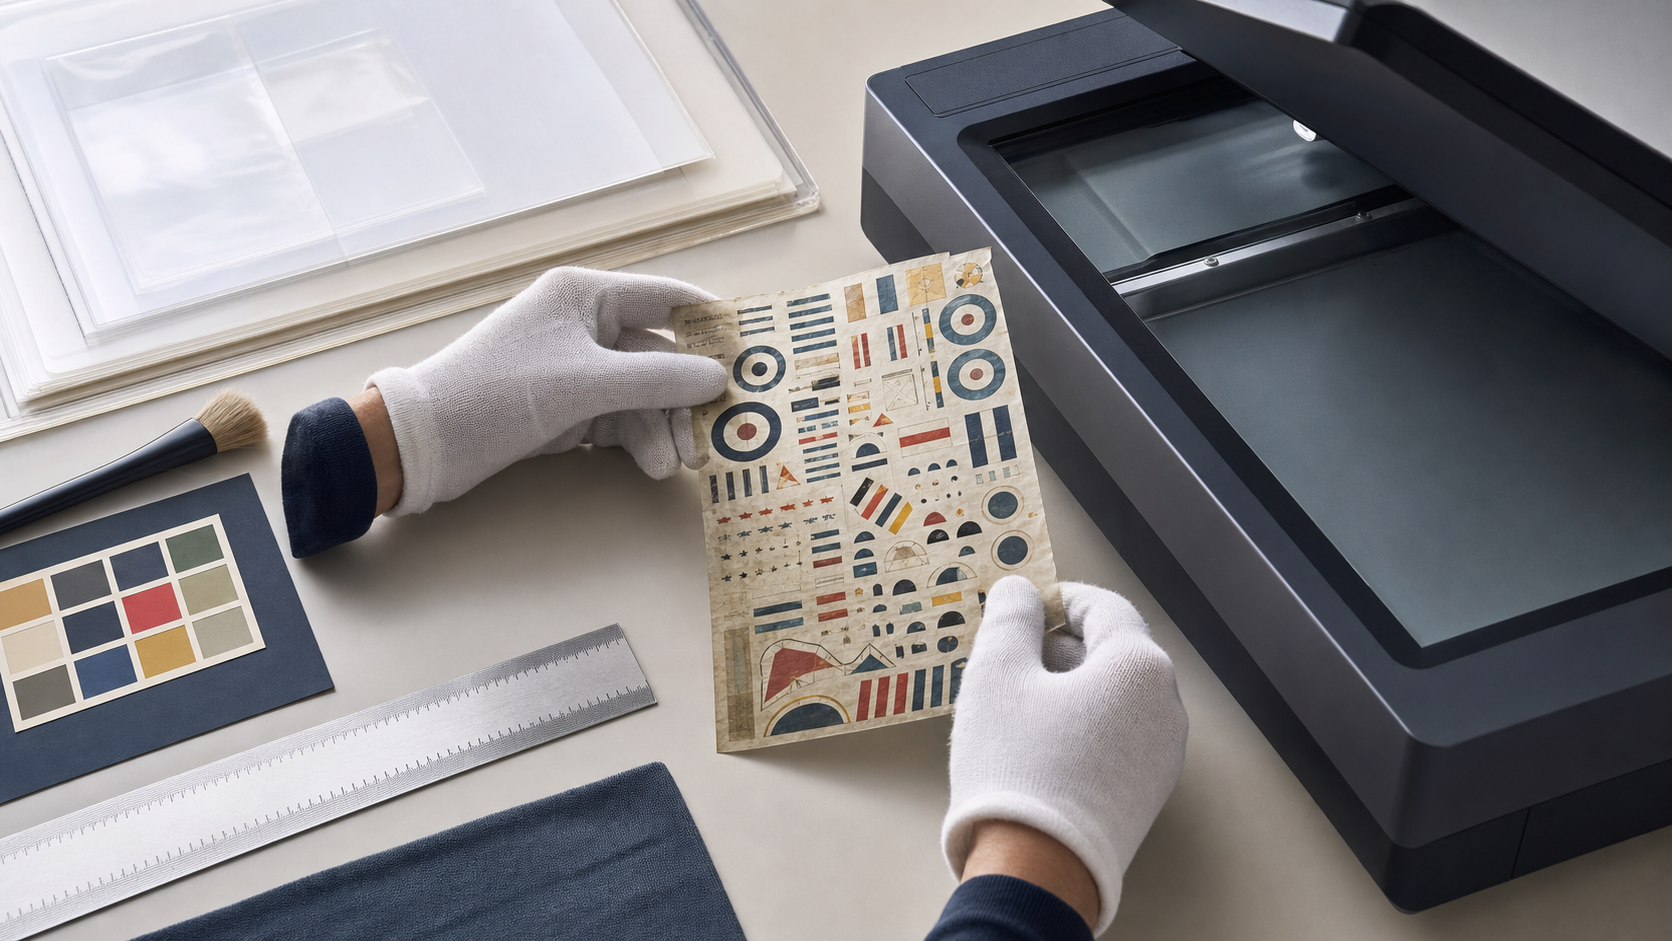
Old scale model decal sheets can become unusable long before the rest of a kit deteriorates. Carrier film yellows, varnish cracks, paper curls, and tiny markings begin to flake away. Even unopened sheets may contain registration errors or colors that have shifted during storage. A careful scan cannot reverse that damage, but it can preserve valuable evidence before the sheet is handled, applied, or lost.
This is a more demanding task than ordinary document scanning. Decal sheets contain extremely thin outlines, dense halftones, pale carrier film, and markings that may be less than a millimeter wide. Aggressive dust removal can erase a stencil. Automatic contrast can turn clear film opaque. Resizing at the wrong stage can make a future measurement unreliable.
The goal of this guide is not to produce counterfeit markings or a deceptively pristine reconstruction. It is to create an honest, useful preservation record for identifying a kit, researching liveries, documenting print condition, or preparing a clearly labeled personal restoration reference where permitted. The original scan should always remain available beside any edited copy.
Decide What the Archive Must Preserve
Before switching on a scanner, decide what someone should be able to learn from the file. That decision controls resolution, color handling, included reference objects, and how much cleanup is appropriate.
A collector documenting an unopened kit may need to preserve the sheet exactly as found, including yellowing, cracks, offsets, and stains. A model club recording unidentified spare decals may care more about readable part numbers and distinctive insignia. A restorer studying the dimensions of a damaged stripe needs accurate scale and geometry.
Record at least four kinds of information:
- The full arrangement of the sheet, including margins and unused carrier film.
- The physical condition of the paper, varnish, and printed areas.
- The apparent colors under a documented capture setup.
- A scale reference that allows later dimensional checks.
Do not treat an edited image as the sole archival object. Keep one untouched master scan and make derivatives for viewing, research, or print review. If a cleanup decision later proves too aggressive, the master remains available.
A useful file set might contain kit-sheet-master.tif, kit-sheet-reference.png, kit-sheet-web.webp, and kit-sheet-notes.pdf. The names describe purpose rather than vaguely marking one file as final.
Build a Capture Setup That Protects the Sheet
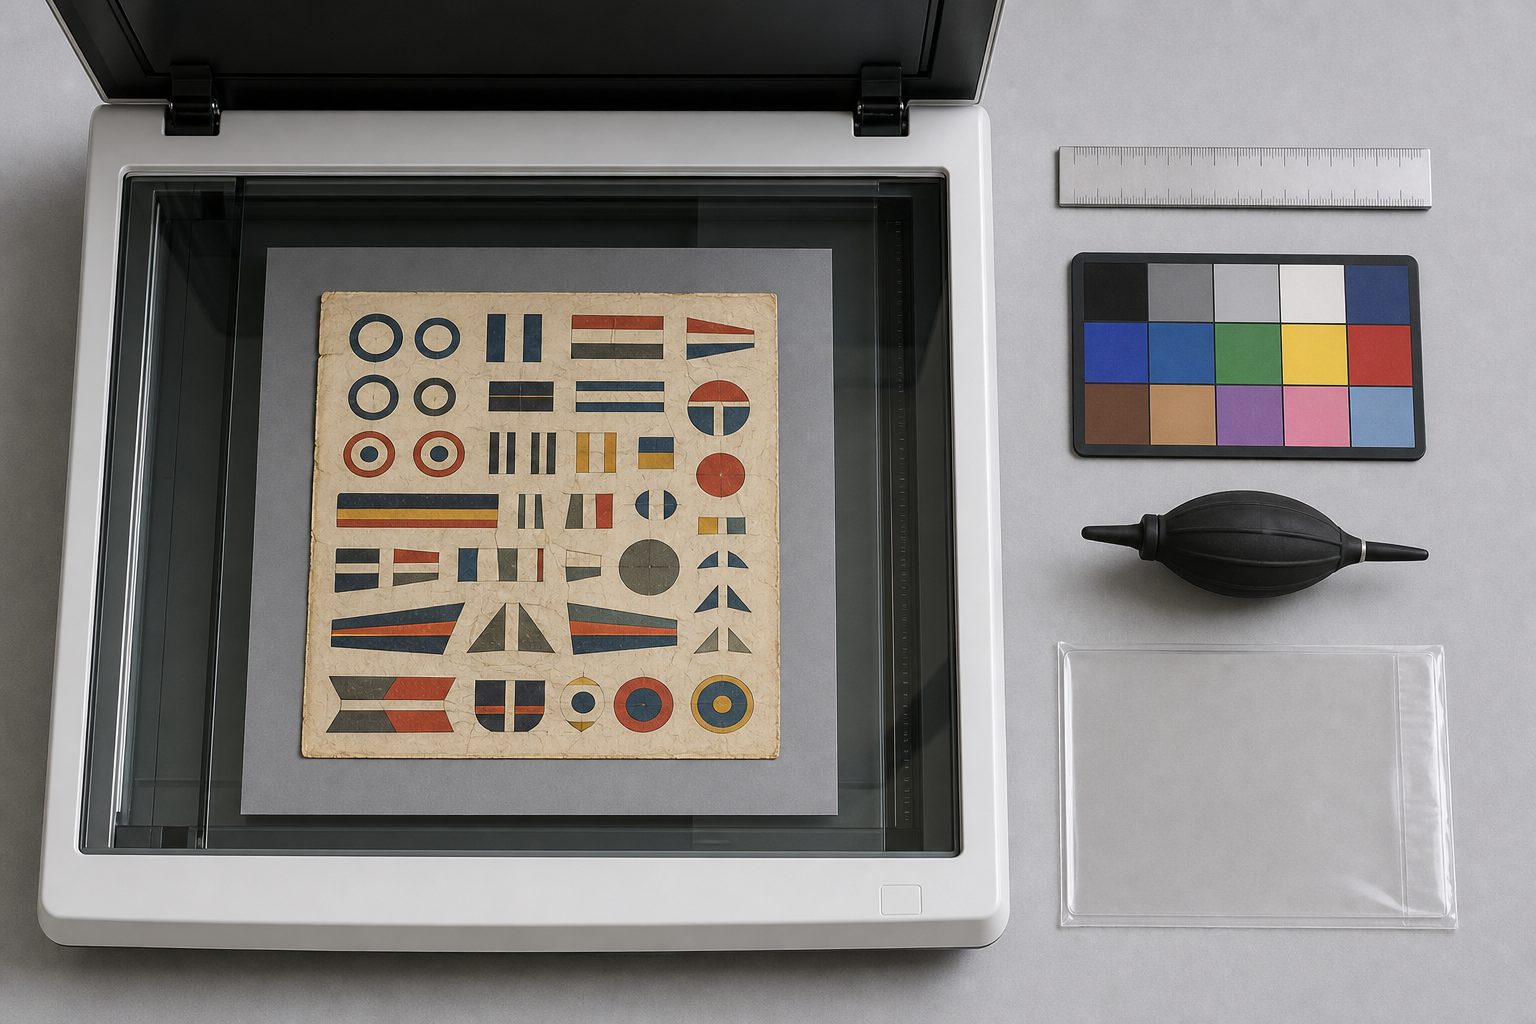
A flatbed scanner is usually preferable because it holds the sheet in a known plane and produces even illumination. Clean the scanner glass first with a method approved by its manufacturer. Inspect it under angled light; a fiber on the glass can cross several tiny markings at once.
Do not clean a fragile decal sheet with liquid. Avoid wiping printed areas, even with a soft cloth. Loose varnish can catch on fibers. A hand-squeezed photographic air blower may remove unattached dust, but canned air can spit propellant or flex brittle material.
Place the sheet directly on clean glass only if its condition permits. If fragments are already lifting, photograph it with a copy stand instead of pressing it under a scanner lid. Never force a curled sheet flat. A damaged corner is more important than a perfectly rectangular scan.
Include a small metric ruler beside, not on top of, the sheet. A compact neutral or color reference target is also useful. Keep both objects in the same plane as the decals. Their presence helps distinguish real discoloration from capture error and provides a dimensional check if metadata is lost.
Use a neutral backing when the scanner lid would otherwise introduce a bright or uneven background. Test white, middle gray, and black backing on an unimportant sheet. Clear carrier film may become easier to inspect against a darker backing, while dark printing is generally easier to assess against white or gray.
If the sheet has printing on both sides, scan each side separately and name the files explicitly. Do not flip one scan digitally and assume it represents the reverse.
Choose Resolution From the Smallest Important Detail
Scanner resolution should be based on the finest stencil, border, or halftone that matters—not merely the overall dimensions of the sheet.
For a general catalog record, 600 pixels per inch is a sensible starting point. Use 1200 pixels per inch when the sheet includes exceptionally small maintenance stencils, fine pinstripes, closely spaced halftones, or cracking that must be studied. Higher settings are not automatically better; some consumer scanners interpolate beyond their optical resolution and produce larger files without capturing more real detail.
Run a small comparison scan if the scanner specifications are uncertain. Examine the same tiny marking at 100% magnification. The higher setting is worthwhile only if it reveals additional boundaries or print structure rather than smoother-looking noise.
Use lossless storage for the master. TIFF is common for preservation, while PNG is convenient for broad compatibility and transparent or flat-color derivatives. Avoid saving the only master as JPEG because repeated editing and export can introduce ringing around sharp insignia and small lettering.
The following table provides practical starting points:
| Purpose | Suggested capture | Master format | Main concern |
|---|---|---|---|
| Kit inventory record | 600 ppi | TIFF or PNG | Full-sheet readability |
| Tiny stencil research | 1200 ppi | TIFF | Fine line retention |
| Condition documentation | 600–1200 ppi | TIFF | Cracks, stains, yellowing |
| Web reference copy | Derived after capture | WebP, PNG, or JPEG | Manageable delivery size |
| Dimensional comparison | 600–1200 ppi plus ruler | TIFF or PNG | Geometry and scale |
Scan in full color even when a sheet appears monochrome. Yellowed varnish, faded ink, and staining contain useful color differences that grayscale capture can collapse.
Make a Preservation Master Before Editing
Open the new scan and inspect all four edges. Confirm that the sheet, ruler, and reference target are complete. Check for clipped highlights, crushed dark areas, unexpected sharpening halos, and scanner streaks. If a problem came from the capture, rescan rather than trying to repair it digitally.
Save the accepted scan immediately as a read-only preservation master or place it in a folder that is not used for routine editing. Preserve the embedded color profile when one is present. Record the scanner model, stated resolution, date, backing color, and any unusual handling limitation in a simple text note or metadata field.
A checksum is useful for a serious archive because it can reveal accidental changes later. Even without formal archive software, keeping the master in two separate storage locations is better than leaving it beside all derivatives on one drive.
Create an editing copy before cropping or rotating. This separation is crucial because apparently harmless operations can affect dimensions. Some rotation tools resample the entire image, while automatic perspective correction may stretch one edge.
Straighten Without Distorting the Printed Geometry
A sheet placed slightly crooked on the scanner can be rotated, but it should not be casually transformed into a perfect rectangle. The paper itself may have been cut out of square, and printed borders may not align with its edges.
Use a long physical edge or printed registration line to estimate rotation. Apply the smallest necessary angle. Inspect circles, roundels, and narrow parallel stripes afterward. If circles become oval or stripes change width, perspective correction or nonuniform scaling has altered the geometry.
Crop with a modest border around the entire sheet. Retaining the outer paper edge helps future viewers understand whether a mark is clipped, off-register, or simply close to the original cut. Keep the ruler in at least one reference derivative, even if a cleaner presentation copy omits it.
When preparing a smaller viewing version, use an image resizing tool only after the geometry has been checked. The image resizer can create practical screen-size derivatives while leaving the high-resolution master untouched. For tiny stencils, inspect the reduced copy at its actual display size; technically preserved pixels are not helpful if the marking becomes unreadable.
Correct Color Conservatively
Accurate historical color identification from a scan is difficult. Scanner lamps, aging varnish, paper discoloration, monitor calibration, and original printing variation all affect appearance. A color target can improve consistency, but it does not turn the scan into a definitive paint specification.
Begin with neutral balance. Use an actual neutral patch from the reference target rather than assuming the sheet paper was originally pure white. Old backing paper may be cream, blue-gray, or unevenly yellowed. Forcing it to white can shift every printed color.
Make modest tonal corrections and watch pale decals carefully. White markings printed on slightly yellow carrier film can disappear if highlights are pushed too far. Dark blue may also be mistaken for black when shadows are compressed.
Keep two versions when condition and legibility compete:
- A condition reference that preserves the observed discoloration.
- A reading copy with restrained tonal adjustment for identifying small markings.
Label the reading copy as adjusted. Do not silently recolor faded areas or sample one surviving patch to repaint a whole marking. That creates an interpretation, not a neutral record.
If the scanner produces an uncommon format, make a compatible derivative with the image converter. Conversion should happen from the master or a first-generation editing copy, not from a previously compressed web image.
Clean the Scan Without Erasing Printing Evidence
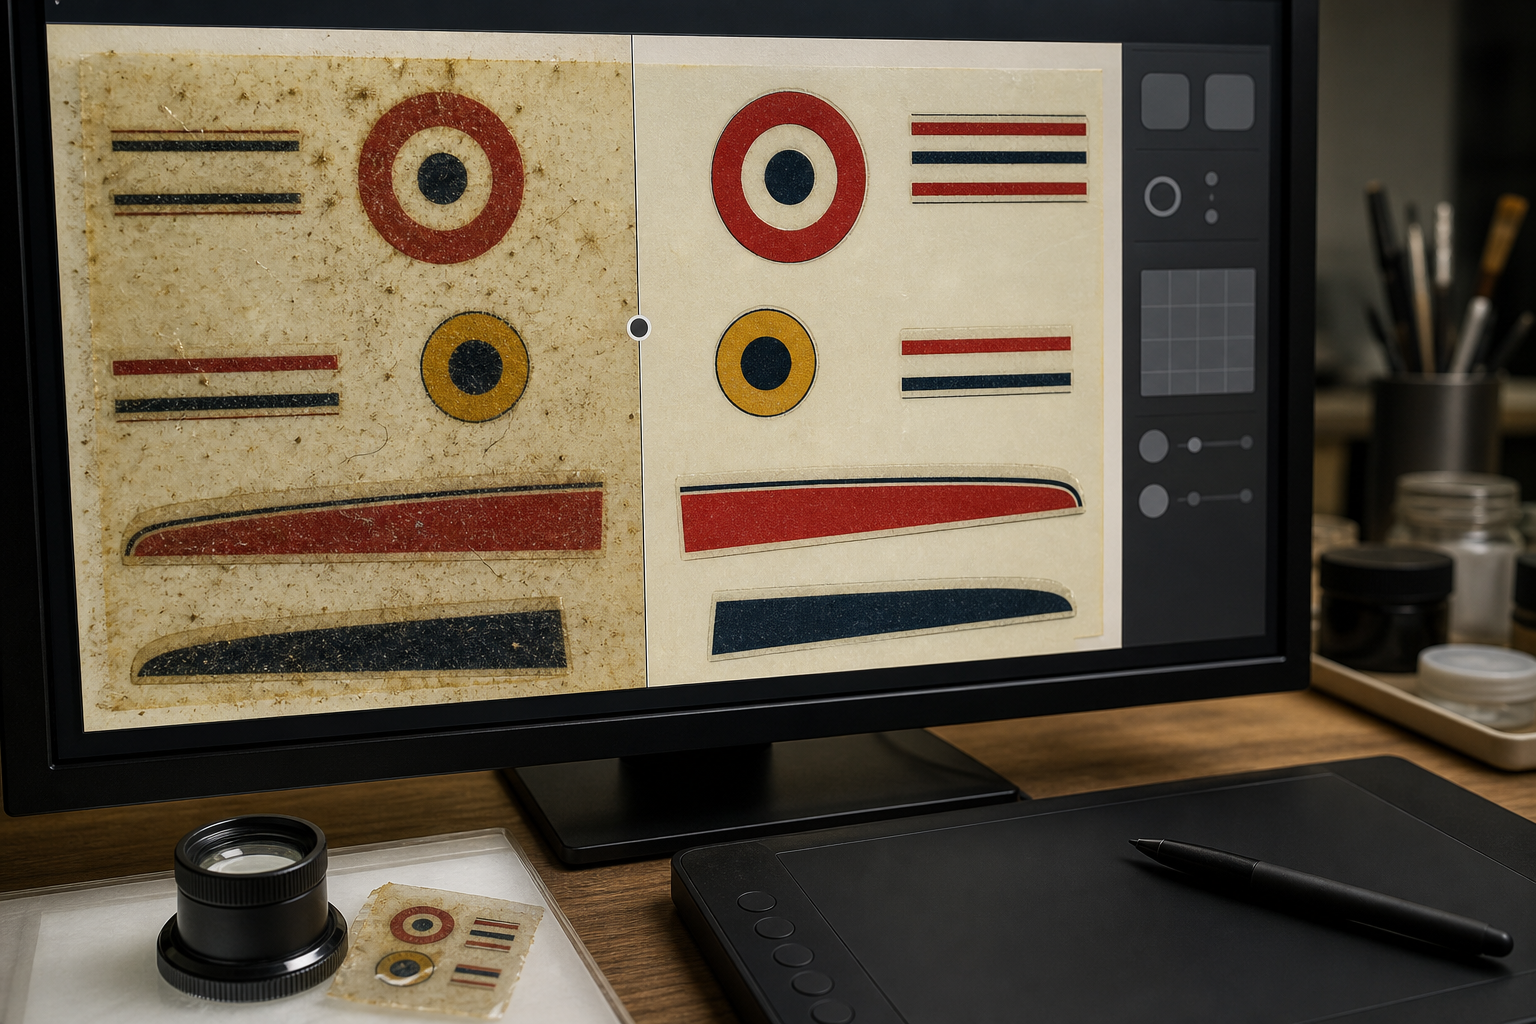
Dust cleanup is where preservation scans are most often overprocessed. Decal sheets naturally contain dots, bubbles, broken edges, print misregistration, and tiny fibers embedded beneath varnish. Some of these features are defects, but they are still evidence of the object.
Start by removing only artifacts known to come from the scanner glass or capture environment. A dust speck that appears in exactly the same location across separate scans is probably on the glass. A mark that moves with the sheet belongs to the sheet or rests on its surface.
Work at moderate magnification and use a small healing or clone sample. Frequently zoom out to confirm that the repaired area still matches its surroundings. Avoid global despeckle filters. They can erase periods, rivet dots, fine serial characters, and the narrow gaps that distinguish one stencil from another.
Use separate edit layers when the software supports them. Name layers by action, such as scanner dust, background adjustment, and reading contrast. This makes the extent of intervention visible and allows individual changes to be disabled.
Carrier-film yellowing requires special restraint. Removing all yellow from the sheet may look attractive, but it can obscure the boundary of each decal and conceal condition differences. If a presentation image needs a cleaner background, preserve a second version in which the carrier film remains visible.
AI-assisted editing can help repair obvious background distractions, but it should not invent missing insignia, letters, or border segments in a preservation record. If you use the AI photo editor, restrict edits to clearly identified non-informational areas and compare the result closely with the untouched master. Generated reconstruction should be labeled as interpretive.
Use the Duplicate-Scan Test
When uncertain whether a mark is dust or printing, scan the sheet twice after safely cleaning only the scanner glass. Rotate the sheet 180 degrees for the second capture if its condition allows.
Compare the two images:
- A defect fixed to the scanner coordinates indicates glass contamination or a sensor issue.
- A defect that rotates with the sheet is part of the physical object.
- A loose particle that changes position may be surface dust, but removing it physically may still be unsafe.
- A repeated vertical or horizontal streak suggests scanner calibration or hardware trouble.
This test is slower than automatic cleanup, but it protects small printed evidence from guesswork.
Separate Archival, Research, and Sharing Copies
One file cannot efficiently serve every purpose. A full-resolution TIFF may be ideal for preservation but inconvenient for club forums, email, or mobile viewing. Build distinct copies from the approved editing file.
The archival master should remain uncropped where practical, lossless, color-managed, and untouched. A research copy can be rotated, cropped, and modestly adjusted while retaining sufficient resolution for close inspection. A sharing copy can be resized and compressed for quick access.
Use the image compressor on derivatives only. Inspect compressed files around thin outlines, diagonal stripes, and high-contrast lettering. These areas reveal damage sooner than broad color patches. If halos or block boundaries appear, increase quality or choose a lossless format.
For a multi-sheet kit, a PDF contact record can make browsing easier. Keep individual image masters separately, then assemble selected reference views with image to PDF. A PDF is a finding aid, not a replacement for the original image files, because it may resample or recompress them.
A sensible derivative set is:
| File | Intended use | Allowed adjustments |
|---|---|---|
| Preservation master | Long-term evidence | None after acceptance |
| Condition reference | Damage assessment | Rotation and neutral crop |
| Reading copy | Identification | Restrained tone and color changes |
| Web copy | Sharing | Resize and careful compression |
| PDF index | Browsing several sheets | Page layout and captions |
Document Damage Before Attempting Physical Use
If the decals may eventually be applied, scan them before testing coatings, sunlight treatment, or restoration products. Once varnish has been added or a decal has been soaked, the original condition cannot be recovered.
Photograph or scan localized damage at high resolution. Useful details include cracking patterns, flaking ink, silvered carrier film, water staining, mold-like spotting, and adhesion to protective tissue. Do not peel attached tissue merely to improve the image.
Record uncertain observations as uncertain. A brown patch might be adhesive migration, foxing, or an interaction with packaging. The image can support later examination without forcing an immediate diagnosis.
For sheets kept inside vintage kit boxes, also record the kit manufacturer, kit number, subject, approximate acquisition date, and whether the sheet is believed to be original to that box. Swapped sheets are common in secondhand collections, so physical proximity alone is not proof of identity.
Create a Naming System That Survives Reorganization
File names should remain meaningful after they are moved out of their original folder. Include stable identifiers before descriptive details.
One practical pattern is:
manufacturer-kitnumber-sheet-side-purpose-version.ext
Examples include:
maker-1042-decals-front-master-v01.tifmaker-1042-decals-front-reading-v02.pngmaker-1042-decals-reverse-condition-v01.pngmaker-1042-decals-index-v01.pdf
Avoid names such as scan2-final-new.png. They provide no clue about the physical source or the nature of the edits.
Keep a short change note for each derivative. It can be as simple as: rotated 0.4 degrees, cropped with paper border retained, neutral balance from target, five confirmed scanner-dust spots removed, resized for web. This note is often more valuable than a long description of software settings.
Run a Final Preservation Audit
Before considering the record complete, compare every derivative against the master at high magnification and at normal viewing size.
Check the following:
- The H-shaped, circular, and rectangular markings retain their original proportions.
- Fine stencil dots and punctuation have not vanished.
- Pale colors remain distinguishable from the backing paper.
- No crop removes a sheet edge, registration mark, or scale reference unintentionally.
- Edited files are clearly distinguishable from the untouched master.
- Dimensions and resolution metadata are plausible.
- Web compression has not created halos around narrow outlines.
- The master and notes exist in more than one storage location.
- The PDF index points back to identifiable source files.
- Any reconstructed area is labeled as interpretation rather than original evidence.
Finally, open the files in a second viewer. This catches missing color profiles, unexpected transparency, and format compatibility problems that may not appear in the editing application.
Preserve Evidence, Not Just a Cleaner Picture
A successful decal-sheet archive does not make every old transfer look new. It preserves what the sheet actually contains while producing carefully labeled copies that are easier to inspect and share.
The most important choices happen early: capture sufficient detail, include scale and color references, retain an untouched master, and avoid physical handling that the sheet cannot tolerate. Digital cleanup should remain conservative, reversible, and documented. When a stain, crack, or misaligned border is part of the object, removing it may destroy the very information the scan was meant to preserve.
Handled this way, even a brittle sheet from a long-discontinued model kit can remain useful for identification, condition comparison, historical research, and responsible restoration planning—without confusing a polished derivative with the fragile original.