Supplier Photo to OCR-Ready Product Sheet Workflow
A practical workflow for turning inconsistent supplier product photos into clean, readable, OCR-ready catalog sheets without rebuilding every asset from scratch.
Supplier Photo to OCR-Ready Product Sheet Workflow
Supplier images rarely arrive like polished ecommerce assets. They arrive in mixed formats, odd dimensions, oversized attachments, phone photos, watermarked previews, catalog scans, cropped screenshots, and sometimes a product photo pasted into a spreadsheet cell. For small ecommerce teams, distributors, procurement groups, and catalog managers, the problem is not only visual quality. The bigger problem is handoff quality.
A product image may need to pass through several jobs before it becomes useful. A merchandising person needs to identify it. A copywriter needs to read labels or packaging. A marketplace manager needs a clean thumbnail. A sales team may need a PDF sheet. An operations person may need searchable text for SKUs, dimensions, part names, or supplier codes.
That is where an OCR-ready product sheet workflow helps. Instead of treating each image as a one-off cleanup task, you standardize a small pipeline: inspect, normalize, crop, resize, compress, convert, OCR, and package. The goal is not studio perfection. The goal is to make supplier photos consistent enough that humans can review them quickly and OCR tools can extract useful text with fewer mistakes.
This guide focuses on a niche but common situation: you have supplier-provided product photos, scans, or mixed image files, and you need to turn them into readable product sheets for internal review, catalog preparation, or lightweight vendor documentation.
The Catalog Handoff Problem Nobody Names

Most teams talk about bad supplier images as a design problem. The background is messy. The lighting is uneven. The angle is not consistent. The product is too small. Those issues matter, but they are only part of the story.
The deeper issue is that supplier images often fail at the handoff stage. A file can look acceptable in a chat thread and still be painful to use in a catalog process. The image may be too large to upload into a shared system. It may be too small for OCR to read packaging text. It may be in HEIC when the next tool expects JPG or PNG. It may contain five products in one frame when the team needs one product per sheet. It may have a filename like IMG_4821.jpg when the catalog spreadsheet expects supplier SKU and color variant.
When these files move through multiple people, every small inconsistency becomes a delay. Someone asks which image belongs to which row. Someone opens a PDF and cannot search it. Someone downloads a photo that looks fine on desktop but becomes unreadable in a mobile review deck. Someone compresses the file too aggressively and destroys the tiny text that another person needed.
A better workflow treats supplier images as source material, not final assets. You do not need to make every file beautiful. You need to make every file predictable.
Predictable product sheets usually have five qualities:
- The product is centered and not competing with clutter.
- Any useful label text is large enough for review and OCR.
- The file format works in the next tool or system.
- The file size is small enough to share without special handling.
- The filename connects the image to a real SKU, supplier code, or catalog row.
Once those basics are stable, the rest of the catalog process becomes much easier.
Start With Sorting, Not Editing
The most common mistake is opening the first bad image and trying to fix it immediately. That feels productive, but it often creates uneven results. A better first step is sorting.
Create a working folder with four buckets:
| Bucket | What Goes Inside | Next Action |
|---|---|---|
| Clean enough | Product is visible, text is readable, format is usable | Normalize size and export |
| Needs crop | Product is visible but surrounded by clutter | Crop before resizing |
| Needs conversion | File format is inconvenient or inconsistent | Convert before review |
| Needs replacement | Image is blurred, blocked, tiny, or misleading | Request a better source |
This sorting pass should be fast. Do not debate edge cases for too long. The point is to avoid spending ten minutes cleaning a file that should have been rejected in ten seconds.
For catalog workflows, the replacement bucket is important. Some images cannot be rescued for OCR. If the label text is blurred, angled sharply, hidden by glare, or only a few pixels tall, cleanup will not reliably restore it. Mark it clearly and ask for a better source.
A practical rule: if you cannot comfortably read the SKU, size, or product label at 100 percent zoom, OCR will probably struggle too. You may still include the image for visual reference, but do not build a searchable product sheet around it.
Normalize Formats Before You Normalize Looks
Supplier files often arrive as JPG, PNG, WebP, HEIC, TIFF, or screenshots embedded in PDFs. Before you do detailed visual cleanup, standardize the working format.
For most catalog review workflows, use this simple format logic:
| Source Situation | Working Format | Why |
|---|---|---|
| Normal product photo | JPG | Good balance of quality and size |
| Product with transparency | PNG or WebP | Preserves cutout edges |
| Screenshot or label with thin text | PNG | Avoids extra compression artifacts |
| Mixed odd formats | JPG or PNG | Easier for downstream tools |
| Final review sheet | Easy to share, print, and annotate |
If the source format is getting in the way, convert it first with a browser-based tool like Convert Image. This is especially useful when a supplier sends HEIC photos from a phone, WebP images from a marketplace, or PNG screenshots that need to be standardized before packaging.
Do not convert everything blindly to JPG. JPG is excellent for photos, but it can soften fine UI text, packaging labels, and small printed codes. If the useful information is text-heavy, PNG may be safer during cleanup. You can still compress or convert later once the OCR stage is complete.
Crop for Information, Not Just Appearance
Cropping supplier images is not only about making them prettier. It is about changing the ratio between useful information and noise.
A product photo with a large warehouse background forces reviewers and OCR tools to spend attention on the wrong pixels. A tighter crop makes the product, packaging, labels, and visible identifiers easier to inspect. It also reduces file size before compression.
Use three crop styles depending on the job:
| Crop Style | Best For | Notes |
|---|---|---|
| Product crop | Marketplace thumbnails and catalog grids | Centers the object and removes background clutter |
| Label crop | OCR extraction and copywriting | Prioritizes readable packaging text or engraved details |
| Context crop | Internal review and vendor evidence | Keeps enough surrounding detail to understand scale or condition |
For OCR-ready product sheets, label crops are often more valuable than perfect product crops. If a box has a visible model number, capacity, safety mark, or variant code, keep that area large. A beautiful crop that removes the label may be worse than a slightly plain crop that keeps critical text readable.
If you need a final image size for web or catalog use, crop before using Resize Image. Resizing first can shrink important text and make later cropping less useful. Crop to the information area, then resize to the output dimensions.
Preserve Thin Text During Resizing
OCR problems often begin during resizing. Teams reduce a 4000-pixel supplier photo to a small web image, then later wonder why the extracted text is unreliable. The OCR tool is not always the problem. Sometimes the text was destroyed before OCR even happened.
Before resizing, identify the smallest important text in the image. It might be a serial number, model code, ingredient line, compliance mark, label variant, or packaging dimension. Then choose an output size that keeps that text readable.
A useful review approach:
- Open the source image at 100 percent.
- Identify the smallest text that matters.
- Crop away unnecessary background.
- Resize only after the crop is settled.
- Check the resized image at the same viewing size your reviewer will use.
For product sheets, the image does not always need to be tiny. A 1600-pixel-wide image may be more useful than an aggressively compressed 800-pixel version if the sheet is used for OCR, purchasing review, or catalog copywriting.
If the product sheet will be viewed mostly on mobile, test it on a narrow screen. Tiny label text that looks readable on a large monitor can become useless when squeezed into a messaging app preview or mobile PDF viewer.
Compression Without Breaking the Review
Compression is necessary, but it should happen with intent. The right file size depends on the handoff, not a universal number.
For supplier image workflows, think in file size budgets:
| Use Case | Practical Goal | Compression Priority |
|---|---|---|
| Internal OCR source | Keep text sharp | Low compression |
| Review PDF attachment | Easy to email or upload | Medium compression |
| Ecommerce thumbnail | Fast loading | Higher compression after visual approval |
| Archive copy | Preserve source details | Minimal compression |
A tool like Compress Image is useful after cropping and resizing because you are compressing only the pixels you actually need. Compressing before crop wastes effort and may introduce artifacts into areas that later become central to the sheet.
When checking compressed images, zoom into text edges and product boundaries. Watch for three problems:
- Small text becoming fuzzy or broken.
- Straight product edges gaining halos or blocks.
- Subtle color differences disappearing on variants.
Color differences matter more than many teams expect. If two variants differ only by finish, shade, material, or label color, aggressive compression can create review mistakes. A file can be technically small and still be operationally expensive if it causes the wrong product to be selected.
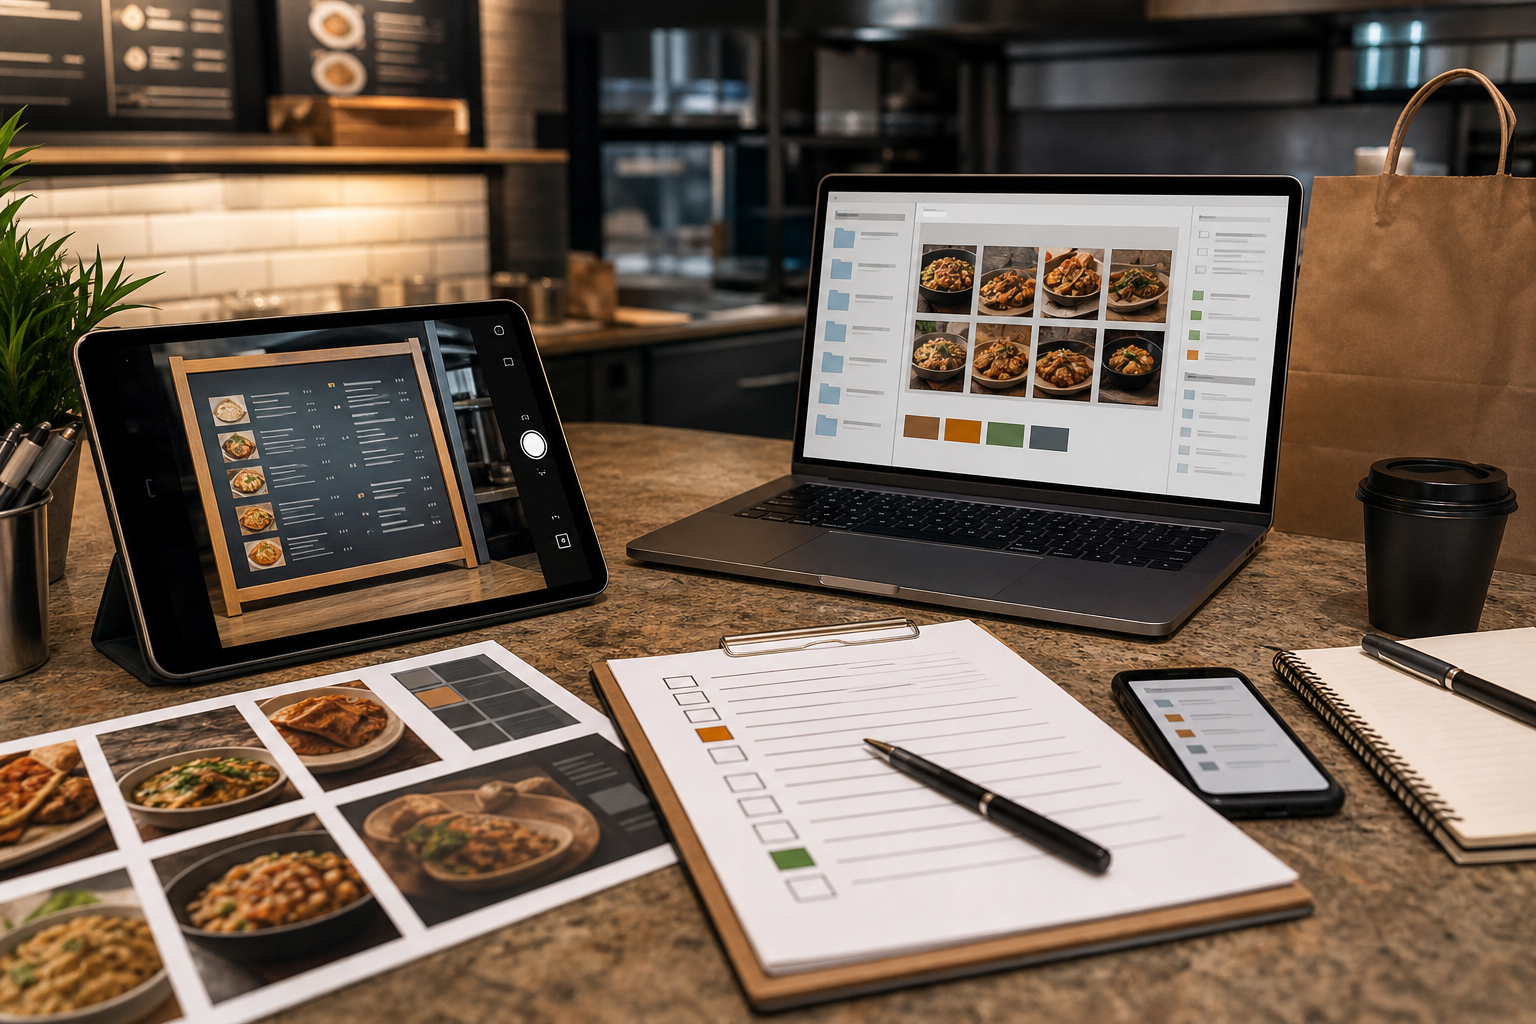
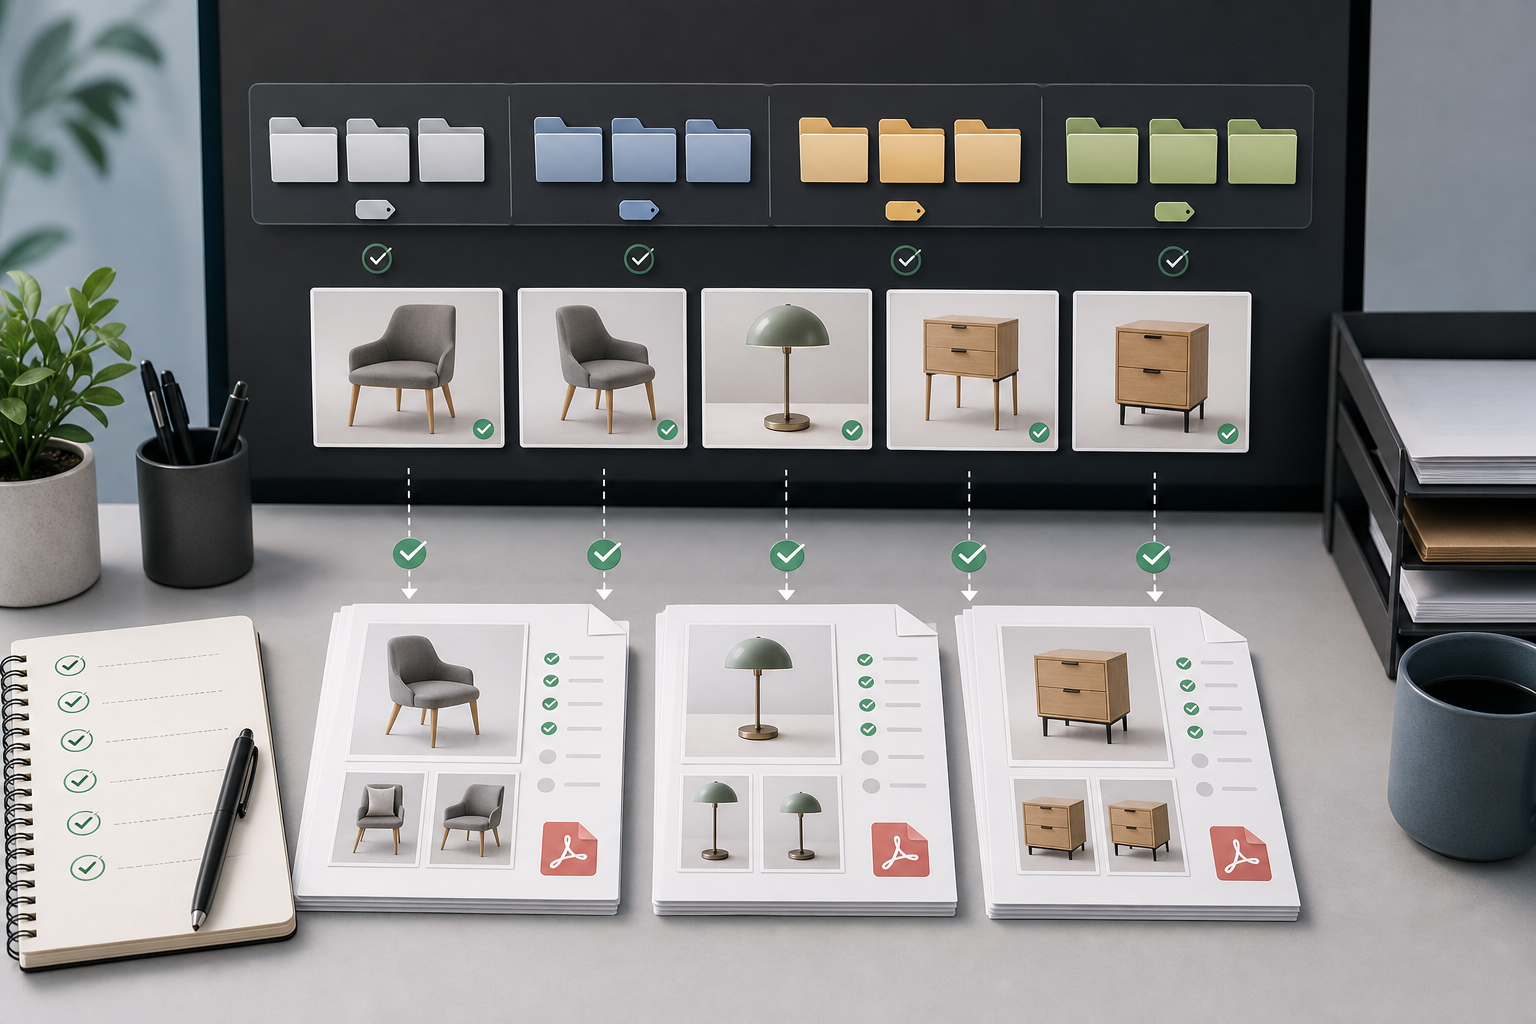
Build OCR-Ready Sheets Instead of Loose Image Piles
Loose image folders work for designers, but they are often awkward for catalog review. A PDF sheet gives the team a stable review object. It can combine product images, label crops, and supporting visual evidence in one package.
For a simple supplier review sheet, use one product per page or one variant group per page. The layout does not need to be complex. It should make the visual evidence easy to inspect.
A good product sheet may include:
- One clean product crop.
- One close crop of the label or packaging text.
- One context image if condition, scale, or kit contents matter.
- A filename or page order that maps back to the catalog spreadsheet.
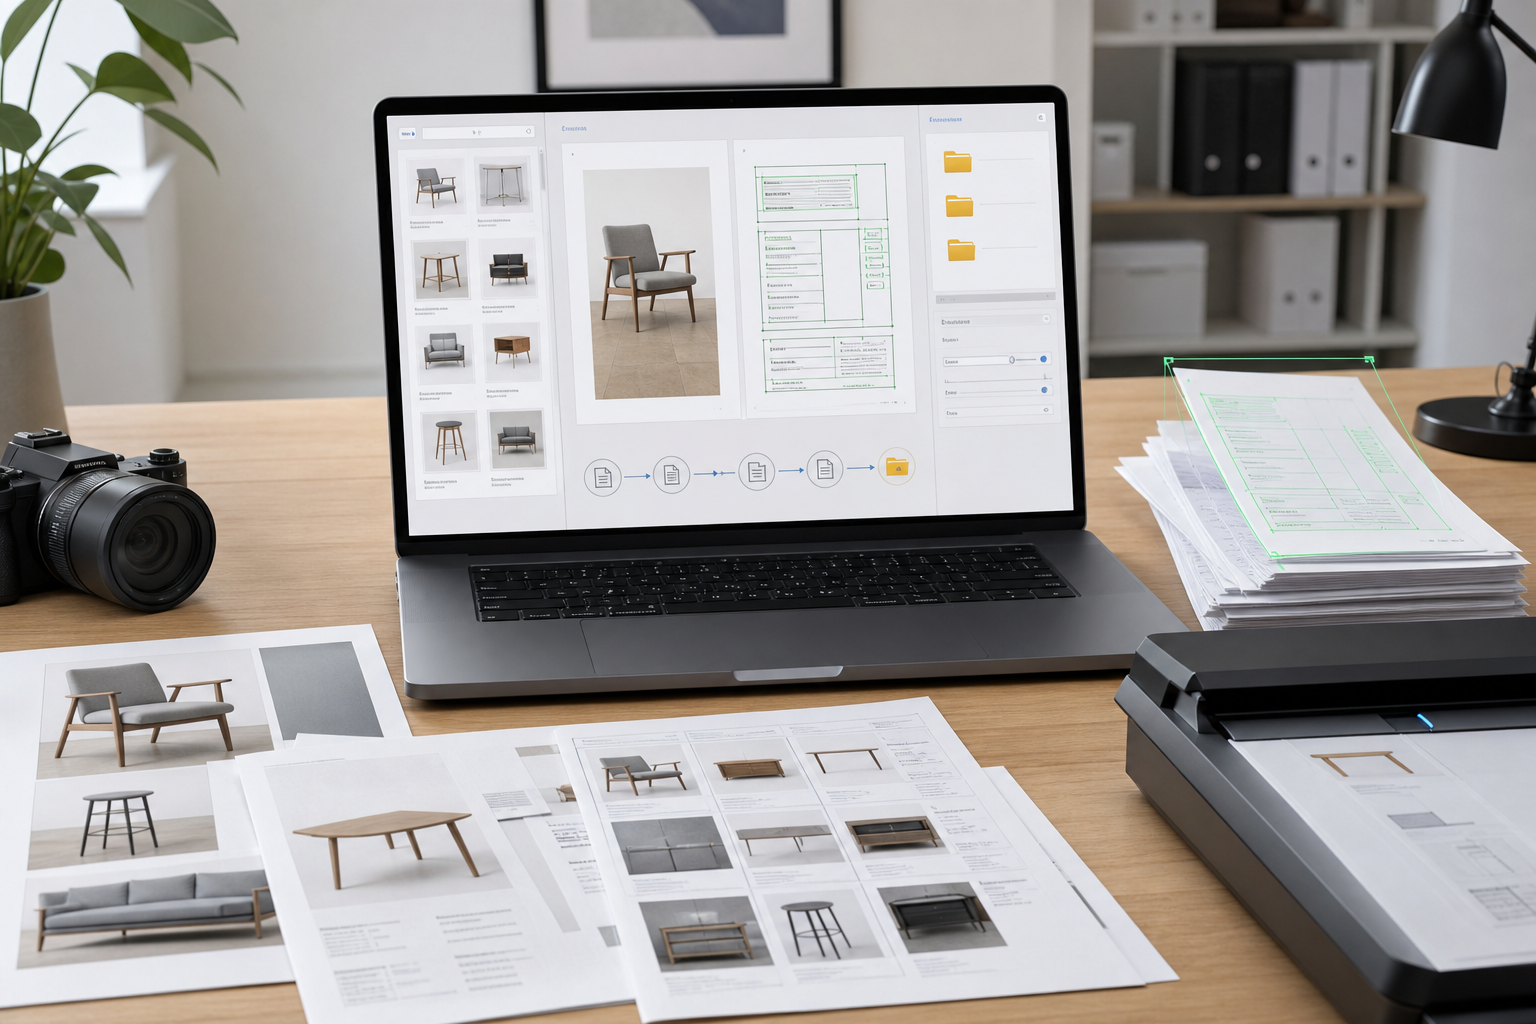
You can assemble cleaned images into a PDF with Image to PDF. This is especially useful when a supplier sends separate image files but your team needs one review document for purchasing, merchandising, or operations.
If the final document needs to be searched, run OCR on the image or PDF source where appropriate. For image-based text extraction, Image OCR can help pull visible text from labels, screenshots, scanned packaging, and product plates. The cleaner your crop and resizing choices were earlier, the better this stage usually behaves.
The best OCR sheet is not always the prettiest sheet. It is the one where the important text is large, upright, high-contrast, and not surrounded by visual clutter.
A Practical Naming and Export Checklist
File naming is not glamorous, but it is one of the highest-value parts of this workflow. A clean image with a vague filename is still a handoff risk.
Use filenames that connect to the business object. For example:
- suppliercode_sku_variant_view.jpg
- acme-2147_blue-front.jpg
- acme-2147_blue-label.png
- acme-2147_review-sheet.pdf
The exact pattern matters less than consistency. Choose fields that match your catalog spreadsheet or product information system. Avoid spaces if files will move through older systems, scripts, or shared drives. Use lowercase if your team regularly uploads to web tools or content systems where case sensitivity can become confusing.
Before export, run this checklist:
| Check | Pass Condition |
|---|---|
| Product identity | Filename matches the supplier code, SKU, or catalog row |
| Variant clarity | Color, size, pack count, or material is visible where relevant |
| Crop quality | Product and useful text are not cut off |
| OCR readiness | Important text is upright and readable at review size |
| Format | JPG, PNG, WebP, or PDF matches the next step |
| File size | Small enough for upload, email, or shared review |
| Source preservation | Original supplier file is kept separately |
Keep originals in a source folder. Do not overwrite them. Supplier images are evidence as well as assets. If a cleanup decision is questioned later, the original file gives you a point of comparison.
Example Workflow: Forty Supplier Images for a Small Catalog Update
Imagine a small distributor receives forty supplier images for a seasonal catalog update. The files include phone photos, website downloads, packaging closeups, and a few screenshot captures from a supplier portal. The team needs to update the catalog spreadsheet, create internal review sheets, and prepare web-friendly images for approved products.
A practical workflow could look like this:
- Create folders for source, working, OCR, review PDF, and web export.
- Sort all forty files into clean enough, needs crop, needs conversion, and needs replacement.
- Convert unusual formats into JPG or PNG using Convert Image.
- Crop product views and label views separately.
- Resize product images for review, keeping label crops larger if text matters.
- Compress copies for review PDFs, but keep sharper OCR source images.
- Run OCR on label crops where the team needs model numbers, dimensions, or packaging claims.
- Assemble product and label crops into PDF sheets with Image to PDF.
- Export approved product images for web use with a separate compression pass.
This workflow creates more files than a quick manual edit, but those files have clear jobs. The source files preserve what the supplier sent. The OCR files prioritize text extraction. The review PDFs help humans approve products. The web exports serve the website or marketplace.
That separation prevents a common mistake: using one compromised file for every purpose. A heavily compressed web thumbnail should not be the only source for OCR. A huge original phone photo should not be emailed repeatedly as a review document. A PDF review sheet should not replace the original image archive.
When AI Editing Helps and When It Does Not
AI editing can be useful in supplier image workflows, but it needs guardrails. The goal is to clean presentation, not change product reality.
A tool like AI Photo Editor can help with background cleanup, small distractions, or presentation consistency when the product itself remains accurate. This can be useful for internal review decks, catalog drafts, and supporting visuals.
However, avoid AI edits that alter product details. Do not let an edit change labels, ports, seams, textures, colors, included accessories, safety markings, or dimensions. In a catalog context, those details are not decoration. They are product information.
Use AI editing cautiously for:
| Good Candidate | Risky Candidate |
|---|---|
| Removing table clutter around a product | Reconstructing hidden label text |
| Softening a distracting background | Changing product color or finish |
| Extending neutral background space | Altering packaging claims |
| Cleaning dust from the surface | Removing compliance marks |
For OCR, AI editing is usually not the first tool to reach for. Cropping, format choice, contrast, and resolution matter more. If label text is unreadable, ask for a better source instead of trying to invent clarity.
Quality Control Before the Handoff
A supplier image workflow is only successful if the next person can use the output without asking basic questions. Before sending files onward, do a short quality control pass.
Open the final PDF sheet and check:
- Can you identify the product without opening the source folder?
- Can you read the important visible text?
- Are variants clearly separated?
- Are pages ordered in the same sequence as the spreadsheet or request list?
- Are filenames understandable outside your own computer?
- Are file sizes practical for the destination?
Then test the OCR output. Do not expect perfect extraction, especially from angled packaging or decorative type. Instead, check whether the extracted text is useful enough for the task. If OCR produces a supplier code, model number, dimensions, or key label wording with minor cleanup, the sheet has done its job.
For high-risk catalog data, OCR should support human review, not replace it. Product specifications, safety information, regulatory text, and pricing should still be verified against trusted supplier documentation.
Common Failure Points
Several issues show up again and again in supplier image cleanup.
The first is over-compression. A file becomes easy to email but hard to read. This usually happens when teams compress before deciding which details matter.
The second is single-crop thinking. A clean product crop and a readable label crop are different assets. Trying to make one image serve both purposes often produces a mediocre result for both.
The third is format drift. A team starts with mixed formats, converts some files, exports others, and ends up with a folder that no one understands. Decide your working formats early.
The fourth is filename ambiguity. If product files cannot be matched to spreadsheet rows, the review process slows down even if the images look good.
The fifth is treating PDF as an afterthought. A review PDF should be built from prepared images, not from whatever random files happen to be in a folder. Sheet order, image size, and text readability all matter.
A Lightweight Standard Operating Procedure
For teams that repeat this work, write a one-page standard operating procedure. It does not need to be formal. It just needs to prevent people from reinventing the workflow every time.
A useful SOP could say:
- Keep supplier originals unchanged in a source folder.
- Convert unusual formats before editing.
- Crop product views and label views as separate files when text matters.
- Resize only after crop decisions are final.
- Use low or medium compression for OCR and review assets.
- Use stronger compression only for approved web exports.
- Name files with supplier code, SKU, variant, and view.
- Create one PDF sheet per product or variant group.
- Run OCR on the clearest label or packaging crop.
- Mark unreadable sources for supplier replacement instead of forcing cleanup.
This kind of standard saves time because it reduces judgment fatigue. The team still makes decisions, but the path is known.
Final Takeaway
Supplier photos do not need to become perfect studio assets before they are useful. They need to become structured, readable, and predictable. That means sorting before editing, preserving originals, cropping for information, resizing without destroying small text, compressing with the handoff in mind, and packaging cleaned images into review-friendly PDF sheets.
The best workflow is quiet. Files move from supplier source to working image to OCR crop to review PDF to web export without confusion. People know which file to inspect, which one to upload, which one to archive, and which one needs replacement.
For small teams handling many imperfect supplier assets, that predictability is the win. It turns a folder of inconsistent images into a usable catalog review system without requiring layout software, a dedicated DAM process, or a full creative production team.