Stained Glass Restoration Photo Maps: A Practical Documentation Guide
Learn how to photograph, label, compress, and assemble stained glass panel images into clear restoration maps that preserve crack, lead came, paint, and repair details.
Stained Glass Restoration Photo Maps: A Practical Documentation Guide
A stained glass panel can contain hundreds of individual pieces, several generations of repair, fragile painted details, and structural problems that are difficult to describe in prose. A single attractive photograph records the subject, but it rarely tells a restorer where a crack begins, which lead came is bowed, or whether a dark line is corrosion, paint, putty, or an old adhesive.
A photo map solves that problem by turning a consistent set of images into a navigable record. It connects full-panel context with zone photographs and close details, while preserving enough resolution for comparison before, during, and after treatment. The same approach is useful for professional studios, small museums, churches, architectural surveyors, and skilled owners preparing a panel for specialist assessment.
This guide concentrates on practical image preparation rather than treatment decisions. Historic glass, unstable paint, failing lead, and valuable architectural panels should be assessed by a qualified conservator. Good photography does not replace that expertise; it gives the specialist better evidence.
Decide What the Photo Map Must Prove
Start by defining the questions the record should answer. Otherwise, it is easy to produce dozens of beautiful but inconsistent images that cannot be compared later.
A pre-treatment map commonly needs to show:
- The panel's complete composition and orientation.
- Its dimensions and relationship to a frame or surrounding opening.
- Cracks, missing fragments, edge losses, and temporary fills.
- Bowing, separated joints, fractured solder, and distorted lead came.
- Flaking paint, surface deposits, corrosion, and biological growth.
- Previous repairs, including plated glass, copper foil, straps, and replacement pieces.
- Areas selected for closer examination or specialist testing.
Choose the smallest useful reporting unit. A compact domestic panel may need one overview, four zones, and a handful of details. A tall lancet or complex figurative light may require a numbered grid. The map should be detailed enough to locate a condition precisely without becoming an unmanageable image dump.
Record the intended outputs as well. An archive master, a printable review PDF, and a lightweight email copy have different requirements. Keeping those purposes separate prevents destructive compression or accidental overwriting of the best photographs.
Build a Repeatable Capture Station
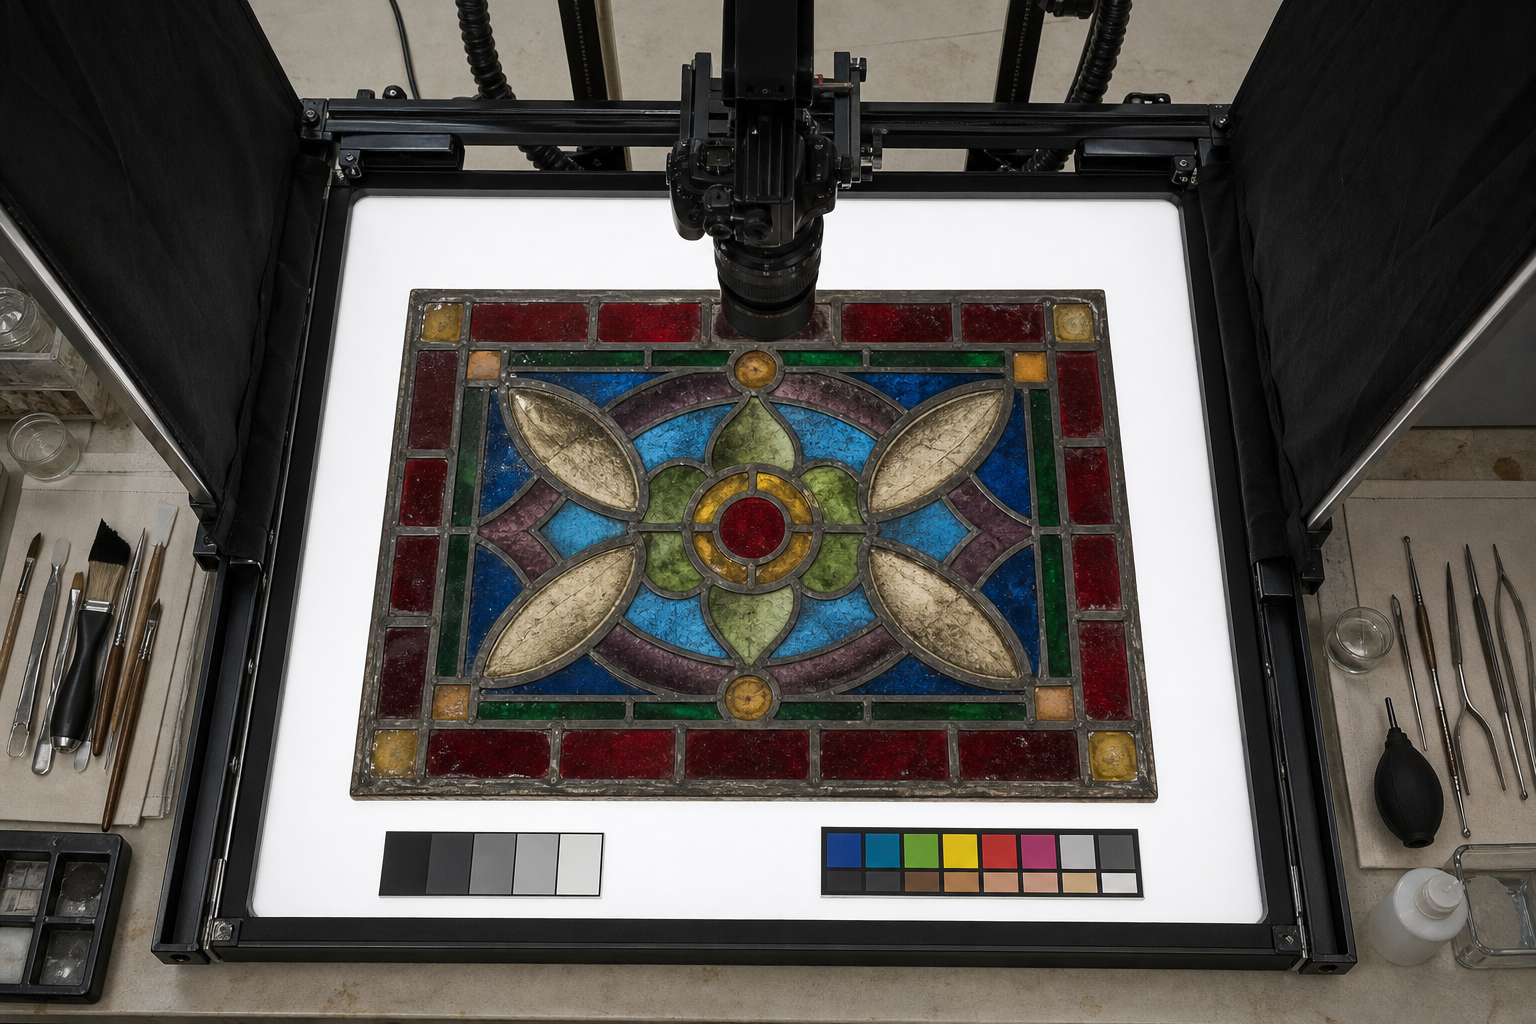
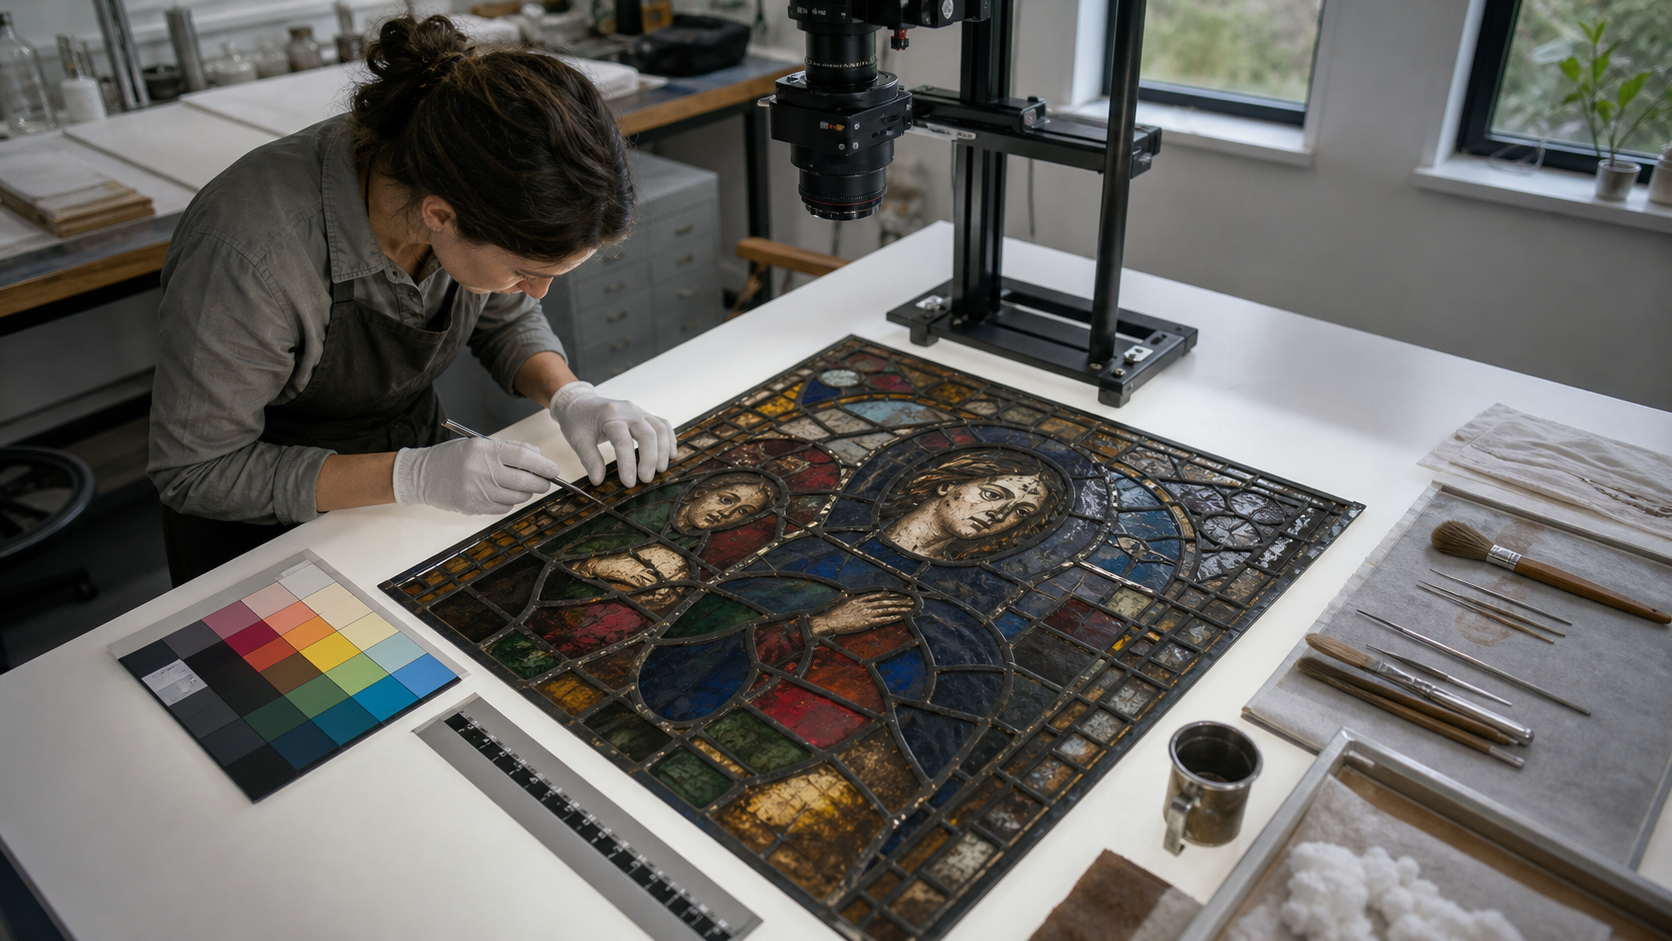
Consistency matters more than elaborate equipment. A modern phone or modest camera can produce useful records when it is held square to the panel, kept stable, and paired with controlled illumination.
Place the panel on a secure support approved for its condition. Never suspend weakened glass merely to obtain a cleaner background. For architectural glass that cannot be removed, photograph it in place and note the limitations caused by height, exterior light, protective glazing, or access.
For transmitted-light images, use a broad, even source behind the panel. A light table can work for smaller objects, while a diffused panel or temporary screened opening may suit larger sections. Avoid visible hotspots. Uneven illumination can make pale glass look stained and can conceal paint loss in bright regions.
Reflected light is also valuable because it reveals surface texture, corrosion, putty, and repair materials that transmitted light may hide. Capture both modes from the same camera position whenever practical. Do not assume that the more dramatic image is the more informative one.
Use these station checks before every session:
- Set the camera sensor as parallel to the panel as possible.
- Stabilize the camera with a copy stand, overhead arm, or tripod.
- Disable decorative filters, portrait effects, and automatic background blur.
- Use a low sensitivity setting when the camera permits it.
- Trigger the exposure without touching the camera, or use a short timer.
- Shield the setup from window glare and reflections of people or equipment.
- Place a scale and color reference beside the glass, not over a fragile surface.
- Include an orientation marker when the panel's top is not unmistakable.
Leave a narrow border around the panel in the overview. Cropping exactly against the outer lead removes evidence about edge condition and makes later alignment harder.
Control Color Without Hiding Condition
Color accuracy is important, but aggressive correction can erase evidence. Automatic editing may brighten shadowed corrosion, neutralize the warm cast of old glass, or increase saturation until painted lines merge with dark lead.
Capture one reference frame with a neutral gray or color target under each lighting arrangement. Lock white balance if the device allows it. If it does not, keep the illumination and camera position unchanged so that frames remain internally consistent.
Apply only restrained global corrections to documentary copies:
- Correct obvious rotation and perspective error.
- Set a neutral color balance using the reference frame.
- Adjust exposure enough to preserve detail in pale and dark glass.
- Use mild contrast correction if the unedited capture appears flat.
- Apply conservative sharpening after resizing, not repeatedly.
Never clone out dust, tape, cracks, labels, support wires, or reflections in the archival version. A distracting feature may still be condition evidence. If a cleaned image is needed for publication, save it as a clearly separate derivative. The AI photo editor can help prepare a presentation copy, but restoration records should retain an untouched master and disclose any substantive visual alteration.
Create an Overview, Zone, and Detail Image Set
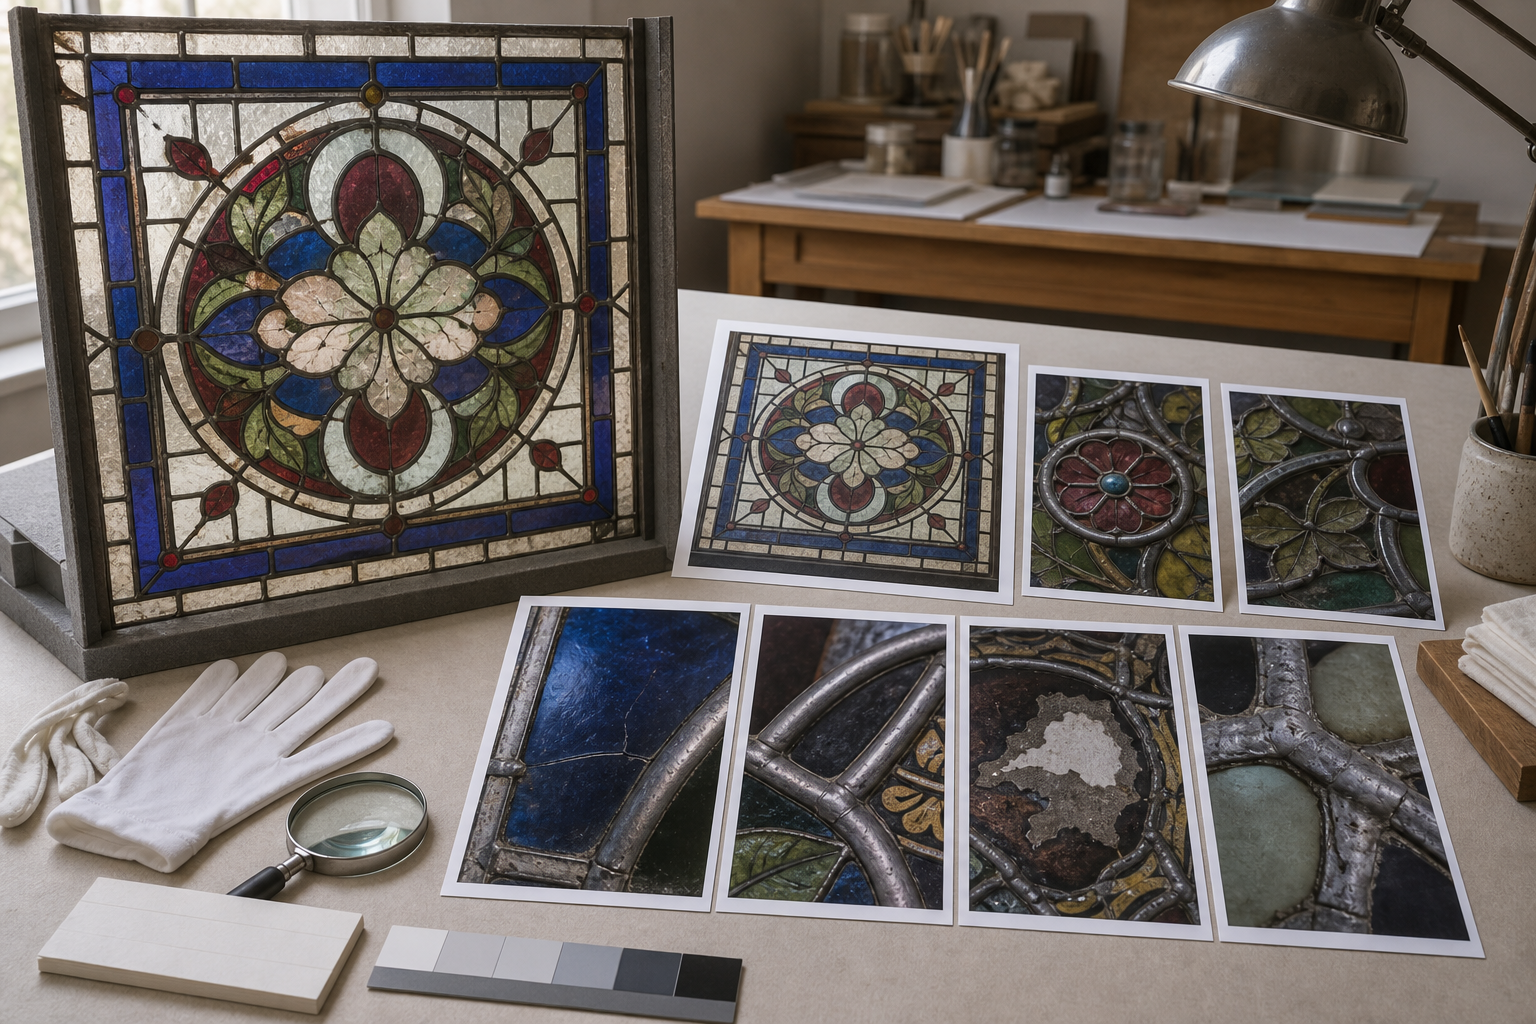
A useful map has three levels. The overview establishes location, zone images make inspection practical, and detail photographs show the feature itself.
Level 1: Full-panel overview
Photograph the entire panel square-on. Include the scale, orientation marker, and a small margin. Capture transmitted and reflected light versions if both add information. This image becomes the base map, so verify sharpness at the corners as well as the center.
Level 2: Overlapping zones
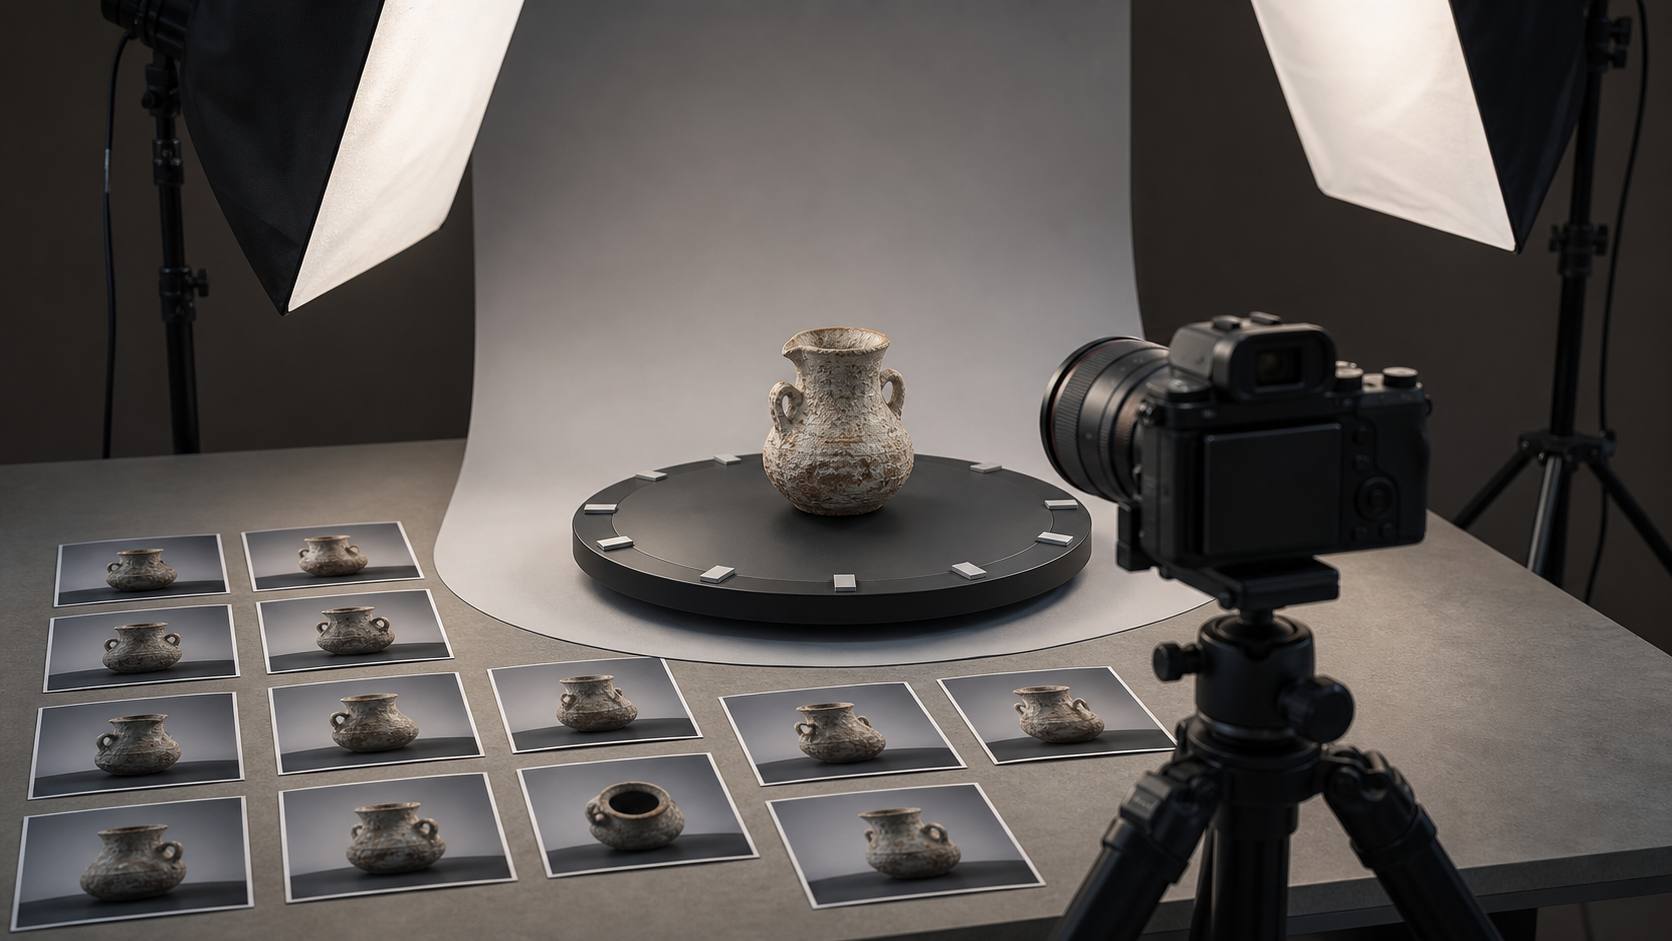
Divide the panel into a predictable grid such as two columns by three rows. Photograph each zone at the same magnification with approximately 15 to 25 percent overlap. Overlap preserves context and helps reviewers follow a crack or lead line that crosses a boundary.
Use spatial identifiers rather than descriptions. Codes such as A1, A2, B1, and B2 remain stable even if the interpretation of a feature changes. Put the code in the filename or accompanying index rather than placing a card on top of the glass.
Level 3: Condition details
Capture close views only after the overview and zones are complete. Each detail should include enough surrounding structure to locate it. A macro image showing nothing except a crack may be technically impressive but geographically useless.
For tiny features, make two frames: one contextual image and one close image. Where scale matters, position a suitable conservation-safe scale nearby without touching unstable paint or glass edges.
| Image level | Primary purpose | Typical framing | Common mistake |
|---|---|---|---|
| Overview | Establish identity and orientation | Entire panel plus border | Cropping away the perimeter |
| Zone | Support systematic inspection | Consistent grid with overlap | Changing angle or magnification |
| Detail | Record a specific condition | Feature plus nearby landmarks | Removing all location context |
Photograph Difficult Conditions Deliberately
Different defects respond to different light. One universal exposure will not reveal everything.
Cracks and edge losses
Use transmitted light for clear separation, then add shallow reflected or raking light if the crack is difficult to distinguish from painted lines. Check focus on the glass surface rather than the support beneath it.
Bowed lead and displaced pieces
A straight-on image documents position but can flatten deformation. Add an oblique view from a known direction. Keep the overview as the primary record and label the oblique frame as supplemental, since it should not be used for dimensional comparison.
Painted and stained surfaces
Paint loss may appear differently in transmitted and reflected light. Capture both without changing the camera framing. Avoid high contrast that turns subtle matte or abraded areas into featureless black regions.
Corrosion and deposits
Diffuse reflected light shows overall distribution, while carefully positioned raking light can reveal texture. Reflections can resemble pale deposits, so inspect the setup and make a second exposure after shifting the light rather than the panel.
Previous repairs
Record the complete repair and its relationship to surrounding leads. Then capture construction details such as copper foil seams, plating edges, straps, adhesives, or mismatched replacement glass. Describe only what the photograph supports; do not label a material conclusively when identification is uncertain.
Add Annotations Without Damaging the Master
Annotations should be reversible and legible. Preserve the original image, then create a separate map layer or derivative containing markers.
Use numbered or coded callouts on the overview instead of long paragraphs. Put the explanation in an adjacent condition index. This keeps the glass visible and lets the same base image support different reports.
A compact index might contain:
| Marker | Zone | Observation | Image reference | Priority |
|---|---|---|---|---|
| C01 | A2 | Curved crack through blue fragment | D-C01-01 | Monitor |
| L03 | B1 | Lead came visibly bowed | D-L03-01, D-L03-02 | Specialist review |
| P02 | B3 | Possible painted surface loss | D-P02-01 | Examine under controlled light |
| R04 | A3 | Earlier plated repair | D-R04-01 | Record |
Use observation language rather than premature diagnosis. “White granular deposit” is more defensible than naming a chemical compound from a photograph alone. Likewise, distinguish “visible separation at solder joint” from a structural conclusion that requires physical examination.
If labels or old inventory numbers appear in the photographs, the image OCR tool can produce a draft transcription. Verify every result manually, especially where Gothic lettering, faded ink, reflections, or decorative motifs may confuse recognition.
Name Files So the Set Survives Handoffs
An orderly naming pattern keeps images connected to the object even when folders are copied or individual files are emailed. Avoid names generated by the camera and avoid relying exclusively on folder order.
A practical pattern is:
objectID_date_stage_view_zone_detail_version.ext
For example:
SGP042_2026-07-16_pre_transmitted_OV_master.tif
SGP042_2026-07-16_pre_reflected_A2_edit.jpg
SGP042_2026-07-16_pre_raking_B1_C03_edit.jpg
Keep codes short and define them in a readme or index. Useful controlled terms include pre, during, and post for treatment stage; transmitted, reflected, and raking for illumination; and OV, A1, or C03 for map position.
Do not rename only half of a set after annotations have been created. If identifiers must change, update the image index and report references together.
Prepare Archive, Review, and Web Copies
One file should not serve every destination. Produce derivatives from the highest-quality master and keep the master unchanged.
Archive master
Retain the original pixel dimensions and the least destructive format available from the camera. Preserve embedded color information and capture metadata. Store annotations separately where the archive system permits it.
Review copy
Use a broadly compatible format and enough resolution to inspect cracks, joints, and paint. JPEG is practical for photographic material, while PNG may suit flat diagrams and annotation layers. The image converter can create standardized derivatives without changing the archived source.
Email or portal copy
Resize before compressing. Sending a huge image at extremely low quality often produces larger files with uglier artifacts than a correctly sized image at moderate quality. Thin lead lines and painted contours are particularly vulnerable to ringing and block artifacts.
Use the image resizer to set sensible viewing dimensions, then test the result with the image compressor. Inspect pale glass, fine painted lines, crack edges, and numbered markers at 100 percent zoom before approving the batch.
A useful acceptance test asks whether the derivative still allows a reviewer to:
- Follow a crack across a piece of glass.
- Distinguish a lead boundary from a painted line.
- Read every callout identifier.
- See texture in deposits and repair materials.
- Match a detail image to its surrounding zone.
If any answer is no, increase dimensions or quality rather than sharpening aggressively.
Assemble a PDF Review Map
A PDF is useful when reviewers need a fixed sequence that combines photographs, condition codes, and short notes. Begin with the full overview, follow with the annotated map and condition index, then arrange zone and detail pages in their coded order.
Keep the page design restrained. Use consistent margins, page orientation, caption placement, and image scale. Place captions outside photographs so they do not cover glass or condition evidence. Include the object identifier, capture date, treatment stage, lighting type, and filename on each relevant page.
When source pages or image groups have been prepared separately, merge the PDF files into one review packet. Check the final document page by page; a successful merge does not guarantee that rotations, captions, or page sizes are consistent.
The review PDF is a navigation aid, not necessarily the archive. Highly compressed PDF images may be unsuitable for later measurement or close inspection, so retain the linked master and derivative folders.
Run a Pre-Delivery Audit
Before sending the package, compare the files against the object rather than merely checking that the folder is full.
Coverage
- One complete, sharp overview exists.
- Every grid zone is present and overlaps its neighbors.
- Each condition marker has at least one referenced image.
- Significant oblique or raking-light views are identified as supplemental.
Consistency
- Orientation remains constant across overview and zone images.
- White balance does not shift unpredictably between adjacent frames.
- Filenames use the documented code system.
- Treatment stage and capture date are correct.
Image integrity
- Masters remain untouched.
- Edited derivatives are clearly distinguished.
- Compression has not obscured thin lines or subtle textures.
- No annotation covers the feature it describes.
- Rotation and perspective corrections have not cropped panel edges.
Package integrity
- The condition index points to files that actually exist.
- The PDF opens and pages appear in the intended order.
- Fonts and markers remain readable on a normal laptop screen.
- A recipient can understand abbreviations from the included key.
- A backup exists before files are transferred or renamed.
Repeat the Same Views After Treatment
Post-treatment photographs become much more valuable when they reproduce the original framing. Save camera height, lens setting, support position, lighting arrangement, grid definition, and orientation notes during the first session.
Do not force a new photograph to align by stretching it. Perspective distortion may create the appearance that leads moved or glass changed shape. Instead, reconstruct the capture station as closely as possible and use stable physical landmarks for comparison.
Keep pre-treatment and post-treatment images as separate, clearly named sets. Side-by-side comparison derivatives are useful, but they should not replace the originals. When an area changed during treatment, retain intermediate photographs that explain the transition.
A disciplined photo map turns a visually complex panel into a record another person can navigate. The strongest set is not the one with the most photographs. It is the one in which every image has a defined scale, location, purpose, and relationship to the rest of the evidence.