Kiosk Screen Photo OCR Cleanup for Support Ticket Evidence
A practical guide to turning tilted, reflective kiosk screen photos into readable OCR notes, compressed evidence images, and clean PDF support packets.
Kiosk Screen Photo OCR Cleanup for Support Ticket Evidence
Self-service kiosks fail in inconvenient places: hotel lobbies, clinic check-in areas, parking garages, quick-service restaurants, campus print rooms, parcel lockers, airport counters, and unattended payment stations. The person closest to the machine is often not the engineer who can fix it. They are a site manager, cashier, receptionist, field technician, or vendor partner with a phone and a ticket form.
That makes the screen photo surprisingly important. A blurry kiosk error photo can delay triage by hours because the remote support team cannot read the error code, timestamp, device ID, payment message, or on-screen instruction. A clean evidence packet can let an engineer identify the failing module before anyone drives across town.
This guide explains how to turn difficult kiosk screen photos into reliable support evidence: better captures, cleaner crops, stronger OCR, smaller attachments, and practical PDF packets. It is written for teams that handle real-world device support, not studio photography.
Why Kiosk Screen Photos Are Hard to Read
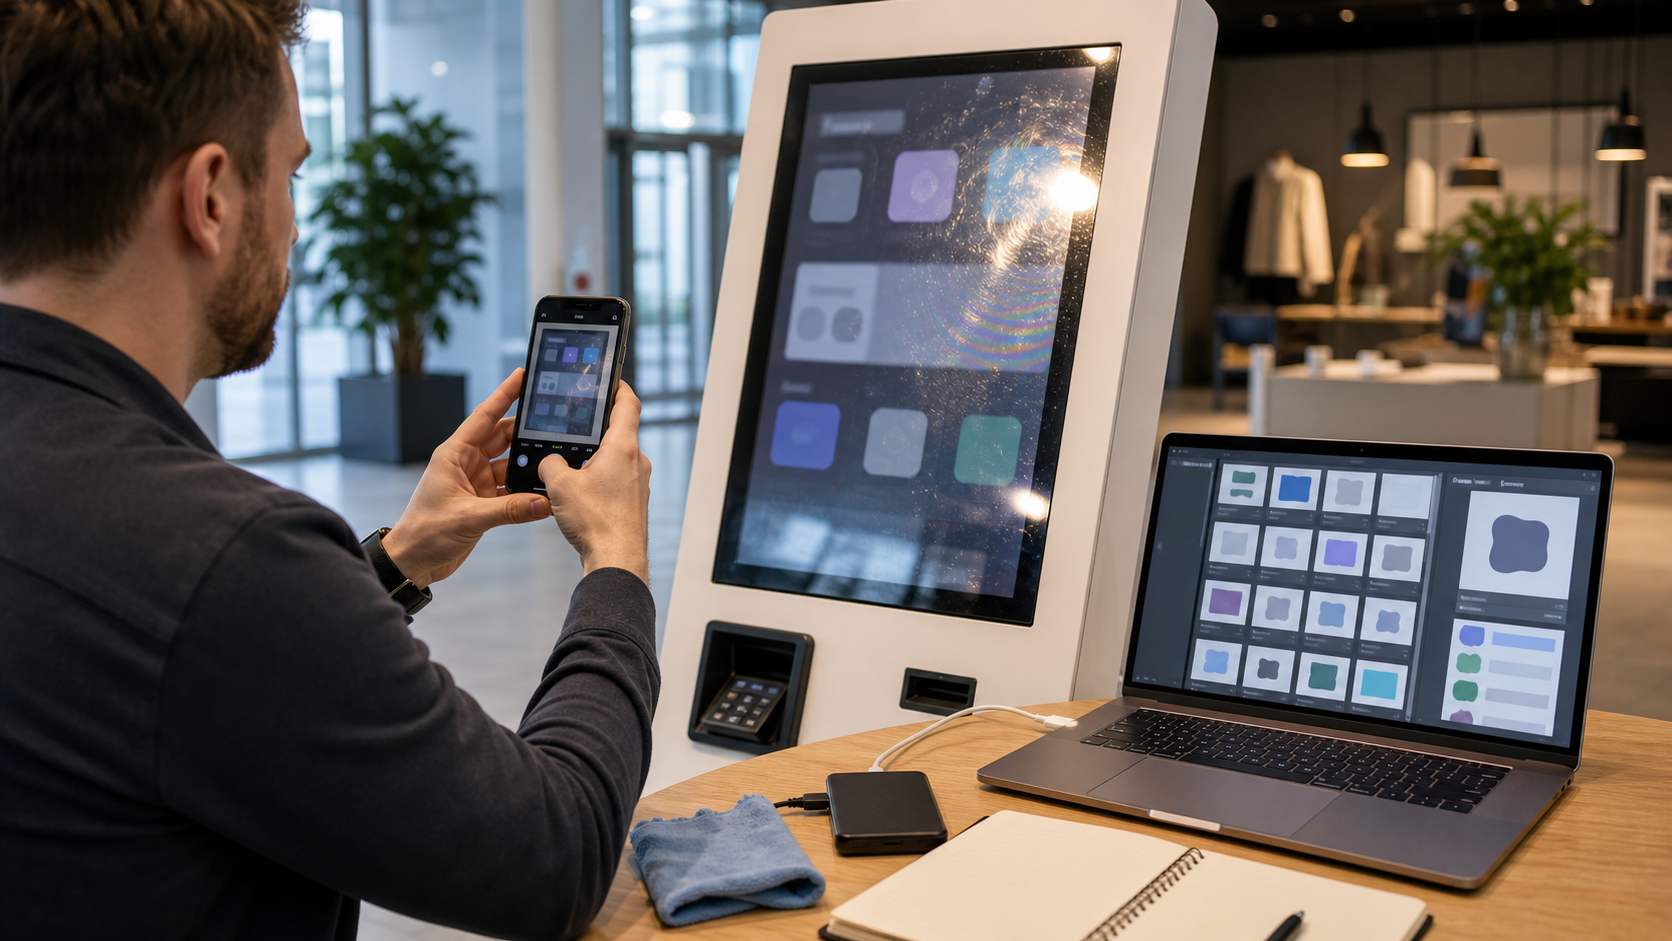
Kiosk displays combine several OCR problems in one image. They are usually glossy, vertical, and surrounded by bright public lighting. The screen may be behind glass or a protective cover. The person taking the photo may be standing in a queue, holding a phone one-handed, or trying not to block customers.
Common issues include:
- Reflections from windows, ceiling lights, safety vests, or the photographer's phone
- Moire patterns from photographing a digital screen with another digital sensor
- Tilted perspective because the kiosk is mounted at chest height or inside a recess
- Tiny status text in corners, often more important than the large headline
- Mixed UI elements such as logos, icons, buttons, QR codes, and fine print
- Overexposed white areas that erase pale gray error details
- Underexposed dark themes that hide secondary messages
- Fingerprints, scratches, rain spots, or protective film haze
OCR does not understand context the way a support engineer does. It sees contrast, shapes, and character patterns. If the error code is washed out by glare, OCR may return a confident but wrong result. If a device serial number is partially cropped, OCR may join it with a nearby label. The goal is not to make the photo pretty. The goal is to preserve the machine-readable details and make the human review faster.
Decide What Evidence You Need First
Before editing, decide what the support ticket must prove. This prevents over-cropping and keeps useful context attached.
For most kiosk incidents, capture four evidence layers:
| Evidence layer | Why it matters | Example details |
|---|---|---|
| Full kiosk context | Confirms location, machine type, and physical condition | Cabinet, scanner, printer slot, payment terminal, out-of-order sign |
| Full screen photo | Shows the entire UI state | Error dialog, selected language, visible buttons, timestamp |
| Detail crop | Preserves the part OCR needs most | Error code, receipt printer message, terminal ID, network status |
| Optional surroundings | Explains environmental causes | Sun glare, disconnected cable area, paper jam access panel |
Do not start with the tight crop only. A close crop of an error message may be readable, but it can lose context such as the kiosk model, selected module, payment step, or language setting. Support teams often need both: the whole scene and the readable detail.
The Capture Checklist Before You Touch OCR
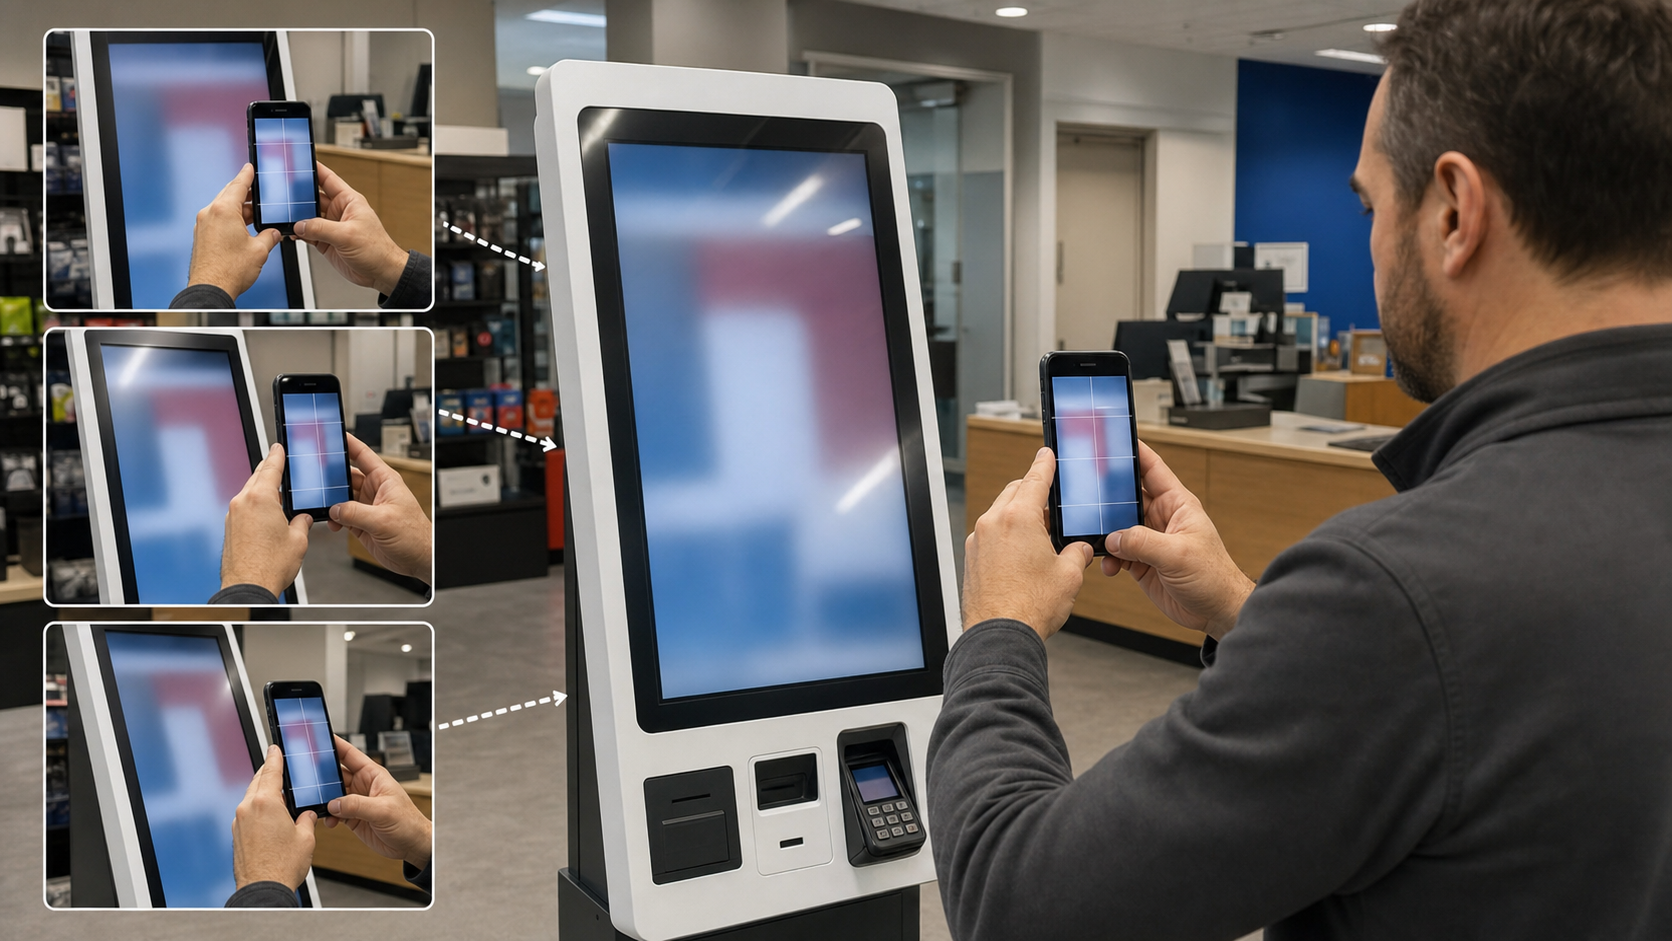
A better source photo beats heroic cleanup. If your team can retake the image, use this short capture checklist before opening any editing tool.
Take Three Angles, Not One
For glossy screens, one straight-on photo is often the worst option because it reflects the photographer, lights, or windows. Take three shots:
- Straight-on for layout and context
- Slightly left or right to move reflections away from text
- Slightly higher or lower to reduce ceiling glare
Keep the phone parallel to the screen as much as possible. A small angle change is enough to shift glare. A large angle change creates perspective distortion that makes OCR less reliable.
Lock Focus and Exposure on the Text
Tap the error message or status area on the phone screen before taking the photo. Many phones expose for the bright white panel or the whole scene, which can destroy small gray text. If the camera app allows exposure adjustment, lower it slightly when the screen is mostly white.
For dark kiosk themes, raise exposure only enough to reveal text. Avoid making the screen glow into a soft rectangle. Sharp edges matter more than brightness.
Include the Screen Border
Leave a small border around the display. It helps later when correcting perspective because the screen edges give you a rectangle to align. Cropping too tightly at capture time makes it harder to straighten the image.
Avoid Digital Zoom
Move closer instead of using digital zoom when possible. Digital zoom can smear thin letters and turn serial numbers into soft blocks. If you cannot move closer because of a counter, barrier, or queue, take a normal photo and crop later.
Capture One Physical Identifier
If the kiosk has a visible asset tag, terminal ID sticker, location label, or hardware serial plate, photograph it separately. OCR from a screen is useful, but support teams also need to know which physical unit produced the message. If the asset tag is tiny, use the same capture rules: straight, sharp, and glare-free.
A Practical Cleanup Order for Screen Photos
Editing steps should protect the evidence. Do not start by applying aggressive filters, beauty effects, or AI changes. For support tickets, the safest order is: duplicate, straighten, crop, adjust contrast, run OCR, then compress.
1. Keep the Original Untouched
Save the original upload before cleanup. If a support decision is challenged later, the unedited file provides a reference. Your edited version should improve readability, not replace the source record.
A simple naming pattern works well:
kiosk-a12-original-2026-07-07.jpgkiosk-a12-screen-crop-2026-07-07.pngkiosk-a12-ocr-notes-2026-07-07.txtkiosk-a12-ticket-packet-2026-07-07.pdf
Use plain dates and asset IDs. Avoid names like final_final_new.jpg, which become painful when several people review the same incident.
2. Straighten Before Cropping Tight
If the screen is tilted, straighten it while the display border is still visible. A rectangle is easier to correct than a tight crop around text. The target is not perfect geometry; it is readable rows of text.
If the screen is photographed from one side, correct perspective carefully. Over-correction can stretch characters and hurt OCR. A slightly angled but sharp photo may OCR better than a heavily warped one.
3. Crop for Two Versions
Create two crops from the edited image:
- A full-screen crop that shows the whole UI state
- A detail crop around the error text, code, timestamp, or device status
The full-screen crop helps humans understand the situation. The detail crop helps OCR concentrate on the important text. For OCR, remove unrelated logos, icons, and buttons when they are not needed. Mixed UI content can confuse recognition.
You can use an image conversion and resize pass to prepare these derivatives. For example, resize the screen crop if it is huge, or convert the image when a PNG detail crop is more appropriate than a phone camera HEIC or JPEG.
4. Adjust Contrast Without Inventing Detail
A kiosk photo often needs modest contrast correction. Increase contrast enough that letters separate from the background. Reduce highlights when glare covers pale text. Lift shadows when dark UI panels hide status lines.
Avoid heavy sharpening halos. They may make the image look crisp to the eye while creating false edges around letters. OCR may read those halos as punctuation or split characters. If sharpening is necessary, use the lightest setting that clarifies the text.
Also avoid color filters. Converting to grayscale can help when colored UI elements distract OCR, but only if the text remains distinct. If the screen uses colored status labels, keep a color version for human review.
5. Run OCR on the Detail Crop First
OCR works best when the input is focused. Use the detail crop before the full image. If the output misses key text, try a second crop with slightly more surrounding context, then compare.
For screen photos, check these OCR risks manually:
| Visual pattern | Common OCR mistake | Manual check |
|---|---|---|
| Zero and capital O | Device codes change meaning | Compare with nearby labels and known ID formats |
| One, lowercase l, and capital I | Serial numbers become ambiguous | Zoom into the original crop |
| Colon and semicolon | Time values or error codes shift | Verify timestamps and code separators |
| Hyphen and underscore | API or terminal codes break | Preserve the exact separator in notes |
| Reflected bright streaks | Missing letters | Review an alternate angle photo |
A tool such as image OCR is useful for extracting the first pass, but do not paste OCR output into the ticket blindly. Treat it as a draft transcription that must be checked against the crop.
Build a Ticket Packet That a Remote Engineer Can Trust
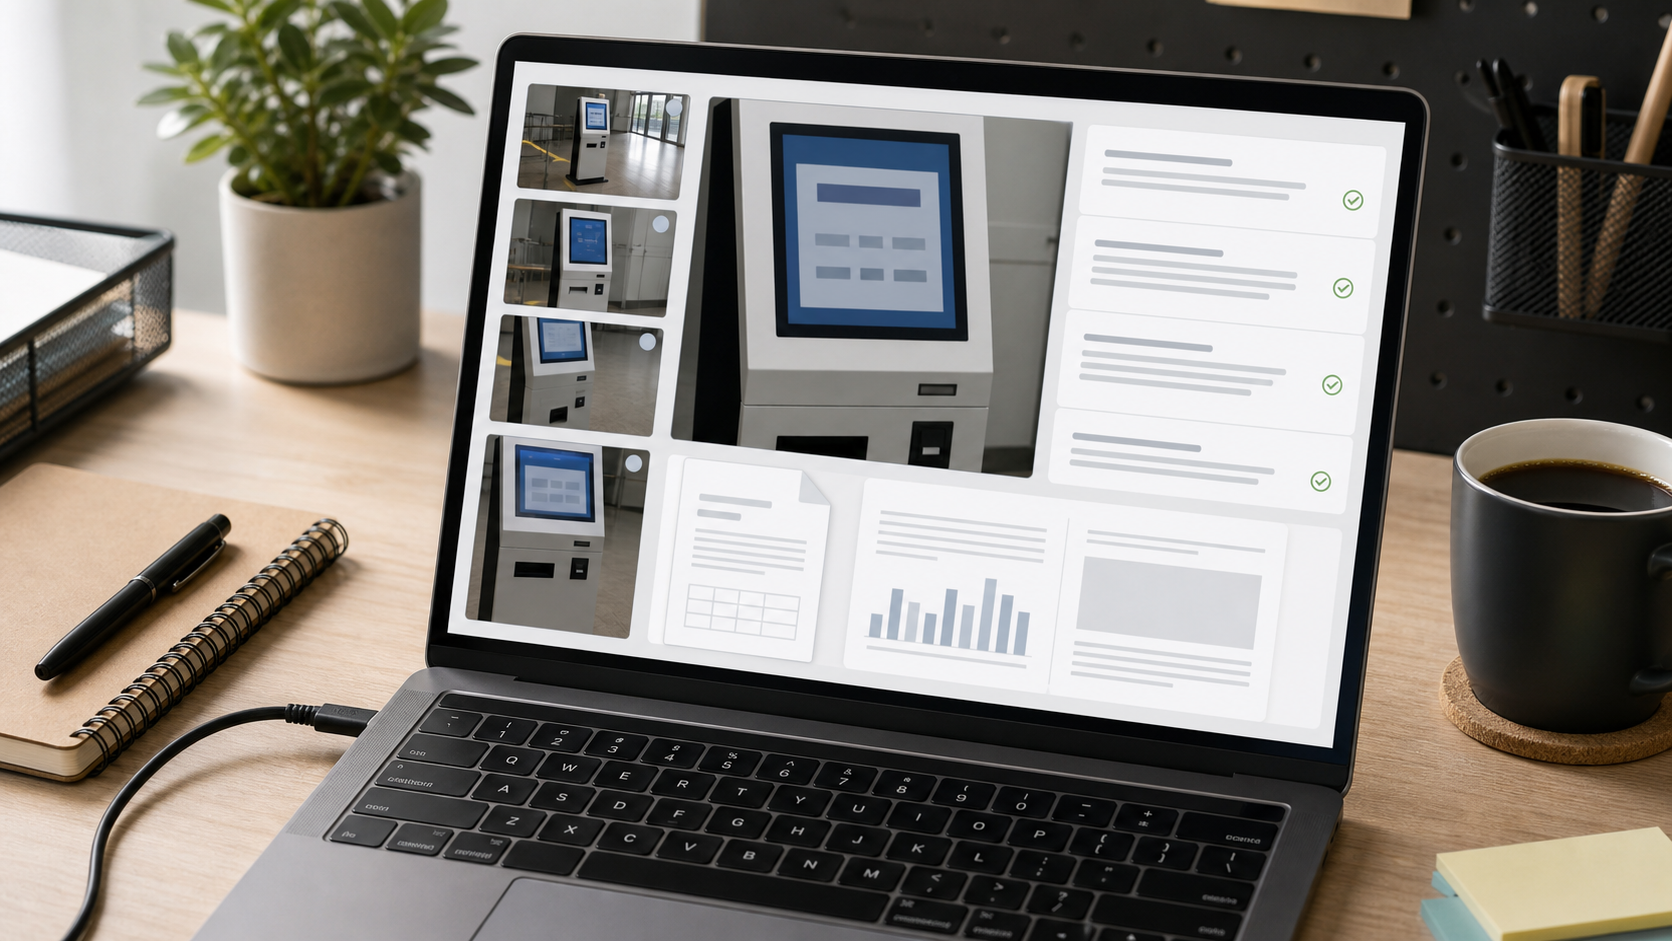
A good support packet is compact, ordered, and honest about what was edited. It should let the engineer answer three questions quickly:
- Which kiosk is affected?
- What exactly did the screen say?
- What visual evidence supports that transcription?
Recommended Packet Order
Use this order for most incidents:
| Page or section | Contents | Notes |
|---|---|---|
| 1 | Full kiosk context photo | Shows the machine and environment |
| 2 | Full screen crop | Shows the complete UI state |
| 3 | Detail crop | Focuses on the error text or code |
| 4 | OCR transcription and notes | Includes uncertain characters clearly marked |
| 5 | Asset tag or location label | Optional but useful for multi-kiosk sites |
If the ticketing system accepts only one attachment, combine the images into a PDF. Use image to PDF for a simple packet, then keep the file size reasonable before upload. If you have several documents, such as a maintenance form and the screen evidence, merge the PDFs so reviewers do not have to open attachments in the wrong order.
Mark Uncertain Characters Clearly
When OCR output is uncertain, do not guess silently. Use a note such as:
Error code appears to be PRT-0B12, but the third character may be letter O rather than zero. See detail crop.
This is more useful than a confident wrong transcription. Engineers often know the valid code pattern and can resolve the ambiguity quickly.
Include Editing Notes When It Matters
Most tickets do not need a long editing history. Still, a one-line note can prevent confusion:
Edited copy was straightened, cropped, and contrast-adjusted for readability. Original phone photo retained.
This is especially helpful for regulated environments, vendor disputes, and repeated device failures where evidence quality matters.
Compression Without Destroying Evidence
Support teams usually need small files, but kiosk screenshots contain thin UI text that can fall apart under aggressive compression. The wrong compression setting can turn a readable error code into blocks.
Use this practical approach:
- Keep the original photo as captured
- Export screen detail crops as PNG when text is fine and flat-colored
- Use JPEG for full-scene context photos when file size matters
- Compress only after OCR and manual checking
- Reopen the compressed file and zoom to the smallest text
If the file is too large for the ticketing system, compress the context images more than the detail crop. The full kiosk scene can tolerate compression better than a tiny error line. Use compress image after deciding which images need preservation and which can be lighter.
A sensible attachment budget for many support tickets is:
| Asset | Target approach | Reason |
|---|---|---|
| Original photo | Store internally, not always attached | Preserves source evidence |
| Full kiosk photo | Moderate JPEG compression | Context remains understandable |
| Full screen crop | Light compression | UI state should stay readable |
| Detail crop | PNG or very light compression | Error code must survive |
| Final PDF packet | Compress only if required | Avoid degrading already compressed images twice |
Double compression is a common cause of unreadable packets. If the phone already saved a JPEG, and you export another JPEG, and the ticketing system compresses attachments again, fine text may degrade three times. Use PNG for critical detail crops when possible.
Handling Glare, Reflections, and Moire
Some screen photos cannot be fully fixed, but many can be made useful.
Glare Across the Error Text
If glare crosses the exact error line, look for an alternate angle capture. Editing may recover contrast around the glare, but blown-out pixels contain no text. If no alternate exists, include the damaged crop and state which characters are unreadable.
For future captures, ask site staff to shade the screen briefly with a folder, jacket, or their body while taking the photo. The shade should not cover the text or create a strong reflection of its own.
Reflections of the Photographer
A reflection over a dark UI can obscure text while leaving the rest of the screen readable. Cropping helps if the reflection does not cover the error area. Lowering highlights and increasing local contrast can help, but avoid edits that make reflected shapes look like letters.
If privacy is a concern because the reflection shows a face, crop the detail area when possible. If the full scene is still needed, use a version that minimizes personal details while retaining the kiosk context. Do not blur the actual screen text.
Moire Patterns
Moire appears as ripples, rainbow bands, or grid interference. It happens when the camera sensor conflicts with the screen pixel pattern. The best fix is capture-based: change distance slightly, change angle slightly, or use a different zoom level without digital zoom. For an existing image, resizing down a little can sometimes reduce the pattern, but check OCR after resizing.
When AI Editing Is Appropriate
AI editing can help with support images, but it must be used carefully. The boundary is simple: improve visibility around the evidence, do not alter the evidence itself.
Appropriate uses include:
- Removing irrelevant background clutter outside the kiosk screen
- Lightly improving exposure on a non-critical context photo
- Creating a cleaner crop for presentation when the original is retained
- Reducing distraction around a screen while leaving text untouched
Avoid AI edits that reconstruct, rewrite, replace, or sharpen text into something that was not clearly present. If a model fills in missing characters, that may look useful but it is not reliable evidence. For user-submitted or vendor-submitted images, keep the original and use AI photo editing only for non-destructive presentation improvements where the evidence text remains verifiable.
A good rule: if the edit could change the meaning of the screen message, do not use it for the evidence copy.
Example: Payment Kiosk Error at Closing Time
Imagine a parking garage payment kiosk fails at 10:48 p.m. The attendant photographs the screen and submits a ticket. The first image is a tilted phone photo with a bright reflection from the overhead light. The large headline is readable, but the terminal response code is tiny.
A strong evidence packet would include:
- Original phone image retained internally
- Full kiosk photo showing the payment station and location marker
- Straightened full-screen crop showing the failure state
- Detail crop of the terminal response code and timestamp
- OCR output checked against the detail crop
- Note explaining one uncertain character if needed
- PDF packet attached to the ticket
A weak packet would include only a compressed messaging-app image pasted into the ticket body with a guessed error code. The engineer may then ask for a retake, but the screen state may be gone by morning.
The difference is not expensive equipment. It is a repeatable capture and cleanup habit.
Team Checklist for Repeat Incidents
For organizations with many kiosks, a shared checklist prevents inconsistent tickets. Copy this into an internal support note and adapt it to your environment.
Capture
- Take one full kiosk photo
- Take one full screen photo
- Take two alternate-angle screen photos if there is glare
- Photograph the asset tag, location label, or terminal ID
- Avoid digital zoom
- Tap to focus on the error text
Cleanup
- Save the original file unchanged
- Straighten the screen while borders are visible
- Create a full-screen crop and a detail crop
- Adjust contrast lightly for readability
- Run OCR on the detail crop
- Check confusing characters manually
Packet
- Put images in a logical order
- Include OCR text as notes, not as unquestioned truth
- Mark uncertain characters
- Compress carefully after checking readability
- Combine images into a PDF if the ticketing system handles one attachment better
This checklist is deliberately short. If it takes too long, busy site staff will skip it. The point is to make the most important evidence easy to collect while the error is still visible.
Common Mistakes That Slow Down Triage
The same few mistakes appear in kiosk support queues again and again.
Cropping Away the State
A tight crop of an error code may not show whether the kiosk was in payment, check-in, pickup, language selection, or admin mode. Always keep a full-screen version.
Sending Messaging-App Copies
Messaging apps often resize and recompress images. They may also strip filenames and timestamps. If staff must send photos through chat, ask them to upload the original file to the ticket afterward.
Trusting OCR Too Much
OCR is a helper, not a witness. Always compare the extracted text to the image. This is especially important for codes, serial numbers, transaction IDs, and timestamps.
Compressing the Only Readable Version
If a detail crop is the only clear record of the error, preserve it at high quality. Compress context photos first.
Mixing Several Incidents in One PDF
Do not combine unrelated kiosk failures into one packet unless the ticket is explicitly about a multi-device outage. One machine, one incident, one packet is easier to assign and audit.
Choosing the Right Output Format
Different support systems prefer different attachments. Use the format that preserves the evidence with the least friction.
| Need | Best output | Why |
|---|---|---|
| Quick OCR on error text | PNG detail crop | Preserves sharp UI text |
| General visual context | JPEG photo | Smaller and adequate for scene evidence |
| One upload field | PDF packet | Keeps order and notes together |
| Vendor escalation | PDF plus originals retained | Easy to review, source files available |
| Internal knowledge base | Cropped image plus transcription | Searchable and reusable |
If the kiosk UI contains a QR code, barcode, or dense transaction ID, test the final exported version before sending. A code that scans in the original may fail after resizing or compression.
Final Review Before Sending the Ticket
Before attaching the packet, do a 60-second review:
- Can you identify the physical kiosk?
- Can you read the main error message without guessing?
- Is the critical code or timestamp visible in the image, not only in OCR notes?
- Are uncertain OCR characters marked?
- Is the file small enough to upload but not so compressed that text breaks?
- Are unrelated customer details cropped out where practical?
- Are the images ordered from context to detail?
This review is fast, but it catches the failures that create back-and-forth ticket comments.
Closing Notes
Kiosk screen photo cleanup sits between field documentation and technical support. It does not require a photography setup, but it does require discipline: capture alternate angles, preserve originals, crop for both context and OCR, check extracted text manually, and package the evidence so a remote engineer can act on it.
The best result is not a beautiful image. It is a ticket where the next person can say, "I know which machine failed, I know what it displayed, and I trust the evidence enough to choose the next action."