Damaged Shipping Label Photo OCR Cleanup for Warehouse Exception Logs
A practical guide for turning torn, wrinkled, wet, or poorly photographed shipping labels into readable OCR notes for warehouse exception logs.
Damaged Shipping Label Photo OCR Cleanup for Warehouse Exception Logs
Damaged shipping labels create a small but expensive kind of uncertainty. A carton arrives with a torn carrier label. A return package has a smeared barcode and half a recipient name. A pallet contains parcels that were re-labeled twice, and nobody is sure which number belongs in the exception log. In each case, the team needs more than a quick photo. They need a readable record that can be searched later, attached to a ticket, and understood by someone who never saw the package in person.
This guide is for warehouse leads, returns teams, 3PL coordinators, ecommerce operators, and support staff who document label exceptions without a full imaging department. The goal is not to make a damaged label perfect. The goal is to preserve enough visual evidence and extracted text to support routing decisions, carrier claims, customer support replies, and inventory reconciliation.
A good damaged-label record usually contains three things: a clear photo of the label area, an OCR pass that extracts what can be trusted, and a short human review note that separates confirmed text from guesses. With a few capture rules and lightweight cleanup steps, you can turn messy label photos into consistent exception records.
Why Damaged Label OCR Needs a Different Standard
Shipping labels are hostile material for OCR. They combine tiny text, barcodes, bold routing marks, logos, tables, dates, handwritten notes, thermal print fade, adhesive wrinkles, and package texture. Standard OCR can handle clean documents, but damaged shipping labels often contain visual traps.
A scanner or OCR tool may mistake barcode bars for letters. It may read a torn tracking number as complete. It may combine carrier routing codes with address text. It may ignore faint thermal print if the photo is underexposed. It may also preserve every irrelevant mark, including tape glare, box seams, and handwritten warehouse annotations.
That means the cleanup target is different from a normal document. You are not trying to produce polished marketing imagery. You are trying to create a defensible operational record.
The best record answers four questions:
- What text is clearly visible?
- What text is partially visible but uncertain?
- What visual evidence supports the interpretation?
- What package or case does this label belong to?
If your process captures those points consistently, OCR becomes useful even when the label is imperfect.
Common Label Damage Patterns and What They Break
Different damage patterns affect OCR in different ways. Naming the problem helps the person reviewing the record decide how much to trust the extracted text.
| Damage pattern | What usually fails | Best cleanup priority |
|---|---|---|
| Torn corner | Missing postal code, service level, or recipient line | Photograph the tear edge and full package context |
| Tape glare | Barcodes and bold routing codes become unreadable | Retake at an angle with softer light |
| Thermal fade | Tracking number and address lines lose contrast | Increase contrast carefully, avoid over-sharpening |
| Wrinkles or creases | Characters split or bend across folds | Flatten gently and capture multiple angles |
| Water smear | Ink bleeds into neighboring letters | Preserve original plus a contrast-enhanced copy |
| Re-labeling | Old and new labels overlap visually | Capture each label region separately |
| Dirt or abrasion | OCR inserts random letters | Crop tightly and mark uncertain fields |
A practical rule: if the label is physically altered, keep an untouched original image in the record. Cleaned images are easier to read, but the original photo proves what was actually present.
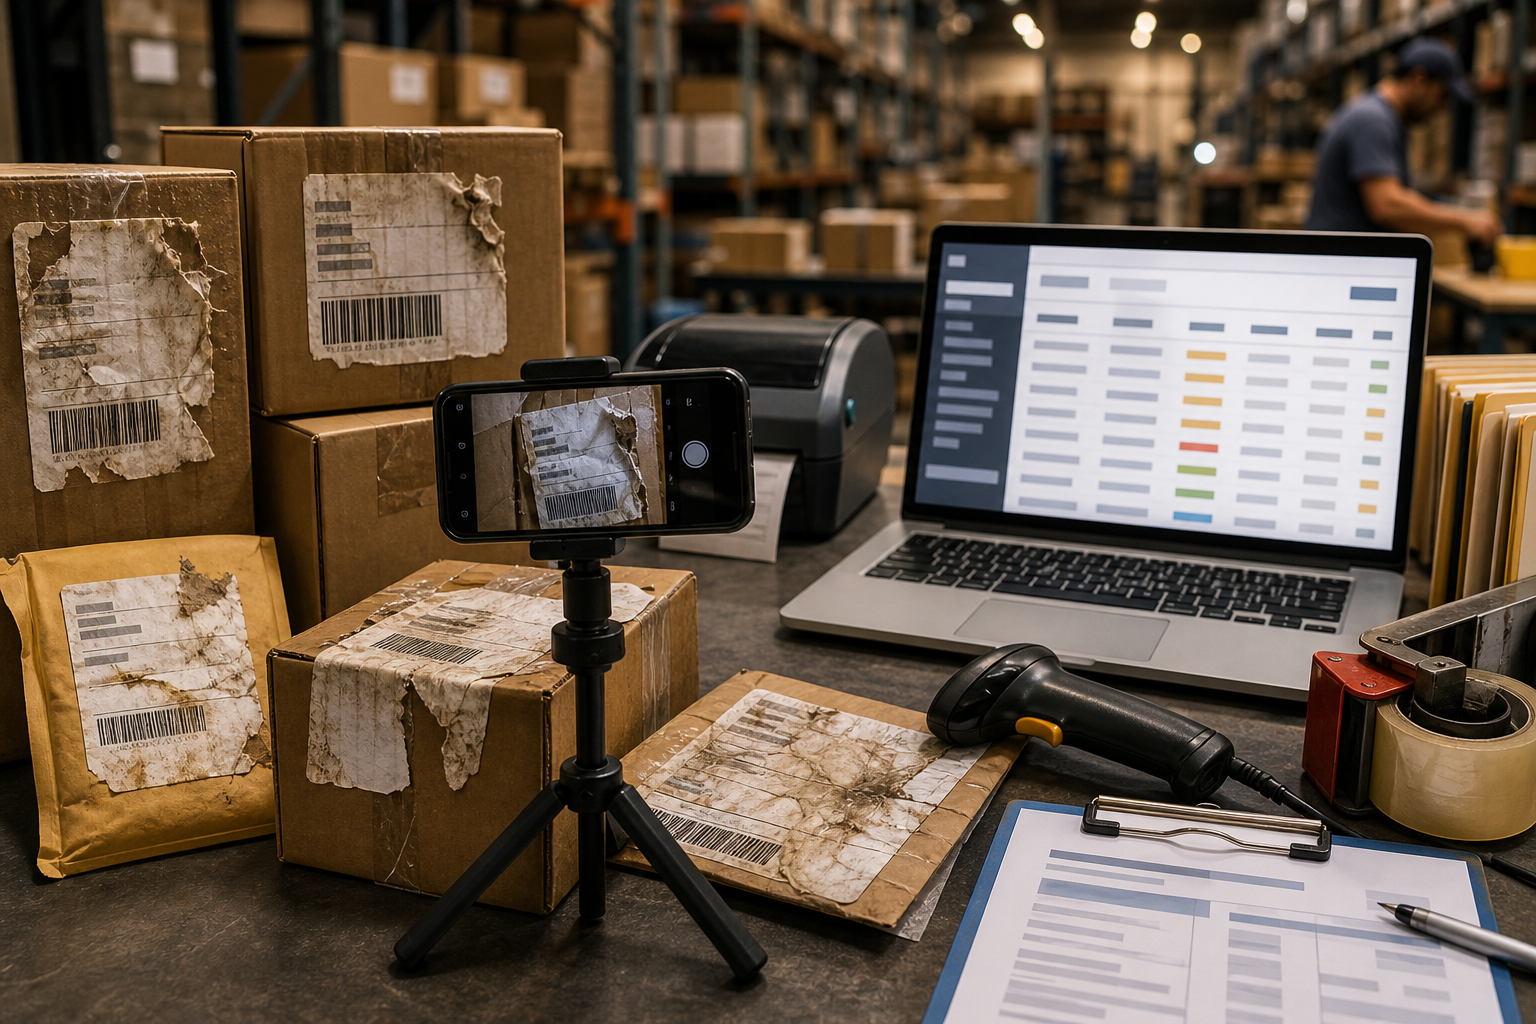
The Capture Standard: What to Photograph Before OCR
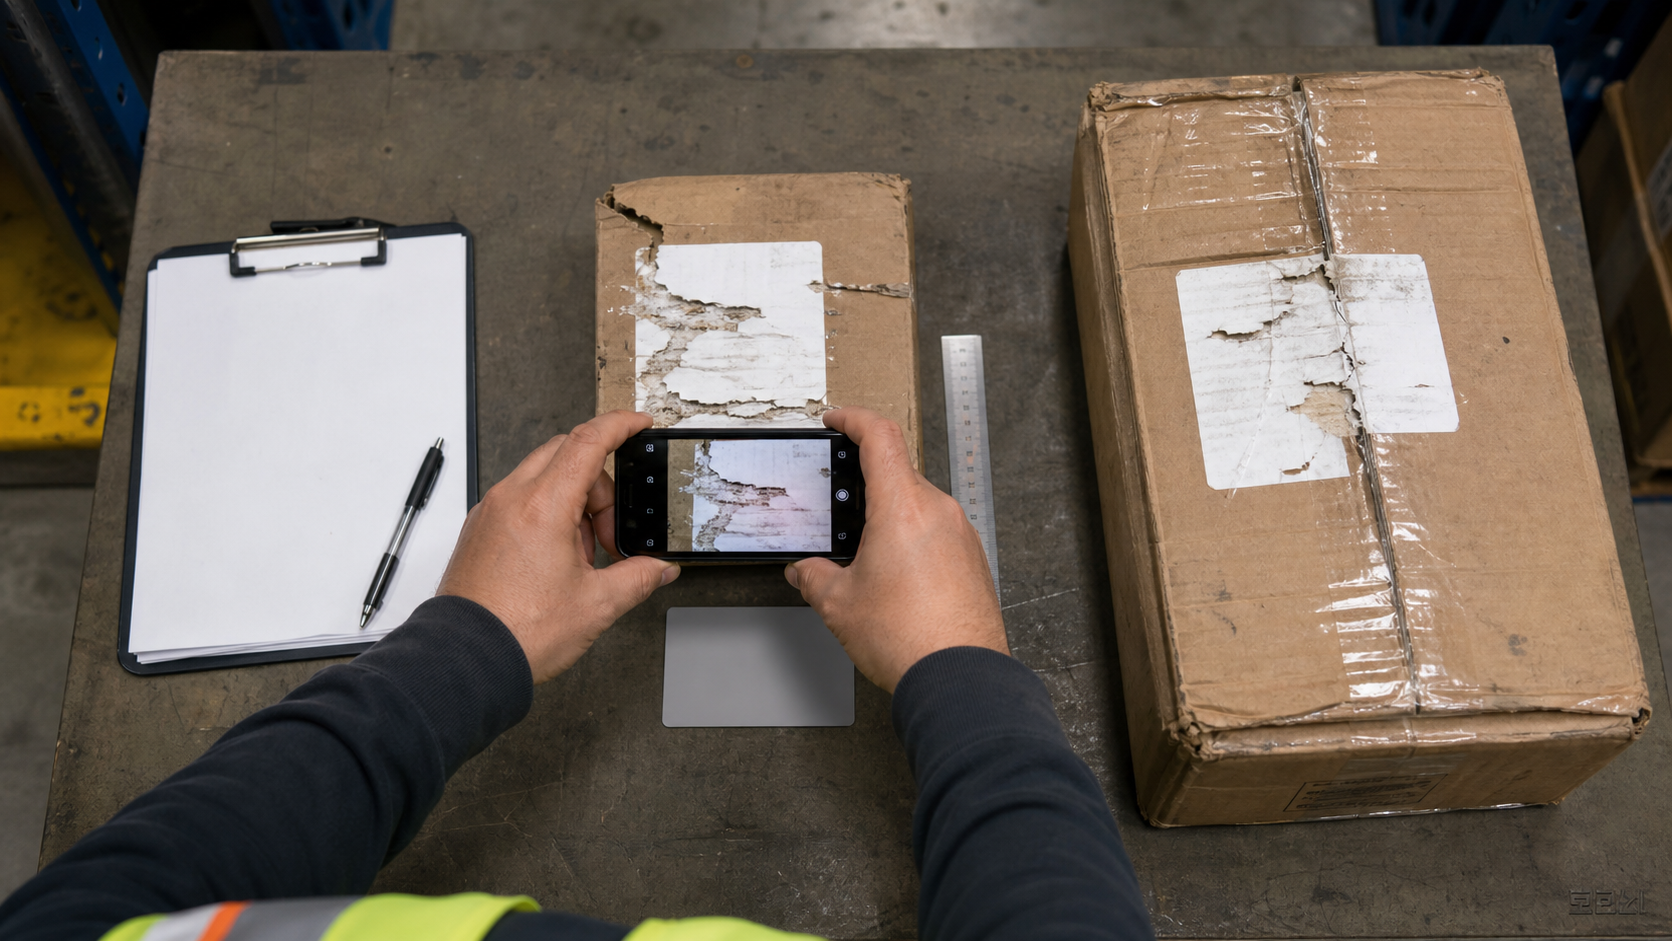
OCR quality starts before any tool is opened. A rushed phone photo taken under warehouse lighting often creates more ambiguity than the damaged label itself. Build a simple capture standard that every shift can repeat.
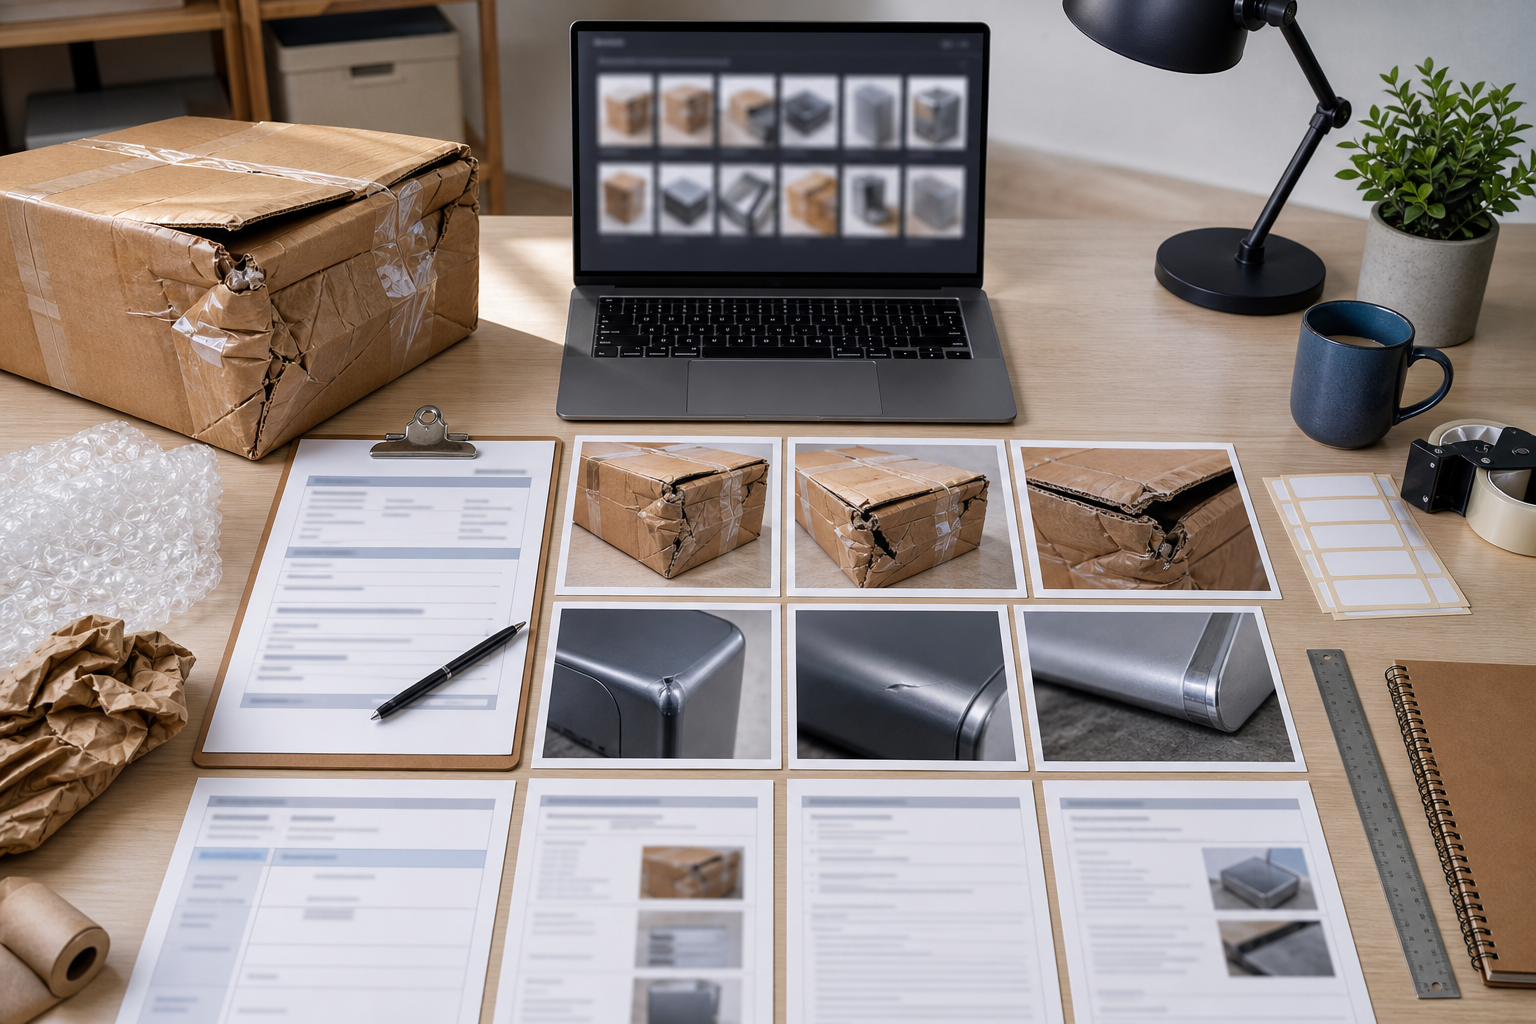
Start with one full-package photo. This should show the parcel, carton, tote, or mailer with the damaged label visible in context. It does not need to be beautiful. It needs to prove which physical item the label belongs to.
Next, take a square-on close-up of the label. Hold the camera parallel to the label surface, not tilted from the side. Fill most of the frame with the label, but leave a small border so the reviewer can see edges, tears, tape, or overlapping labels.
Then take one angled glare-control shot if the label is glossy or covered with tape. Move the light or camera until reflections shift away from the text. For thermal labels, indirect light is usually better than a direct flashlight.
For severe damage, add one detail shot of the problem area. This might be a torn tracking number, a smeared address line, a faded barcode region, or a re-labeled section where two labels overlap.
A strong capture set usually includes:
- Full package context photo
- Straight close-up of the label
- Glare-control angle photo when needed
- Detail photo of the damaged text area
- Optional photo of any handwritten exception note
Before OCR, sort out blurry images. If the camera shake is obvious, retake the photo. No amount of cleanup reliably restores tiny printed text from a motion-blurred image.
Clean the Image Without Hiding the Evidence
Image cleanup should make the label easier to read while preserving the truth of the damage. Avoid edits that make the record look more certain than it is.
The safest first edit is cropping. Remove unnecessary box area, floor, hands, tape rolls, and clutter. Keep the full label and the damaged edges. If the label has multiple sections, create separate crops for the address block, tracking number, and barcode region.
Next, correct rotation. OCR performs better when text lines are horizontal. Even a few degrees of tilt can reduce accuracy on small label text. Rotate the image until the main printed lines are level.
Then adjust brightness and contrast. For faded thermal labels, a moderate contrast boost can reveal characters. For dark phone photos, lift exposure before increasing contrast. Be careful with aggressive sharpening. It may make text look crisp to a person while creating false edges that confuse OCR.
If the background is distracting, isolate the label area. A neutral crop is often enough. For cases where tape, shadows, or clutter make the label hard to inspect, a careful cleanup pass in an editor can help. ConvertAndEdit's AI photo editor can be useful for removing distracting surroundings or improving general readability, but avoid changing the printed label content itself.
For consistent sizing before OCR, resize oversized phone photos with resize image. Very large images can be slow to upload and review, while extremely small images lose detail. A practical target is a clean image where the smallest text is still readable when opened at normal zoom.
OCR Pass: Extract Text, Then Separate Certainty Levels
Once the image is cropped, leveled, and readable, run OCR with a tool such as image OCR. The raw output is a starting point, not the final record. Treat it like a machine-generated draft that needs review.
Create three certainty levels in your notes:
- Confirmed: clearly visible in the image and OCR agrees
- Partial: visible but damaged, with missing or uncertain characters
- Unreadable: present on the label but cannot be interpreted reliably
For example, a tracking number might become:
| Field | Entry |
|---|---|
| Tracking number | 1Z 48A ?93 03 7?22 1846 |
| Certainty | Partial |
| Note | Characters 6 and 13 obscured by tear and tape glare |
Do not silently fill gaps from memory unless you identify the source. If a warehouse system, carrier portal, or customer order record confirms the missing characters, write that in the note. The point is to make later review possible.
For addresses, keep line breaks where they matter. OCR often merges apartment numbers, postal codes, and city names. Review the image and rebuild the address into readable lines when the text is clear.
For barcodes, do not rely on OCR alone. OCR reads printed numbers, not the encoded barcode pattern. If your operation scans barcodes separately, store the scan result as its own field. If the barcode failed to scan, say so.
Field-by-Field Review Checklist
Use the same field order every time. It reduces review time and makes exception logs easier to search.
Check these fields when visible:
- Carrier name or service mark
- Tracking number or parcel ID
- Recipient name
- Recipient company
- Street address
- Unit, suite, apartment, dock, or attention line
- City, state, region, or province
- Postal code
- Country
- Return address
- Ship date or label creation date
- Service level
- Routing code or zone code
- Reference number, order number, or RMA number
- Visible handwritten notes
- Scan status, if applicable
Not every label includes every field. Do not force blank fields into guesses. A clean exception record is allowed to say unknown.
A useful review habit is to compare OCR text against the photo in pairs: first the tracking number, then recipient block, then return block, then routing marks. This prevents the reviewer from accepting a plausible but wrong OCR result just because the surrounding lines look correct.
A Simple Exception Log Structure
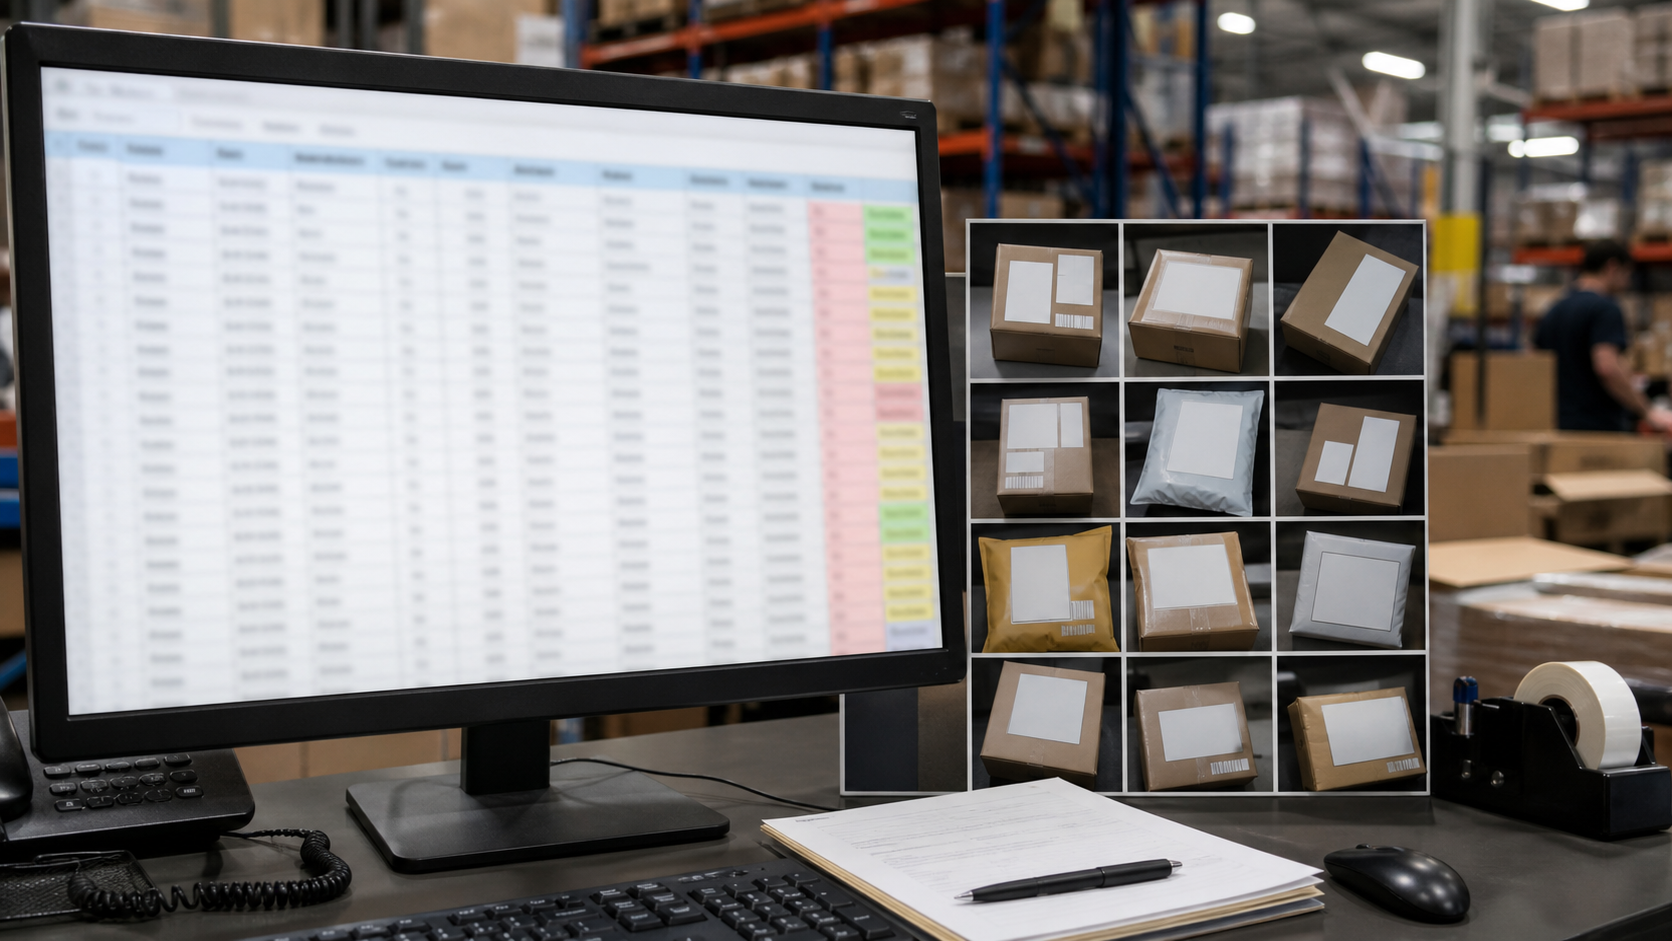
The exception log should be boring, searchable, and consistent. It does not need to be a complex database. A shared spreadsheet, ticket form, or warehouse management note can work if the fields are stable.
A compact structure might look like this:
| Field | Purpose |
|---|---|
| Exception ID | Internal record number |
| Date captured | When the photo set was made |
| Location | Dock, station, bin, cage, or return lane |
| Package context image | Full parcel photo |
| Label close-up image | Main OCR source |
| Detail image | Optional damage close-up |
| Tracking number | Confirmed or partial |
| Recipient block | Confirmed address text when readable |
| Return block | Sender or return address when readable |
| Damage type | Tear, glare, fade, water, wrinkle, overlap, abrasion |
| OCR confidence note | Human review summary |
| Action taken | Routed, held, returned, escalated, claim opened |
| Reviewer initials | Person who confirmed the record |
If the record needs to be shared as a single file, combine images and notes into a PDF packet. Convert the label images with image to PDF, then add related pages together with PDF merge if your team stores exception evidence as one attachment per case.
For email or ticket systems with strict attachment limits, compress supporting images with compress image. Keep an original somewhere if the case could become a claim or dispute.
File Naming That Helps Later Searches
Damaged label photos often become useless because their filenames say nothing: IMG_4821.jpg, screenshot.png, label-final-final.jpg. Use names that help people find the record six months later.
A practical naming pattern is:
YYYY-MM-DD_location_exceptionID_field_status.ext
Examples:
2026-07-04_dock3_EX1042_full-package_original.jpg2026-07-04_dock3_EX1042_label-closeup_cleaned.jpg2026-07-04_dock3_EX1042_tracking-detail_original.jpg2026-07-04_dock3_EX1042_ocr-notes.pdf
Keep the same exception ID across every file. If your operation already has ticket numbers, RMA numbers, or hold-bin IDs, use those instead of inventing a new system.
Avoid putting uncertain tracking numbers in filenames. If a character is wrong, the file may become harder to find. Put uncertain text inside the reviewed note where context is available.
Decision Table: Retake, Clean, OCR, or Escalate
Not every damaged label deserves the same effort. Use a decision table so team members know when to stop polishing and escalate.
| Situation | Best next step | Why |
|---|---|---|
| Photo is blurry but package is still available | Retake | Cleanup cannot reliably restore small text |
| Label is readable but image is tilted | Rotate and OCR | Geometry is the main issue |
| Text is faint but not smeared | Adjust contrast, then OCR | Thermal fade often improves with careful contrast |
| Tape glare covers tracking number | Retake from another angle | Reflection hides real data |
| Tracking number is torn away | Mark partial and use system lookup if available | OCR cannot recover missing paper |
| Two labels overlap | Photograph each label separately | OCR may mix unrelated records |
| Barcode will not scan but printed number is visible | OCR plus manual review | Printed number may still be usable |
| Address block is unreadable and no system match exists | Escalate or hold | Guessing can misroute the package |
This table keeps effort proportional. A package with a readable tracking number may only need a quick OCR note. A package with conflicting labels may need a more complete evidence packet.
Handling Re-Labeled and Overlapped Packages
Re-labeled parcels deserve special care because they can contain multiple histories. A return label might cover the original outbound label. A carrier correction sticker might cover part of the address. A warehouse relabel might sit next to a customer label. OCR may combine them into nonsense.
Photograph each visible label area separately. If one label is on top of another, capture the top label first. If the lower label is partly visible, take a detail photo showing the overlap without peeling anything unless your internal policy allows it.
In the exception note, identify labels by position rather than assumption:
- Top label, center of parcel
- Lower label, partially visible under clear tape
- Small correction sticker on upper right
- Handwritten marker note on left side
This prevents the reviewer from treating every visible number as part of one label. It also helps customer support explain why the package was held or rerouted.
Redaction and Privacy Before Sharing
Shipping labels contain personal data. Even when your goal is operational documentation, only share what the recipient needs.
For internal warehouse records, preserve enough information to identify and route the package. For external carrier claims or vendor discussions, check whether recipient names, phone numbers, apartment numbers, or full addresses should be redacted. For public examples, training decks, or vendor demos, remove all personal data and carrier-identifying account details.
Redaction should be obvious and irreversible in the shared copy. Do not blur lightly if someone could sharpen the image later. Keep the unredacted original only in the approved internal location.
If you create a PDF packet, verify the redacted version before sending. Open it as a recipient would. Confirm that hidden layers, thumbnails, or original embedded images do not expose the data you intended to remove.
Quality Control Before the Record Is Closed
Before closing the exception, perform a quick review. The person doing this does not need to be a designer or imaging specialist. They just need to confirm that the record can answer basic operational questions.
Use this closing checklist:
- The full package photo matches the label close-up
- The close-up is not blurry at normal zoom
- The label is upright or easy to read
- The OCR text has been checked against the image
- Uncertain characters are marked with notes, not guessed silently
- Damage type is recorded
- Action taken is recorded
- Shared copies are compressed only after readable versions are saved
- Personal data is redacted when the packet leaves the approved audience
- Files use the correct exception ID or ticket number
This review may take less than a minute, but it prevents a lot of downstream confusion. A support teammate should not have to reopen the package area, message the dock lead, and inspect three random phone photos just to find out whether a postal code was readable.
Example: Torn Return Label With Partial Tracking Number
Imagine a return package arrives with the lower-right corner torn away. The recipient address is visible, but the tracking number is missing two characters near the end. The barcode does not scan.
A weak record might say: tracking number unreadable, package held.
A stronger record would include:
- Full mailer photo showing the damaged corner
- Straight label close-up
- Detail photo of the torn tracking line
- OCR output with missing characters marked
- Note that barcode scan failed
- Recipient block transcribed as confirmed
- Action: held for order lookup using recipient and return lane date
The OCR note might read:
Tracking number: 9400 1000 0000 58?? 2147. Last eight characters partially torn; characters 15-16 unreadable. Recipient name and postal code confirmed from visible label. Barcode scan failed at return station.
That note is useful because it separates facts from uncertainty. It also gives another team member enough context to search internal systems without reinterpreting the image from scratch.
Example: Glossy Tape Across a Carrier Label
Now imagine a parcel where clear tape runs directly over the label. The first photo shows a bright reflection across the tracking number and routing code. OCR returns broken text.
The correct response is not more editing. The correct first step is a retake. Move the package slightly, turn off direct flash, and capture the label from a shallow angle that moves glare away from the printed text. Then take a second straight shot if possible.
After that, crop the readable label area, rotate it, and run OCR again. If the tracking number becomes clear but the routing code remains obscured, mark the tracking number confirmed and routing code unreadable. The final record should mention glare because it explains why one field is missing.
Building a Repeatable Team Habit
The hardest part is not the OCR tool. It is getting everyone to capture and label evidence the same way during a busy shift. Keep the standard short enough that people actually use it.
A practical team rule could be:
- Photograph the full package.
- Photograph the label straight-on.
- Retake if text is blurry or glare covers key fields.
- Crop, rotate, and run OCR.
- Mark uncertain text clearly.
- Save files under the exception ID.
Post that checklist near the returns station or damaged parcel hold area. Add example photos of acceptable and unacceptable captures. Over time, the quality of records improves because the capture behavior improves.
Final Thoughts
Damaged shipping labels will never produce perfect OCR every time. Torn paper, tape glare, faded thermal print, and overlapping labels all create real limits. The practical goal is to reduce ambiguity, preserve evidence, and make exception records searchable.
Start with better photos. Clean images conservatively. Use OCR as a draft, then review fields by certainty. Keep originals when evidence matters. Package related images and notes into a clear record that another person can understand later.
When teams treat damaged labels as structured evidence instead of random phone pictures, fewer packages sit in limbo, fewer support replies depend on guesswork, and exception logs become useful operational memory rather than a folder of confusing images.