Dot Matrix Printer Test Page Scan Cleanup for Maintenance Records
Learn how to capture, clean, OCR, compress, and archive dot matrix printer test pages while preserving faint pins, alignment defects, tractor-feed edges, and handwritten notes.
Dot Matrix Printer Test Page Scan Cleanup for Maintenance Records
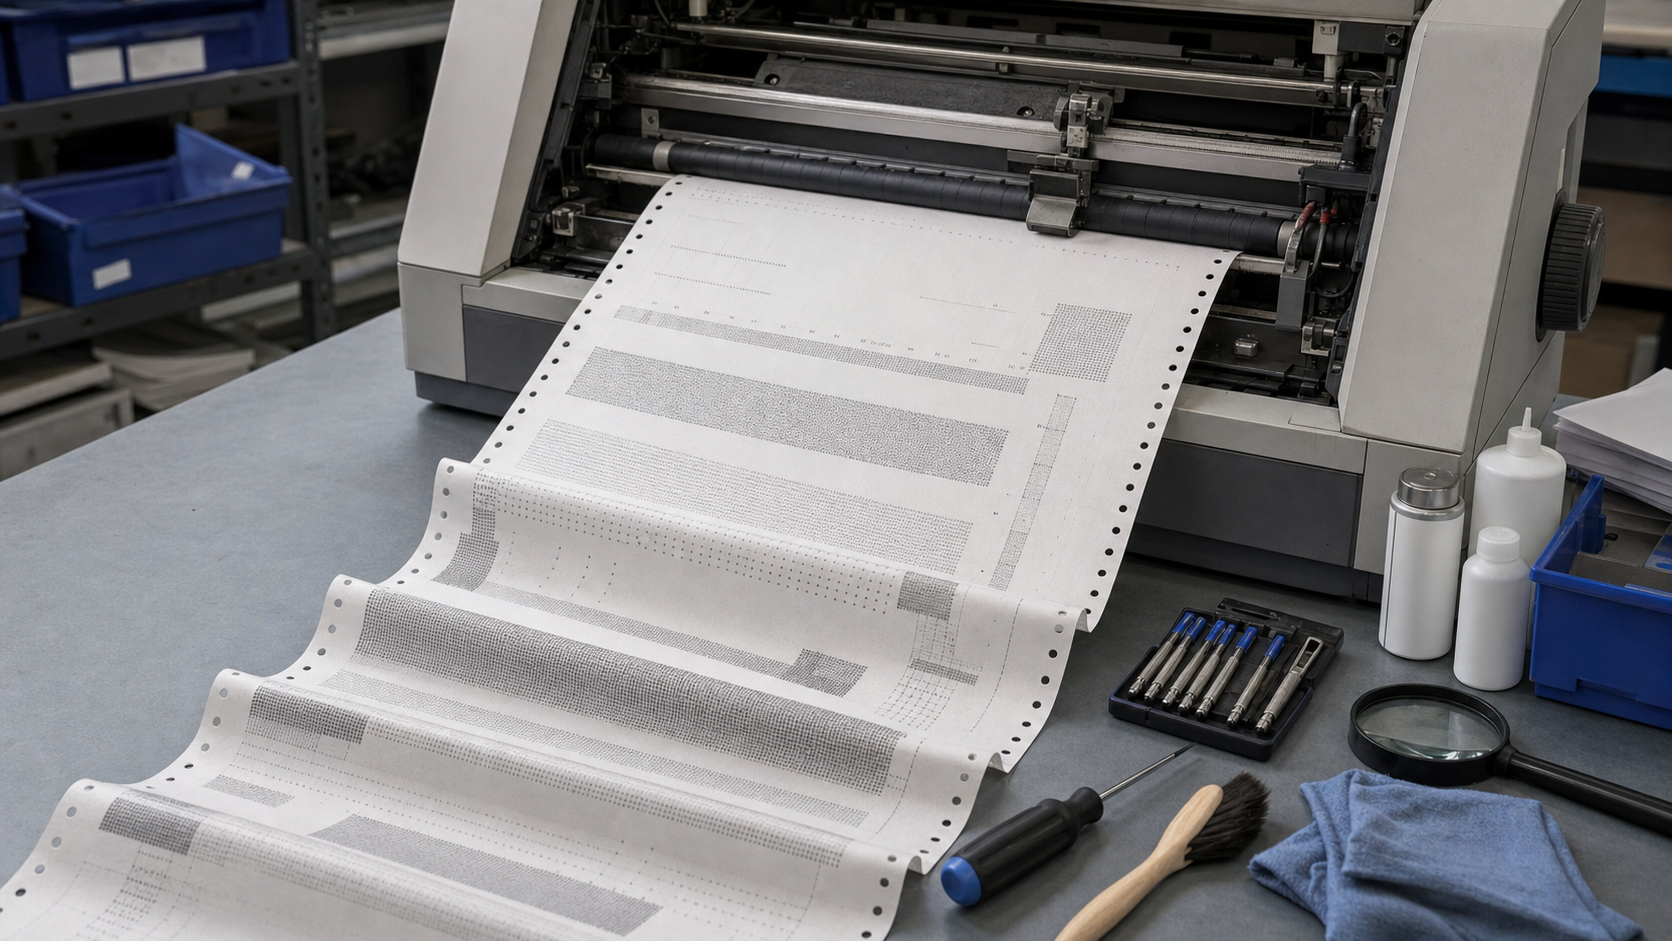
Dot matrix printers still operate in warehouses, workshops, transport offices, laboratories, parts departments, and other places where continuous paper, multipart forms, or durable impact printing matters more than visual polish. When one of these printers develops a fault, its test page can reveal a great deal: missing pins, uneven density, bidirectional alignment errors, ribbon wear, incorrect line spacing, or paper-feed drift.
Unfortunately, the evidence is easy to damage after printing. Faint dots disappear in a casual phone photo. Aggressive contrast merges neighboring pins. Automatic perspective correction can make a feed problem look smaller than it was. A compressed messaging-app copy may be good enough to read but useless for comparing the printer before and after service.
This guide explains how to turn dot matrix test pages into dependable maintenance records. The goal is not to make old output look modern. It is to preserve the mechanical clues while producing files that technicians can inspect, search, share, and assemble into compact PDF histories.
Decide What the Record Must Prove
Start with the maintenance question, not the scanner settings. Different questions require different evidence.
| Maintenance question | Evidence that must remain visible | Main processing risk |
|---|---|---|
| Is one printhead pin missing? | Individual dots and repeated vertical gaps | Sharpening or thresholding joins dots together |
| Is the ribbon wearing out? | Gradual density differences across the line | Auto contrast makes all characters equally dark |
| Is bidirectional alignment incorrect? | Horizontal displacement between alternating passes | Perspective correction or resizing hides small offsets |
| Is paper feeding unevenly? | Page edges, tractor holes, baselines, and repeated spacing | Tight cropping removes the physical reference |
| Did servicing improve the printer? | Comparable before-and-after samples | Different lighting and processing invalidate comparison |
| What job or device produced the sheet? | Header, handwritten notes, asset label, and date | OCR is treated as a replacement for the image |
A useful record often needs two views. The first is a full-sheet image showing context, including paper edges and tractor holes. The second is a close detail of the diagnostic pattern at sufficient resolution to inspect individual impacts.
Do not force one image to serve both purposes. A full continuous sheet may become unreadable when displayed on a phone, while a close crop cannot prove how the page was positioned or fed.
Label the Test Before You Capture It
A visually perfect scan with no context becomes an orphaned file. Before photographing or scanning the sheet, record the information needed to connect it to the machine and service event.
Include, where applicable:
- Printer asset number or an unambiguous location
- Manufacturer and model
- Interface or controller involved in the test
- Date and local time
- Test-page source, such as built-in self-test or host-generated pattern
- Ribbon age or replacement status
- Paper type and number of multipart layers
- Print mode, pitch, quality setting, and direction setting
- Reported symptom
- Technician initials or service ticket number
Write these details outside the diagnostic area. A removable note placed beside the page is safer than writing across faint output. If handwriting is part of the permanent maintenance record, capture it in the full-page view even when you also enter the same facts in a database.
Use consistent terminology. For example, choose one asset identifier format and one date format for the entire archive. Consistency improves filename sorting and makes later OCR results easier to review.
Capture the Sheet Without Hiding Its Defects
A flatbed scanner is usually the most repeatable option for single sheets. A camera is often more convenient for long fanfold pages, curled paper, or work performed beside installed equipment. Either method can produce a useful record if it is controlled.
Flatbed scanner settings
Place the printed side against clean glass without stretching or skewing the paper. Scan in color or grayscale even when the output appears monochrome. Color can help distinguish faded ink, pencil notes, stains, and paper discoloration.
For a general maintenance master, 300 ppi is a sensible starting point. Use 600 ppi when the test depends on individual pin impacts, tiny pitch samples, or close comparison of missing dots. Avoid the scanner's document-cleanup, background-removal, text-enhancement, and automatic sharpening options for the master capture. Those features may silently erase the defect you are documenting.
If the sheet is longer than the scanner bed, capture overlapping sections. Leave enough overlap to identify repeated rows or tractor holes, but preserve the original sections as well as any stitched derivative. A seamless composite can be convenient, yet it should not be the only evidence of paper-feed spacing.
Camera settings and positioning
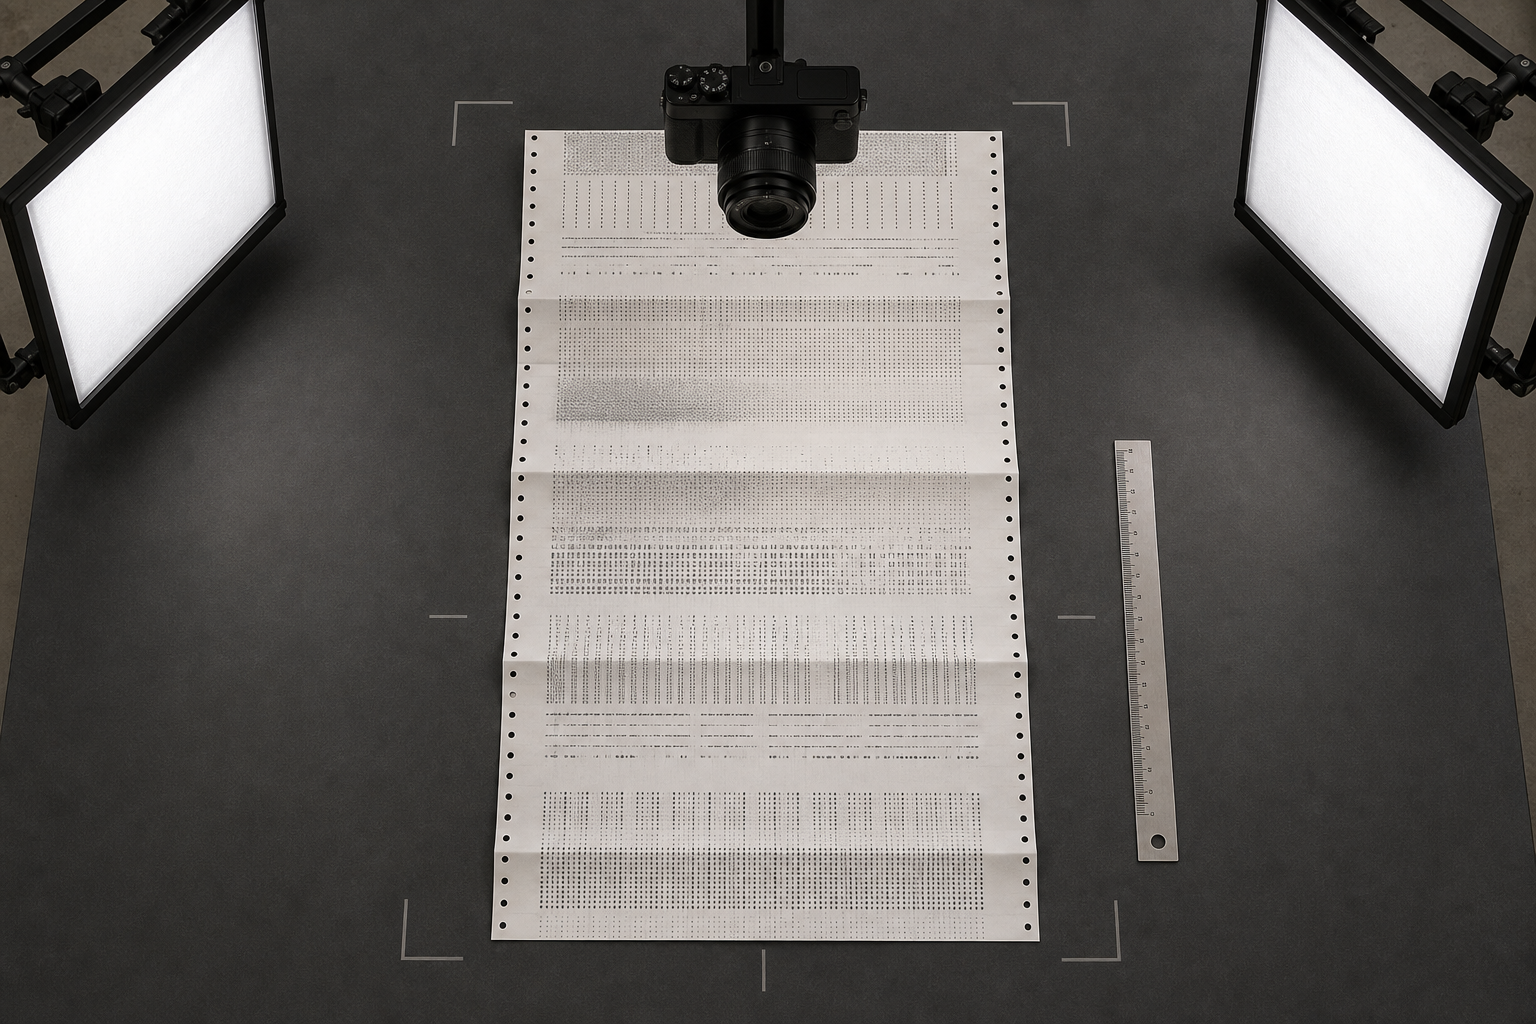
For camera capture, place the sheet on a flat, non-reflective surface with a contrasting color. Position the camera directly above the center of the area being photographed. Keep the sensor plane parallel to the paper so the top and bottom remain the same scale.
Use two broad, diffused light sources at roughly equal angles. This reduces shadows from folds and embossed impact marks. Avoid a bare desk lamp, which can create a bright center and dark corners. Turn off dramatic portrait processing, scene enhancement, and background blur.
Fill most of the frame while leaving a narrow border around the paper. Include a small ruler or neutral reference object in at least one contextual image if physical dimensions could matter. Do not place it over tractor holes or printed rows.
Review the image at full magnification before moving the sheet. Confirm that faint characters remain visible, individual dots are not smeared by camera movement, and all corners needed for correction are inside the frame.
Preserve Tractor Holes and Paper Edges Intentionally
Tractor-feed margins may look like disposable clutter, but they can be diagnostic references. Their spacing can help reveal skew, inconsistent feeding, torn sprocket holes, or incorrect paper loading. Folds and perforations also show where a continuous sheet sat relative to the printed pattern.
Keep the complete edges in the archival view when investigating feed behavior. If the record is only about printhead density, you may create a cleaner crop for everyday viewing, but retain the uncropped master.
This distinction prevents a common mistake: trimming every page to the printed rectangle and later discovering that the missing margin contained the clearest evidence of a mechanical problem.
When correcting perspective, use the physical paper boundaries conservatively. A correction can compensate for camera angle, but it cannot establish whether the sheet itself was skewed inside the printer. If paper alignment is under investigation, store both the untouched capture and the corrected reading copy.
Build a Master Image Before Making Smaller Copies
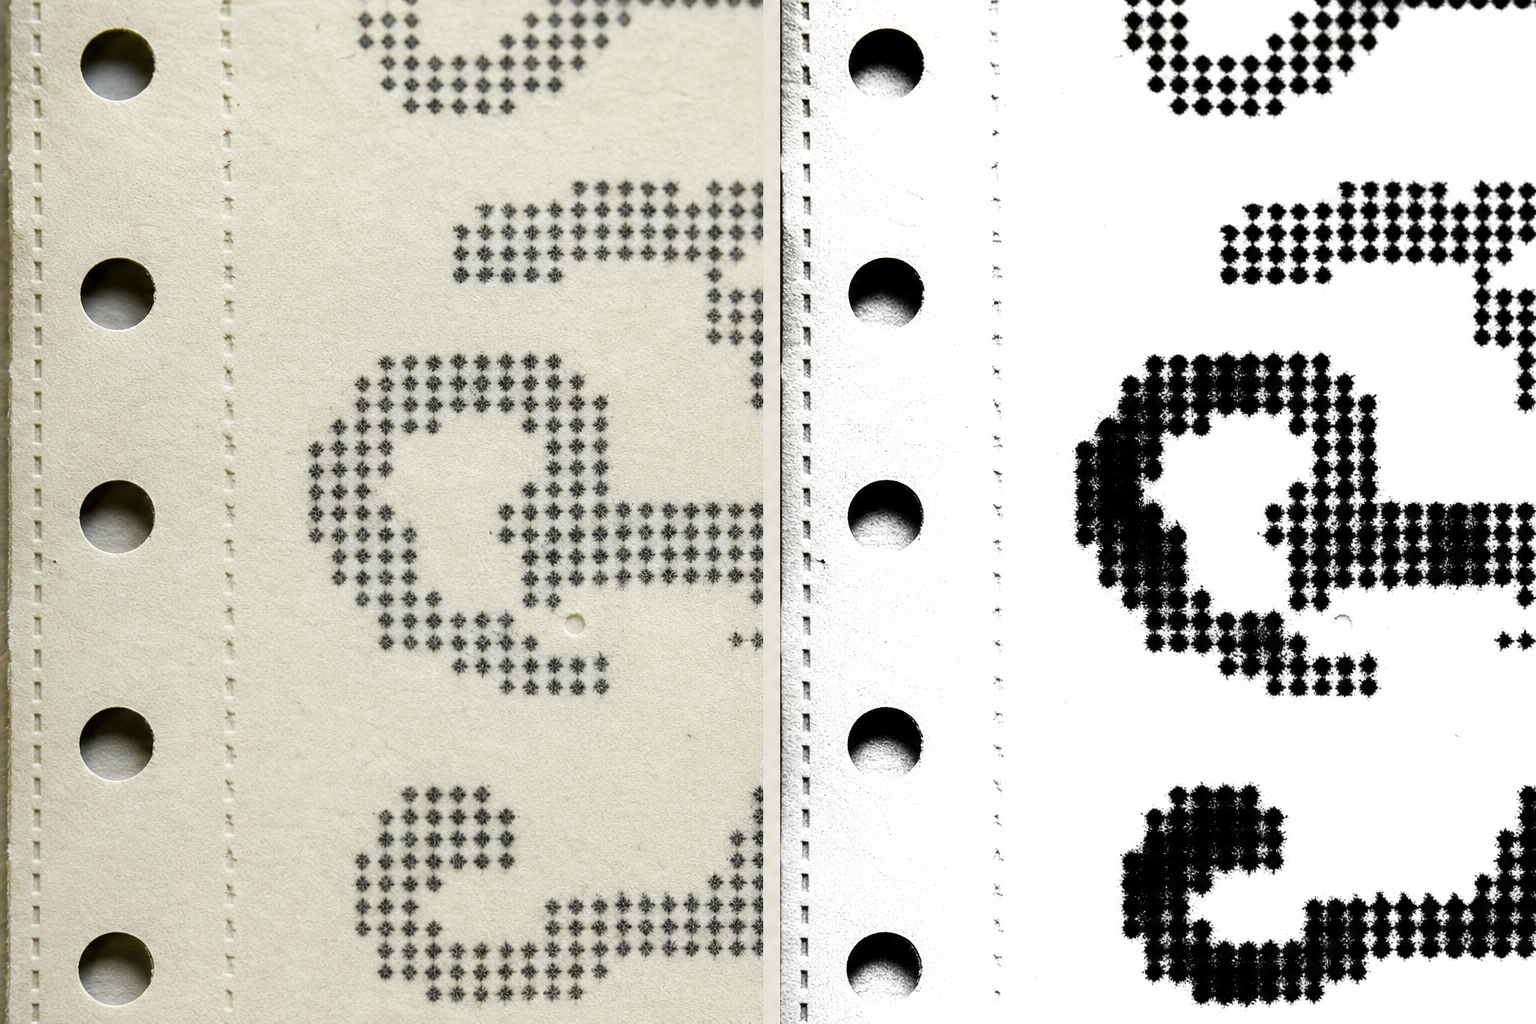
Treat cleanup as a sequence of reversible decisions. Duplicate the original capture and work on the copy. The untouched file is your reference whenever a later adjustment produces suspiciously neat output.
A practical master-image sequence is:
- Rotate the page to a standard reading orientation.
- Apply modest perspective correction only when needed.
- Set a neutral white balance without forcing aged paper to pure white.
- Adjust exposure so faint dots remain separated from the background.
- Apply gentle local contrast, checking both dense and faint regions.
- Remove only unrelated dust or marks that can be positively identified.
- Save a lossless or high-quality master before resizing or compressing.
The histogram can help, but the printed pattern is the final authority. Avoid clipping the lightest marks to white or crushing dense output into solid black shapes.
Why thresholding is risky
Binary black-and-white conversion is attractive because it produces clean pages and compact files. It is also dangerous for impact-printer evidence. A threshold that is slightly too high can erase weak pins. One that is too low can connect neighboring dots, obscure counters inside characters, and exaggerate ribbon deposits.
If a pure black-and-white copy is required for a service system, create it as a derivative. Compare it against the grayscale master at high zoom, especially in weak rows and at the left and right extremes of the carriage.
Use sharpening as an inspection tool, not reconstruction
Mild sharpening can make dot boundaries easier to see. Heavy sharpening creates halos and artificial dark rings that were never printed. Do not use generative filling, content reconstruction, or character replacement on diagnostic regions. A maintenance record must show what the printer produced, including uncertainty.
If ordinary photo adjustments are needed, the AI Photo Editor can help with controlled cropping and tonal cleanup, but keep automated alteration away from the diagnostic marks and always compare the result with the original.
Separate the Full Sheet from Diagnostic Details
Create detail crops for the regions technicians repeatedly inspect. Typical candidates include:
- A repeated character block that exposes missing pins
- Alternating left-to-right and right-to-left alignment rows
- Horizontal and vertical rule samples
- The faintest area of the ribbon path
- The beginning and end of long lines
- A paper-feed or line-spacing pattern
- The printer-generated identification header
Do not enlarge a tiny crop indefinitely and assume it gains evidence. Upscaling may improve viewing comfort, but it cannot recreate absent dot information. Keep the native-resolution crop as the reference and label any enlarged copy clearly through its filename or metadata.
Use the same crop boundaries for before-and-after comparisons. If the printer emits a repeatable test pattern, select landmarks within that pattern and save a crop template. Consistent framing makes small changes in alignment or density easier to spot.
For side-by-side review, retain equal scale. A repaired sample resized by a different percentage may appear sharper merely because its dots are larger on screen.
Run OCR Without Treating It as Ground Truth
OCR can make headers, serial numbers, dates, and technician notes searchable, but dot matrix output is challenging. Broken strokes may be interpreted as punctuation. Closely spaced dots can merge into another character. Zeros, capital O, ones, lowercase l, and vertical bars are especially easy to confuse.
Prepare an OCR copy separately from the evidence master. A moderate contrast increase and a clean crop around the textual header may improve recognition. You can process that region with Image OCR, then compare every critical identifier against the image.
Use OCR confidently for discovery, not silent correction. A good record might contain:
- The original or cleaned page image
- Extracted searchable text
- A manually verified asset number
- An indication that uncertain fields remain unverified
Never let OCR overwrite the visual record. If the recognized text says a printer is model 3390 while the impact output could read 339O, preserve the image and flag the ambiguity.
OCR review checklist
Check the fields that would cause a record to be misfiled or misinterpreted:
- Asset and serial numbers
- Dates and times
- Test mode names
- Numeric alignment values
- Error codes
- Firmware or controller versions
- Technician annotations
Searchable text is valuable, but a smaller set of verified fields is better than a large block of confidently wrong text.
Use Filenames That Sort into a Service History
A clear filename allows the page to remain useful after it is downloaded from the maintenance system. Put stable, sortable facts first and descriptive details later.
For example:
2026-07-14_WH2-PRN-017_self-test_before-ribbon_master.png
Related files can preserve the same stem:
2026-07-14_WH2-PRN-017_self-test_before-ribbon_detail-pin-row.png
2026-07-14_WH2-PRN-017_self-test_after-ribbon_ocr.pdf
Avoid filenames such as printertest-final2.jpg. They do not identify the machine, event, state, or file purpose. Avoid relying solely on folder names because downloaded attachments quickly lose that context.
Useful suffixes include original, master, full-sheet, detail, ocr, before-service, after-service, and share. Define the suffixes once for the team rather than inventing new variations during each repair.
Assemble a Compact PDF Maintenance Packet
A PDF packet is convenient when a technician, supplier, or manager needs the complete event rather than separate images. Arrange pages in a sequence that answers the maintenance question quickly:
- Cover or event summary with asset and ticket identifiers
- Full test page before service
- Relevant before-service detail crops
- Short note describing the intervention
- Full test page after service
- Matching after-service detail crops
- Verified OCR text or measurements, if useful
Convert the selected captures with Image to PDF. If notes or earlier reports already exist as PDFs, combine them with PDF Merge. Keep page orientation consistent and avoid scaling diagnostic crops differently without noting it.
A packet should not contain only enhanced images. Include at least one faithful full-sheet view and retain the original files outside the PDF. PDF generation, page scaling, and compression can alter fine dot patterns, so the packet is a review copy rather than the sole archive master.
Compress Sharing Copies Without Erasing Weak Pins
Maintenance evidence is often sent through ticket systems with attachment limits. Compression should target redundant data before it targets diagnostic detail.
First remove unnecessary background outside the contextual border. Next choose dimensions based on actual use. A full-sheet overview does not need the same pixels per inch as a missing-pin detail. Finally, apply compression while inspecting the weakest printed region at 100 percent zoom.
The Compress Image tool can create smaller sharing copies while the high-quality master remains untouched. Test the exported file itself rather than trusting a quality slider. Fine, repeated dots can interact poorly with lossy compression, creating blocks or ringing around characters.
Prefer PNG for small diagnostic crops with limited colors and sharp boundaries. A high-quality JPEG can be efficient for full camera photographs containing paper texture, shadows, and surrounding equipment. The best choice depends on the image, so compare visual integrity and file size instead of enforcing one format everywhere.
Stop compressing when any of these appear:
- Weak dots vanish
- Separate impacts merge
- Halos form around dark characters
- Paper texture becomes blocky enough to resemble marks
- Handwritten notes lose thin strokes
- Before-and-after samples no longer have comparable detail
Compare Before and After Service Fairly
A valid comparison controls capture and processing variables. Use the same test-page source, paper type, print mode, camera or scanner, resolution, lighting, crop boundaries, and tonal adjustments whenever possible.
Ribbon replacement is a good example. The after-service page will naturally be darker. If automatic contrast independently normalizes both pages, that improvement may be hidden. Conversely, sharpening only the after image can make the repair appear more successful than it was.
Keep a small comparison log:
| Variable | Before | After | Match confirmed? |
|---|---|---|---|
| Test pattern | Built-in self-test | Built-in self-test | Yes |
| Paper | Single-ply fanfold | Single-ply fanfold | Yes |
| Print mode | Draft, 10 cpi | Draft, 10 cpi | Yes |
| Capture | Flatbed, 600 ppi | Flatbed, 600 ppi | Yes |
| Tonal preset | Archive neutral | Archive neutral | Yes |
If a variable could not be matched, state it. Transparent documentation is more useful than a polished comparison with hidden differences.
Quality-Control the Finished Record
Review the completed record on both a large screen and an ordinary phone or ticket-system preview. The large view reveals altered dots and focus problems; the small view shows whether someone can identify the asset and understand the event without downloading every attachment.
Use this final audit:
- Exactly one untouched original is retained.
- The full-sheet view includes all relevant paper edges and tractor holes.
- Critical regions are sharp enough to distinguish individual impacts.
- Faint output has not been clipped to white.
- Dense output has not been crushed into featureless black.
- Perspective correction has not disguised paper-feed evidence.
- Before-and-after crops use the same scale and boundaries.
- OCR-critical fields have been checked against the image.
- Filenames identify the date, asset, test, state, and derivative type.
- The PDF packet opens correctly and uses a logical page order.
- Sharing copies remain faithful after compression.
- Original captures and editable masters are stored outside the final PDF.
Preserve Evidence, Not Just Readability
The best dot matrix test-page archive is not necessarily the cleanest-looking one. Its value comes from preserving the imperfect details that explain the machine's condition: a faint vertical sequence, a small alignment offset, uneven ribbon density, or a repeating feed error.
Capture context and detail separately, retain neutral masters, apply conservative edits, and verify OCR by eye. Then create smaller images and an organized PDF for everyday access. This approach gives technicians a readable service packet without sacrificing the mechanical evidence they may need months or years later.