A Practical Screenshot Redaction Workflow for Support Teams Sharing Bug Reports
Learn a careful workflow for cleaning, redacting, resizing, and packaging support screenshots before they move into bug reports, vendor tickets, or public documentation.
A Practical Screenshot Redaction Workflow for Support Teams Sharing Bug Reports
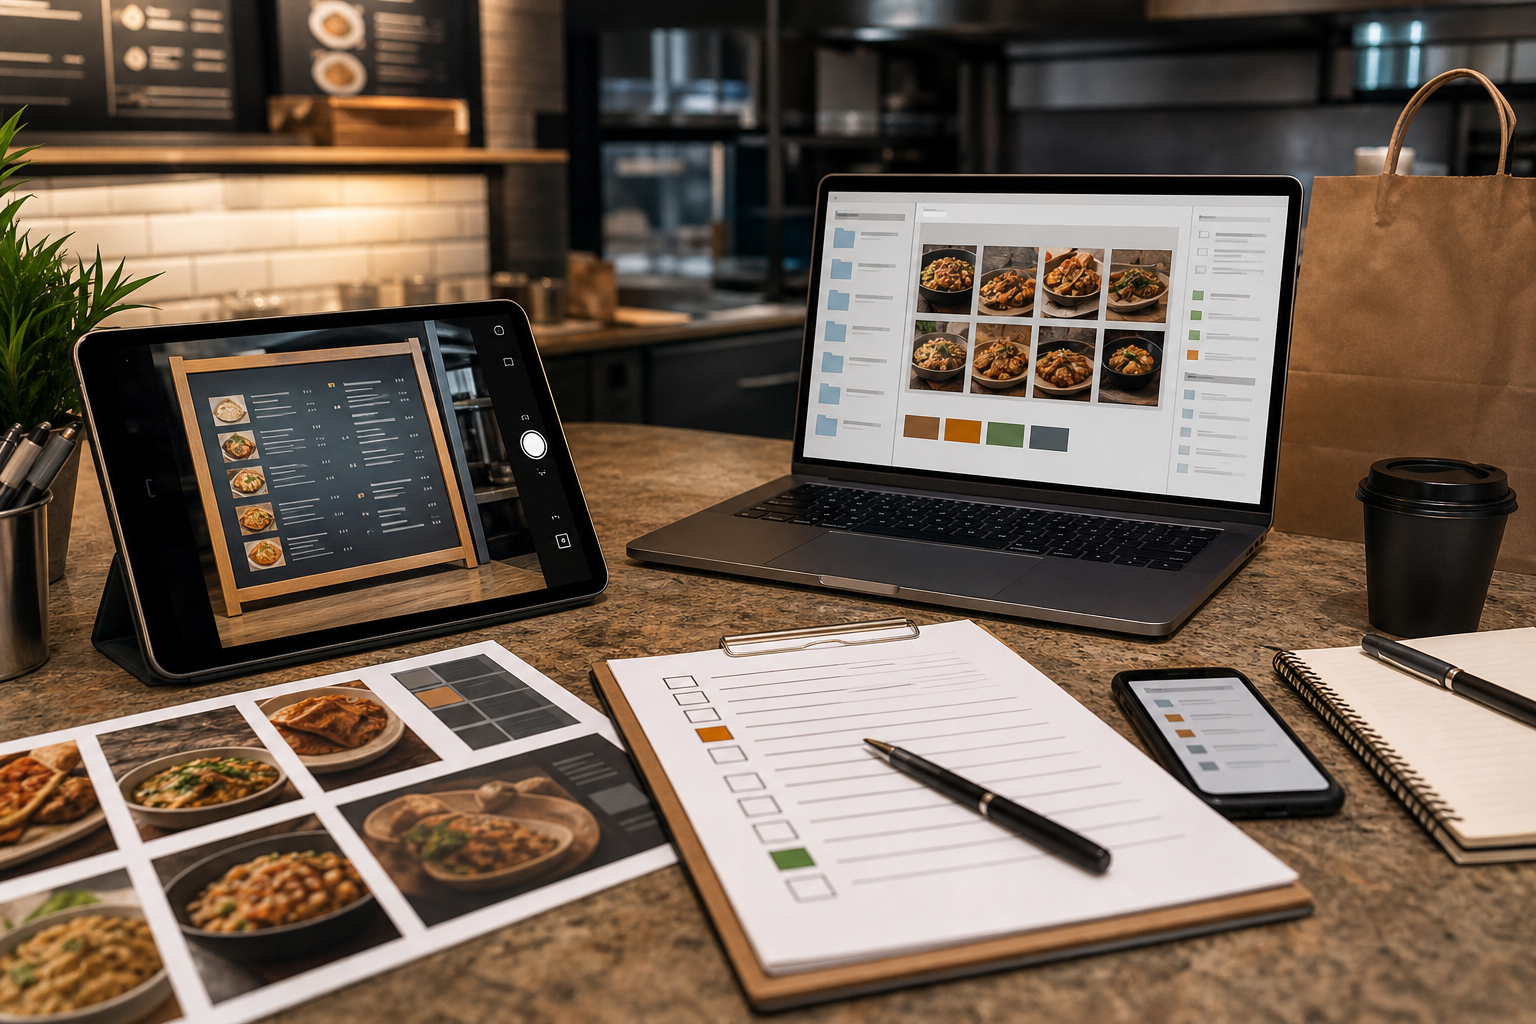
Support teams live in screenshots. A customer reports a broken checkout step, a failed upload, a confusing account state, or an error message that only appears for one region. The fastest way to explain the problem is often a screenshot. It preserves context that a written summary cannot capture: the page state, surrounding controls, browser size, disabled buttons, unexpected banners, and the exact moment where the experience went wrong.
The problem is that support screenshots are rarely clean. They often contain email addresses, names, order numbers, workspace IDs, API keys, invoice totals, internal notes, calendar details, browser bookmarks, location hints, and private customer content. A screenshot that is useful for debugging can also be too sensitive to paste into a vendor ticket, a public issue tracker, a product spec, or a documentation draft.
This article lays out a practical redaction workflow for support teams that need to move screenshots quickly without getting sloppy. It is not a legal policy and it does not replace your company’s data handling rules. It is an operational workflow: how to inspect a screenshot, remove risky details, preserve the evidence engineers need, and package the final assets in a way that stays useful.
The goal is simple: make screenshots safe enough for their destination while keeping enough visual context to solve the problem.
Why Support Screenshot Redaction Needs a Workflow
Many teams treat screenshot cleanup as a tiny task: draw a black box over the customer name and move on. That works until it does not. The risky details are usually not in the obvious places.
A browser screenshot might include a logged-in user avatar, a visible URL with account identifiers, a sidebar with customer names, a chat widget showing an email address, a hidden tab title, or a file name in the downloads bar. A mobile screenshot might include notification previews, carrier information, location hints, or personal photos in a media picker. A product dashboard screenshot might show low-volume revenue, customer counts, campaign names, or integration secrets.
The second issue is that careless redaction can destroy the debugging value. If the team covers too much, engineers lose the page hierarchy, spacing, button state, and error placement. If the team crops too aggressively, the image no longer shows what the customer did before the failure. If compression is too harsh, thin UI text becomes unreadable.
A repeatable workflow solves both sides of the problem. It gives support agents a consistent sequence to follow, gives managers a way to review quality, and gives engineering screenshots that are safe but still actionable.
Decide the Screenshot Destination First
Before editing the image, decide where the screenshot is going. The same source image may need different treatment depending on its destination.
| Destination | Redaction level | Context to preserve | Typical output |
|---|---|---|---|
| Internal engineering ticket | Moderate | UI state, error message, user path, browser size | PNG or compressed image |
| External vendor support ticket | High | Only the vendor-relevant component and error | Cropped PNG, JPG, or PDF |
| Public documentation | Very high | Generic interface state, no real customer data | Edited image or recreated example |
| Customer-facing reply | High | The specific area being explained | Cropped image or annotated image |
| Incident review | Moderate to high | Timeline, affected page state, evidence trail | Image set or PDF bundle |
This decision changes every edit. An internal engineering ticket may keep a realistic page structure if customer identifiers are removed. A public documentation image should usually contain no real account data at all. A vendor ticket should show only the third-party component or error state, because the vendor does not need to see your customer list or internal navigation.
A useful rule: redact for the least trusted place the image may travel. If a screenshot might later be copied from an internal ticket into a vendor conversation, prepare a vendor-safe version from the start and keep the raw source in the appropriate internal system only.
Start With a Screenshot Inventory
For a single customer issue, support agents often capture several screenshots: the original customer image, a reproduction attempt, a console error, a confirmation email, and maybe an admin dashboard view. Before editing, make a small inventory.
Write down the purpose of each screenshot in one sentence. For example:
| File | Purpose | Keep? |
|---|---|---|
| checkout-error-fullscreen.png | Shows customer-facing error after payment attempt | Yes |
| admin-user-record.png | Confirms account plan and region | Internal only |
| vendor-widget-network.png | Shows third-party widget failure | Vendor-safe version needed |
| customer-email-thread.png | Contains too much personal information | Do not share |
This step prevents two common mistakes. First, teams stop editing unnecessary images. Second, they avoid sending screenshots that are only indirectly related to the bug. If one screenshot contains the needed evidence and another contains mostly sensitive context, do not sanitize both. Use the cleaner source.
If an image is too wide, too large, or includes unnecessary surrounding context, prepare a working copy before edits. Convert formats with a tool like Convert Image if you need a consistent PNG or JPG source, and use Resize Image only after you know what details must remain readable.
The Three-Pass Redaction Method
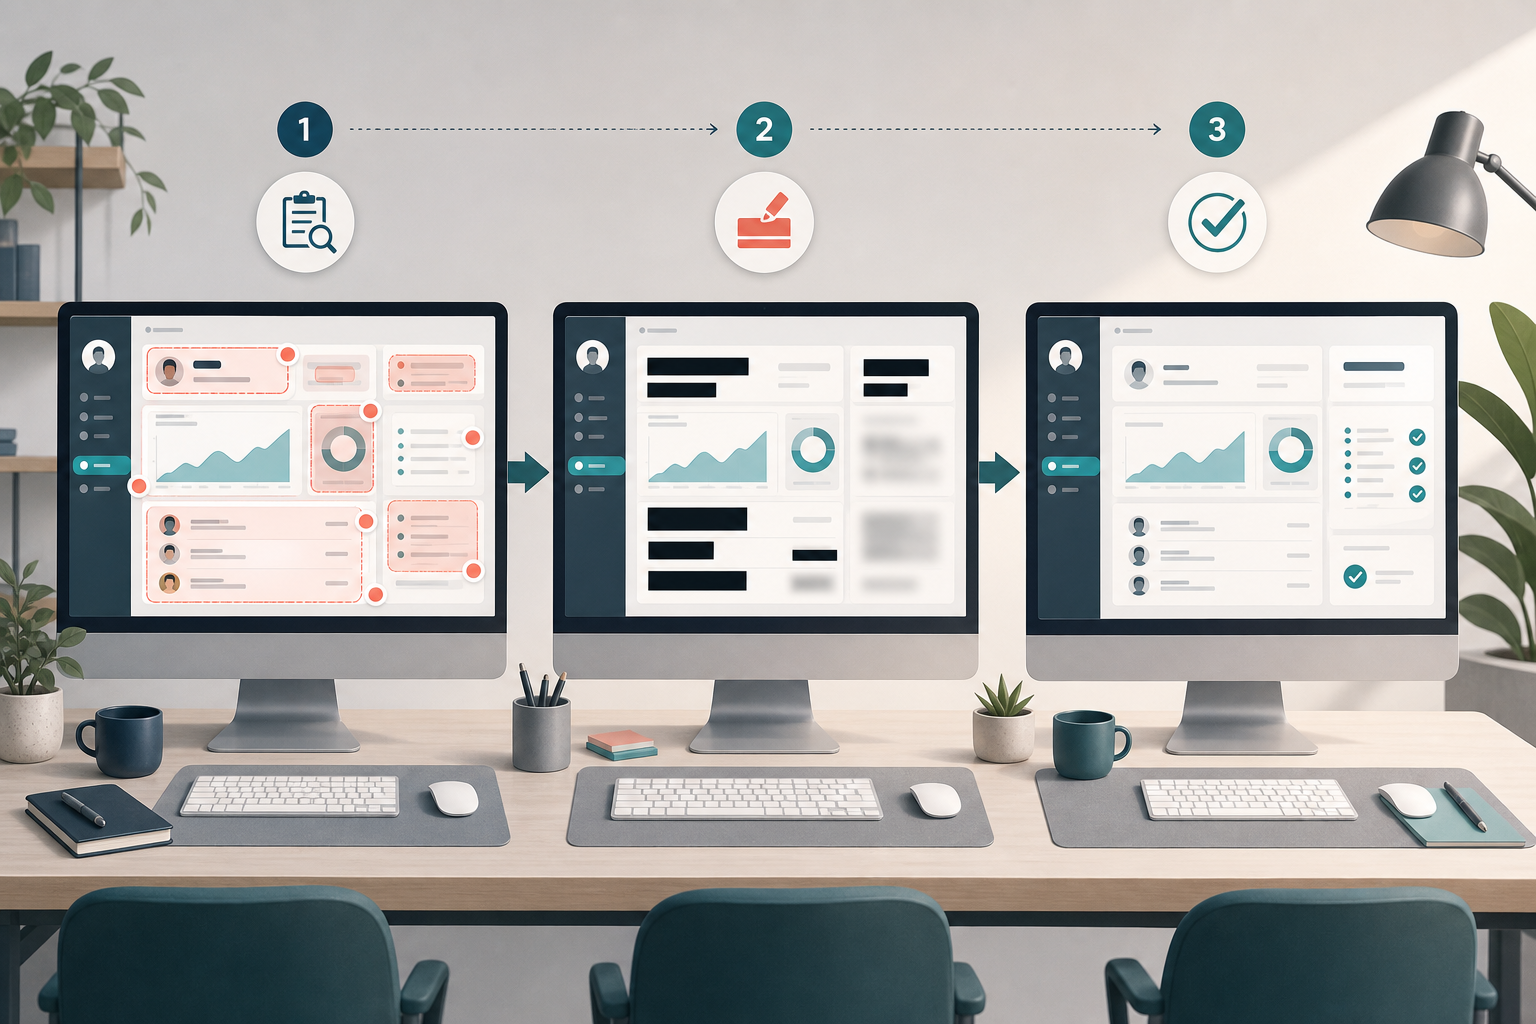
A reliable screenshot cleanup process works best in three passes. Each pass asks a different question, so the person editing the image does not try to catch everything at once.
Pass 1: Remove Identity and Access Clues
The first pass is about people, accounts, and access. Look for anything that identifies a person, organization, workspace, account, or private resource.
Common items to remove include:
- Names, initials, avatars, and profile photos
- Email addresses, usernames, handles, and phone numbers
- Customer IDs, order numbers, invoice numbers, and ticket IDs
- Workspace names, internal project names, and tenant names
- Physical addresses, map locations, and region-specific hints
- URLs with tokens, account IDs, invite codes, or query strings
- API keys, auth tokens, license keys, and webhook URLs
- Browser bookmarks, tab titles, and extension icons that reveal internal tools
Do not only inspect the main content area. Check the browser chrome, sidebar, header, footer, notifications, tooltips, chat widgets, and status bars. In screenshots, sensitive context tends to hide at the edges.
For most support workflows, solid blocks are safer than blur. Blur can be visually pleasant, but it may still leak short strings, repeated patterns, or recognizable shapes. A clean opaque block is less subtle and more reliable. Use a neutral color that fits the screenshot without pretending the information is still there.
Pass 2: Remove Business-Sensitive Context
The second pass looks beyond personal data. A screenshot can be free of names and still reveal information the team should not share widely.
Look for:
- Revenue, balances, or transaction totals
- Customer counts, churn metrics, or usage volume
- Internal labels like VIP, at risk, fraud review, or escalated
- Roadmap features, beta flags, or unreleased settings
- Private comments, notes, and moderation history
- Integration names that reveal customer tooling
- Competitor names inside comparison dashboards
- Security settings, permission groups, or audit logs
This pass matters most for vendor tickets and public documentation. A third-party provider may need to see that a widget failed, but they usually do not need the customer’s subscription level, internal notes, or payment history. Engineers may need more context, but even internal tickets should avoid unnecessary exposure.
Pass 3: Preserve Debugging Evidence
The third pass protects the usefulness of the image. After redacting sensitive material, make sure the screenshot still answers the debugging question.
Check that the final image still shows:
- The page or feature where the problem happened
- The visible error, empty state, disabled button, or unexpected output
- The relationship between the error and nearby controls
- Enough surrounding layout to identify the component
- The device class or viewport shape when relevant
- Any selected filters, tabs, or modes needed to reproduce the issue
If you removed too much, do not restore sensitive data. Instead, add a short written note beside the image in the ticket. For example: "The hidden field is the customer email address" or "The redacted sidebar contains unrelated customer names." The screenshot does not need to carry every explanation itself.
Cropping Without Losing the Bug
Cropping is one of the safest ways to reduce exposure, but it can also remove evidence. The best crop includes the smallest area that still explains the issue.
Use a tight crop when the problem is local: a broken button, a validation message, a misaligned menu, a missing thumbnail, or a modal that does not close. Keep more context when the issue depends on layout, scrolling, device width, navigation state, or the relationship between multiple components.
A good support crop usually includes one visual level above the broken element. If the error is inside a form field, include the field group. If the form is inside a modal, include the modal title and action buttons. If the modal appears over a page that affects the state, include enough of the page to identify the workflow.
Avoid mystery crops. A tiny image of a red error message may be clean, but it often forces engineers to ask where it came from. The screenshot should reduce back-and-forth, not create another investigation.
When a crop creates a very large image or an awkward aspect ratio, resize it only after redaction is complete. Resize with care so thin UI lines and small labels remain legible. For final delivery, Compress Image can reduce file weight, but check the result at actual viewing size before attaching it to a ticket.
Use OCR as a Redaction Safety Check
Visual inspection catches many problems, but support screenshots contain a lot of small text. OCR can help find hidden strings before the image leaves your team.
Run the edited screenshot through Image OCR and scan the extracted text. You are not using OCR to create a perfect transcript. You are using it as a safety net. If the OCR output still contains an email address, account ID, customer name, token-like string, or private phrase, the image needs another pass.
This is especially useful for screenshots with:
- Dense dashboards
- Data tables
- Settings pages
- Error logs
- Mobile screens with small text
- Browser address bars
- Confirmation pages
- Receipts or transaction views
OCR will not catch everything. It may miss low-contrast text, tiny labels, rotated strings, and text inside icons. But if OCR can still read sensitive details, a human viewer probably can too. Treat the OCR result as a practical warning, not a certification.
For recurring workflows, keep a short list of patterns agents should search for in OCR output: "@", long numbers, customer prefixes, internal project names, token fragments, phone number formats, and domain names. This turns OCR from a novelty into a useful quality check.
Annotation Rules That Do Not Create New Risk
Annotations are helpful when screenshots move from support to engineering. Arrows, boxes, and callouts can reduce ambiguity. But annotations can also create risk if they expose internal interpretation or customer-specific claims.
Keep annotations factual and minimal. Point to the broken control, the unexpected blank area, the failed upload, or the confusing message. Avoid writing private diagnosis directly on the image, especially if the screenshot may leave the company. A label like "vendor timeout appears here" is safer than a speculative note like "customer was double charged because provider failed."
Use ticket text for longer explanation. The image should show evidence; the ticket should explain context, reproduction steps, and impact.
A useful annotation checklist:
| Annotation choice | Good for | Avoid when |
|---|---|---|
| Rectangle around UI area | Highlighting a component | It covers layout evidence |
| Arrow to error state | Showing exact failure point | Multiple arrows make the image noisy |
| Numbered steps | Explaining sequence | The image may be reused without the written steps |
| Short neutral label | Clarifying a hidden field | It reveals private diagnosis or customer details |
| Redaction block | Removing sensitive data | It hides the only evidence of the bug |
If you need AI-assisted cleanup, object removal, or generic replacement of private visual content, AI Photo Editor can help prepare a more neutral image. Keep the edits honest: do not change the actual bug state, error placement, or UI behavior that the screenshot is meant to prove.
File Naming for Sanitized Screenshots
A sanitized screenshot should be easy to identify later. Vague names like image-final-final.png invite mistakes. Use file names that show the issue, destination, and redaction level without including customer data.
A simple format works well:
YYYY-MM-DD_issue-area_destination_redacted-version.ext
Examples:
| File name | Meaning |
|---|---|
| 2026-05-08_checkout-error_internal_redacted-v1.png | Internal engineering screenshot |
| 2026-05-08_widget-timeout_vendor_redacted-v2.png | Vendor-safe screenshot |
| 2026-05-08_upload-empty-state_docs_synthetic-v1.png | Documentation-safe example |
Avoid customer names, account IDs, email addresses, and ticket numbers in file names if the file may be exported, forwarded, or uploaded to a third-party system. The ticketing system already has the ticket ID. The file name should describe the asset, not the person.
Also avoid using "anon" when the image is only partially redacted. A screenshot with hidden names but visible revenue or workspace structure is not anonymous. Use "redacted" or "sanitized" instead, and let the destination label communicate intended use.
Packaging Screenshots for Different Destinations

Once screenshots are redacted, package them based on how they will be consumed. Engineers may want separate images attached to a ticket. A vendor may prefer a single PDF. A documentation writer may need a clean image source that can be resized later.
Engineering Tickets
For internal tickets, attach screenshots in the order of the user journey. Start with the page before the error, then the action state, then the failure. Include reproduction notes in the ticket body rather than embedding long explanations inside the image.
If multiple screenshots belong together, consider a compact PDF using Image to PDF. This can be useful for incident reviews or async triage, where the reviewer wants to scan the sequence without opening five separate files.
Vendor Tickets
For vendor tickets, reduce scope. Show the vendor-controlled component, error response, or integration state. Remove your customer list, internal navigation, unrelated metrics, and browser tabs. If the vendor needs logs, provide sanitized text separately according to your team’s policy.
When a vendor ticket needs several screenshots, combine them into a short PDF packet and put the most important image first. If you already have PDF materials from several sources, PDF Merge can help assemble the final review copy.
Documentation and Help Centers
For public documentation, prefer synthetic or staged data whenever possible. Redaction blocks can look heavy in a help article and may distract readers. If the screenshot is meant to teach a workflow, recreate the state in a test workspace with neutral names, generic values, and no real customer information.
Public images should be resized consistently and compressed carefully. Documentation screenshots often contain thin text and UI lines, so check that compression does not make labels fuzzy. A slightly larger clean image is better than a tiny artifact-heavy one that readers cannot understand.
A Redaction Checklist for Support Agents
Use this checklist before attaching a screenshot outside the original customer conversation.
| Check | Question | Pass condition |
|---|---|---|
| Destination | Where will this image go? | Internal, vendor, customer, or public use is clear |
| Source | Is this the least sensitive screenshot that proves the issue? | No unnecessary screenshots included |
| Identity | Are names, emails, avatars, IDs, and URLs removed? | No direct identifiers visible |
| Access | Are tokens, invite links, keys, and private paths removed? | No access clues visible |
| Business context | Are private metrics, labels, notes, and customer lists removed? | No unrelated business-sensitive data visible |
| Evidence | Does the image still show the bug clearly? | Error or broken state remains understandable |
| OCR | Does OCR reveal anything risky? | Extracted text is clean enough for destination |
| Size | Is the image readable at normal ticket size? | UI text and error details are legible |
| File name | Is the file name safe and descriptive? | No customer data in the name |
| Version | Is the final version clearly marked? | Raw and redacted files cannot be confused |
Teams can adapt this into a ticket macro, internal help article, or quality review rubric. The checklist is intentionally short enough for daily use. A checklist that takes ten minutes per screenshot will be skipped under pressure.
Common Redaction Mistakes
The most common mistake is trusting blur. Blur looks professional, but it can leave recognizable text structure, especially with short names, numbers, or high-contrast UI. Use solid blocks for sensitive information unless your policy explicitly allows another method.
The second mistake is forgetting the browser address bar. Many application URLs contain workspace slugs, account IDs, object IDs, search queries, or invite tokens. If the address bar is not needed, crop it out. If it is needed to show route behavior, cover risky segments.
The third mistake is redacting only the center of the image. Sidebars, notification trays, tab titles, bookmarks, and bottom bars often carry sensitive context. Train reviewers to scan clockwise around the image edges before approving it.
The fourth mistake is resizing too early. If you resize before redaction and review, tiny sensitive text may become harder to notice while still remaining readable to someone who zooms in. Redact first, review second, resize third.
The fifth mistake is mixing raw and sanitized files in the same folder without naming discipline. When agents are moving quickly, a raw screenshot can be attached by accident. Keep raw originals in the controlled case record and export sanitized versions with explicit names.
Example Workflow: Checkout Error Sent to a Payment Vendor
Imagine a customer reports that checkout fails after they choose a saved payment method. The support agent has three screenshots: the customer’s full browser window, an internal order view, and a payment widget error reproduced in a test account.
The vendor does not need the internal order view. It contains too much account and transaction context. The full browser screenshot shows the customer’s email address, order total, address, and a URL with session parameters. The reproduced test account screenshot shows the same widget failure with generic data.
The best workflow is:
- Use the reproduced test screenshot as the primary vendor image.
- Crop to the checkout area and payment widget.
- Redact the test email if it uses a real domain or employee name.
- Keep the visible error state, selected payment method area, and submit button.
- Run OCR and search for email addresses, IDs, and long token-like strings.
- Compress only if the file is too large, then verify readability.
- Attach the screenshot with a written note describing the exact customer impact.
This gives the vendor what they need without exposing the original customer’s private details. It also gives engineering a clearer internal record: the raw customer evidence stays in the support system, while the vendor-safe image is deliberately scoped.
Example Workflow: Bug Report From a Customer Admin Dashboard
Now imagine a customer sends a screenshot of an admin dashboard where a chart is blank. The screenshot includes a customer logo, employee names in a sidebar, monthly revenue, several private filters, and a browser tab showing another internal tool.
For an internal engineering ticket, the team may need the selected filters and chart area, but not the names, logo, revenue, or browser tabs.
A practical approach:
- Duplicate the screenshot and label it as the working redacted version.
- Crop out the browser tabs if they are not needed.
- Cover the logo, employee names, and account name.
- Cover revenue values unless they are directly related to the chart bug.
- Keep the filter labels and selected states if they affect reproduction.
- Add a small rectangle around the blank chart area.
- Include the exact filter values in the ticket text if they are safe internally.
- Run OCR to check for names and private numeric identifiers.
The final image should answer: which dashboard, which state, what is broken, and what surrounding controls matter. It should not answer: who the customer is, what they earn, or what unrelated accounts appear nearby.
Building Team Habits Around Screenshot Hygiene
The workflow only works if it fits real support speed. Agents handling active queues cannot perform a complex design process for every image. The team should make the safest path the easiest path.
Create a short internal standard for screenshot handling. Define which destinations require redaction, which tools are approved, where raw customer screenshots should live, and how sanitized files should be named. Add examples of acceptable and unacceptable redaction. Visual examples teach faster than policy language.
Keep a small library of neutral replacement values for staged screenshots: generic names, example domains, placeholder order numbers, and test workspace labels. This helps agents recreate clean documentation images without inventing unrealistic data every time.
Review a few sanitized screenshots each week. Look for missed identifiers, over-cropping, unreadable compression, and unclear file names. Share corrections as patterns, not as blame. The point is to improve the system so agents can move quickly and safely.
Finally, make the workflow part of ticket quality. A good bug report is not only accurate reproduction steps. It is also careful evidence handling. Clean screenshots reduce privacy risk, speed up triage, and make it easier for engineering, vendors, and documentation teams to trust what they are looking at.
Final Takeaway
Support screenshots are operational evidence. Treating them casually creates avoidable risk, but over-sanitizing them can make them useless. The practical middle ground is a repeatable workflow: choose the destination, inventory the source images, redact in three passes, preserve the debugging context, run an OCR safety check, and package the final files for the audience.
Done well, screenshot redaction becomes a quiet quality habit. Customers are protected, engineers get the context they need, vendors see only what applies to them, and the same issue does not bounce between teams because the first image was either too revealing or too vague.