Thermal Camera Image Cleanup for Building Inspection Reports
A practical field guide to cropping, resizing, annotating, compressing, and packaging thermal camera images without obscuring temperature scales or inspection evidence.
Thermal Camera Image Cleanup for Building Inspection Reports
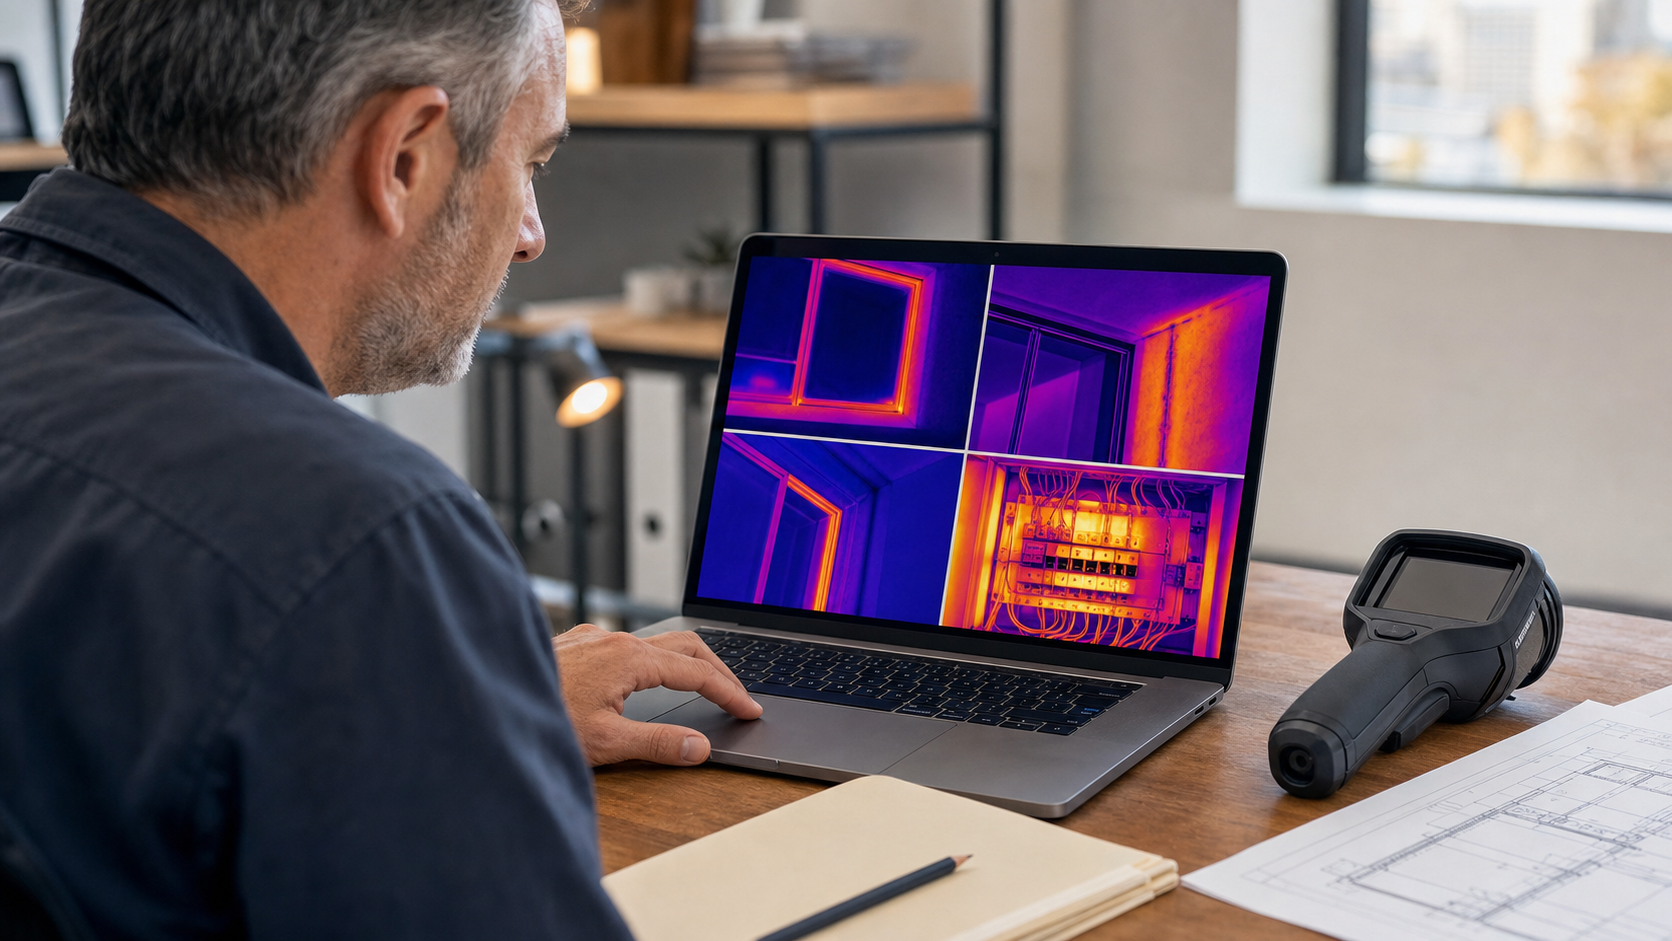
Thermal cameras produce visually persuasive images, but a colorful infrared frame is not automatically useful evidence. A building inspection report must help a reader understand what was photographed, where it was located, which conditions mattered, and what the apparent temperature pattern may indicate. Careless cropping, aggressive enhancement, or missing scale information can turn a valuable field record into an ambiguous illustration.
The challenge is especially noticeable when images come from several sources. A camera may save radiometric files, ordinary JPEG previews, and visible-light reference photos. A mobile app may add its own borders or overlays. Screenshots sent by a subcontractor may include status bars, markup controls, or messaging-app compression. Before those files reach a report, they need to be organized and cleaned without changing the evidence they are meant to communicate.
This guide presents a practical system for preparing thermal camera images for building-envelope, moisture, HVAC, and electrical inspection reports. It focuses on defensible edits, readable layouts, sensible file sizes, and clear handoffs rather than thermal diagnosis itself. Interpretation should remain with a qualified person who understands the instrument, site conditions, and applicable inspection standards.
Why Thermal Images Need Special Handling
An ordinary property photograph can often survive a tight crop or an automatic contrast adjustment. A thermal image carries more dependencies. Its palette, temperature span, emissivity setting, reflected-temperature setting, measurement markers, and scale may all affect how a reader understands it.
A bright area is not inherently hot, defective, or dangerous. It may simply be warmer relative to the selected display range. Reflections, solar loading, wind, wet materials, surface finish, viewing angle, and recent equipment operation can also influence the apparent pattern. That is why report preparation should preserve context rather than amplify drama.
Thermal files also differ in capability:
| File type | Typical contents | Best use |
|---|---|---|
| Radiometric source file | Image plus measurement data and camera settings | Technical analysis and archival record |
| Exported thermal JPEG or PNG | Rendered palette and overlays | Reports, email, and review copies |
| Visible-light reference | Conventional view of the inspected area | Location and component identification |
| Screenshot | Whatever was visible in an app or camera display | Last-resort reference when an export is unavailable |
Never assume that converting a radiometric file to another format preserves its underlying temperature data. A rendered image is usually a visual export, not a substitute for the source file.
Preserve the Evidence Before Editing
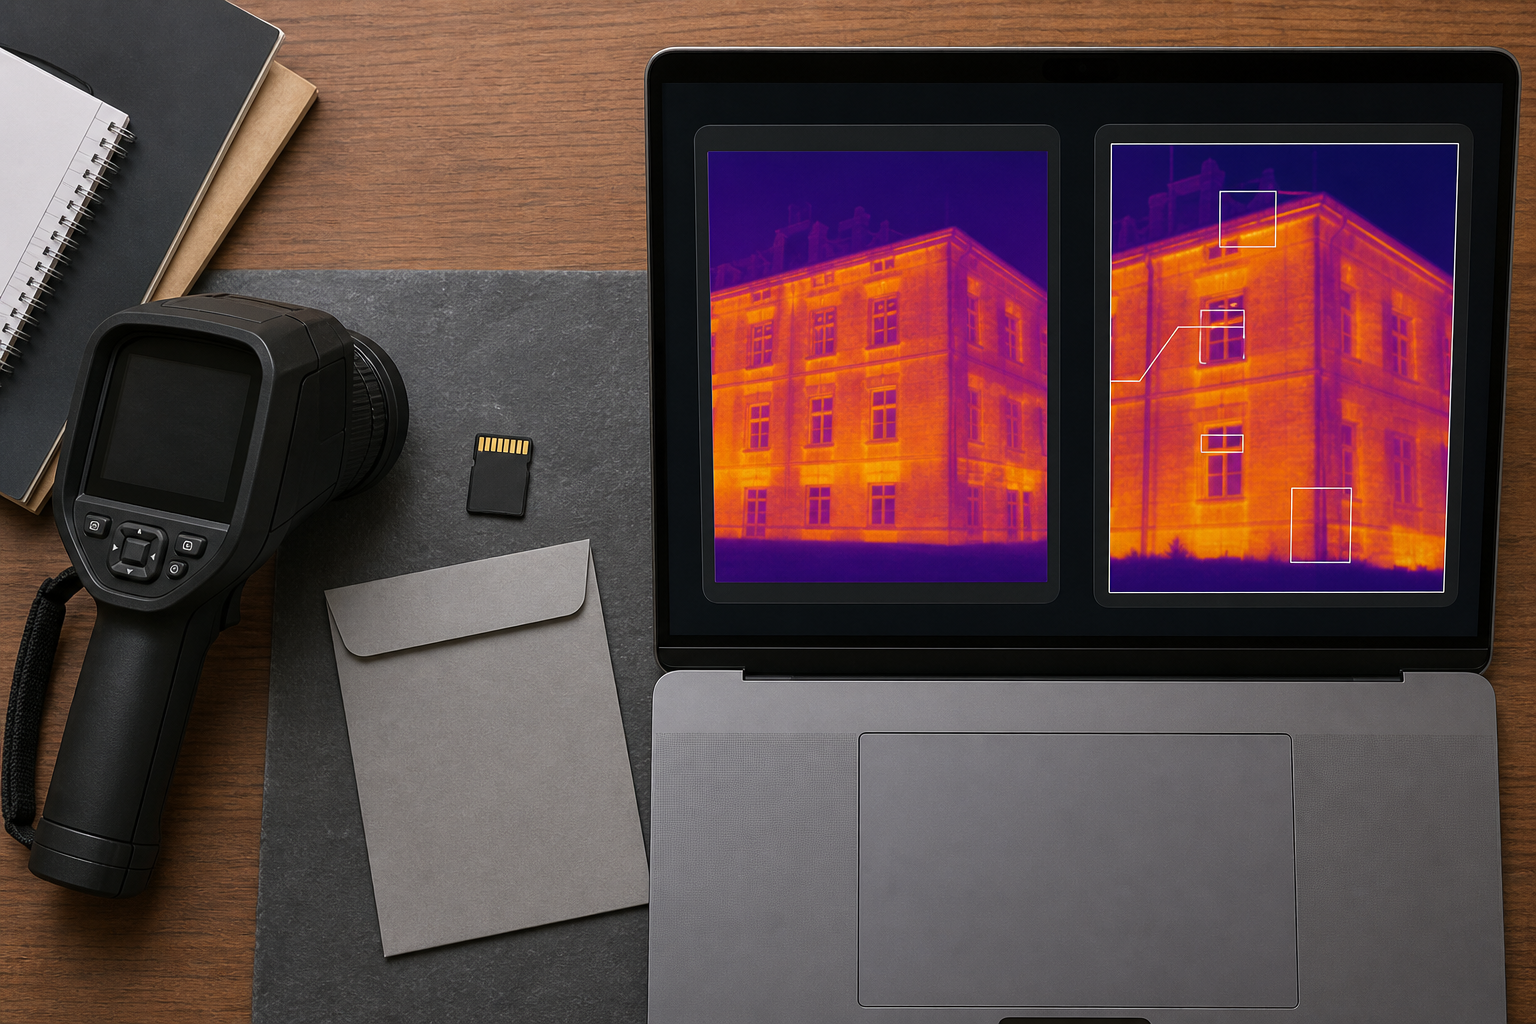
Create an untouched source set before cropping, annotating, converting, or compressing anything. This is the most important preparation step because later edits may flatten metadata, remove measurement information, or make the original framing impossible to recover.
A simple folder structure is enough:
01-originalsfor camera files and direct exports02-referencefor visible-light photos, plans, and field notes03-report-imagesfor cleaned derivatives04-reportfor the assembled PDF and its review copies
Use copy-based editing. Keep the original filename somewhere in the derivative name or in a small index. For example, IR_1842.jpg might become north-bedroom-window_IR_1842_report.png. This makes it possible to trace the report image back to the field capture without relying on memory.
Do not overwrite originals merely because an editor offers a convenient Save command. If the inspection could lead to repair decisions, insurance correspondence, a dispute, or follow-up testing, traceability is more valuable than a perfectly tidy folder.
Record the Context That Pixels Cannot Show
A thermal image alone rarely documents all relevant conditions. Preserve the associated field information before it becomes separated from the file. Depending on the inspection, that may include:
- Date and local time
- Interior and exterior air temperature
- Recent weather and solar exposure
- Wind conditions
- HVAC operating state
- Approximate camera distance and viewing angle
- Emissivity and reflected-temperature settings
- Component location and orientation
- Whether the surface appeared wet, reflective, recently heated, or recently cooled
The final report does not always need every value beside every image. The information should nevertheless remain available in the case record.
Triage Mixed Camera Exports and Screenshots
Start by sorting files according to what can safely be done with them. This prevents a low-quality screenshot from being treated as though it were a measurement-rich original.
Use three practical classes:
- Source-grade: Original radiometric files and direct camera exports with intact context.
- Report-grade: Clear rendered images with a readable scale, palette, markers, and adequate resolution.
- Reference-only: Screenshots, messaging-app copies, cropped photos with missing scales, or images whose provenance is uncertain.
Reference-only material can still be useful. A screenshot may show the precise anomaly discussed during a remote call. It should simply be labeled according to its limitations and not presented as a fully analyzable thermal record.
When screenshots contain mixed interface text, logos, and handwritten arrows, use image OCR only as an indexing aid. OCR may help recover a filename, room label, or displayed temperature, but small overlay text and decimal values are common failure points. Verify every extracted value against the image and field notes before placing it in a report.
Choose a Useful Master Format
Keep proprietary or radiometric originals in their native format. For report derivatives, PNG is useful when the image contains thin scale markings, compact labels, sharp interface elements, or flat-color annotations. A high-quality JPEG may be adequate for photographic thermal exports, especially when report size matters.
If a camera or app produces an awkward format, make a derivative with the image converter. Conversion should happen after the original is secured, and the converted file should be visually compared with the source. Check the palette, scale, decimal values, marker positions, and color transitions rather than judging only the overall appearance.
Crop Without Removing Diagnostic Context
Cropping should remove distraction, not evidence. Keep enough surrounding structure for another person to recognize the component and its position. A close crop of a cold corner may look impressive, but it becomes difficult to distinguish a ceiling junction from a window reveal or service penetration.
Retain these elements whenever they exist:
- The full temperature scale
- Measurement spots, boxes, or lines referenced in the caption
- The palette legend
- A recognizable boundary around the subject
- Camera-generated indicators needed to interpret the view
- Any visible-light inset used for orientation
Remove unrelated phone status bars, empty app chrome, accidental black margins, and markup controls. If an app screenshot is the only available record, first preserve the entire screenshot. Then create a report copy with the irrelevant interface area cropped away.
A useful rule is to ask whether a reviewer unfamiliar with the site could locate the photographed area from the image and caption. If not, loosen the crop or add a matching visible-light view.
Do Not Crop Around the Conclusion
Confirmation bias can enter during image preparation. If an editor crops tightly around the most striking color pattern, surrounding areas that weaken or explain the apparent anomaly may disappear. Prepare the image to show the inspected component, not merely the suspected defect.
For comparisons taken before and after an intervention, use similar framing. Exact pixel-level alignment is not always possible, but the same structural boundaries should be visible. Avoid presenting two differently scaled crops as though their apparent pattern sizes were directly comparable.
Treat Color and Contrast Conservatively
Thermal palettes are display choices. Switching from iron to rainbow, adjusting span, or changing level can make the same data look substantially different. A report should use palette decisions consistently and disclose comparisons that were produced with different ranges.
Avoid ordinary photo filters, saturation boosts, selective color edits, artificial sharpening, and local contrast tools. These adjustments can exaggerate boundaries or create a false sense of precision. If the rendered image is muddy because it came from a poor screenshot, the correct remedy may be to obtain a fresh export rather than cosmetically strengthening it.
AI editing requires the same restraint. The AI photo editor can be appropriate for a separate visible-light orientation photo—for example, removing an irrelevant privacy-sensitive object from a presentation copy—provided the edit is disclosed and the original remains preserved. It should not be used to reconstruct thermal pixels, extend a thermal frame, erase an apparent anomaly, regenerate a temperature scale, or invent obscured labels.
Safe and Unsafe Adjustments
| Adjustment | Usually acceptable | Main caution |
|---|---|---|
| Crop empty borders | Yes | Retain scale and structural context |
| Resize proportionally | Yes | Keep small labels legible |
| Convert file format | Yes | Confirm palette and overlays did not change |
| Add an external arrow or numbered callout | Yes | Do not cover markers or important patterns |
| Global brightness change | Sometimes | Compare against the source and document if material |
| Change thermal span or palette | Only with technical intent | Preserve settings and avoid misleading comparisons |
| Remove or repaint thermal regions | No | Alters the visual evidence |
| Generate missing scale values | No | Creates unsupported measurement information |
Build a Consistent Thermal Image Panel
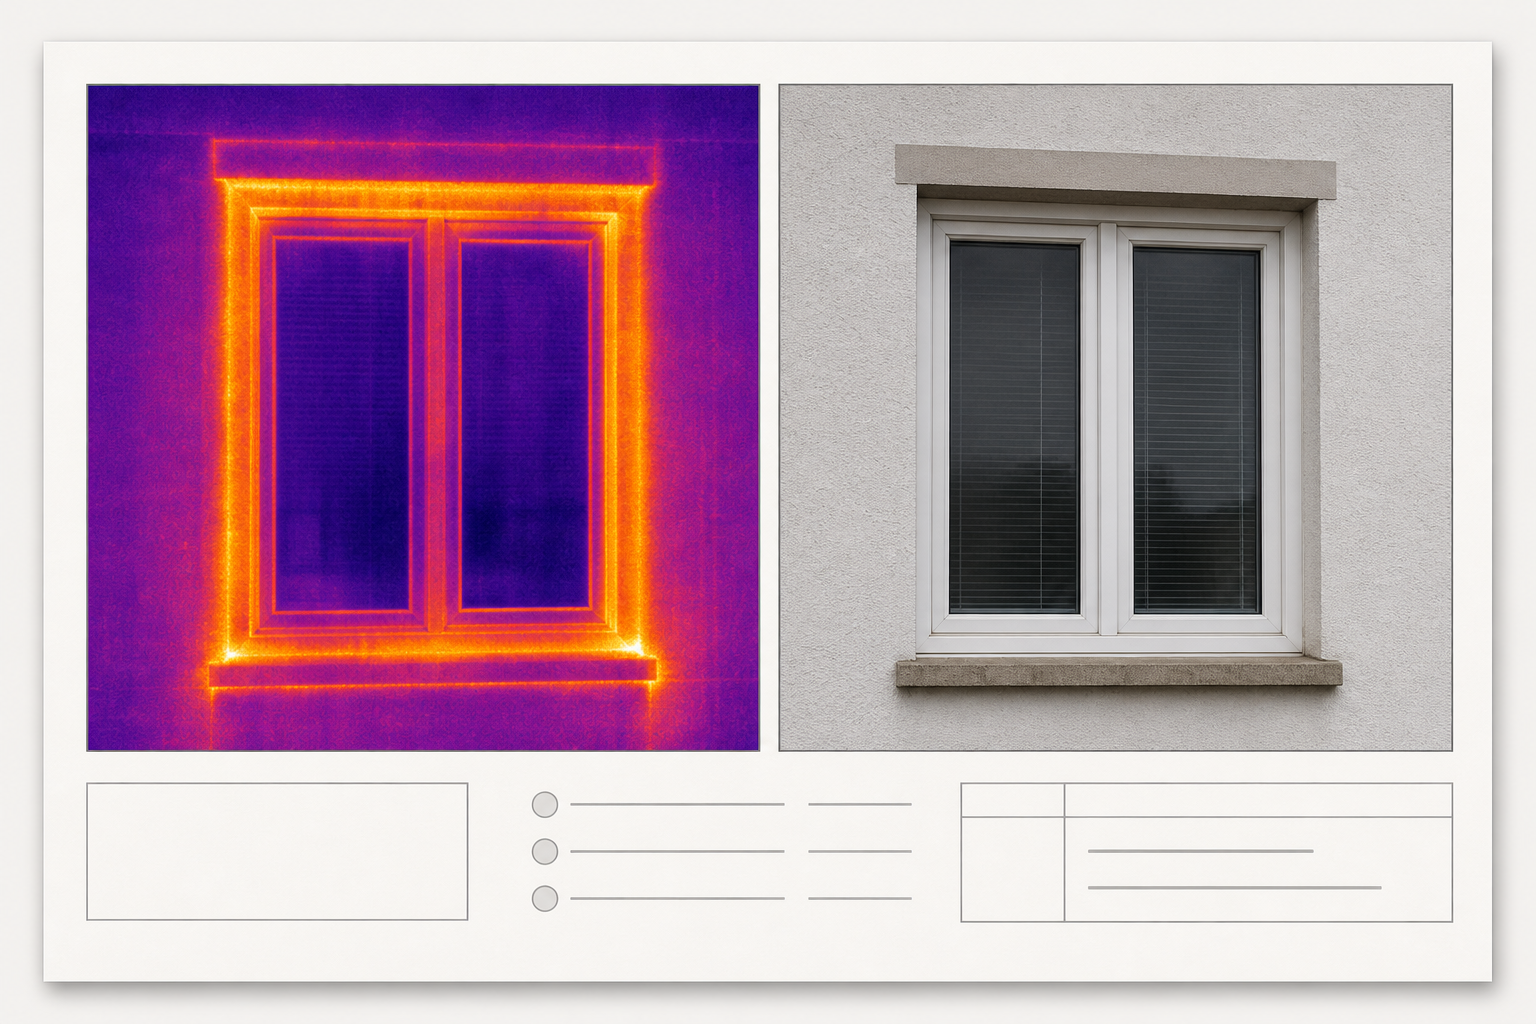
A strong report panel commonly combines a thermal image, a visible-light reference, an identifier, and a concise observation. The two images should show substantially the same area. If they were captured from different positions, make that difference clear instead of forcing a misleading side-by-side match.
Keep the panel restrained. A large arrow may cover the temperature pattern it is supposed to identify. Use a thin outline, a small numbered marker outside the critical area, or a leader line that terminates near the feature. High-contrast annotation colors such as white, black, or cyan can work, but the correct choice depends on the palette beneath them.
Every panel should answer four questions:
- Where is this?
- What component or surface is shown?
- What observable pattern matters?
- What limitation or next step applies?
For example, a caption might identify the east stairwell ceiling-to-wall junction, describe a localized cooler surface pattern, note that the image was captured during indoor-outdoor temperature separation, and recommend correlation with moisture readings or envelope investigation. It should not leap from color alone to a definitive claim about hidden construction.
Use Captions to Separate Observation From Interpretation
Write captions in layers. Begin with the visible observation, then provide cautious interpretation, followed by any recommended verification.
Weak caption: “Major insulation failure.”
Stronger caption: “Localized cooler surface pattern at the north wall-to-ceiling junction. The pattern may be consistent with reduced insulation coverage or air movement; correlate with construction details and additional testing.”
This distinction matters because the report image is evidence of an apparent surface-temperature pattern, not a direct photograph of insulation, moisture, airflow, or electrical resistance hidden behind the surface.
Resize for Legibility, Not Just Smaller Files
Thermal images often contain small numerals and narrow scale bars. Reducing them too far may leave the color pattern visible while destroying the information required to interpret it. Decide the display size in the report first, then prepare the derivative for that size.
For a single-column report page, an image width around the practical page-content width is generally sufficient; exporting a huge camera file only to shrink it inside a document adds weight without adding visible detail. Use the image resizer to create consistent derivatives while preserving aspect ratio.
Inspect the result at normal reading size, not only at 200% zoom. The scale labels, measurement markers, annotations, and significant building boundaries should all remain understandable. Also test the exported PDF on a typical laptop screen and a phone, since many clients will not print it.
Avoid repeated resizing. Generate report images from the best available source, and keep that source available if a different layout is needed later.
Compress Without Smearing Scale Labels
A report containing dozens of thermal and visible-light pairs can become unnecessarily large. Compression is useful, but it should be applied after cropping, annotation, and final resizing. Compressing early and then editing or recompressing can accumulate artifacts.
Use the image compressor on report derivatives, not on radiometric originals. Review challenging regions at 100%:
- Small temperature values
- Thin tick marks on the scale
- Edges of spot markers
- Fine electrical conductors or building joints
- Annotation lines
- Smooth thermal gradients
JPEG artifacts often appear as halos around scale labels and blockiness in gradients. If labels degrade before the image reaches a reasonable size, try a less aggressive setting or use PNG for that panel. Mixed documents do not require every image to share the same format.
A practical file-size test is delivery-based rather than arbitrary. The PDF should open promptly on ordinary devices and remain easy to transfer through the intended channel, while retaining readable evidence. Do not claim a universal megabyte target without knowing the recipient’s system or document requirements.
Assemble Images Into a Reviewable PDF
When field photos arrive as separate images, assemble selected derivatives with image to PDF. Put images in the intended reading order before conversion and use stable identifiers so the sequence can be checked afterward.
For a formal report, a useful order is:
- Overview or area locator
- Visible-light reference
- Thermal image
- Detail view, if needed
- Supporting measurement or follow-up image
If the narrative report and image appendix are produced separately, combine them with PDF merge. Then inspect the merged document from beginning to end. Confirm that bookmarks or page references still make sense, pages are upright, captions remain with their images, and no blank or duplicate pages were introduced.
Do not rely on the PDF thumbnail pane alone. Open representative pages at reading size and zoom into the smallest overlays. A panel that looks fine as a thumbnail may contain an unreadable scale or a clipped caption.
Quality-Control Checklist Before Delivery
Run a deliberate audit before issuing the report or sharing it for review.
Evidence and Traceability
- Originals are preserved separately and were not overwritten.
- Each report derivative can be traced to its source.
- Radiometric files remain available when they were captured.
- Screenshot-only material is not represented as a richer source format.
- Material edits are documented where appropriate.
Visual Integrity
- Temperature scales are present and readable when needed.
- Thermal images have not been cosmetically reconstructed.
- Crops retain enough structural context.
- Comparisons use compatible palette and range settings, or differences are stated.
- Annotation marks do not obscure relevant pixels or camera markers.
- Visible-light references correspond to the thermal views.
Report Clarity
- Locations and components are identified consistently.
- Captions distinguish observations from interpretations.
- Recommendations do not claim more certainty than the evidence supports.
- Image order matches references in the narrative.
- Page numbers, figure numbers, and filenames are internally consistent.
Delivery Quality
- The final PDF opens without errors.
- Text and scale labels are readable at normal size.
- Images are not visibly damaged by compression.
- Sensitive or irrelevant personal information has been handled appropriately.
- The delivered file is the approved version, not an intermediate draft.
Common Failure Modes and Better Remedies
The Temperature Scale Was Cropped Off
Return to the untouched source and make a wider crop. Do not recreate the scale manually. If no source with a scale exists, treat the image as a limited visual reference and explain the omission.
Two Images Look Comparable but Use Different Ranges
Do not place them side by side without qualification. Re-export them with consistent technical settings when the source data and software permit it. Otherwise, state that the display ranges differ and avoid visual claims based on color area alone.
A Screenshot Is Too Soft to Read
Request a direct export first. If that is impossible, preserve the screenshot, crop only irrelevant interface elements, and avoid aggressive sharpening. Manually verified information can be included in the caption, but it should not be painted into the thermal display as though it came from the instrument.
The PDF Is Too Large to Send
Check for oversized visible-light photos, duplicate pages, and images inserted far above their display dimensions. Resize those derivatives, compress selectively, and rebuild the PDF. Protect image quality where scales and measurement overlays are smallest.
An Annotation Covers the Suspected Pattern
Move the marker outside the feature and use a leader line. Keep an unannotated derivative as well, particularly when several reviewers may need to study the underlying pattern.
A Defensible Standard for Report Images
Good thermal report preparation is intentionally conservative. It keeps source files intact, makes location context obvious, preserves instrument-generated information, and limits edits to those needed for communication. The result may look less dramatic than a heavily enhanced marketing image, but it will be more useful to inspectors, contractors, owners, and later reviewers.
Treat each image as a small evidence package: source, context, careful derivative, restrained annotation, and precise caption. When those pieces remain connected, thermal imagery can support a clear building inspection narrative without pretending to prove more than the captured conditions allow.