Vehicle VIN Plate Photo OCR Cleanup for Fleet Intake Records
A practical guide for turning VIN plate and door-jamb photos into cleaner OCR results, searchable PDFs, and review-ready intake records for fleet teams.
Vehicle VIN Plate Photo OCR Cleanup for Fleet Intake Records
Fleet intake records often begin with one small, stubborn image: a photo of a VIN plate, door-jamb sticker, windshield tag, or registration label. The photo looks good enough on a phone screen, but once it enters a shared folder, claim packet, maintenance system, or audit file, the weak spots become obvious. Characters blur together. Reflective metal throws glare across the middle of the number. A door seal casts a shadow over the manufacturer label. Someone zooms in and the image breaks into blocks.
For a team that handles a few vehicles a month, manual correction is annoying. For rental operators, municipal fleets, auction teams, dealerships, insurance reviewers, transport coordinators, and field inspectors, it becomes a repeat source of errors. A single wrong VIN character can point to the wrong vehicle history, wrong part, wrong title, or wrong claim.
This guide explains how to capture, clean, OCR, and package VIN plate photos so they become useful records instead of mystery images. It is written for practical fleet intake, not studio photography. The goal is to make the number readable, preserve the original evidence, and create a searchable handoff that another person can trust.
Where VIN Photos Fit in Fleet Intake
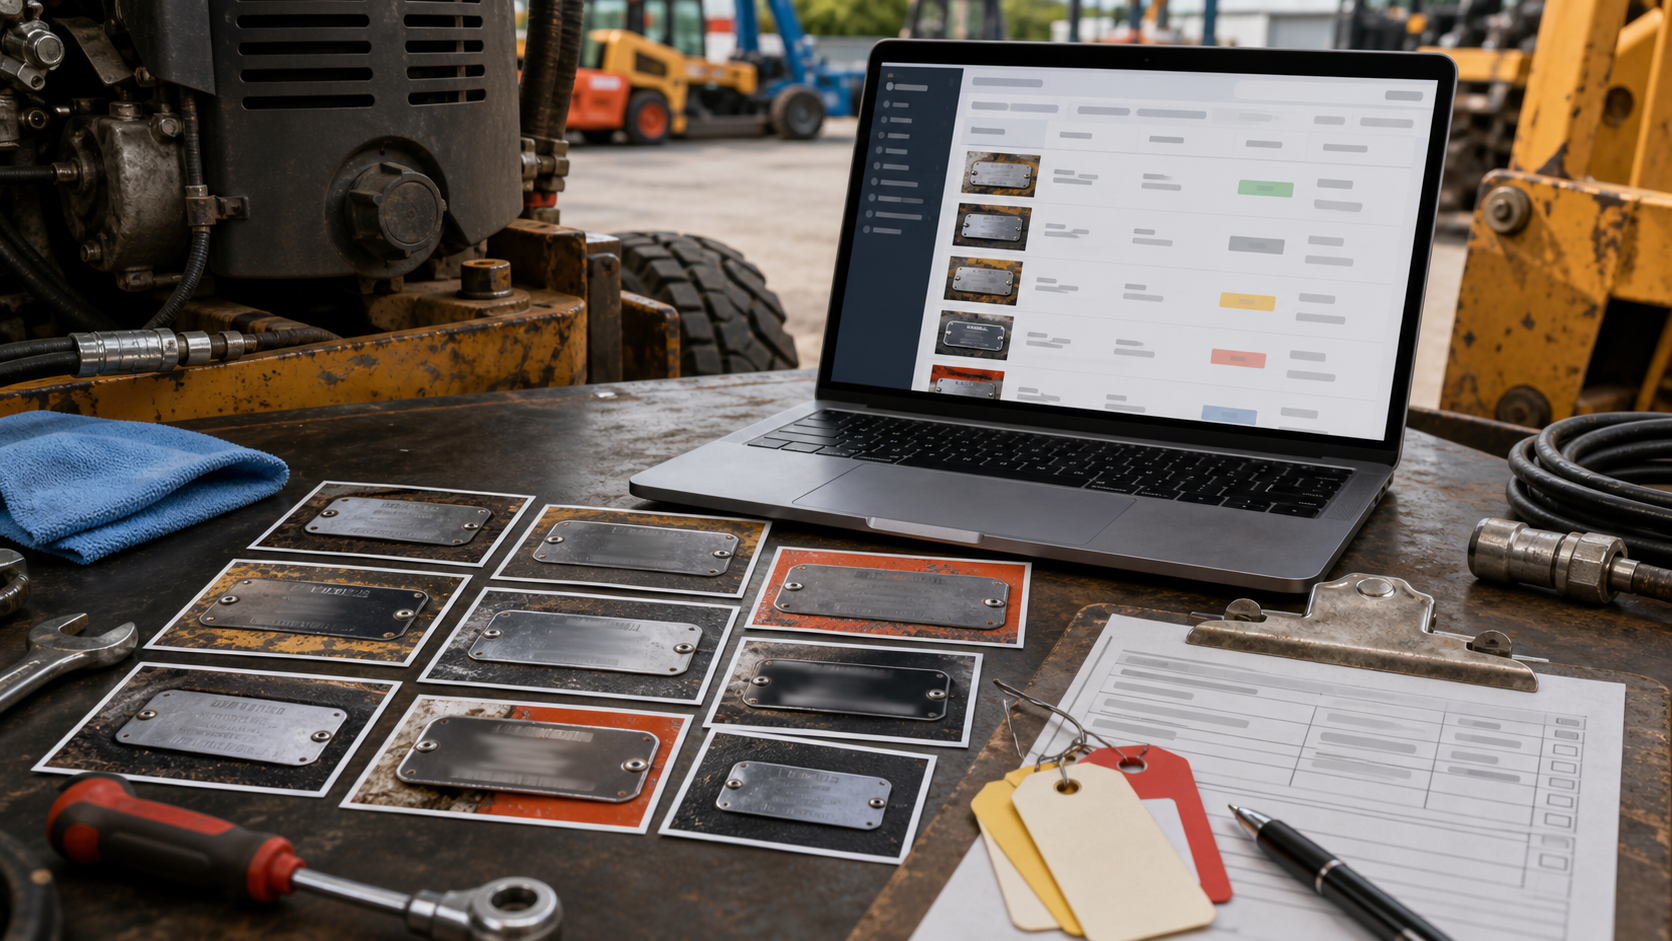
A VIN photo is rarely used alone. It usually supports a larger intake packet that may include exterior photos, odometer readings, damage photos, tire condition, registration documents, inspection forms, and service notes. The VIN image acts as the anchor that ties those assets to one vehicle.
Because the VIN is so central, teams often use it in several places:
- File names for intake folders
- Searchable PDF packets for claims or title review
- Maintenance system uploads
- Auction listing evidence
- Transport and delivery documentation
- Internal audit trails
- Warranty or recall research
The same image may be viewed by an intake coordinator, a mechanic, a title clerk, a claims adjuster, and an external partner. Each person has a different tolerance for image quality. A mechanic may only need to visually confirm the last eight characters. A title clerk may need the complete VIN with zero ambiguity. An external reviewer may need evidence that the team did not type the number from memory.
That is why the best approach is not only to run OCR. It is to prepare the photo so the OCR output, the visible image, and the final record support each other.
Why VIN Plate Photos Fail OCR
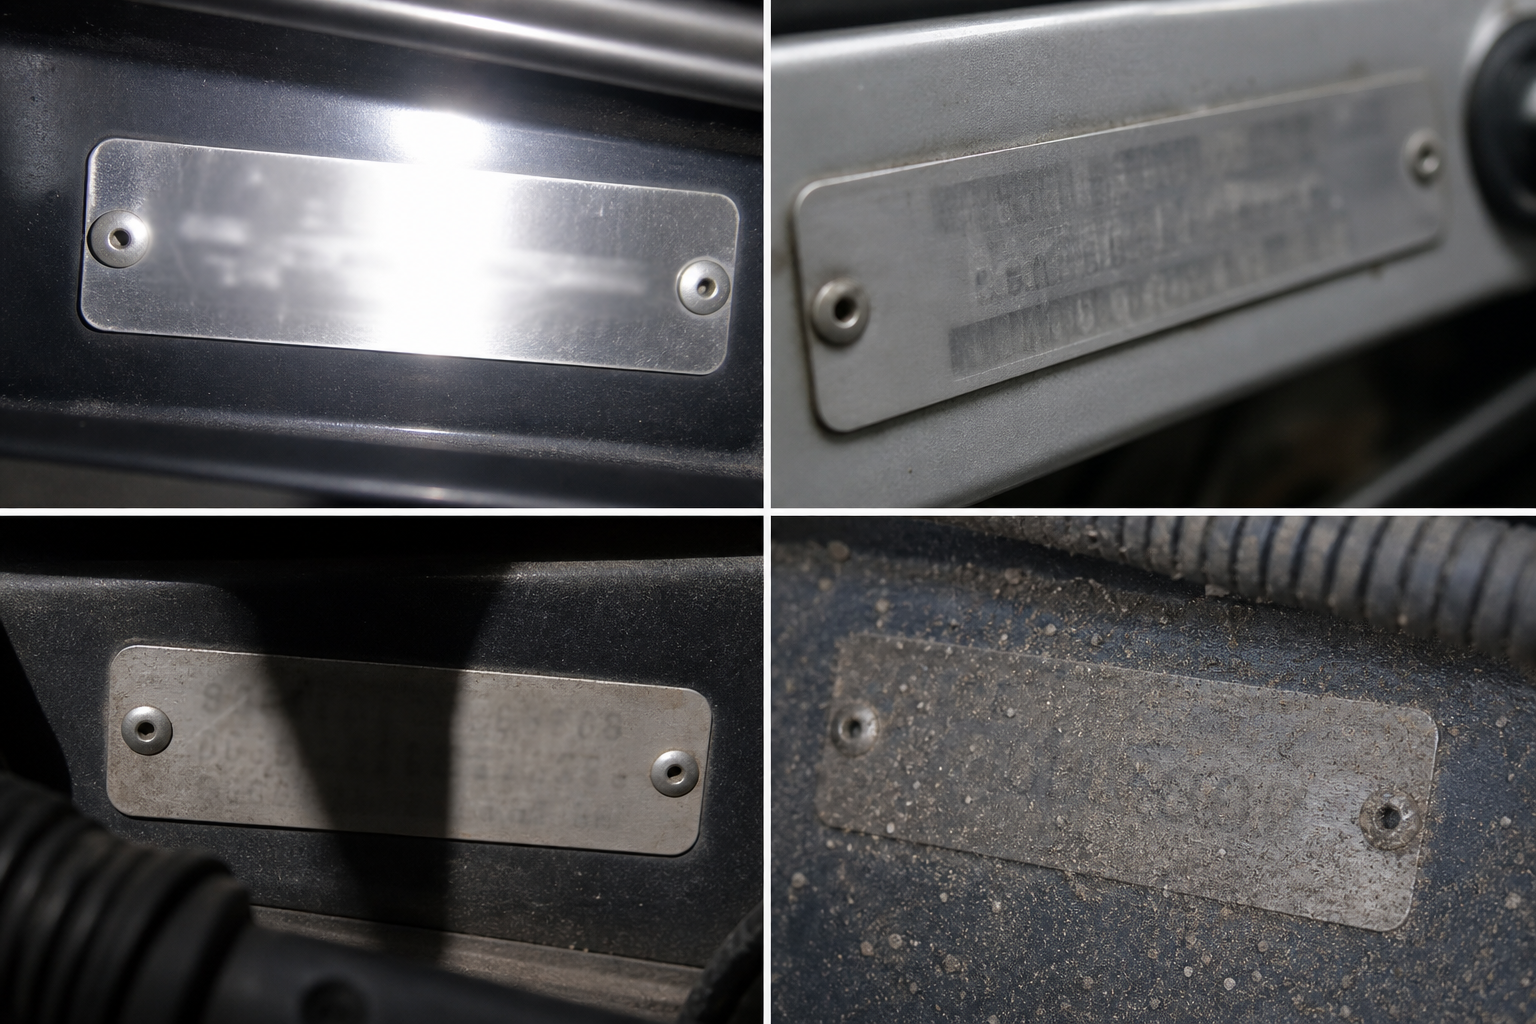
VIN plates and labels are difficult because they combine small characters, awkward locations, reflective materials, and inconsistent lighting. OCR systems can handle clean printed text well, but VIN photos tend to create edge cases.
Common failure points include:
- Glare from metal plates or laminated labels
- Oblique angles from photographing through a windshield
- Curved surfaces around door frames
- Low contrast between stamped characters and the background
- Dirt, wax, adhesive residue, or scratched surfaces
- Compression artifacts from messaging apps
- Cropped images that cut off the first or last character
- Mixed text around the VIN, such as tire pressure data, trim codes, and manufacturing dates
The characters themselves also create risk. VINs exclude the letters I, O, and Q, but photos still cause confusion between similar shapes. A 5 can look like S. An 8 can look like B. A 2 can look like Z. A 1 can look like L in surrounding labels, even if it should not appear that way in the VIN field.
OCR cleanup is therefore not only about making the image prettier. It is about reducing ambiguity before the recognition step and making later review faster.
Capture Rules That Save Editing Time
The best cleanup starts before editing. If the original capture is poor, every later step becomes harder. Field teams do not need a photography class, but they do need a few repeatable habits.
Take Two Photos, Not One
For every VIN plate or label, capture two versions:
- A context photo that shows where the plate or label is located
- A close photo that fills the frame with the VIN area
The context photo proves the image belongs to that vehicle location. The close photo gives OCR enough pixels to work with. When only one photo is taken, teams often compromise: wide enough for context but too distant for OCR.
Avoid Digital Zoom
Digital zoom usually enlarges noise instead of adding detail. Step closer when possible. If the VIN is behind glass, move the camera until reflections are minimized rather than pinching to zoom. A non-zoomed image can be cropped later with better results.
Shoot at a Slight Angle to Reduce Glare
Straight-on photos seem ideal, but reflective plates often bounce light directly into the camera. A slight angle can reduce glare while keeping the characters readable. The key is to avoid extreme perspective where one end of the VIN is much smaller than the other.
Use a Hand or Clipboard as a Light Block
For windshield VINs, glare is often the largest problem. A hand, clipboard, jacket, or inspection folder can block reflections without touching the vehicle. The object should stay outside the plate area and should not cover any character.
Retake Immediately When the First Character Is Weak
People tend to check the middle of the VIN because that is where the camera focuses. The first and last characters are just as important. Before leaving the vehicle, zoom into both ends of the photo and confirm the full string is visible.
A Practical Cleanup Checklist Before OCR
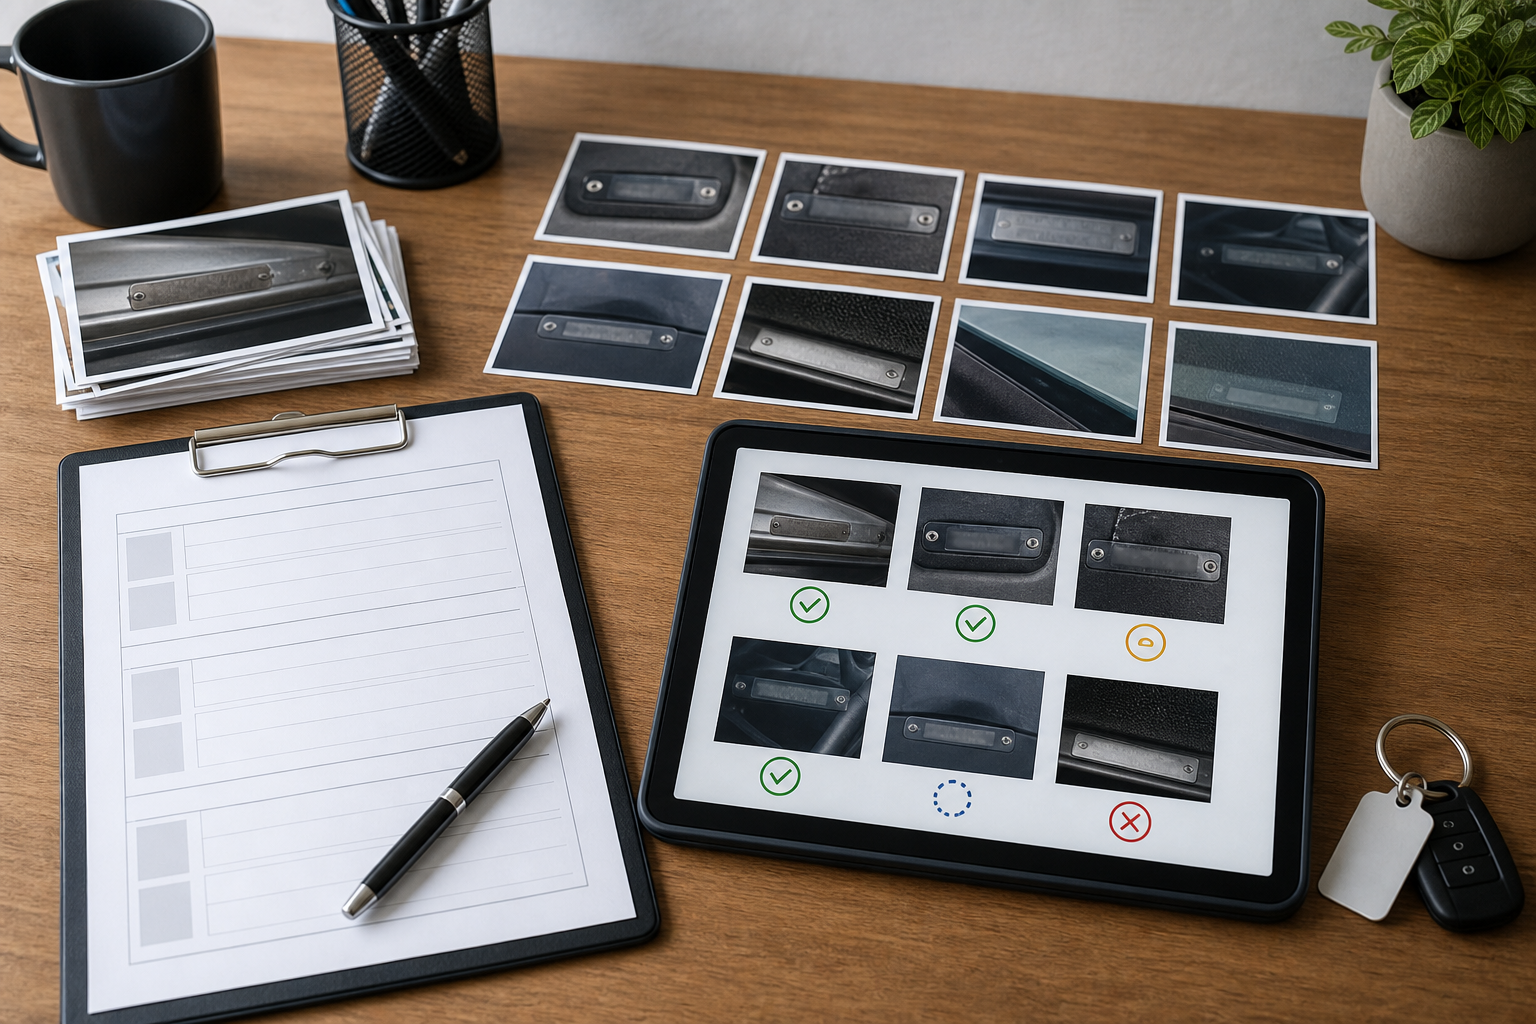
Once photos are collected, a short cleanup pass can make OCR results much more dependable. The goal is not to alter evidence or make a dramatic edit. The goal is to isolate the relevant area, improve readability, and keep an untouched original available.
Use this checklist before running OCR:
- Duplicate the original image and keep the source file unchanged.
- Crop around the VIN label, leaving a small margin on all sides.
- Straighten the image so the characters sit close to horizontal.
- Adjust brightness only enough to reveal dark characters and reduce harsh shadows.
- Increase contrast carefully so characters separate from the plate.
- Avoid filters that reshape letters or smooth fine edges.
- Export a clean copy in a format that preserves detail.
- Run OCR on the cleaned copy, then compare against the original.
For quick crop and dimension changes, a tool like Resize Image can help create a readable close version without forcing the team into complex editing software. If a phone or messaging app created a very large file, Compress Image can reduce storage weight after the readable version is confirmed. Compression should come after cleanup, not before, because heavy compression can damage thin character edges.
Crop Strategy: Tight Enough, But Not Too Tight
Cropping is one of the most important steps for VIN OCR. A good crop removes visual distractions while preserving enough context to verify that the string came from a vehicle label.
A useful crop includes:
- The full VIN or complete label area
- A narrow margin around the text
- Enough nearby plate surface to show the character baseline
- No fingers, reflections, dashboard clutter, or surrounding unrelated labels when avoidable
A crop that is too wide may confuse OCR with nearby numbers. Door-jamb labels often include tire pressure, paint codes, gross vehicle weight, dates, barcodes, and manufacturer data. OCR may return all of it in one noisy block. A tighter crop around the VIN field improves the odds that the output starts with the characters that matter.
A crop that is too tight creates another problem: reviewers cannot tell whether the first or last character was cut off. Leave a small border. If the VIN sits near the edge of a label, keep that edge visible so a reviewer knows the image contains the whole field.
Straightening and Perspective Correction
OCR engines expect text to follow predictable lines. VIN photos often arrive tilted because the photographer is leaning into a door frame, shooting through a windshield, or working in a parking lot with poor lighting. Straightening helps, but overcorrection can introduce distortion.
Use these rules:
- Rotate until the VIN baseline is close to horizontal.
- Do not stretch the image just to make the plate look rectangular.
- If the photo was taken at a steep angle, retake it if possible.
- Keep a copy of the original photo beside the cleaned version.
Perspective correction can help when the VIN is visible but one side is smaller than the other. However, aggressive perspective fixes may warp characters. For fleet records, readability and evidence value matter more than making the plate look perfectly flat.
Brightness, Contrast, and Sharpening Without Damage
VIN cleanup requires restraint. Many editing mistakes happen because someone tries to make the label look cleaner than it really is. The image becomes high contrast, crunchy, and over-sharpened. It may look dramatic, but OCR can perform worse because letter edges become broken or artificial.
A better sequence is:
- Raise exposure slightly if the label is too dark.
- Lower highlights if glare is washing out characters.
- Add modest contrast to separate text from background.
- Apply light sharpening only if the image is soft.
- Stop as soon as the characters become easier to inspect.
Avoid turning a VIN image into pure black and white unless the original is already very clean. Threshold-style edits can erase faint stamped characters or merge scratches into letters. For laminated labels, color information sometimes helps distinguish printed ink from reflections.
If you need to convert an image format before sharing or uploading, Convert Image is useful for moving between common formats while keeping the cleaned version separate from the original capture.
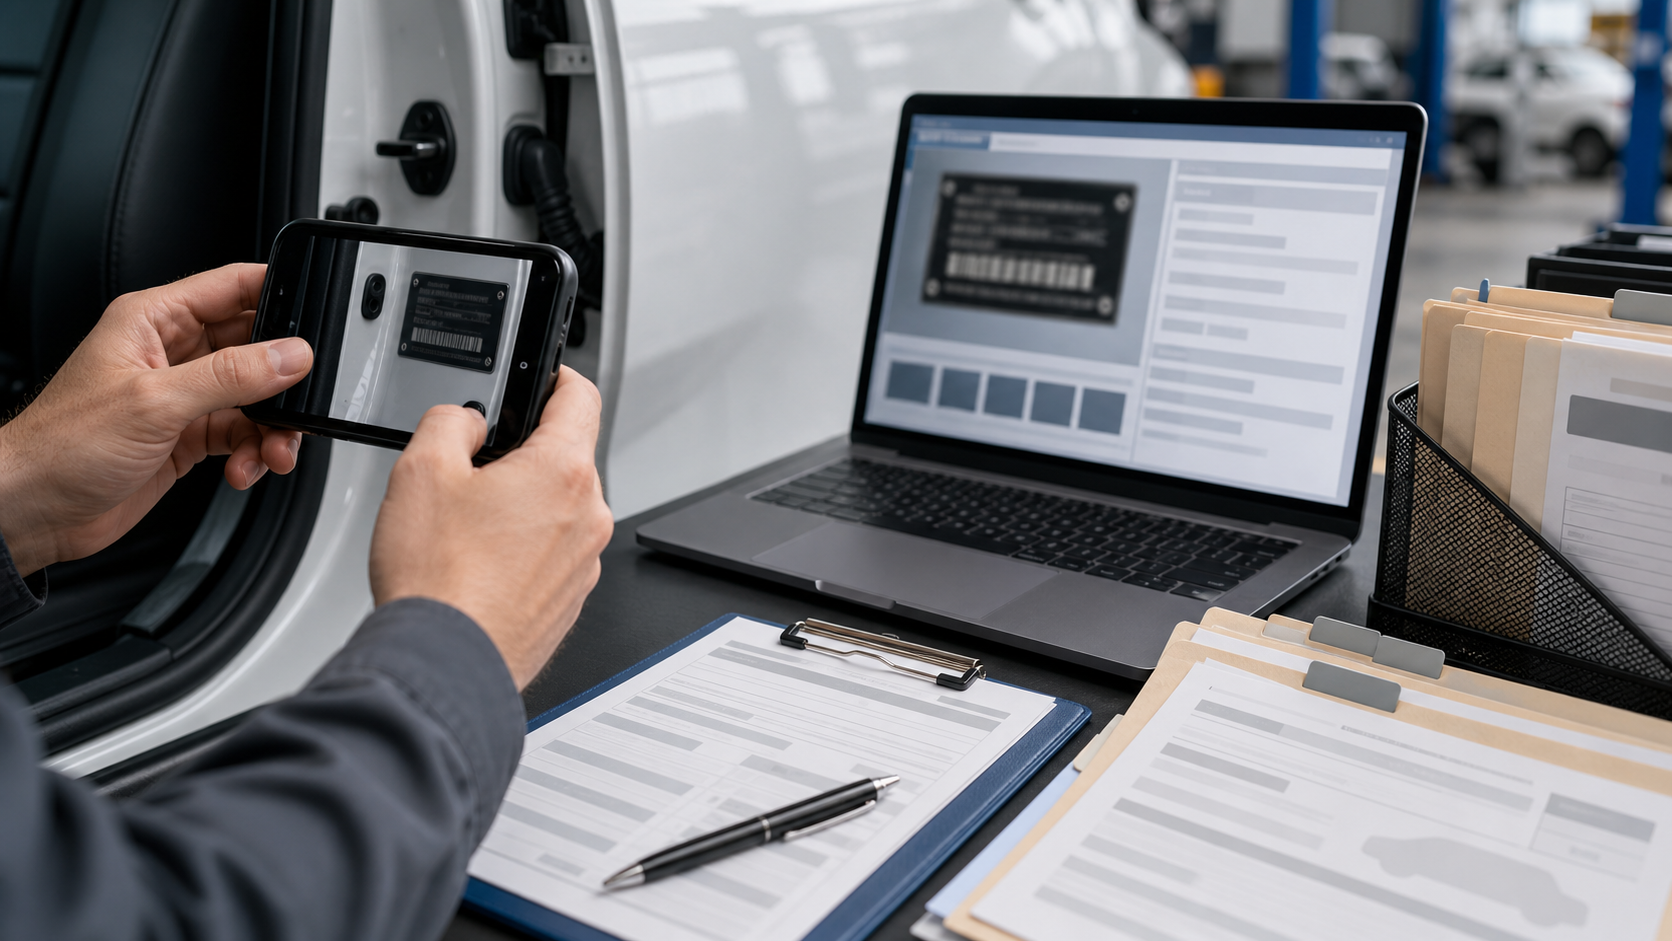
OCR Pass: Extract, Then Verify
OCR should be treated as a first draft, not the final authority. A VIN is a 17-character identifier with strict rules, so even a single character error matters.
After cleanup, run the image through Image OCR and review the extracted text beside the image. Do not rely only on the text output. Compare character by character.
A simple verification method:
- Count the characters. A standard VIN should have 17 characters.
- Confirm there are no I, O, or Q characters in the VIN.
- Check visually similar pairs such as 5/S, 8/B, 2/Z, 0/D, and 1/L.
- Compare against registration, title, insurance, or system records when available.
- Mark uncertain characters for human review instead of guessing.
For intake teams, it can help to use a confidence notation in notes. For example, if the OCR returns a full VIN but the ninth character is visually weak, mark that position for review. The final record should make uncertainty visible rather than hiding it inside a typed field.
Decision Table: Keep, Retake, or Escalate
Not every VIN photo deserves the same amount of editing. Sometimes the correct answer is to retake the image. Sometimes the vehicle is no longer available and cleanup is the only option. Use a quick decision table to keep choices consistent.
| Situation | Best action | Reason |
|---|---|---|
| Full VIN is visible, slight tilt | Crop, straighten, OCR | Low risk and fast to fix |
| Glare covers one or two characters | Retake if vehicle is available | Missing characters should not be guessed |
| Image is sharp but too wide | Crop around VIN field | Removes distracting label data |
| Photo came through a messaging app and looks blocky | Ask for original file | Compression may have destroyed detail |
| Door-jamb label is dirty but readable | Clean vehicle surface only if allowed, retake | Better source beats heavy editing |
| Windshield VIN is unreadable through glass | Use door-jamb label or registration backup | Alternate source may be clearer |
| OCR output is 17 characters but image is ambiguous | Human review | Valid length does not prove accuracy |
| VIN photo is part of a claim or dispute | Preserve original and edited copy | Evidence chain matters |
This table is deliberately conservative. Editing is helpful, but it should not become a substitute for a better capture when the vehicle is still accessible.
Packaging VIN Images Into Searchable PDFs
After OCR and verification, many teams need to send or archive the result. A searchable PDF is useful because it combines the visual evidence with selectable text. It also travels better than a loose set of images and notes.
A practical VIN record packet might include:
- Cover page with vehicle unit number or intake reference
- Context VIN location photo
- Cleaned close VIN image
- OCR text copied into a visible note or form field
- Odometer photo
- Exterior front and rear photos
- Any supporting registration or claim document
You can turn cleaned images into a PDF with Image to PDF. If VIN evidence needs to be combined with inspection forms, title scans, or claim files, PDF Merge can bring the pieces into one review packet.
The order matters. Put the context image before the close crop. That lets reviewers understand where the close image came from. Put the OCR text near the image rather than buried at the end. If a person has to scroll between image and text, errors are easier to miss.
File Naming That Reduces Search Errors
File names are often overlooked, but they affect how quickly teams can find records later. A VIN-only file name can be useful, but it creates risk if the VIN has not been verified. A better temporary naming pattern separates intake status from confirmed identity.
Useful examples:
- intake-0421-unit-18-vin-photo-original.jpg
- intake-0421-unit-18-vin-crop-review.jpg
- intake-0421-unit-18-vin-ocr-unverified.txt
- intake-0421-unit-18-final-packet.pdf
After verification, a confirmed VIN can be added to the final packet name if that matches the team's record policy. Avoid naming an unverified file with the OCR output alone. If the OCR is wrong, the file becomes harder to find and easier to misfile.
For larger fleets, include a date, unit number, or intake reference before the VIN. Those values are easier to confirm quickly and help avoid duplicate names when multiple photos are captured for the same vehicle.
Handling Privacy and Evidence Concerns
VINs are visible on vehicles, but they still deserve careful handling inside business records. A VIN can connect to ownership, insurance, accident history, service events, and location-based intake activity. Teams should treat VIN packets as operational records, not casual images.
Good habits include:
- Keep original photos in a restricted intake folder.
- Share only the needed packet with external reviewers.
- Remove unrelated photos from final PDFs.
- Avoid including faces, license plates, badges, or customer documents unless required.
- Use consistent retention rules for source images and edited copies.
If an image includes unrelated sensitive content, crop it out when it is not needed. If the surrounding photo is important evidence, keep the original separately and use the cropped version for OCR and daily handling.
AI editing can also be useful for general image cleanup, but it should be used cautiously for evidence images. A tool such as AI Photo Editor is better suited for non-evidentiary presentation fixes or background cleanup where altering the scene is acceptable. For VIN proof, avoid edits that replace, invent, or materially change the label content.
Common Mistakes in VIN OCR Cleanup
The same errors appear again and again in fleet intake folders. Most are easy to prevent with a short standard.
Mistake 1: Compressing Before Review
Compression saves space, but it can damage small text. If a VIN photo is compressed before OCR, the characters may develop blocky edges. Always preserve the original and create a cleaned OCR copy before making smaller sharing versions.
Mistake 2: Cropping Away Evidence Context
A close crop is useful, but a crop alone may not prove where the photo came from. Pair every close VIN crop with a wider context image when the record may be reviewed by someone outside the capture team.
Mistake 3: Trusting Valid-Looking OCR
A 17-character result can still be wrong. OCR may produce a plausible VIN-shaped string. Verification is still required, especially when the image includes glare or weak characters.
Mistake 4: Editing the Only Copy
Never overwrite the source photo. Keep the original, the cleaned image, the OCR text, and the final packet as separate assets or clearly versioned files.
Mistake 5: Ignoring the Edges
The first and last characters are frequently weak because the photographer centers the image on the middle of the VIN. Check both ends during capture and review.
A Small Team Standard You Can Adopt
A lightweight standard is enough for most intake teams. It should be simple enough that field staff actually follow it.
Use this version as a starting point:
- Capture one context photo and one close VIN photo.
- Keep the original files unchanged.
- Crop and straighten a copy for OCR.
- Run OCR and compare the output character by character.
- Confirm the VIN against a second record when available.
- Save the cleaned image, OCR text, and source image together.
- Package important cases as searchable PDFs.
- Flag uncertainty instead of filling gaps by guesswork.
This standard can fit into existing intake routines without slowing the team down. The key is consistency. When every packet uses the same capture, cleanup, verification, and packaging pattern, later review becomes much faster.
Final Review Before Sending the Packet
Before a VIN packet leaves the intake team, do one final pass. It should take less than a minute.
Check the following:
- The final VIN has 17 characters.
- The image clearly shows every character used in the typed value.
- The original photo is still available.
- The close crop does not cut off the first or last character.
- The packet includes enough context to identify the source location.
- The PDF pages are in a sensible order.
- The file name does not depend on unverified OCR text.
- Any uncertainty is noted for review.
This final review catches the errors that automation cannot. OCR is useful, but fleet records need a human-readable evidence trail.
Closing Thoughts
VIN plate photo OCR is a narrow task, but it has an outsized effect on fleet record quality. A cleaner image can prevent wrong searches, duplicate intake records, title delays, claim confusion, and avoidable back-and-forth between departments.
The practical system is simple: capture both context and close images, clean a copy without damaging evidence, run OCR, verify the result, and package the record so another person can audit it later. With a few consistent habits and the right lightweight tools, VIN photos become dependable intake assets instead of fragile phone snapshots.