Guitar Setup Measurement Photo Sheets: A Practical Guide for Repair Shops
Build consistent guitar setup photo sheets that document neck relief, string action, pickup height, and hardware condition without specialized reporting software.
Guitar Setup Measurement Photo Sheets: A Practical Guide for Repair Shops
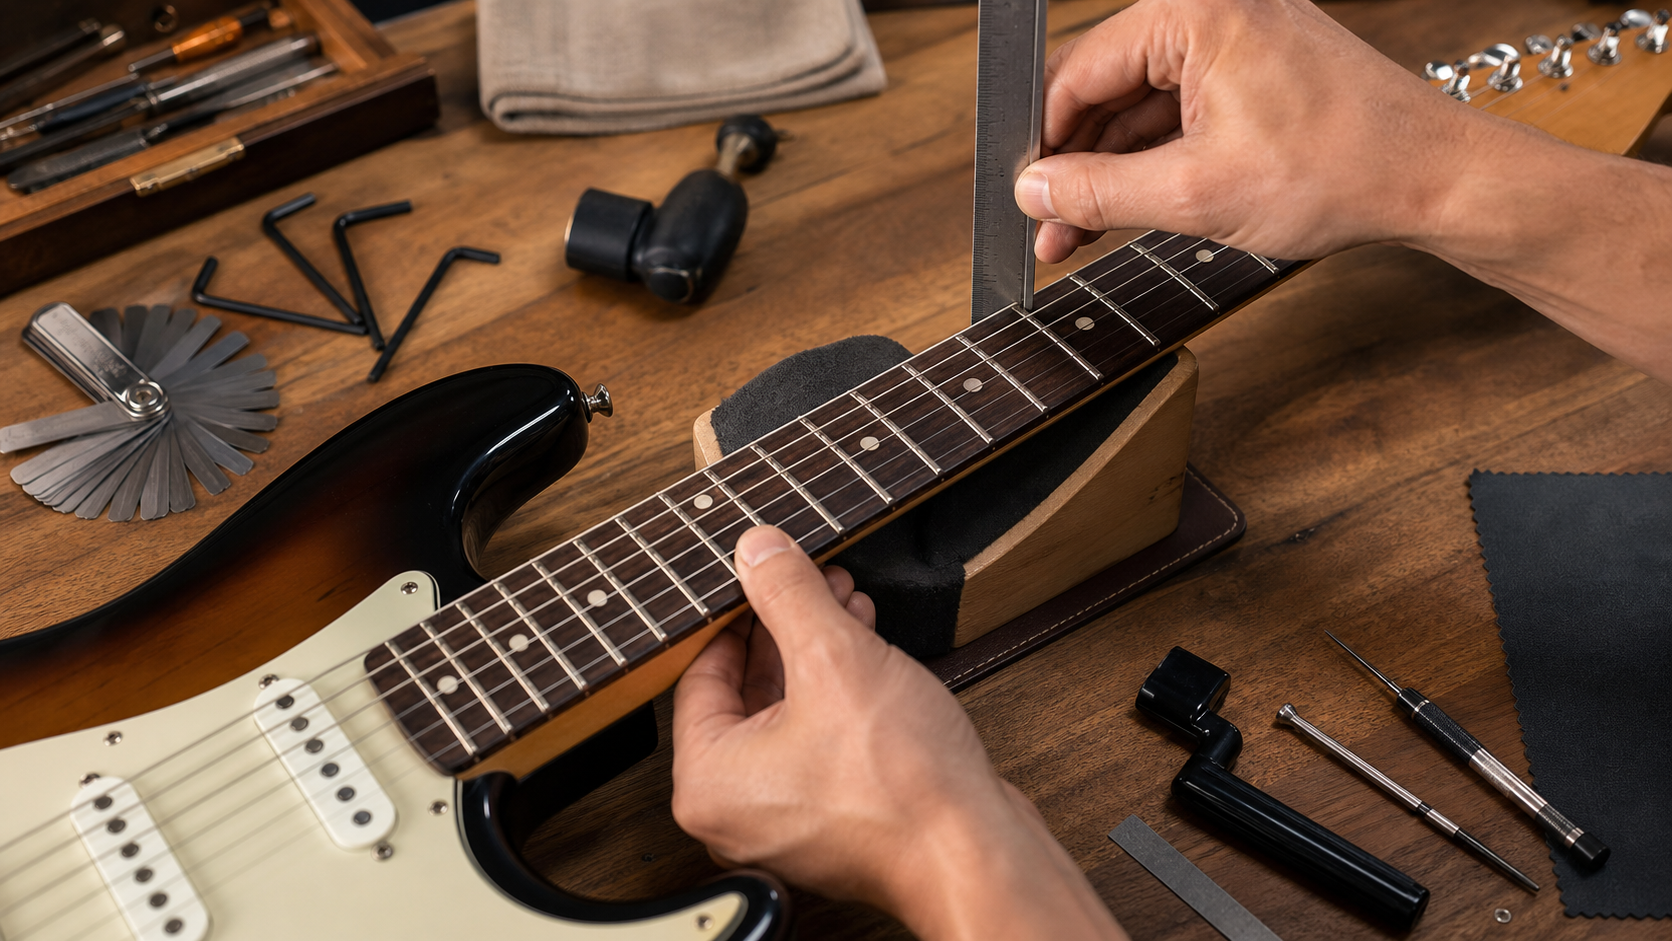
A guitar can leave a repair bench playing perfectly and return several weeks later with a complaint that is difficult to evaluate: the action feels higher, a string buzz has appeared, or the pickups no longer seem balanced. Written measurements help, but they rarely capture the entire condition of the instrument. A compact photo sheet can show where a measurement was taken, how the tool was positioned, and what the surrounding hardware looked like at the time.
This is especially useful for independent luthiers, mobile technicians, small music stores, and builders who do not use dedicated repair-management software. The goal is not to turn every setup into a product photo shoot. It is to create a small, consistent visual record that can be reviewed quickly and exported as a practical PDF.
A useful setup sheet usually documents four things:
- The instrument and its identifying features
- The measuring method and reference point
- The result visible on the measuring tool
- Any condition that could affect future readings
The challenge is that guitar measurements involve tiny gaps, reflective strings, dark fingerboards, curved surfaces, and tools with fine markings. A casual phone photo often records the ruler but not the actual relationship between the ruler, fret, and string. The following system is designed to prevent that ambiguity.
Decide What the Photo Sheet Must Prove
Before taking pictures, decide why the record is being made. A full intake survey, a routine setup record, and a single-issue repair do not need the same coverage.
| Record type | Essential views | Useful additions | Typical purpose |
|---|---|---|---|
| Basic setup | Full instrument, relief, bass action, treble action | Pickup height, bridge overview | Internal service history |
| Customer approval | Full instrument, problem area, completed repair | Before-and-after pairs | Explaining visible work |
| Buzz investigation | Relief, action at several frets, saddle positions | Fret rocker or straightedge placement | Tracking an intermittent issue |
| Vintage instrument intake | Front, back, serial area, hardware, existing damage | Case and accessories | Condition documentation |
| Shipping handoff | Full instrument, headstock, neck joint, packed case | Box condition | Establishing pre-shipment condition |
A setup sheet should not imply more precision than the photograph supports. If glare obscures half a ruler division, the image is contextual evidence rather than an exact reading. Record the numerical result separately in a caption, filename, service note, or small data table.
Use consistent units throughout one record. Mixing millimeters with sixty-fourths of an inch makes comparisons slower and increases transcription mistakes. If a customer prefers another unit, provide a conversion in the written notes without changing the measurement standard used at the bench.
Prepare the Bench Before the Instrument Arrives
Consistency starts with the background. A crowded bench makes small tools difficult to see and can accidentally expose another customer's instrument, paperwork, address label, or serial number.
Use a plain repair mat in a medium neutral color. Pure black can swallow dark fingerboard edges, while bright white can cause a phone to underexpose rosewood, ebony, and black hardware. Gray, muted blue, or desaturated green usually provides enough separation without dominating the frame.
Keep a small photography kit at the bench:
- A clean steel action ruler with high-contrast markings
- Feeler gauges without oily fingerprints
- A capo appropriate for the instrument
- A microfiber cloth for reflective hardware
- Two diffused lamps or one lamp and a white reflector card
- A phone support, compact tripod, or clamp
- A neutral card that can be placed behind dark measurement areas
- Removable markers for repeating camera positions
Clean the measuring surfaces, not the entire instrument, unless cleaning is part of the authorized service. Dust on a pickup ring may be relevant intake evidence. A fingerprint across the ruler, however, only makes the reading harder to verify.
Tune the instrument, confirm the intended string gauge, and allow it to settle in the shop environment before recording final setup measurements. Note any factor that makes the reading temporary, such as a broken string, unusually low humidity, a loose neck joint, or hardware that has not yet been brought to pitch.
Build a Repeatable Measurement Shot List
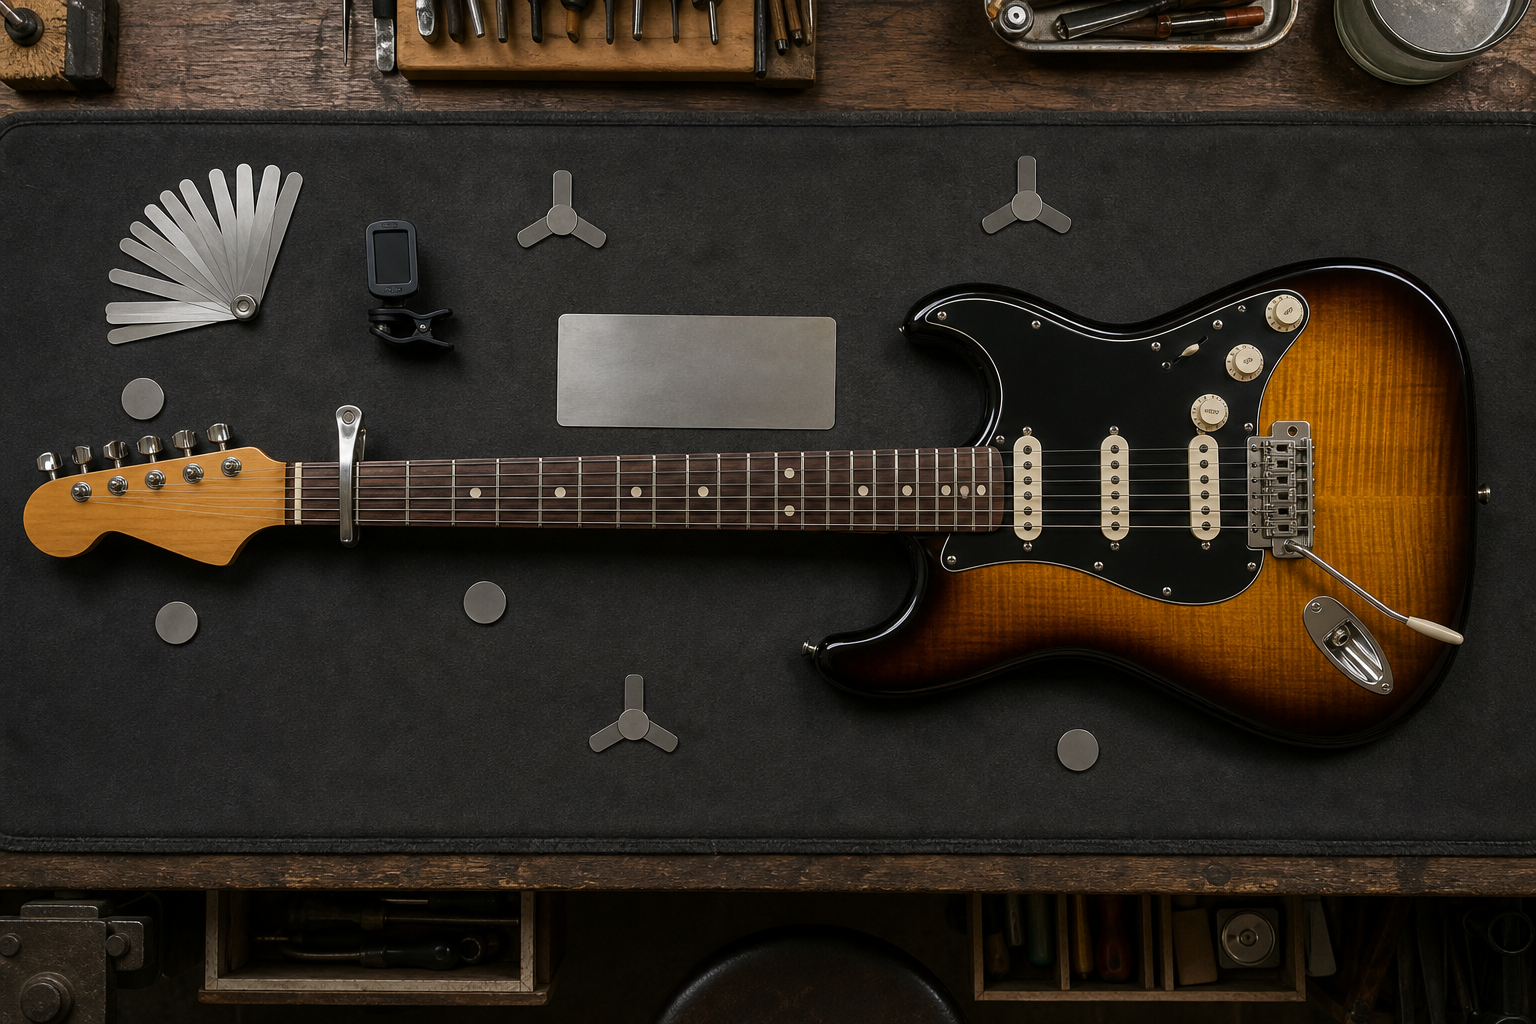
A short shot list prevents missing the one image that matters after the instrument has been collected. Keep the order stable so that two service records can be compared without hunting through unrelated photographs.
1. Instrument identity view
Photograph the full front of the guitar with the entire outline visible. Add a headstock or identifying-detail view when needed. Serial numbers can be useful internally, but consider whether they should appear in a customer-facing or publicly shared copy.
For instruments without reliable serial numbers, photograph a stable combination of features: bridge type, pickup configuration, finish, control layout, and distinctive wear. Avoid relying on a removable strap, sticker, or case tag as the sole identifier.
2. Neck relief view
Relief is difficult to communicate in a photograph because the gap is extremely small. Capture the full measurement arrangement first: capo position, the fret at which the string is held, and the approximate gauge location. Then capture a closer image showing the selected feeler gauge between the string and fret.
Do not stage a feeler gauge in a different location merely because it photographs better. The value of the image comes from showing the actual method used by the shop.
3. String action views
Take separate bass-side and treble-side photographs at the shop's standard reference fret. Many technicians use the twelfth fret, while others use the seventeenth. Either can be valid; inconsistency is the real problem.
Position the ruler perpendicular to the fret tops and close to the relevant string. Include enough surrounding frets to prove the location. A macro image that shows only a string and ruler can look precise while concealing that it was taken at the wrong fret.
4. Pickup height views
Photograph pickup height with the required string fretted if that is part of your method. Include the pole piece or pickup cover, string, measuring tool, and enough fingerboard to show that the string is being held.
Use separate images for the bass and treble sides when the values differ significantly. Angled overview photos are useful for pickup condition, but a level side view is better evidence of a small vertical gap.
5. Bridge and saddle overview
A bridge overview records more than the action value. It can show saddle travel, radius, screw exposure, leaning posts, corrosion, and whether one saddle is near the limit of adjustment. Take this image square to the bridge so that perspective does not exaggerate the position of the outer saddles.
6. Condition exceptions
Add close views of anything that could change the setup or explain a limitation: lifting bridge hardware, a cracked nut, deep fret wear, a twisted neck, a loose truss-rod nut, damaged saddle screws, or an unusually shallow break angle.
A useful exception image has three levels of context: one wider view locating the area, one close view showing the issue, and a written note stating why it matters.
Photograph Tiny Gaps Without Hiding the Evidence
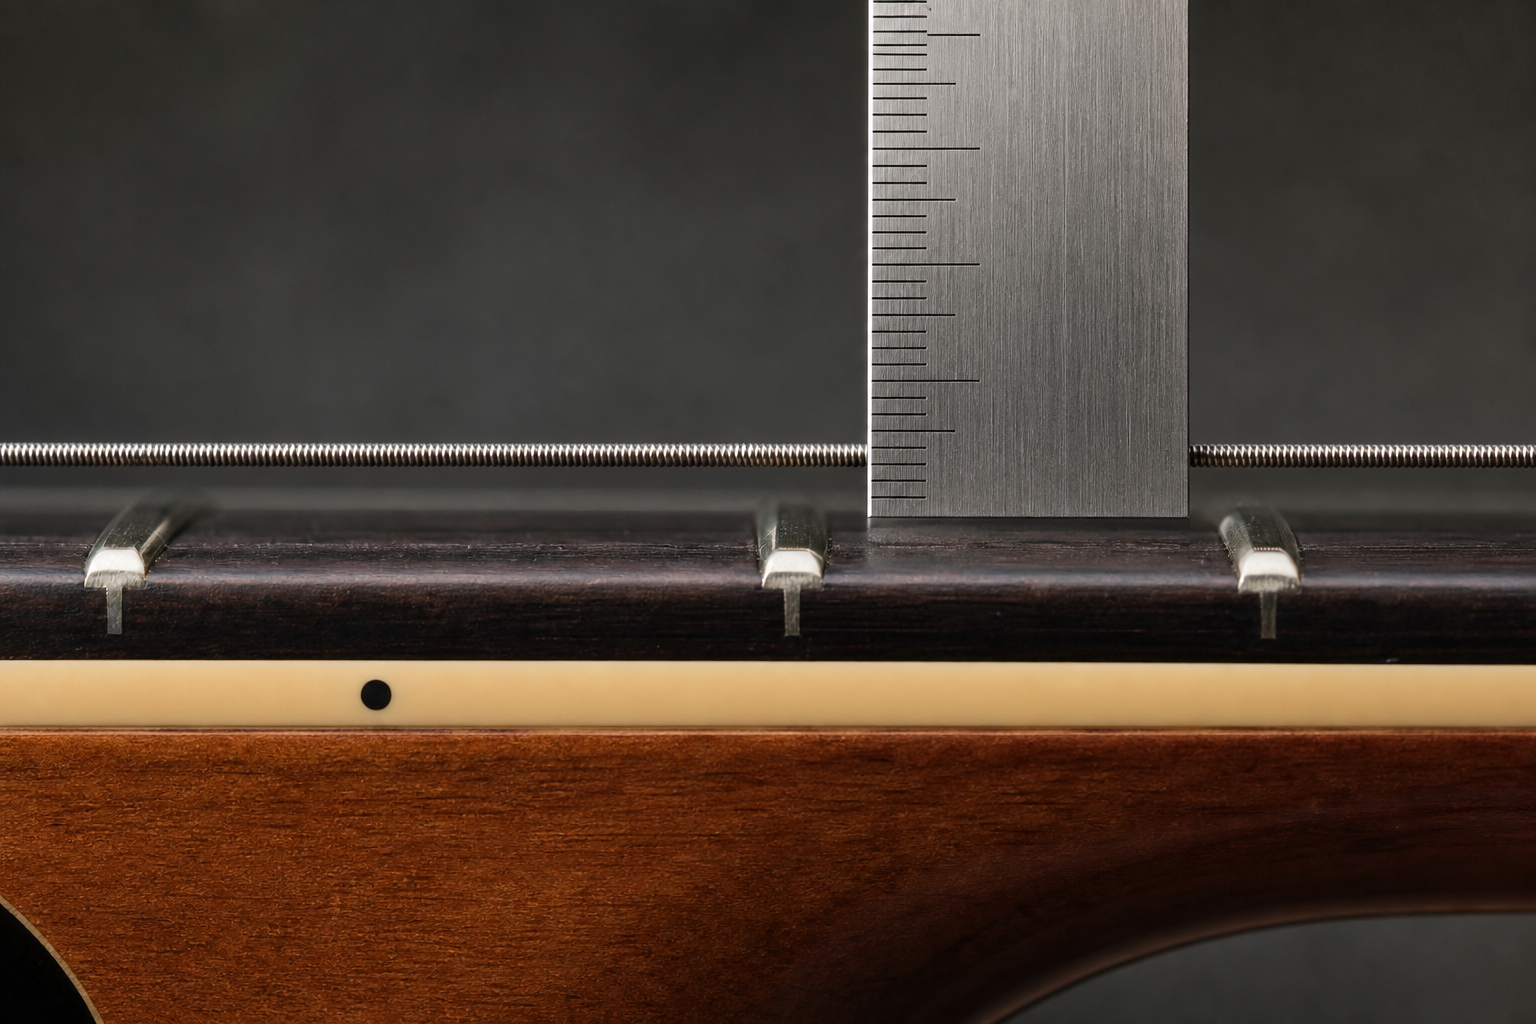
The most common measurement-photo error is parallax. If the camera sits above or below the measurement plane, the string appears to align with a different ruler mark. Move the lens until it is level with the fret top and perpendicular to the ruler face. Do not correct a badly angled measurement photograph by rotating or skewing it later; that changes the appearance without restoring the missing viewpoint.
Phone cameras may switch lenses automatically at close range. The change can alter perspective, focus distance, and image quality. Test the camera before using it for customer records. In many cases, stepping back slightly and cropping a sharp photograph produces a clearer result than pushing the phone into its closest macro range.
Tap to focus on the boundary that matters: usually the bottom of the string and the adjacent ruler markings. Lock focus and exposure if the camera application permits it. This prevents the phone from brightening and darkening the frame as a reflective string moves through the focus area.
Use soft light from the side rather than a direct flash. Direct flash creates a bright stripe on wound strings and can erase etched ruler markings. Two lamps placed at opposing angles can reduce deep shadows, but avoid creating two competing reflections across chrome hardware.
When a dark string, fingerboard, and background merge, place a small neutral card behind the measurement area. Keep it far enough away that it cannot touch the string or affect the reading.
A quick image-quality check
Before moving the ruler, zoom into the captured photograph and confirm all five points:
- The correct fret or reference location is visible
- The tool contacts the intended surface
- The relevant edge of the string is sharp
- The neighboring scale marks can be distinguished
- No finger is bending the string or pushing the ruler
Retake the image immediately if any point is uncertain. A second photograph costs seconds; recreating the setup after pickup may be impossible.
Crop and Resize Without Removing Context
Measurement photographs often contain large areas of empty bench. Cropping improves readability, but aggressive cropping can remove the evidence needed to interpret the reading.
Keep at least one wider frame for each measurement type. In the close crop, retain the string, the full relevant section of the ruler, the fret crown, and nearby landmarks. For bridge images, preserve the complete saddle and its adjustment screws.
A practical page does not require full camera resolution. Oversized images make PDF records slow to open and harder to email. After preserving the originals, use the image resizer to create consistent publication copies. A long edge around 1600 to 2200 pixels is generally ample for page layouts and screen review, although unusually fine markings may justify a larger version.
Do not enlarge a soft source image and expect more measurement detail. Resizing can standardize dimensions, but it cannot recover focus or eliminate parallax.
Use one aspect ratio for repeated measurement panels where possible. A set of similarly shaped images aligns cleanly in a two-column layout. Full-instrument and vertical headstock photos can remain exceptions rather than forcing every image into an unsuitable crop.
Edit for Legibility, Not Cosmetic Perfection
A setup record is technical documentation. Edits should make existing evidence easier to inspect, not change the instrument's apparent condition.
Reasonable adjustments include:
- Correcting a mild color cast from workshop lighting
- Raising overall exposure enough to reveal fret and string edges
- Applying restrained contrast to ruler markings
- Cropping distracting empty space
- Rotating the complete frame to make the ruler easier to inspect
- Redacting customer information in a sharing copy
Avoid erasing scratches, cloning over corrosion, reshaping reflections, or using generative tools on measurement boundaries. Even an innocent cosmetic correction can undermine confidence in a before-and-after comparison.
If an image needs local exposure correction, preserve the original and label the edited copy clearly. The AI photo editor can help with general visual cleanup, but measurement edges, damage, fret wear, and hardware positions should remain untouched. For technical evidence, a conservative adjustment is preferable to a polished but ambiguous image.
Use OCR Carefully Around Rulers and Serial Numbers
OCR can save time when an intake photograph includes a printed model label, case tag, or service card. It is less reliable for ruler scales, engraved serial numbers, curved headstock stamps, and reflective metal.
Use image OCR as a transcription aid, then compare every extracted identifier with the source photograph. Common confusions include 0 and O, 1 and I, 5 and S, or 8 and B. Stamped digits can also disappear under glare or finish checking.
Never derive a string-action value by asking OCR to interpret ruler markings. The meaningful boundary is the physical alignment between the string and scale, not merely the characters detected in the image. Enter measurement values manually and have the photograph serve as supporting context.
For sensitive records, create two versions:
- A private master containing complete identifiers and original images
- A sharing copy with personal information and unnecessary serial details removed
This separation is safer than repeatedly editing the only copy of the record.
Assemble a Compact Image-to-PDF Record
A two- or three-page PDF is usually easier to review than a folder containing fifteen loosely named images. Arrange the information in the order a technician or customer is likely to need it.
Page 1: identity and summary
Include the full instrument image, service date, instrument identifier, string specification, tuning, and a concise measurement table. State whether values are intake readings, final readings, or both.
Page 2: measurement evidence
Use paired panels for relief, bass action, treble action, and pickup height. Put the written value beside the image instead of embedding it permanently into the photograph. That keeps the original evidence reusable and makes corrections easier.
Page 3: exceptions and completed work
Include condition details, replaced parts, bridge limitations, fret wear, or other observations that require context. When showing before-and-after images, match the angle and crop as closely as practical and label the states unambiguously.
Once the page images are ready, the image-to-PDF tool can combine them into a single handoff file. If intake, repair, and final-condition sections were exported separately, use PDF merge to place them in the intended order.
Check the finished PDF at normal viewing size and at high zoom. Normal size reveals layout problems; high zoom confirms that ruler markings and string edges survived export. Also verify page orientation, image order, redactions, and filenames before sending the document.
Name Files So Records Remain Searchable
A predictable filename is more useful than a clever one. Avoid names such as IMG_4821-final-final.jpg, which provide no clue about the instrument or view.
A compact pattern is:
YYYY-MM-DD_jobID_stage_subject_side_sequence.ext
Examples include:
2026-07-14_1842_intake_full-front_01.jpg2026-07-14_1842_final_action-bass-12th_02.jpg2026-07-14_1842_final_bridge-overview_03.jpg2026-07-14_1842_report_setup-record.pdf
Use a shop job number instead of the customer's name in filenames. This reduces accidental disclosure when a file is attached to a message or uploaded to shared storage.
Keep originals, edited publication copies, and final reports in separate folders. Do not overwrite camera originals after cropping or redaction. Storage is inexpensive compared with the cost of losing the only untouched intake evidence.
Apply a Final Handoff Checklist
Before closing the job, inspect the record as if another technician had to understand it without asking questions.
Measurement consistency
- Tuning and string specification are recorded
- The same unit system is used throughout
- Reference frets are stated
- Intake and final values are clearly distinguished
- Measurement methods match the shop's standard
Image integrity
- Identity images belong to the correct instrument
- Close views retain enough location context
- Rulers and feeler gauges are sharp
- No hand pressure appears to alter a reading
- Edited images have not changed technical boundaries
- Original files remain available
Privacy and delivery
- Customer paperwork is outside the frame or redacted
- The sharing copy contains only necessary identifiers
- PDF pages are in the correct order
- Images remain legible at ordinary zoom
- The filename includes the job number and date
- The final document opens on both desktop and mobile devices
Treat the Sheet as a Service Record, Not a Photoshoot
The best guitar setup photo sheet is not the most elaborate one. It is the one that another person can interpret months later. It shows where each reading came from, preserves relevant instrument condition, and separates measured facts from visual estimates.
Start with a modest standard: one identity image, one relief pair, two action views, two pickup-height views, a bridge overview, and any necessary exception photographs. Repeat the same camera positions and naming pattern for each instrument. Once that habit is established, creating a clear PDF record adds only a few minutes to a setup while giving the shop a far stronger basis for comparison, customer communication, and future service.