Library Shelf Label Photo OCR for Collection Move Audits
A practical guide to photographing, cleaning, and extracting library shelf labels so collection moves produce searchable records, clear exceptions, and useful PDF evidence.
Library Shelf Label Photo OCR for Collection Move Audits
A collection move can turn a tidy classification system into thousands of small, fragile decisions. A shelf range may be emptied in the morning, rolled through a temporary staging area, and refilled in a different room before the end of the day. If a sequence breaks, the team needs more than a memory of where the books were. It needs a reliable record of the shelf label, the surrounding context, the time of capture, and any exception noted during handling.
Photographing shelf-end labels seems like an easy answer. In practice, those photographs often contain glare from plastic holders, tiny call numbers, handwritten amendments, shadows from book spines, and distracting signs in the background. Optical character recognition can then produce plausible but incorrect results: QA76.73 becomes OA76.13, a range-ending number disappears, or a handwritten suffix is silently omitted.
This guide presents a practical system for creating searchable shelf-label records without treating OCR as an unquestionable source. It is intended for library moves, archive relocations, inventory projects, off-site storage transfers, and smaller shelf-reading audits.
Decide what the record must prove
Start by defining the purpose of the photographs. A picture made only for OCR is different from evidence showing where a label was installed. Trying to make one image serve every purpose usually creates a weak compromise.
A useful move-audit record may need to establish:
- The exact text displayed on a shelf label.
- The physical shelf, bay, range, or aisle where it appeared.
- Whether the label was printed, handwritten, damaged, or temporarily amended.
- The relationship between the label and the books beside it.
- The capture sequence and responsible move unit.
- Whether a person reviewed uncertain OCR output.
Turn those needs into a short specification before photography begins. For example, a small project might require one contextual image and one close image for every shelf end. A larger move might photograph only range starts, range ends, and exceptions. Neither policy is universally correct; the important point is to apply the chosen level consistently.
| Audit goal | Minimum useful capture | Main risk |
|---|---|---|
| Confirm shelf order | Close label plus adjacent spines | Missing contextual boundary |
| Document a room before a move | Wide range image plus shelf-end close-ups | Labels too small in wide images |
| Reconcile an exception | Label, affected books, temporary location card | Evidence captured after items moved |
| Create a searchable inventory aid | Square, sharp close image for each label | OCR accepted without review |
| Support contractor handover | Context, identifier card, and exception notes | File names lose their meaning |
Do not photograph borrower records, staff notes, computer screens, or other personal information merely because they happen to be nearby. Adjust the frame or temporarily cover unrelated material according to institutional policy.
Design identifiers before taking photographs
The most dependable identifier is one that remains meaningful even when a file is copied outside its original folder. Build it from stable physical units rather than a photographer's memory.
A compact pattern could be:
SITE-FLOOR-AISLE-RANGE-SIDE-SHELF-CAPTURE
A resulting identifier might represent the north side of range 14, shelf 3, and its close label image. Keep the vocabulary controlled: choose N and S, for example, rather than mixing North, NORTH, and N.
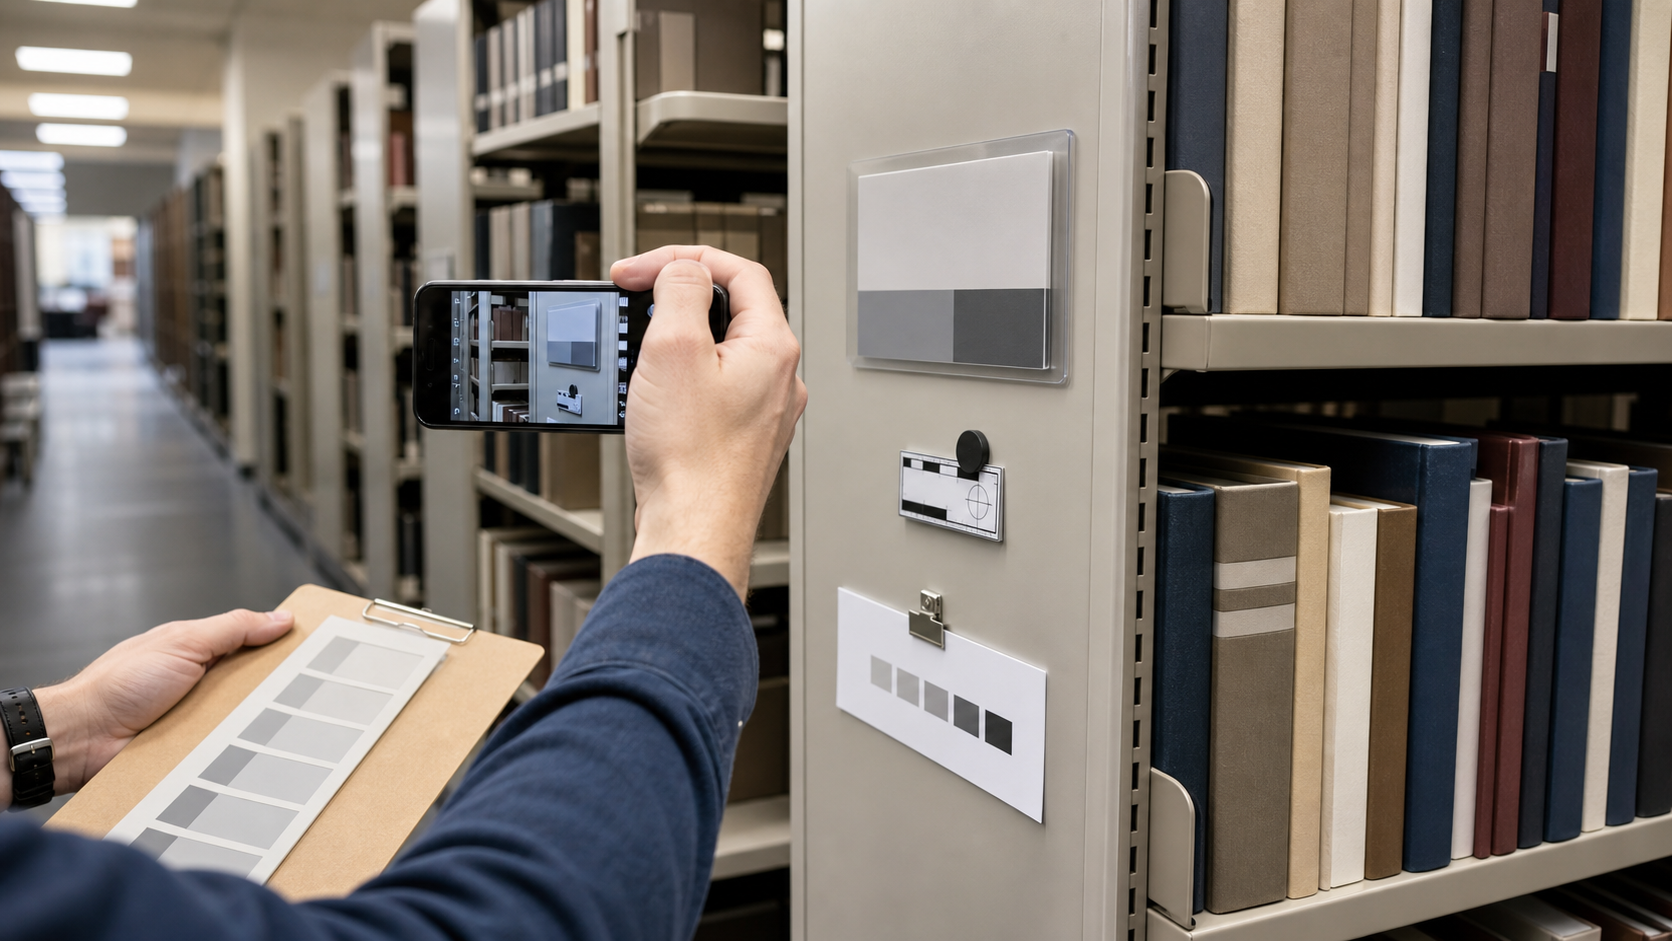
Use an identifier card in the first contextual photograph of each unit. The card should be removable, large enough to read visually, and positioned beside the subject rather than over it. Avoid relying on a QR code alone. A damaged or blurred code offers no human-readable fallback.
Before the main capture session, test whether identifiers remain unique when:
- A range has shelves on both sides.
- Two rooms use the same aisle numbering.
- A shelf is missing or intentionally left empty.
- A temporary staging rack is added.
- A label must be photographed again.
- Multiple photographers work simultaneously.
For retakes, preserve the original identifier and append a revision marker such as R2. Do not delete the earlier file until the replacement has passed review; the original may contain context absent from the sharper image.
Build a repeatable shelf-label photo station
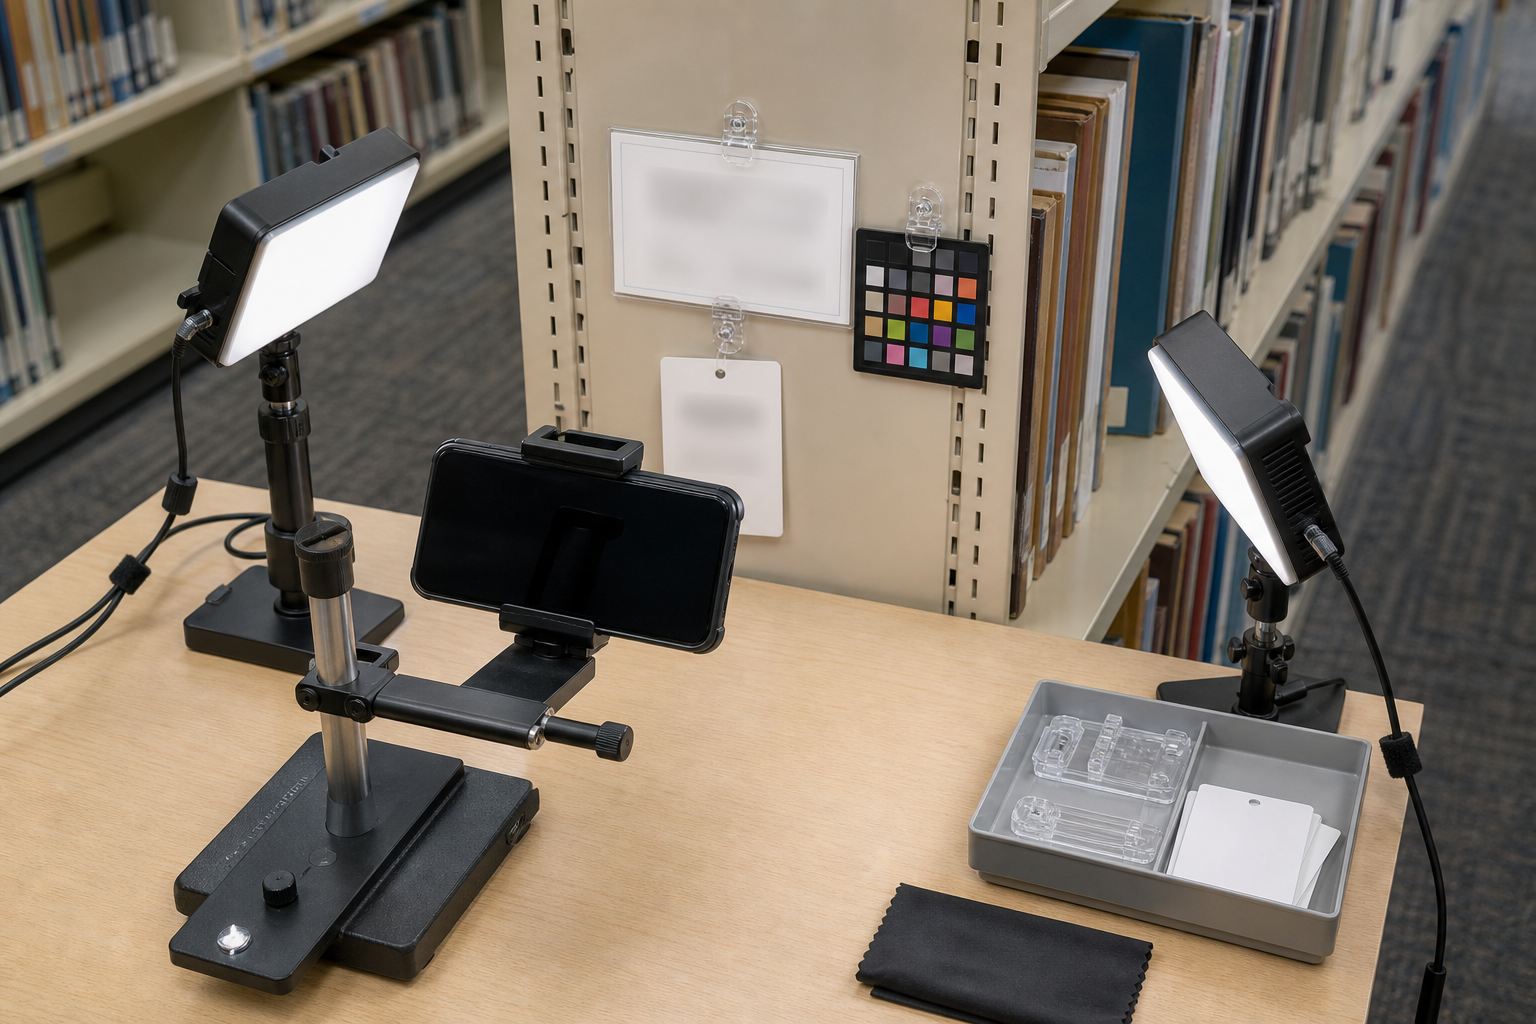
Shelf labels are often glossy, curved, or mounted inside scratched plastic. Direct light from a phone or camera creates a bright reflection precisely where the smallest characters appear. A simple capture setup can reduce that problem dramatically.
Position the camera so its sensor is parallel to the label. If the left side of the label appears larger than the right, the camera is angled and the characters will be distorted. Move the camera rather than relying on heavy perspective correction later.
Use soft ambient light or two diffused lights placed at opposing angles. Switch off direct flash unless testing proves it is necessary. If ceiling fixtures cause a strong reflection, change the camera height slightly while keeping it parallel to the label. A small polarizing filter can help with some surfaces, but it should not become a substitute for good positioning.
Stabilize the camera with a compact tripod, monopod, or shelf-safe support where permitted. Handheld capture can still work, but photographers should brace their arms and pause after tapping the shutter. Clean the lens regularly; a fingerprint can soften fine print across an entire morning's batch.
Capture at the camera's normal optical setting when possible. Digital zoom discards detail and exaggerates movement. Move closer instead, leaving a narrow margin around the label so the crop can be corrected later.
Run a pilot on the most difficult labels, not the cleanest ones. Include faded thermal labels, glossy sleeves, pencil changes, colored classification tape, and labels partly hidden by book spines. Review the files at full size on a larger screen. A photo that looks sharp on a phone may still blur punctuation critical to a call number.
Use a short capture sequence
A consistent sequence reduces omissions:
- Photograph the range or bay with its identifier card visible.
- Capture the entire shelf end and nearby books.
- Capture the label closely and squarely.
- Photograph any handwritten change or damage separately.
- Mark the unit complete in the move log.
If the label is behind a removable cover, photograph it in its found condition first. Only then open or remove the cover if authorized. That order preserves evidence of what staff and patrons could actually see.
Separate OCR images from evidence images
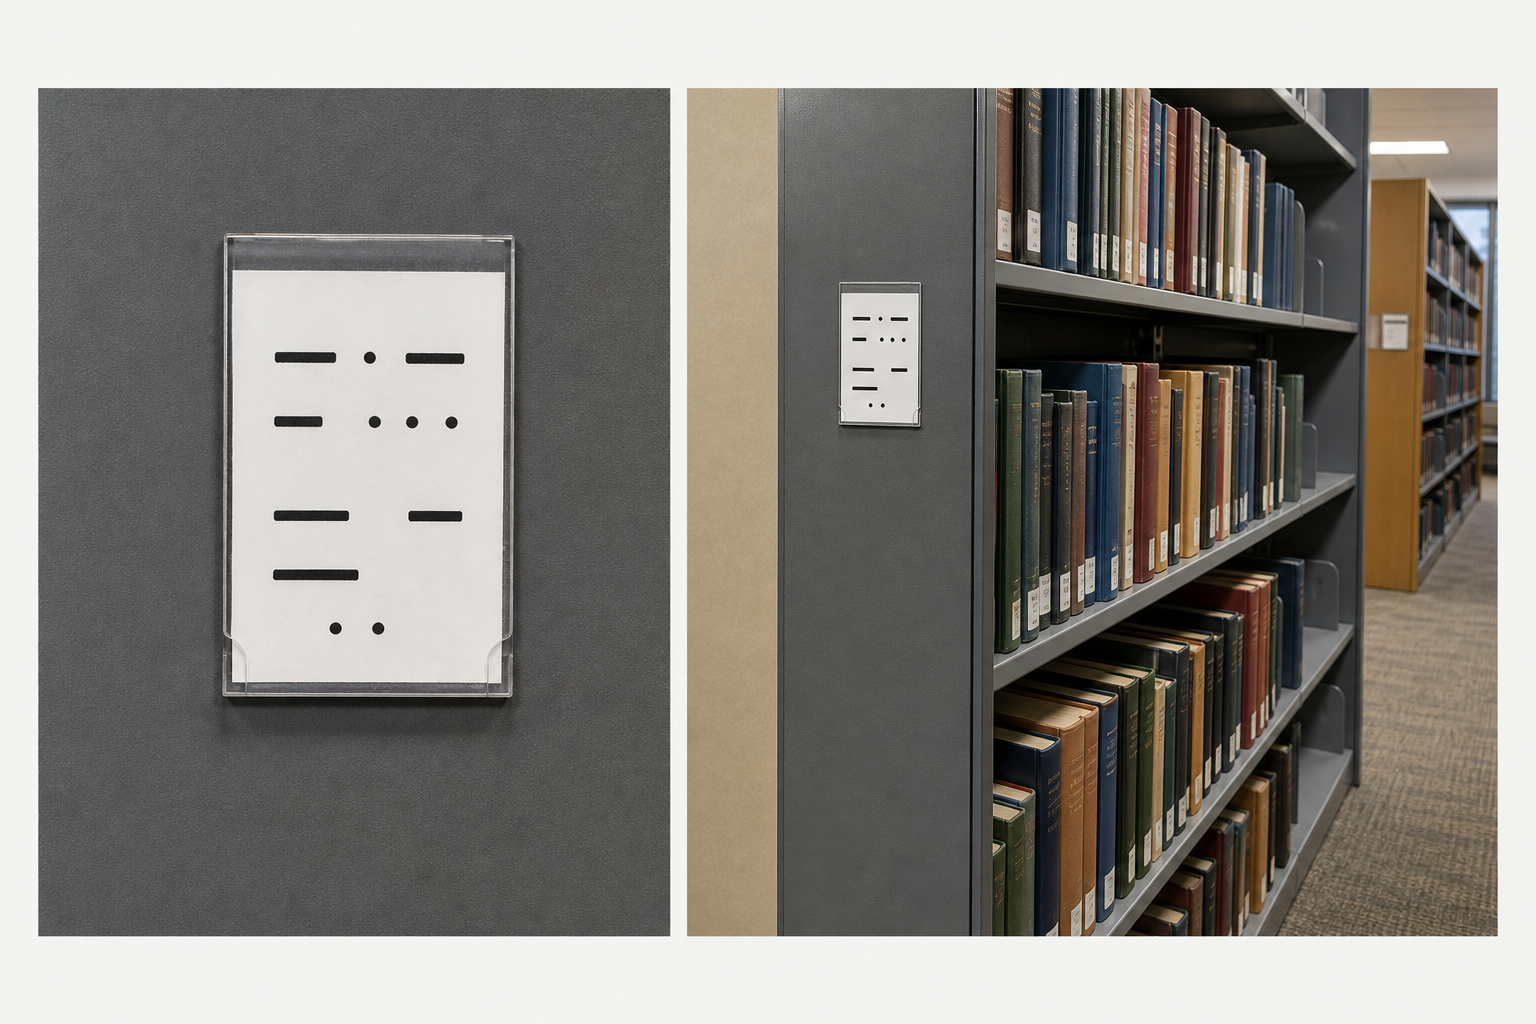
Keep a preservation-quality original and derive separate files for recognition and reporting. This protects the evidence from aggressive edits while allowing the OCR copy to be optimized.
The contextual image should show location: shelf edge, nearby spines, range marker, and enough surrounding structure to orient a reviewer. The OCR image should concentrate on the label. Crop away book jackets, colored tape, bolts, shadows, and neighboring signs that could be mistaken for characters.
A sensible derivative set is:
original: untouched capture at the camera's native dimensions.context: lightly corrected image showing the label in place.ocr: close crop with controlled contrast and orientation.report: compressed version suitable for a PDF or shared review folder.
Use the image resizing tool only on derivatives. Enlargement cannot restore missing focus, but a moderately enlarged crop can make manual review easier and may help some recognition engines segment small characters. Preserve aspect ratio and avoid repeated resizing, which compounds softness.
If a system requires a different format, make one conversion from the best available source with the image converter. PNG is useful for sharply rendered labels and edited monochrome copies; high-quality JPEG may be more efficient for contextual photographs. The format matters less than avoiding repeated lossy saves.
Clean the label without changing its meaning
The objective of cleanup is legibility, not cosmetic perfection. Every edit should make existing information easier to inspect without inventing strokes or hiding ambiguity.
Begin with rotation and perspective. A label that is almost horizontal should be straightened before cropping tightly. Correct obvious keystone distortion, but check that narrow characters such as 1, I, and l have not been stretched into misleading shapes.
Next, adjust tonal range conservatively. Raise contrast enough to separate characters from paper, but retain faint pencil marks and gray punctuation. Pure black-and-white thresholding can erase decimal points, hyphens, and thin handwritten suffixes. Keep a grayscale version whenever thresholding is tested.
Color can carry evidence. A red temporary amendment, yellow routing sticker, or blue pencil note may be meaningful even when the main label is monochrome. Do not discard the color original simply because grayscale performs better in OCR.
For unusually difficult photographs, the AI photo editor may help with localized cleanup or distracting background elements, but use it cautiously. Generative editing is unsuitable for reconstructing unreadable call numbers because a visually plausible replacement is not documentary evidence. Restrict edits to areas outside the informational label, retain the original, and record any material intervention.
Avoid destructive cleanup mistakes
Stop and request a retake when:
- Focus blur joins neighboring characters.
- Glare completely covers part of the label.
- A finger, book, or card blocks information.
- Compression creates blocks around punctuation.
- The camera crop excludes a range boundary.
- Handwriting cannot be distinguished from stains or scratches.
No sharpening setting can reliably recover characters that were never captured. Mark the record as unreadable or partial rather than guessing.
Run OCR as transcription assistance
OCR should propose text, not certify it. Library labels are especially difficult because they combine short lines, punctuation, abbreviations, decimals, and classification patterns that recognition systems may try to normalize.
Process the close derivatives with an image OCR tool, then retain both the raw output and a reviewed transcription. Never overwrite raw output with corrected text; preserving both makes later error analysis possible.
Create fields that separate observation from interpretation:
| Field | Example purpose |
|---|---|
| Image identifier | Connects the row to its photographs |
| Raw OCR | Preserves the machine result |
| Reviewed transcription | Records exactly what a reviewer sees |
| Normalized range | Optional structured form used for sorting |
| Confidence status | Accepted, uncertain, partial, or unreadable |
| Exception note | Explains damage, obstruction, or mismatch |
| Reviewer and date | Supports accountability |
The reviewed transcription should reproduce visible content, including apparent errors on the physical label. Put corrected or normalized classification data in a separate field. Otherwise, a well-intentioned correction can erase evidence of why books were shelved incorrectly.
Review characters that commonly collide
Build a project-specific confusion list during the pilot. Typical collisions include:
0andO.1, uppercaseI, and lowercasel.5andS.8andB.2andZ.- Decimal points and dust.
- Hyphens and scratches.
- Slashes and the edge of a plastic holder.
Reviewers should compare the OCR result with the image at full resolution. They should also check the range logic, but not let expected logic overrule visible evidence. If the preceding shelf ends at 499 and OCR reads the next start as 800, that is a reason to inspect the photograph—not permission to change 800 into 500.
For high-risk transfers, use independent double review on range starts, range ends, and all uncertain records. Lower-risk projects may sample accepted records while reviewing every flagged exception.
Package photographs into useful audit sets
A directory containing thousands of camera files is not yet an audit product. Organize derivatives by site and physical unit, and keep the inventory table at the level where it can be backed up and exchanged safely.
A practical folder structure might separate originals, OCR derivatives, reviewed reports, and exceptions. Use the same identifier in file names and table rows. Avoid depending on folder position alone; files are frequently downloaded, emailed, or moved into a document system.
For each aisle or move batch, create a compact visual report containing:
- A cover record with site, area, capture date, and batch identifier.
- Contextual images in physical sequence.
- Close label images beneath or beside their reviewed transcription.
- Clearly marked exception pages.
- A final sign-off record or unresolved-items list.
The image-to-PDF tool can assemble ordered report images into a portable review copy. Use it for access and handover, not as the sole archive. Individual originals and the structured transcription remain easier to inspect, replace, and reuse.
Before distribution, compress only the report copies with the image compression tool. Inspect small punctuation after compression, especially decimal points and thin call-number cutters. A smaller file is counterproductive if reviewers must request the originals for every label.
Audit the batch before shelves move again
Quality control is most valuable while a retake is still possible. Run the first audit after a small capture batch, then repeat it at predictable intervals rather than waiting until the end of the project.
Check completeness by comparing expected physical units with identifiers received. Check sequence by sorting records according to the move map, not merely by camera timestamp. Check image quality at full size, and verify that each contextual photograph points to the correct close label image.
Use a sampling plan for accepted records and a full review for exceptions. A compact batch checklist should ask:
- Is every expected range represented?
- Are side and shelf identifiers unambiguous?
- Does each close image have a contextual partner?
- Are originals untouched and backed up?
- Can punctuation be inspected at full size?
- Is raw OCR preserved separately from reviewed text?
- Are corrections traceable to a reviewer?
- Are unreadable labels explicitly flagged?
- Does the PDF follow the physical shelf sequence?
- Have unrelated personal or confidential details been excluded?
Track error types rather than recording only pass or fail. If glare causes most failures, change the lighting. If identifiers are missing, improve the capture sequence. If OCR consistently confuses a particular label font, update the review checklist and stop spending time on ineffective image filters.
Handle exceptions without breaking the sequence
Collection moves produce anomalies: duplicate labels, labels that disagree with books, empty shelves, handwritten temporary ranges, and items already placed in transit boxes. Give these cases a defined path so they do not disappear into chat messages or personal notebooks.
Photograph the exception in place, assign the normal physical identifier, and add an exception code. Capture the label, relevant book spines, and any temporary move card. Do not silently rename a file to the range you believe should have been present.
A useful exception record states what was observed, what action was taken, who authorized it, and whether follow-up remains open. Keep vocabulary factual. “Label reads 620–629; first visible book begins 630” is more useful than “wrong shelf.”
When an exception is resolved, preserve its earlier state and add the resolution. The historical record may explain a later sequence question. If a replacement label is installed, photograph both the old label before removal and the new label in place.
Keep the system proportional
Not every shelf-reading project needs two photographs per shelf and dual review. Scale the controls according to the cost of an error, the uniqueness of the material, and the difficulty of returning to the original location.
A small in-room shift may need contextual photographs at range level and close images only for exceptions. A transfer to remote storage may justify complete shelf-end coverage, structured OCR review, and signed batch reports. Rare or tightly sequenced collections may require even stronger controls.
The essential principles remain the same: capture context before it changes, preserve untouched originals, optimize separate copies for recognition, treat OCR as a draft, and make uncertainty visible. With those safeguards, shelf-label photographs become more than a pile of move-day snapshots. They become a searchable, reviewable bridge between the collection's former arrangement and its new location.