Rain-Damaged Field Notes: A Practical Scan Cleanup and Recovery Guide
Recover legible records from damp, wrinkled, or water-stained field notebooks with careful photography, image cleanup, OCR validation, and preservation-ready PDF assembly.
Rain-Damaged Field Notes: A Practical Scan Cleanup and Recovery Guide
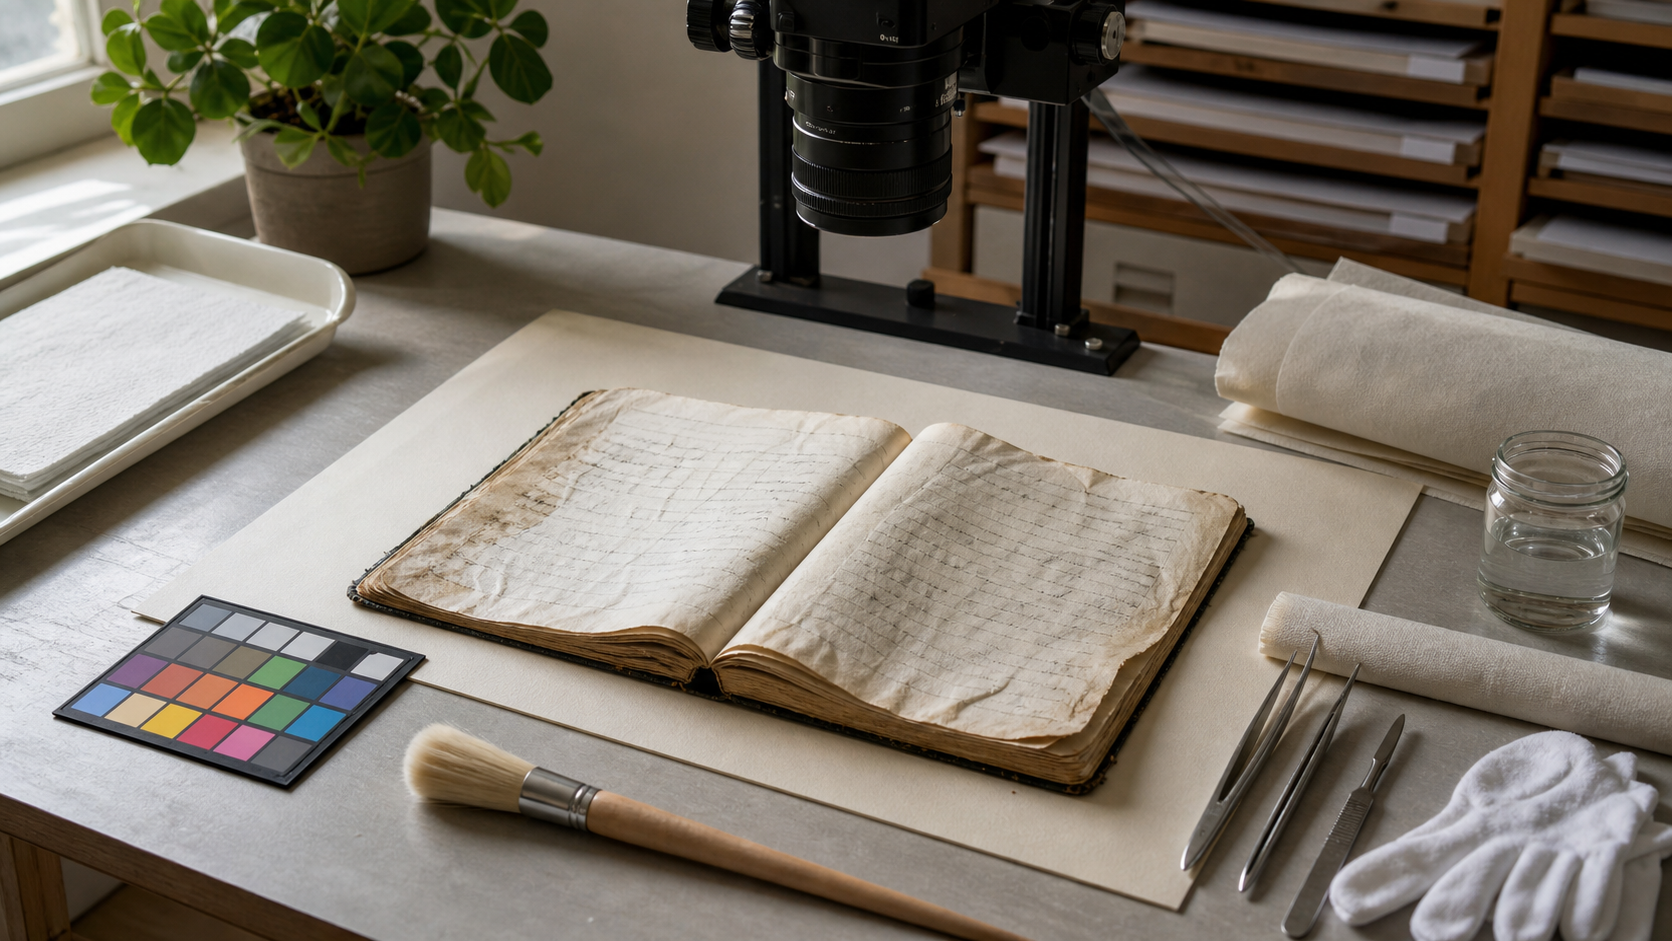
A field notebook can survive an afternoon of rain and still become surprisingly difficult to digitize. Water changes the paper surface, spreads ink, introduces stains, and leaves pages curled into shallow ridges. A straightforward scan may preserve the damage more clearly than the observations.
This is a particular problem for ecologists, survey crews, archaeologists, restoration volunteers, location scouts, and anyone whose notes were made outdoors. The notebook may contain coordinates, specimen numbers, measurements, sketches, or abbreviations that do not exist anywhere else. Recovering those details requires more than increasing contrast until the page looks white.
The safest approach separates capture, restoration, transcription, and delivery. You preserve an untouched photographic record first. You then make controlled derivatives for reading and OCR, verify important characters against the source, and assemble a PDF that keeps the relationship between every page clear.
This guide covers that process for damp, dried, wrinkled, stained, or partially blurred field notes. It is intended for information recovery rather than physical paper conservation. If a notebook is still wet, moldy, stuck together, historically valuable, or contaminated by floodwater, consult a qualified conservator before flattening or separating it.
Triage the Notebook Before You Capture Anything
Do not begin by forcing the book flat. Dried paper can become brittle along folds, while coated pages may adhere to one another. Even an ordinary bound notebook can lose writing when softened ink transfers to the facing page.
Start with a visual assessment under gentle light. Record the notebook cover, binding, page edges, and any numbering system. Note which pages are loose, stuck, torn, or written in water-soluble ink. If pages already have handwritten numbers, use those identifiers throughout the project rather than silently replacing them.
Create three condition groups:
| Condition | Typical signs | Recommended action |
|---|---|---|
| Stable and dry | Pages turn normally; no active odor or surface growth | Photograph with minimal restraint |
| Distorted but stable | Cockling, curled corners, tide marks, dry staining | Photograph carefully; make reading derivatives later |
| Unstable or hazardous | Dampness, active mold, blocked pages, flaking media, flood contamination | Isolate and seek professional advice |
Mold deserves particular caution. Do not brush, blow, or scan visibly moldy pages on shared office equipment. Besides the health issue, pressure from a flatbed lid can embed debris and transfer it to later documents.
Before continuing, create a simple capture log with the notebook identifier, date, operator, camera or scanner, and expected page range. This small record becomes valuable when a page is discovered out of order months later.
Decide Between a Camera and a Flatbed Scanner
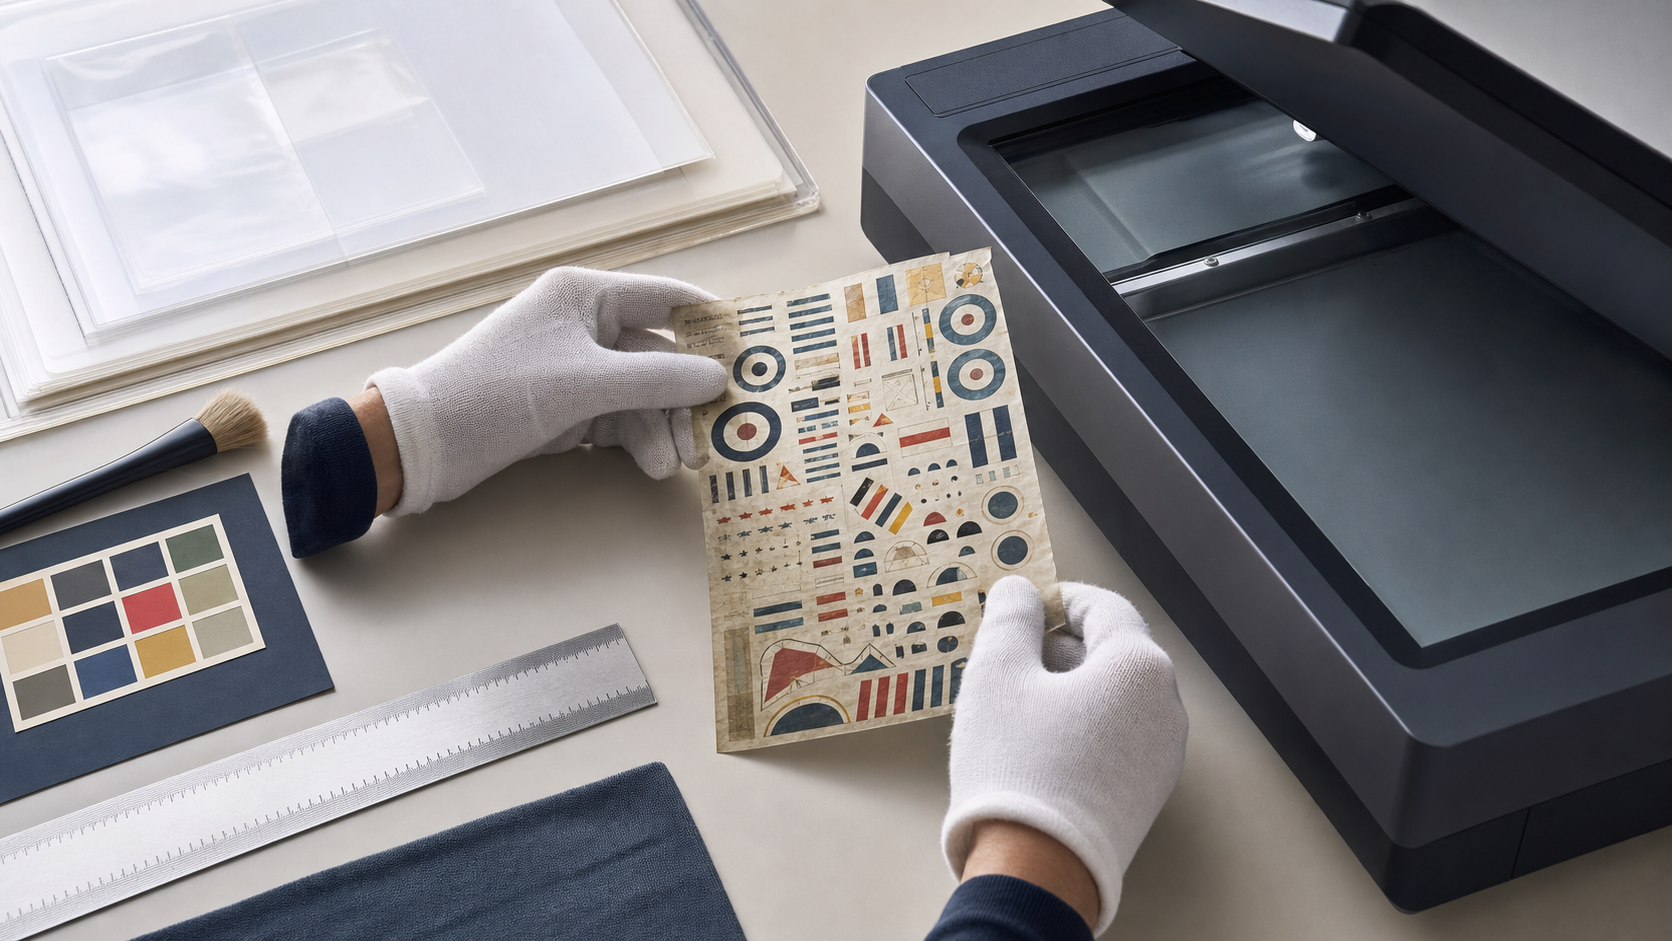
A flatbed scanner is excellent for flat, stable sheets. It provides even illumination, predictable geometry, and repeatable resolution. A water-damaged bound notebook, however, is rarely flat. Pressing it against glass can strain the binding, crush raised fibers, or move loose fragments.
An overhead camera is usually the safer choice when pages are wrinkled or the notebook cannot open comfortably to 180 degrees. It also lets you adjust the light to reduce shadows cast by paper ridges.
Use a scanner when:
- The page is completely dry and structurally sound.
- The sheet can rest on the glass without force.
- The writing extends close to the gutter but the page can still lie naturally.
- You can disable aggressive automatic enhancement.
Use a camera when:
- The notebook is bound, curled, or fragile.
- Page height varies because of cockling.
- Pressure could worsen tears or ink transfer.
- You need to change the lighting direction between captures.
For a camera capture, resolution should be driven by the smallest meaningful detail. Tiny pencil marks, decimal points, degree symbols, and distinctions such as 1 versus 7 matter more than an arbitrary megapixel target. Fill most of the frame while retaining a narrow margin around the page. Check focus at the center and all four corners.
Photograph Wrinkled Pages Without Creating New Shadows
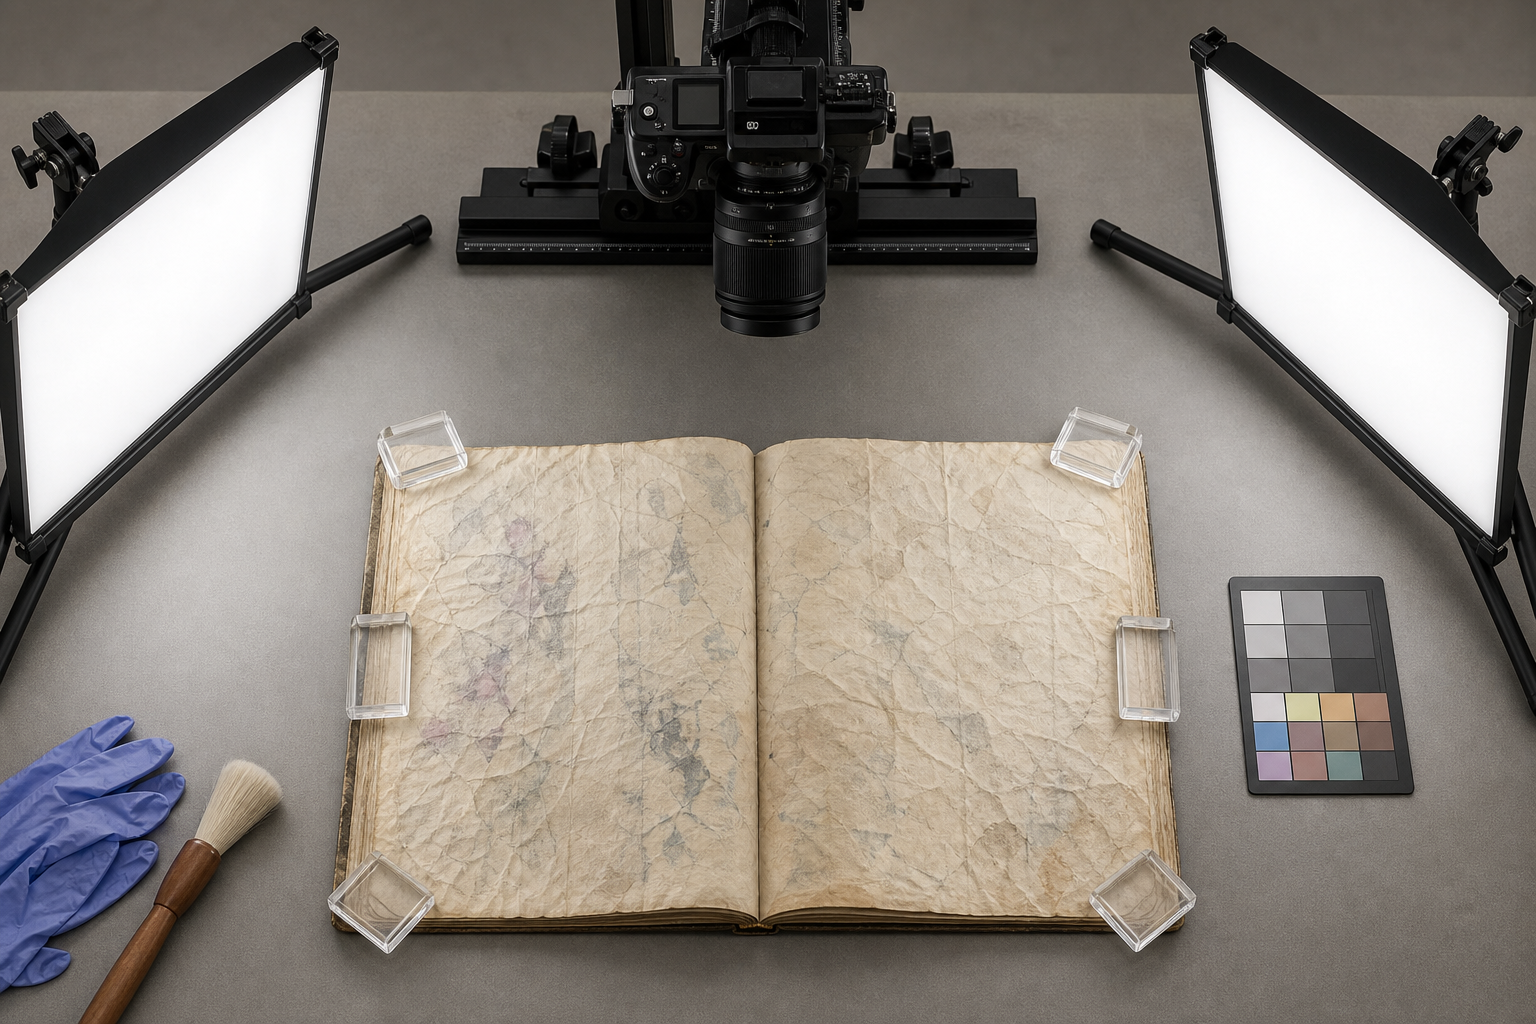
Wrinkles introduce two connected problems: geometric distortion and uneven light. A ridge may cast a shadow that resembles a pencil stroke, while its opposite side catches extra light and makes real writing disappear.
Mount the camera parallel to the general plane of the page. A copy stand is ideal, but a stable overhead arm can work. Avoid handheld capture unless the notebook cannot be moved; small changes in angle make page-to-page comparison and later cropping harder.
Place two diffused lights on opposite sides of the notebook. Begin at roughly equal height and distance, then inspect the page for shadow bands. Moving the lights higher reduces ridge shadows, although it can increase reflections from glossy or damp-looking surfaces. Keep the room lights controlled so their color does not contaminate the page.
A neutral gray or color reference card in the first image of each lighting session provides a useful correction target. It does not need to appear beside every page if the setup remains unchanged.
If the paper is stable enough, use clean, smooth weights only at blank margins. Never place a weight over writing, fragile corners, or softened paper. Acrylic sheets may seem convenient, but they can create reflections, trap particles, and apply broad pressure. A page that cannot be held safely should be photographed in its natural shape.
Capture a full-page image before any close-ups. Then photograph important damaged areas at higher magnification. Include some surrounding features in each close-up so it can later be matched to the correct page.
A practical capture checklist is:
- Camera fixed and parallel to the page.
- Lowest sensible ISO selected.
- Aperture provides adequate depth without severe diffraction.
- Focus checked on both flat and raised areas.
- Two-sided diffused lighting tested for ridge shadows.
- Automatic filters, portrait enhancement, and digital zoom disabled.
- Full page, page number, and critical close-ups captured.
- Image reviewed at 100 percent before turning the page.
Preserve a Source Copy Before Editing
The original capture is evidence. Do not crop it destructively, overwrite it with a contrast adjustment, or save repeated JPEG generations over the same file.
Retain the camera original when possible. If the source is a phone image or scanner JPEG, copy it into a read-only source folder before making changes. A sensible naming pattern is:
site-notebook_page-023_source.jpg
site-notebook_page-023_reading.png
site-notebook_page-023_ocr.png
The source version preserves context, color, stains, page edges, and neighboring fragments. The reading version is optimized for a person. The OCR version may use stronger grayscale or threshold treatment that would be unattractive but easier for software to interpret.
This distinction prevents a common archival mistake: presenting a heavily processed image as though it accurately represents the physical page. Enhancement can reveal information, but it can also create false boundaries and suppress light marks.
Correct Geometry Before Chasing Contrast
Perform rotation, perspective correction, and cropping before detailed tonal editing. OCR engines and human readers both benefit from straight baselines, but aggressive dewarping can deform sketches, columns, or measurements.
Start by rotating the image so the dominant lines of writing are level. Do not assume the page edge is square; water distortion may have changed it. For perspective correction, use four points near the original page corners. Keep an uncropped margin until you have checked that no marginal notes or page numbers were removed.
Bound pages often curve into the gutter. A document-flattening feature may help, but inspect every corrected line. Mathematical flattening can stretch characters near the spine or bend a straight transect line into a subtle arc. If the gutter contains critical data, a second photograph from a slightly shifted camera position may recover more than software correction.
For oversized photographs, use Resize Image only after the master is safely stored. Resize a derivative to the actual reading or delivery requirement. Reducing the only copy early can erase faint decimal points and hairline pencil annotations.
Separate Stains From Writing With Controlled Edits
A water stain is usually broad and low frequency; handwriting contains narrower strokes and sharper boundaries. Cleanup should exploit that difference without pretending the page was undamaged.
Begin with global adjustments:
- Correct obvious color cast using the reference card or an unstained paper region.
- Set black and white points conservatively.
- Increase midtone contrast gradually.
- Compare pencil, blue ink, black ink, and red annotations separately.
- Check the source after every major change.
Converting immediately to pure black and white is risky. A pale blue entry and a yellow-brown tide mark may have similar brightness even though their colors differ. Inspect individual color channels first. The blue or red channel may provide stronger separation for a particular ink.
Local contrast can help with faded writing, but large values often produce halos around wrinkles and stains. Apply it at a scale close to the stroke width and verify that paper texture has not turned into counterfeit marks.
For difficult pages, create several derivatives rather than forcing one image to solve every problem:
| Derivative | Treatment | Best use |
|---|---|---|
| Natural reading copy | Mild color and contrast correction | Human review and publication |
| Grayscale copy | Channel mix plus moderate contrast | Pencil and dark ink comparison |
| High-contrast copy | Stronger levels or adaptive threshold | OCR and quick searching |
| Detail crop | Local corrections at full resolution | Ambiguous measurements or identifiers |
The AI Photo Editor can assist with localized cleanup, but generative reconstruction must be treated cautiously around documentary text. Do not ask an editor to recreate missing letters, numbers, map lines, signatures, or specimen codes. Filling a blank background beyond a torn outer edge may be visually harmless; inventing the content of that torn edge is not.
Recover Text With OCR Without Trusting It Blindly
Handwritten field notes are challenging for OCR, especially when they contain abbreviations, mixed languages, scientific names, grid references, or compact tables. Even printed forms filled in by hand can produce convincing errors.
Prepare an OCR-specific image at full useful resolution. Rotate it accurately, reduce broad color variation, and increase separation between writing and paper. Avoid extreme sharpening, which can split a soft stroke into two edges.
Submit the derivative to Image OCR, then keep the recognized text beside the page image rather than treating it as a replacement. OCR is most useful as a draft, search layer, or index-building aid.
Review these characters with special care:
0,O, andD1,7, and uppercaseI2andZ5,6, andS- Decimal points, commas, minus signs, and degree marks
- Compass directions and coordinate prefixes
- Units such as
m,mm,cm, andkm - Specimen, sample, plot, or photograph identifiers
Use context, but do not silently guess. A reading of 12.8 may appear plausible even when the page says 17.8. Mark unresolved characters with a consistent notation such as [unclear] or alternatives in brackets. Keep editorial additions visually distinct from transcribed content.
If a project has repeated terminology, build a small validation list containing site names, personnel, expected units, species names, and identifier patterns. This catches errors without allowing a dictionary to override what the page actually shows.
Validate Numbers and Cross-Page References
Field notebooks often contain internal checks that are more reliable than visual intuition. A page may refer to a photograph number, sample bag, grid square, GPS file, or continuation on the next page.
Create a verification table for critical facts:
| Page | Field | OCR result | Human reading | Supporting record | Status |
|---|---|---|---|---|---|
| 23 | Sample ID | B-108 | B-108 | Bag register | Confirmed |
| 23 | Depth | 17.8 cm | 12.8 or 17.8 cm | Section sketch | Unresolved |
| 24 | Photo | IMG 341 | IMG 347 | Camera sequence | Corrected |
This is especially useful when several people review the material. It separates confirmed corrections from plausible interpretations and prevents the same ambiguity from being debated repeatedly.
Compare totals, sequences, and units. If sample IDs normally increase by one, a sudden jump deserves inspection. If all depths on a form are in centimeters, a lone value read as meters may be an OCR artifact. Cross-check camera timestamps and GPS logs only when clock offsets and time zones are understood.
Never alter the page image to make it agree with an external register. Record the discrepancy. The notebook and the register may each contain independent errors.
Build a Preservation PDF Without Hiding the Originals
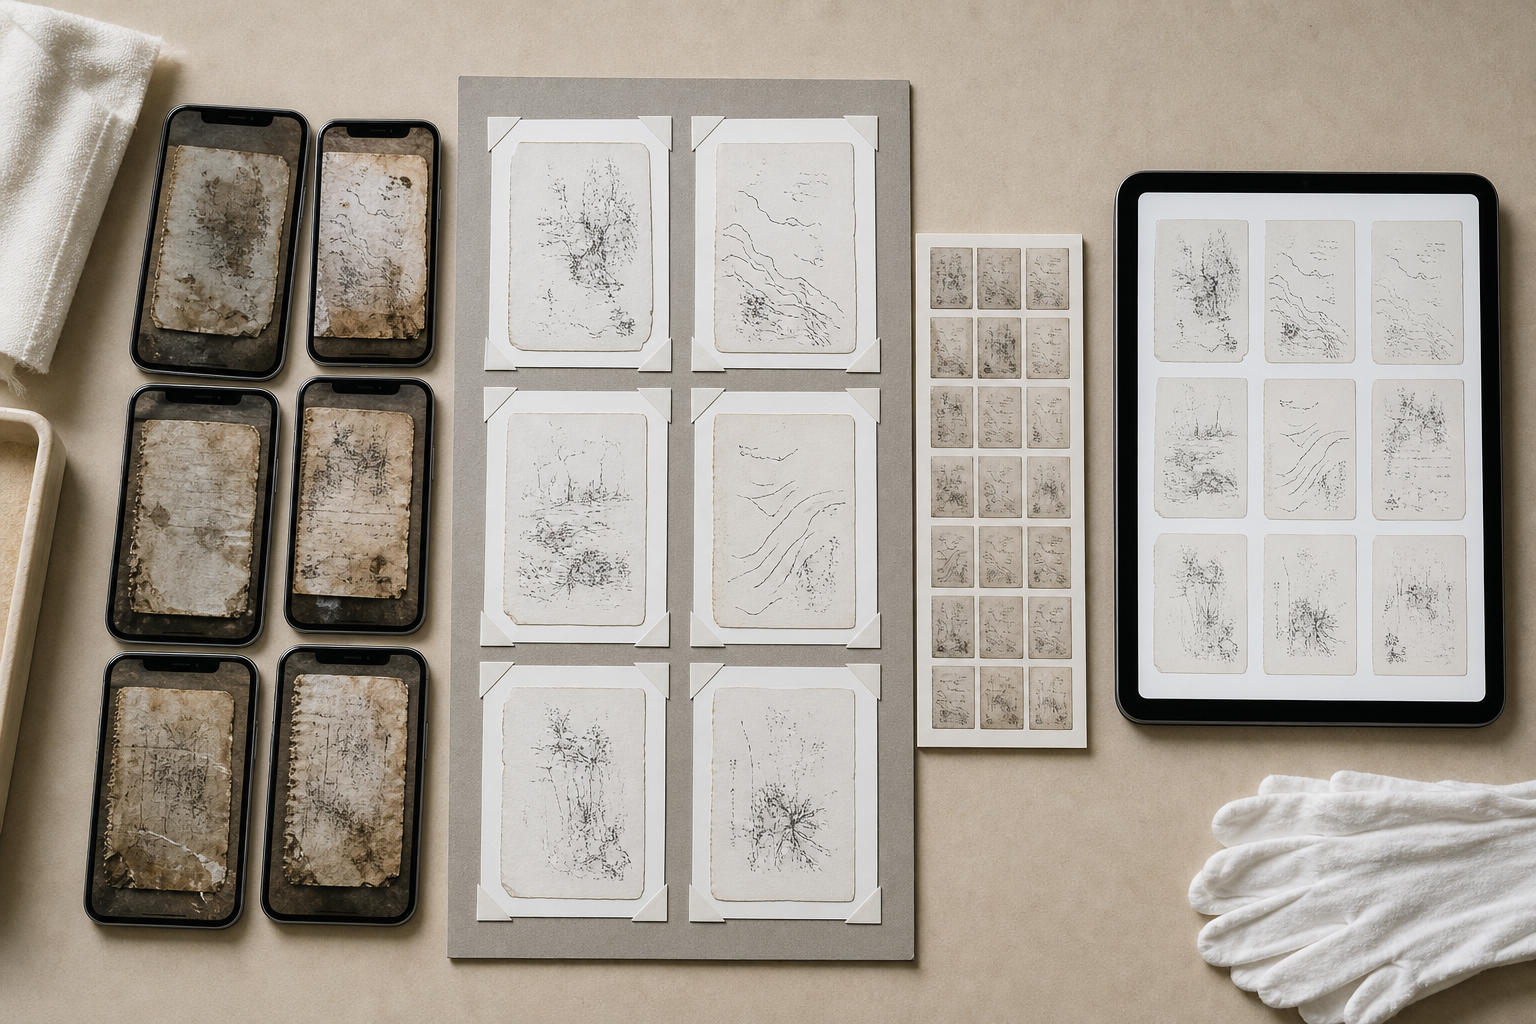
A useful PDF serves readers while retaining access to the evidence. The cleanest structure is often a page sequence in which each original photograph is followed by its reading derivative, or a two-part document containing all originals first and all enhanced copies second.
Choose one arrangement and explain it on a short cover page. Include the notebook identifier, capture date, page range, whether blank pages were retained, and a concise description of the edits. Avoid claims such as “fully restored” when portions remain uncertain.
To assemble page images, first normalize their orientation and canvas size. Do not stretch every page to identical proportions. Add neutral margins where necessary. The Image to PDF tool can combine the ordered images, while PDF Merge is useful when the source pages, transcription, and capture log were prepared as separate PDFs.
Use filenames with zero-padded page numbers before assembly, such as page-003, page-004, and page-005. This avoids the common ordering error in which page-10 appears before page-2.
If the PDF includes searchable OCR text, verify that the invisible text layer corresponds to the correct image. Selecting a line and pasting it into a plain-text editor is a quick test. Search several known sample IDs and also search one term that should not be present; both checks can expose alignment or duplication mistakes.
Compression should be applied last. Test the final document at normal reading zoom and at 200 percent. Fine pencil marks and punctuation should remain distinguishable. If the PDF is too large, compress photographic color pages more than critical detail crops rather than imposing one severe setting across the entire document.
Keep an Audit Trail for Documentary Edits
The audit trail does not need to be elaborate. A plain text or spreadsheet log can record the filename, operation, software or tool, date, and reviewer. The important point is that another person can understand what changed.
Record interventions that affect interpretation, including:
- Channel selection used to reveal faded ink.
- Local contrast or threshold treatment.
- Removal of color cast.
- Geometric flattening or perspective correction.
- Crops that exclude page edges.
- Manually transcribed or corrected OCR text.
- Unresolved readings and missing pages.
Routine file conversion does not require a laboratory report, but it should remain reproducible. If you use Convert Image to create PNG reading copies from another format, note the source format and confirm that metadata or color handling did not change the appearance unexpectedly.
Store the capture log, edit log, transcription, original images, derivatives, and final PDF as separate components. A delivery copy can be convenient and compact; the preservation package should favor clarity and reversibility.
Common Recovery Mistakes
Making the Paper Pure White
Bright white pages may look cleaner, but pushing the white point too far removes faint pencil and light ink. Preserve texture in the reading copy and reserve stronger treatment for OCR derivatives.
Using One Setting for Every Page
Water exposure is uneven. A setting that rescues one brown-stained page may erase writing on the next. Process representative condition groups, then check every page individually.
Removing Stains With Content-Aware Reconstruction
Automated removal can replace marks with plausible paper texture and may also modify nearby characters. Documentary pages need restrained corrections and visible access to the source.
Discarding Blank or Illegible Pages
A blank page can establish sequence, and an illegible page can still contain physical evidence. Retain it and label its condition instead of silently closing the numbering gap.
Treating OCR Confidence as Accuracy
High confidence reflects the recognition model, not historical truth. A neat but incorrect number can receive a stronger score than an honest uncertainty.
Compressing Before Verification
Compression artifacts gather around thin strokes and stained regions. Complete restoration and review at high quality, then produce a separate delivery file.
Final Quality-Control Checklist
Before declaring the notebook complete, verify the package from beginning to end:
- Every physical page has a corresponding source capture or a documented reason for omission.
- Page identifiers and filenames agree.
- Images are upright, consistently ordered, and not accidentally mirrored.
- Original captures remain untouched.
- Enhanced images improve legibility without replacing documentary content.
- Critical numbers, units, coordinates, and identifiers received human review.
- Uncertain readings are marked rather than guessed.
- OCR search results point to the correct pages.
- The PDF opens correctly in more than one viewer.
- Fine writing remains readable after final compression.
- Capture and edit notes accompany the preservation package.
- A second person has sampled several pages when the records support important decisions.
Rain damage does not have to make field notes unusable. The strongest recovery comes from disciplined separation: photograph the object honestly, improve copies conservatively, use OCR as an assistant, and keep uncertainties visible. That approach produces a readable document today without sacrificing the evidence someone may need to reinterpret tomorrow.