E-Ink Display Photo Cleanup for Clear Support and Field Reports
Learn how to photograph, crop, enhance, compress, and archive e-ink display evidence without losing faint status icons, thin characters, device context, or issue details.
E-Ink Display Photo Cleanup for Clear Support and Field Reports
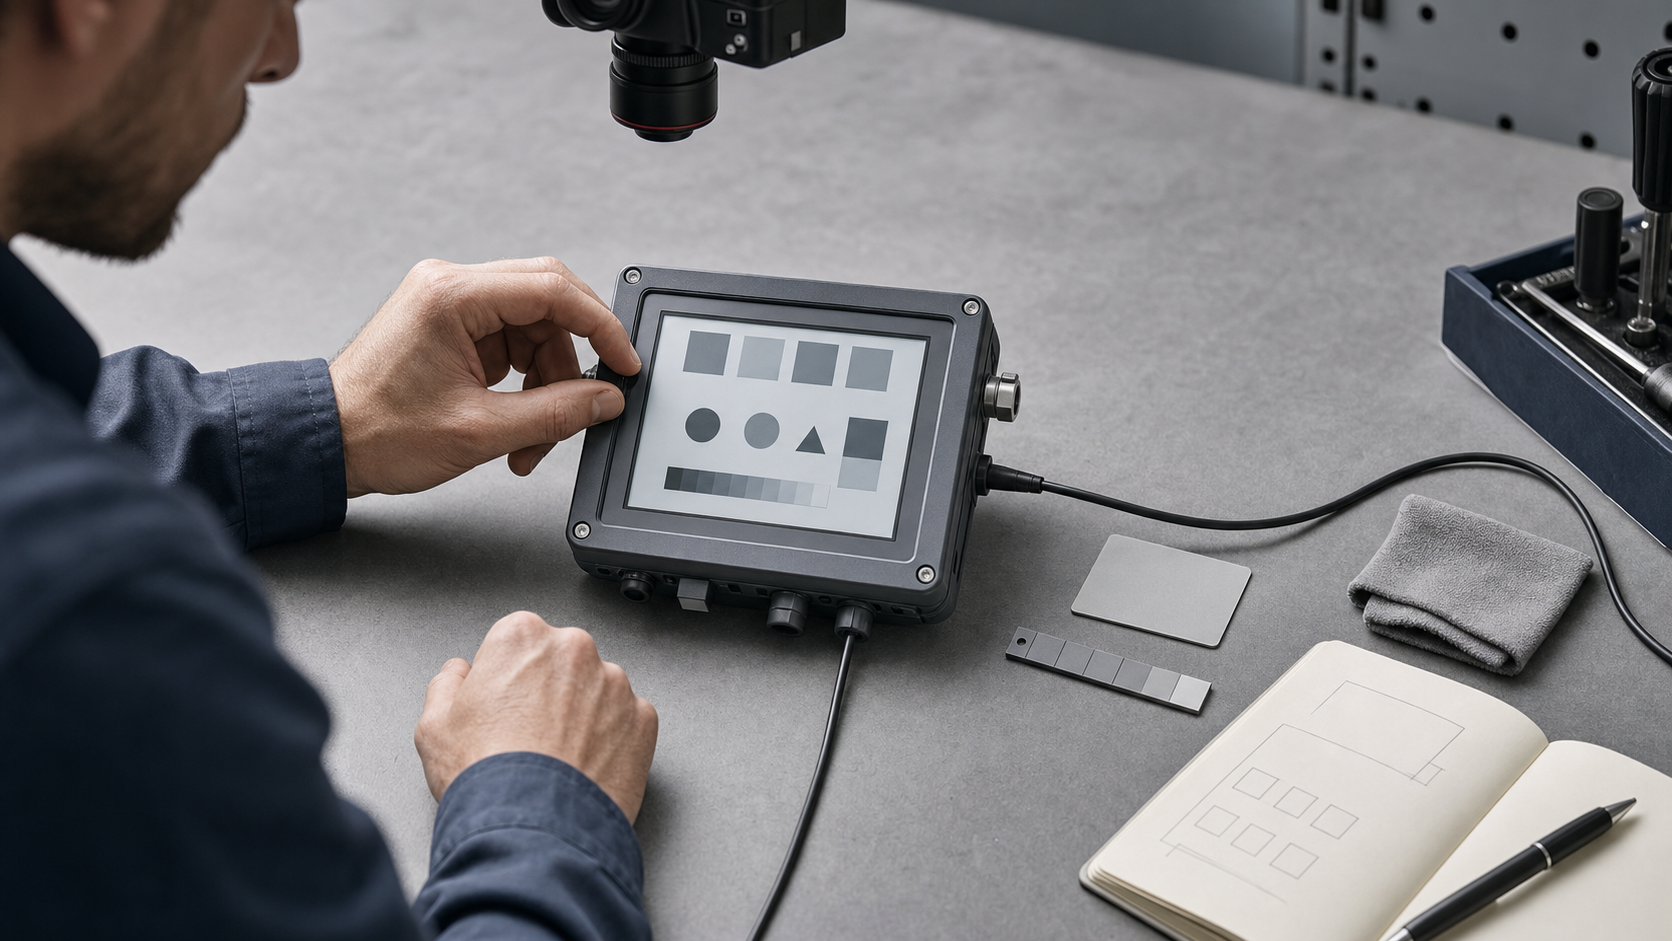
E-ink displays appear in utility meters, shelf labels, environmental sensors, access-control devices, laboratory instruments, handheld readers, and low-power industrial controllers. When one of these devices behaves unexpectedly, a photograph is often the fastest way to preserve the visible state for a support ticket or field report.
Unfortunately, an e-ink screen is unusually easy to document badly. Its background may look gray instead of white. Thin segments can disappear after compression. Old characters may remain as faint ghosts. A glossy protective window can reflect the photographer, while an aggressive enhancement can turn harmless surface texture into apparent damage.
The goal is therefore not to make the display look prettier. It is to create evidence that another person can interpret confidently. A useful image should show the active reading, status symbols, physical controls, device identity when appropriate, and enough surrounding context to explain how the photograph was made.
This guide presents a repeatable method for capturing, cleaning, exporting, and packaging e-ink display photographs without accidentally changing their meaning.
Why E-Ink Screens Need Special Handling
Unlike an illuminated LCD or OLED panel, an e-ink display reflects ambient light. That makes it readable outdoors and energy efficient, but it also means the photograph depends heavily on the direction, softness, and color of the available light.
Several characteristics complicate documentation:
- The background is naturally off-white or light gray and should not automatically be forced to pure white.
- Black characters may contain subtle variations caused by viewing angle, the protective cover, or the display technology itself.
- Partial refresh artifacts can leave remnants of a previous screen state.
- Small icons often use strokes only a few pixels wide in the captured image.
- A transparent cover can introduce glare even though the display underneath is matte.
- Automatic phone processing may sharpen edges, lift shadows, or merge several exposures without announcing it.
These are not merely cosmetic concerns. A faint battery symbol, incomplete digit, warning triangle, or stale menu fragment may be the evidence that explains the fault.
Decide What the Photograph Must Prove
Before touching the camera, write down the question the image must answer. This prevents a common mistake: producing a beautiful close-up that omits the information needed to identify the device or reproduce the condition.
Typical questions include:
- What value did the instrument display at a particular time?
- Was a warning or connectivity icon present?
- Did the display refresh completely after an action?
- Which physical button or selector position accompanied the reading?
- Is the apparent defect in the electronic image, protective cover, or surrounding housing?
- Which unit, serial label, room, shelf, or installation point was involved?
For a support request, the answer may require several photographs rather than one overloaded frame. A context image can identify the installation, a screen image can preserve small characters, and an angled image can reveal scratches or separation in the cover.
Do not rely on a filename to carry essential evidence. Filenames are easily changed during uploads, downloads, and ticket-system processing.
Prepare the Device Without Changing Its State
Clean the viewing window only when doing so will not disturb evidence. Dust, condensation, adhesive residue, and fingerprints can obscure characters, but they may also be relevant to a moisture-ingress or contamination report.
If the physical condition matters, take an untouched photograph first. Then document any cleaning that occurs and capture the clearer display afterward. Keep both files.
Avoid pressing buttons merely to wake, illuminate, or simplify the display. On e-ink hardware, a button press may trigger a refresh and permanently replace the state you intended to record. If activation is necessary, record the initial state before interacting with the unit.
Also check for automatic refresh intervals. Electronic shelf labels, meters, and remote sensors may update on a schedule. A photograph taken before and after a refresh can distinguish persistent display damage from a temporary incomplete update.
Stabilize the Camera and Square the Display
Position the camera so its sensor is as parallel to the display surface as practical. A severely oblique angle compresses one side of the screen, distorts segmented digits, and makes small icons harder to compare.
A tripod is useful, but not mandatory. In the field, brace your wrists against a stable surface, use both hands, or rest the phone against a clean support. Avoid leaning on the device if pressure could alter its installation or controls.
Leave a modest border around the display. Cropping at capture time is risky because it can exclude indicator LEDs, button positions, printed units, or a damaged bezel. Modern cameras usually provide enough resolution to crop later.
Use the main rear camera rather than digital zoom when possible. Move closer until the screen occupies a useful part of the frame, but stop before the camera can no longer focus. Macro mode may help with very small labels, although it can produce shallow depth of field and edge distortion.
Take at least three exposures. Small changes in focus and camera processing are difficult to judge on a phone screen, and an extra frame costs far less than a return visit.
Control Reflections Without Erasing the Screen Texture
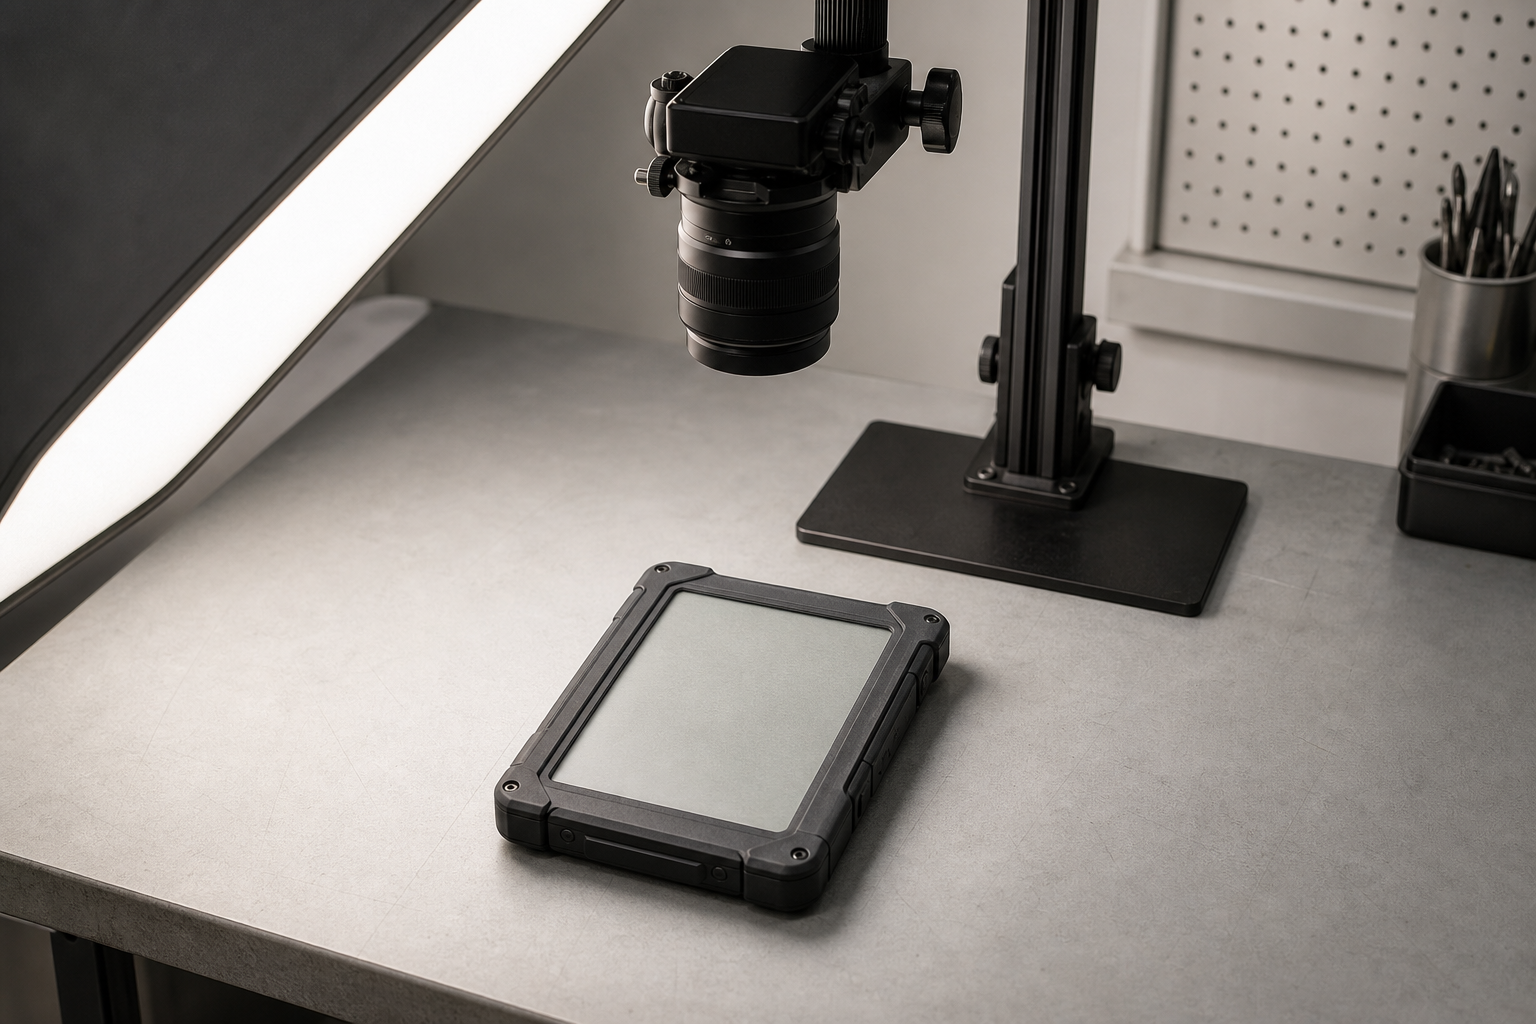
Soft, angled light is usually the safest choice. Place the light to one side of the device rather than directly above the camera. A large window, diffused work lamp, or light reflected from a pale wall can illuminate the display evenly.
If you see a bright rectangular reflection, move the light or camera slightly while preserving a mostly square view. Do not solve glare by tilting so far that digits become distorted. A small positional adjustment often removes the strongest reflection.
Shade the screen from uncontrolled overhead light with a neutral card or your body, taking care not to cast a hard shadow across the display. Avoid brightly colored material because it can introduce a color cast into the gray background.
A circular polarizing filter can reduce reflections from some protective covers, but it should be treated as an optional capture aid rather than a correction button. Rotate it while watching the screen. Some layered covers respond unevenly and may develop dark patches or rainbow patterns.
Preserve the paper-like texture of the panel. If editing makes the background uniformly white and perfectly smooth, reviewers may no longer be able to distinguish genuine ghosting, surface contamination, and processing artifacts.
Set Exposure for the Important Characters
Phone cameras often expose for the entire scene. A dark enclosure around a light display can cause the screen to become too bright, washing out weak segments and pale icons.
Tap the display to set focus and exposure, then reduce exposure slightly if the background approaches featureless white. Check whether the faintest meaningful character is still visible. If the camera provides a histogram, avoid piling the light tones against the right edge.
Capture a brighter and darker version when the correct exposure is uncertain. Bracketing is especially valuable when a reflective cover creates both highlights and deep shadows.
Do not use flash as the default. A flash positioned close to the lens often produces a concentrated reflection. It can work if bounced or moved off-axis, but soft continuous light is easier to evaluate before capture.
Separate Capture Problems from Real Display Faults
Before editing, inspect the strongest original at high magnification. Determine whether each suspicious mark stays in the same relationship to the displayed content.
| Observation | Likely explanation | Useful verification |
|---|---|---|
| Pale old characters remain behind new ones | Incomplete e-ink refresh or ghosting | Photograph before and after a deliberate refresh, if authorized |
| Bright patch moves when the camera moves | Reflection from the cover | Change camera or light angle |
| Blur is strongest near one edge | Camera and display were not parallel | Retake from a squared position |
| Dark specks remain fixed on the cover | Dust, residue, or physical damage | Capture before and after safe surface cleaning |
| Thin digit segments appear broken only in the compressed copy | Resizing or compression damage | Compare with the untouched original |
| Repeating halos surround every dark edge | Excessive sharpening | Reduce clarity or sharpening adjustments |
This distinction should happen before cleanup. Otherwise, editing may hide the clue needed to diagnose the source of the problem.
Crop for Context Before Resizing
Create a copy for editing and retain the original capture unchanged. Crop the copy deliberately rather than automatically.
A display-focused crop should normally include:
- The complete active screen area
- The surrounding bezel
- Printed measurement units, if they clarify the reading
- Relevant buttons, switches, or indicator lights
- A narrow margin that shows the crop is not cutting through the device
Use the image resize tool only after the crop is settled. Resizing first spends pixels on irrelevant background and may leave too little detail around narrow display segments.
For a ticket attachment, an image around 1600 to 2400 pixels on its long edge is often a practical starting range, not a universal rule. Keep more resolution when the screen contains tiny icons, dense menus, dot-matrix text, hairline cracks, or subtle ghosting.
Never enlarge a small, blurry image and assume it has gained evidence. Upscaling may make viewing more comfortable, but it cannot reconstruct a trustworthy missing segment.
Make Conservative Tonal Corrections
E-ink evidence benefits from restrained adjustments. Begin with global corrections that affect the entire frame consistently:
- Correct an obvious color cast so neutral housing and screen areas appear plausible.
- Adjust exposure only enough to keep the display readable.
- Add mild contrast if characters are genuinely difficult to distinguish.
- Reduce highlights when glare masks part of the screen.
- Apply minimal sharpening while checking thin strokes at 100% magnification.
Avoid selective painting over a weak character. Brightening, darkening, cloning, reconstructing, or replacing part of a displayed value changes the evidence. If a segment cannot be read, label it as unreadable in the accompanying report and include another exposure.
An AI photo editor can be useful for general presentation copies, such as cleaning an irrelevant background around a device. It should not be used to regenerate, infer, or cosmetically repair the display itself when the photograph serves as technical evidence. Keep any enhanced presentation image separate from the source file and describe the adjustment.
Protect Thin Strokes During Compression
Small text and segmented numerals fail differently from ordinary photographs. Heavy compression creates ringing beside sharp edges, breaks diagonal strokes, and turns neighboring dots into blocks. A file that looks acceptable as a thumbnail may become ambiguous when a technician zooms in.
First resize to the required display dimensions, then test compression. Inspect these areas at actual pixels:
- The thinnest digit segment
- Decimal points and separators
- Battery, radio, lock, and warning icons
- Small unit markings
- Boundaries between real ghosting and the active image
- Any crack or missing-pixel region cited in the report
Use the image compression tool to make a delivery copy, but compare it side by side with the original. Increase quality if new blocks, halos, or discontinuities appear.
PNG is appropriate when the crop behaves more like a graphic with flat areas and sharp characters. JPEG or WebP may be smaller for a full device photograph with textured surroundings, but they require closer inspection. The image conversion tool can create alternative formats without making the delivery copy your only surviving version.
A sensible archive keeps the untouched original, an edited master, and the smaller delivery file.
Build a Three-Image Evidence Set
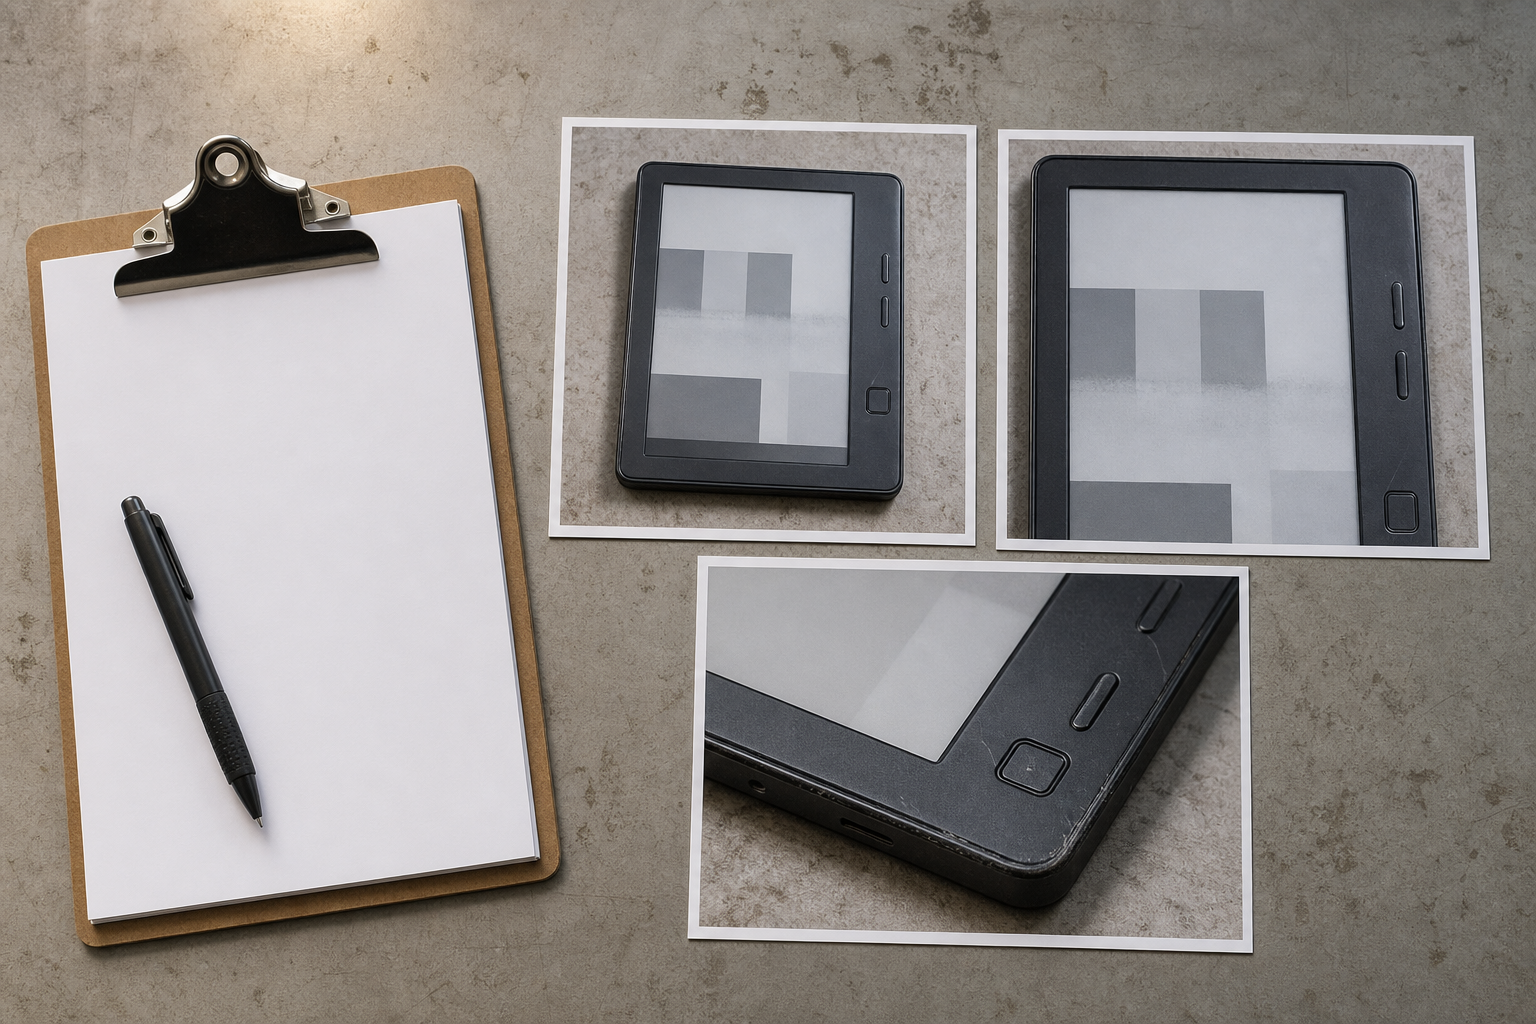
One photograph rarely performs every documentation task well. A compact three-image set is more reliable:
1. Context view
Show the complete device and enough surroundings to establish its location or installation. Include connectors, controls, mounting position, or nearby reference features when they matter. Avoid capturing unrelated personal or confidential information.
2. Straight display view
Fill more of the frame with the screen while retaining the bezel and relevant printed units. Use soft lighting and keep the camera parallel. This is the primary image for interpreting characters and symbols.
3. Physical-detail view
Photograph suspected cracks, moisture, lifted cover layers, impact marks, or contamination from an angle that reveals surface relief. This image may intentionally use more directional light than the straight display view.
The set separates electronic state, physical condition, and environmental context. Reviewers do not have to guess whether an angled close-up represents the normal appearance of the display.
Add OCR Only as a Search Aid
Optical character recognition can help index reports containing dot-matrix labels, menu text, or printed device identifiers. It is much less reliable for segmented digits, stylized icons, incomplete refreshes, and low-contrast e-ink characters.
Run image OCR on a clear display crop if searchable text would be useful, but verify every extracted value against the original photograph. Treat OCR output as a transcription, not as proof.
Use explicit uncertainty markers. If the image could show either 3.8 or 8.8, do not silently choose the more plausible value. Record the ambiguity and attach the source crop. For measurements with safety, billing, compliance, or maintenance consequences, a human reviewer should confirm the reading.
OCR also benefits from separate crops. A crop optimized for a printed serial label may differ from the crop used to preserve ghosting on the screen. Keep the relationship between each transcription and its source image clear.
Package the Images into a Field Report
When several captures belong to one incident, assemble them in a predictable order: context, display, detail, and any comparison states. A PDF is convenient when the recipient must review or archive the set as a single record.
Use image to PDF to combine delivery copies, but do not discard the individual originals. PDF generation can resize images, and ticket portals may compress the PDF again.
Each report entry should identify:
- Device or asset identifier
- Location, if relevant and permitted
- Capture date and local time, including time zone when teams are distributed
- Device state before any interaction
- Action performed between photographs
- Whether an image is original, cropped, or tonally adjusted
- The exact uncertainty or suspected fault
Avoid placing annotations directly over the display. Put arrows or notes in the margin, or provide an annotated duplicate alongside the clean image. The unmarked version remains available for independent inspection.
Apply Privacy and Integrity Checks
Device photographs can accidentally reveal access codes, network identifiers, customer names, room numbers, faces, reflections, keys, computer screens, or location details. Review the entire frame, not only the display.
If redaction is required, preserve the original in an access-controlled location and create a separate sharing copy. Make the redaction obvious and irreversible in the exported file. A translucent blur may still expose information and can be mistaken for a camera defect.
Maintain simple version labels such as original, cropped, enhanced, annotated, and share. Avoid vague names like final-new-2. Record significant edits in the report so another reviewer understands why two files differ.
Metadata can also disclose location and capture time. Decide whether EXIF location data belongs in the internal archive, the external copy, both, or neither according to your organization’s policy.
Final Quality-Control Checklist
Before sending the report, verify the following:
- The original photograph is preserved unchanged.
- The active reading and every relevant symbol are visible.
- The crop includes enough bezel and device context.
- Glare is not being mistaken for a blank or damaged region.
- Corrections have not erased ghosting or surface texture.
- No character, digit, or indicator has been reconstructed.
- The delivery copy retains thin strokes after resizing and compression.
- OCR values have been checked manually.
- Annotated and unannotated versions are clearly distinguished.
- Sensitive background details and reflections have been reviewed.
- File order, names, timestamps, and device identifiers are consistent.
- The PDF or ticket attachment has been opened after export and inspected at full size.
Preserve Meaning, Not Just Appearance
A strong e-ink display photograph is not necessarily bright, spotless, or visually dramatic. It is faithful. It lets a remote technician distinguish the active state from glare, ghosting, dirt, physical damage, and editing artifacts.
Capture broadly before cropping, use soft directional light, preserve multiple exposures, and keep tonal corrections conservative. When the incident matters, pair the close-up with context and physical-detail views. Finally, treat OCR, compression, and PDF packaging as delivery aids rather than replacements for the source image.
That discipline turns an awkward phone photograph into dependable evidence—clear enough for remote diagnosis, compact enough to share, and honest enough to support later review.