Makerspace Tool Checkout Photo Packets: A Practical Image Evidence Guide
A niche guide for makerspaces documenting borrowed tools with clear photo packets, readable labels, compressed images, OCR notes, and tidy PDF handoffs.
Makerspace Tool Checkout Photo Packets: A Practical Image Evidence Guide
A community makerspace can lend out a surprising amount of valuable equipment without ever feeling like a rental business. A cordless drill goes home for a weekend build. A soldering station moves between benches. A camera tripod leaves with a member documenting an event. A laser focus gauge, specialty jig, crimping tool, or inspection light may be small enough to disappear into a bag but expensive enough to create real friction when it returns damaged or incomplete.
Most checkout records handle the administrative side: who borrowed the item, when it left, when it came back, and maybe what condition was selected from a dropdown. The weak point is usually visual evidence. A text note like good condition does not show whether the chuck had scuffs, whether the battery latch was already cracked, or whether the accessory case contained three bits or five. When a disagreement appears later, the team ends up searching chat threads, phone galleries, and memory.
A tool checkout photo packet is a lightweight answer. It is not a legal dossier or a complicated asset system. It is a small, repeatable set of images that shows the equipment, identifying marks, visible wear, and included accessories at the moment of handoff. The goal is to make the record readable by a volunteer coordinator, a shop manager, and the borrower six months later.
This guide focuses on small makerspaces, school labs, tool libraries, repair cafes, and shared studio spaces that need practical documentation without buying dedicated inventory software. It uses ordinary phone photos, simple file naming, OCR cleanup where useful, and compact PDF packets that can be attached to checkout records or stored in a shared drive.
When a Photo Packet Is Worth the Extra Two Minutes
Not every borrowed object needs a packet. A box of scrap screws probably does not. A shared broom does not. The method is most useful when the item has one or more of these traits:
| Item trait | Why photos help | Example |
|---|---|---|
| High replacement cost | Reduces arguments about pre-existing damage | Rotary tool kit, camera lens, specialty meter |
| Many accessories | Shows exactly what left the building | Drill set, sewing machine feet, soldering kit |
| Fragile surfaces | Captures cracks, bent parts, missing covers | 3D scanner, projector, inspection camera |
| Serial or asset labels | Connects the packet to the right physical item | Laptop cart charger, heat press, oscilloscope |
| Frequent member turnover | Makes records understandable to people who were not present | Student lab, volunteer-run library |
The packet is especially useful for equipment that returns to a crowded shelf. If three similar impact drivers share one storage bin, a photo of the serial label and accessory layout can prevent a long search later.
You do not need to photograph every checkout forever. Start with a rule that is easy to remember: create a packet for portable tools over a certain replacement value, items leaving the building overnight, and kits with more than three loose parts. That catches the risk without overwhelming the front desk.
The Four Photos Every Checkout Packet Needs
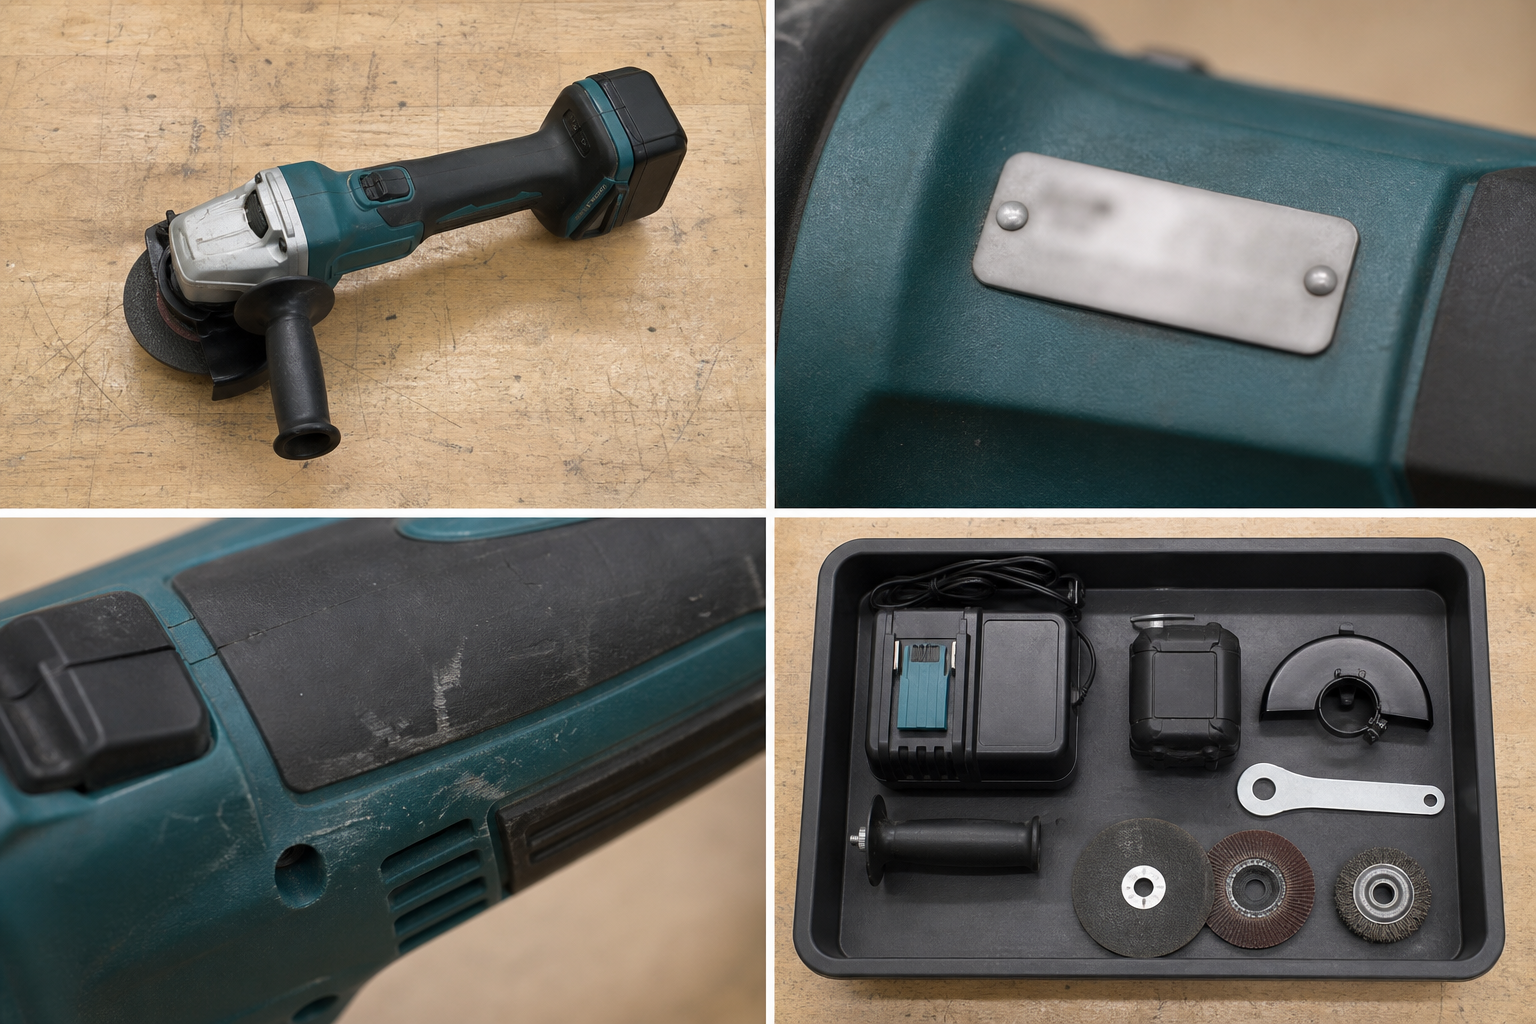
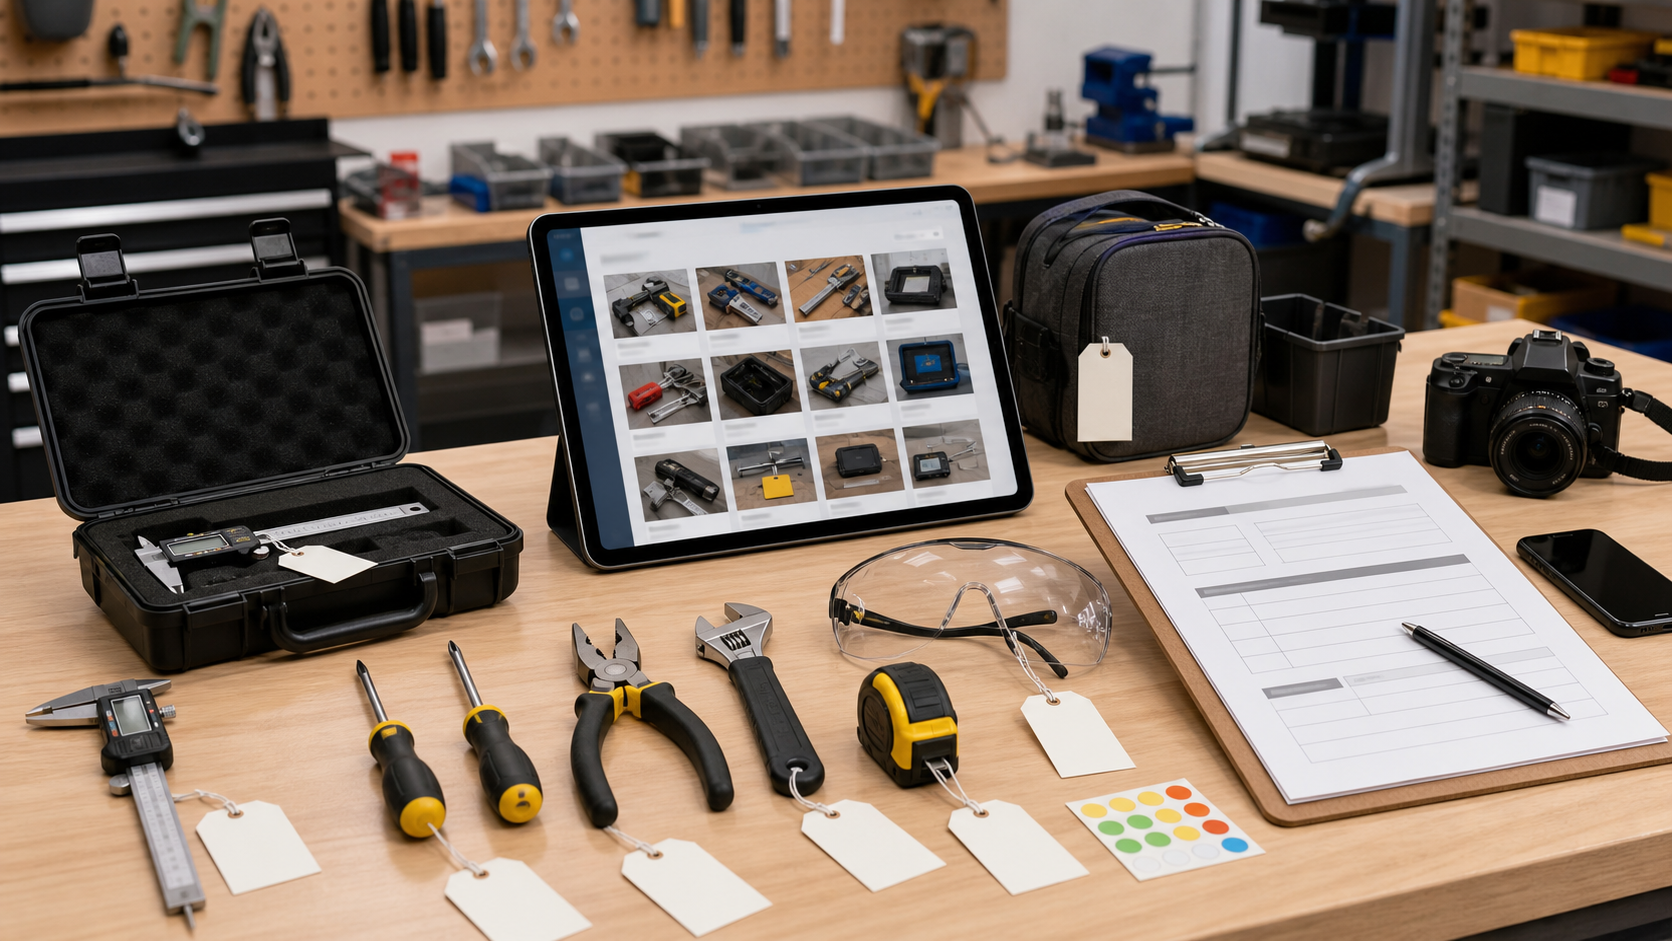
A good packet is short. Four strong photos are usually better than twelve casual ones. The set should answer four questions: what is it, which exact item is it, what condition was visible, and what came with it?
1. The Full Tool Overview
Take one photo that shows the entire item from above or at a slight angle. Include the case if the case is part of the checkout. This image is the visual anchor. A future reviewer should be able to identify the item in less than three seconds.
For power tools, show the body, battery bay, handle, chuck or blade area, and case. For electronics, show the front panel, ports, screen, and control knobs. For sewing machines or cameras, show the main body and the attached standard accessory.
Keep the background plain. A gray cutting mat, clean bench, or sheet of white poster board works better than a cluttered table. If you regularly process images later, leave a little space around the object so you can crop cleanly with a tool like resize image before turning the set into a PDF.
2. The Identifier Photo
The identifier image shows the asset tag, serial plate, engraved number, barcode, or makerspace label. This photo matters more than it looks. Without it, two nearly identical tools can be confused.
Move close enough for the label to fill the frame, but avoid glare. If the plate is shiny, angle the phone slightly and use side lighting. If the label is dusty or scratched, wipe it before photographing. If the label is tiny, take two photos: one normal close-up and one slightly wider view that shows where the label sits on the tool.
When the text is readable, you can use image OCR to extract the asset number or serial into your record. OCR is not a replacement for the photo. It is a convenience layer that helps search later.
3. The Existing Wear Detail
This is the photo that saves the most awkward conversations. Capture visible wear before the borrower leaves: cracked plastic, paint marks, bent guards, rust, frayed cords, missing rubber feet, chipped corners, scratched lenses, or tape residue.
The trick is to photograph only meaningful wear. Do not create a museum record of every dust speck. Pick the one or two details that a reasonable person might later mistake for new damage. If there is no notable wear, take a clean close-up of the most damage-prone area: the tool nose, cord strain relief, hinge, screen, blade guard, or case latch.
For small cracks or scratches, add a neutral pointer in the scene, such as a wooden stick or gloved finger, but do not cover the damage. Avoid drawing arrows directly on the master image unless your team has agreed to keep annotated copies. If you do add a mark for clarity, keep an unmarked original too.
4. The Accessory Layout
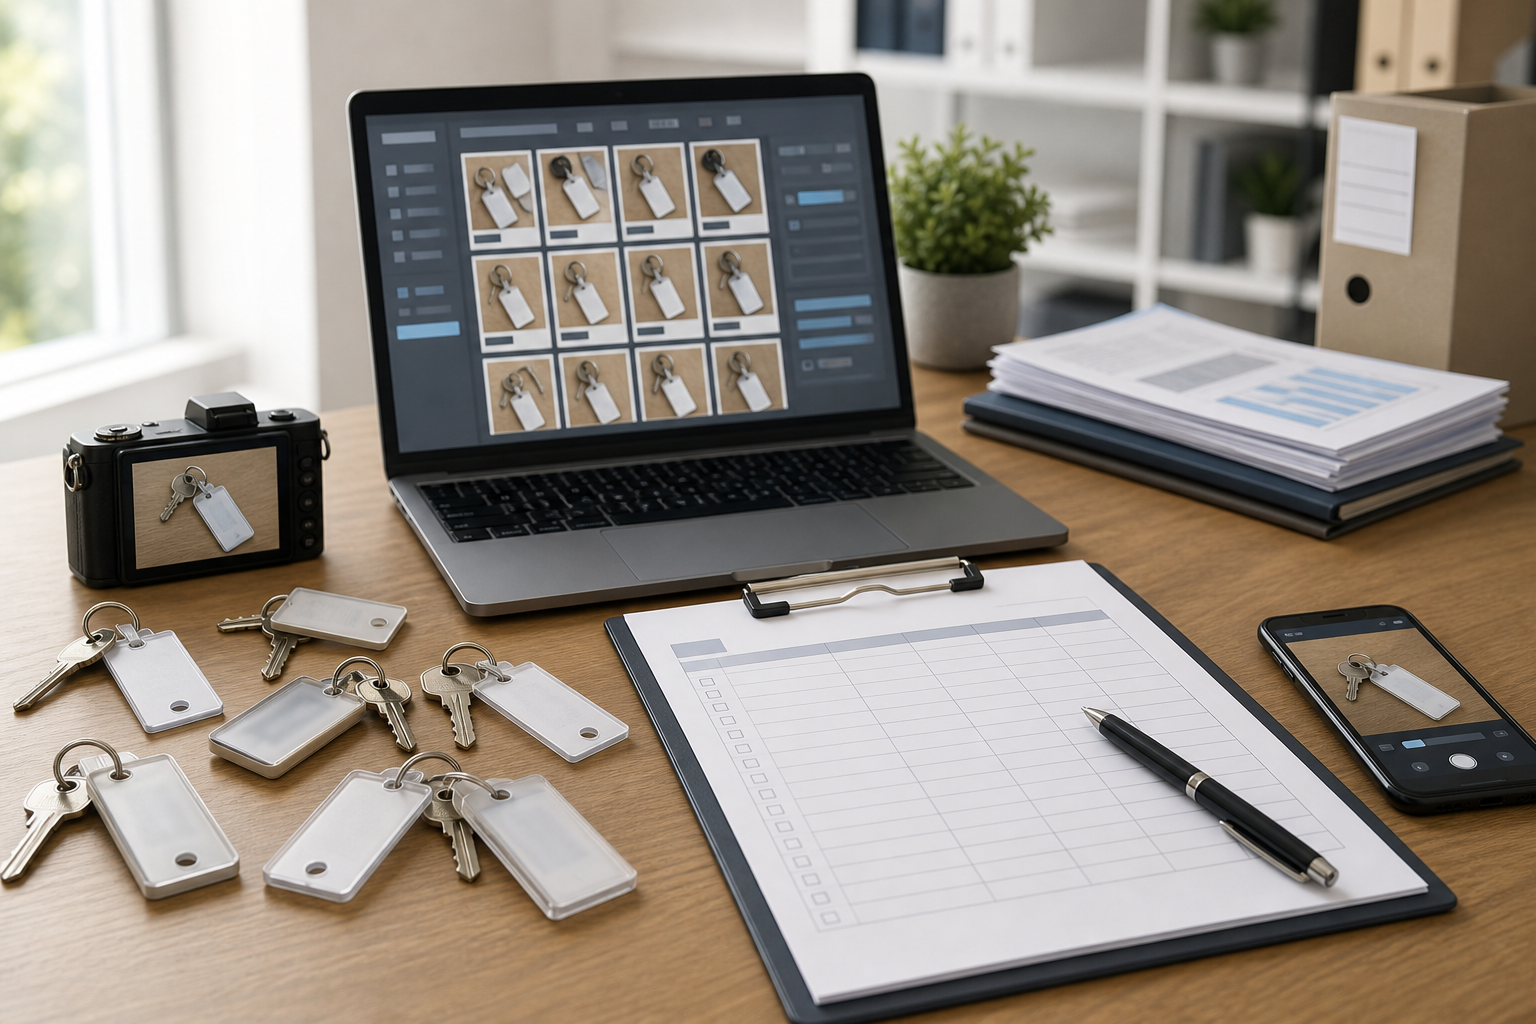
Lay out everything included in the checkout: batteries, chargers, bits, cables, manuals, adapters, safety guards, keys, clamps, blades, cases, and consumables that are expected to return. Arrange them in a grid or a neat row. Do not pile them in the case.
This photo is not about beauty. It is about countability. A coordinator should be able to compare the return set against the checkout image at a glance.
If the kit contains many small pieces, split the layout into two images: main accessories and small parts. Keep the same orientation each time. For example, charger on the left, batteries in the middle, bits on the right. Repetition makes later checks faster.
Camera Settings That Matter More Than Gear
Any recent phone can handle this job. The limiting factor is usually lighting, distance, and consistency, not camera quality.
Use these settings and habits:
| Setting or habit | Recommended choice | Reason |
|---|---|---|
| Orientation | Landscape for kits, portrait for tall labels | Matches the subject instead of forcing a format |
| Flash | Usually off | Direct flash creates glare on labels and plastic |
| Zoom | Avoid digital zoom when possible | Move closer instead for sharper text |
| Focus | Tap the label or damage area | Prevents the bench from being sharp while the tool is soft |
| Resolution | Use normal high quality, then compress copies | Keeps a readable master before sharing |
| Background | Plain bench, mat, or paper | Makes cropping and review easier |
The most common mistake is taking a photo too close to the minimum focus distance. The label looks large on the phone, but the text is soft when opened on a laptop. After shooting the identifier image, zoom in on the preview and confirm that the asset number is actually readable.
The second mistake is mixing lighting sources. A yellow bench lamp plus blue daylight can make condition photos look inconsistent. Use one main light source when possible. If your checkout desk is permanent, set up a small LED panel or desk lamp and leave it there.
Prepare Images Before You Put Them in a PDF
A checkout packet should be easy to open, easy to inspect, and small enough to attach to an email or upload to a shared system. Raw phone photos are often much larger than needed. A four-image packet can become 20 to 40 MB if nobody prepares the files.
Start by choosing the best image from each required angle. Delete accidental duplicates from the packet folder so nobody has to guess which version matters. Then make three edits where needed.
First, crop away visual noise. Keep the tool, label, or accessory layout central. Do not crop so tightly that context disappears. For a serial plate, include a little of the surrounding tool body so the reviewer knows where the plate is located.
Second, resize oversized images. A long edge around 1800 to 2400 pixels is usually enough for PDF review while keeping labels readable. The exact number depends on your tool labels and storage policy. If the packet is only for internal checkout notes, smaller may work. If it may support replacement claims or school administration review, keep more detail.
Third, compress the edited copies. Use compress image to reduce file size while checking that small label text and fine scratches still survive. Compression should make the packet easier to handle, not destroy the evidence.
Keep originals for high-value tools if storage allows. A practical structure is simple: originals in one folder, prepared images in another, final PDF at the top level. For many makerspaces, the prepared images and PDF are enough, but the original set is useful when a dispute involves tiny detail.
Use OCR for Labels, Not for Judgement
OCR can turn an asset tag, serial number, model number, or kit label into searchable text. That is useful when a volunteer needs to find all records for a specific tool. It is less useful for subjective condition notes.
Good OCR targets include:
- Makerspace asset IDs
- Manufacturer serial numbers
- Model numbers
- Battery pack labels
- Charger output labels
- Case labels
- Calibration sticker dates
Poor OCR targets include:
- Scratched handwritten notes
- Curved cable markings
- Embossed black-on-black plastic
- Reflections on metal plates
- Tiny warning icons
If the OCR result matters, verify it manually. A zero can become the letter O. A 5 can become S. Hyphens can disappear. The image remains the source of truth, while the text helps searching and copy-paste.
A useful record field might look like this:
| Field | Example entry |
|---|---|
| Tool name | Cordless drill kit |
| Asset ID | MS-DRILL-014 |
| Serial | Verified from identifier photo |
| Checkout date | 2026-07-06 |
| Photo packet | PDF attached |
| Visible wear | Scuff on battery latch, case hinge worn |
| Accessories | Charger, two batteries, bit case, handle |
If your checkout form supports attachments, add the final PDF. If it only supports text, store the PDF in a shared folder and paste the link into the record.
Build the PDF Packet in a Reader-Friendly Order
Once the images are prepared, combine them into a compact PDF. The order matters. Put the most general image first and the detail images later.
A strong packet order is:
- Full tool overview
- Identifier photo
- Existing wear detail
- Accessory layout
- Optional return comparison photo
For checkout only, four pages are enough. For return checks, you can add one or two return photos to the same record or create a second return packet. Do not mix unrelated checkouts in one PDF. One tool checkout should equal one packet.
Use image to PDF when you want a quick packet from prepared images. If the borrower takes multiple items under one reservation, create one PDF per item and then combine the final records with PDF merge only if your storage system prefers a single attachment.
A readable PDF beats a beautiful PDF. Avoid decorative cover pages, heavy borders, and large captions that push the image down. The photo should dominate each page. If you need text, keep it in the checkout record rather than embedding lots of notes into the images.
A Simple Naming Pattern That Survives Shared Drives
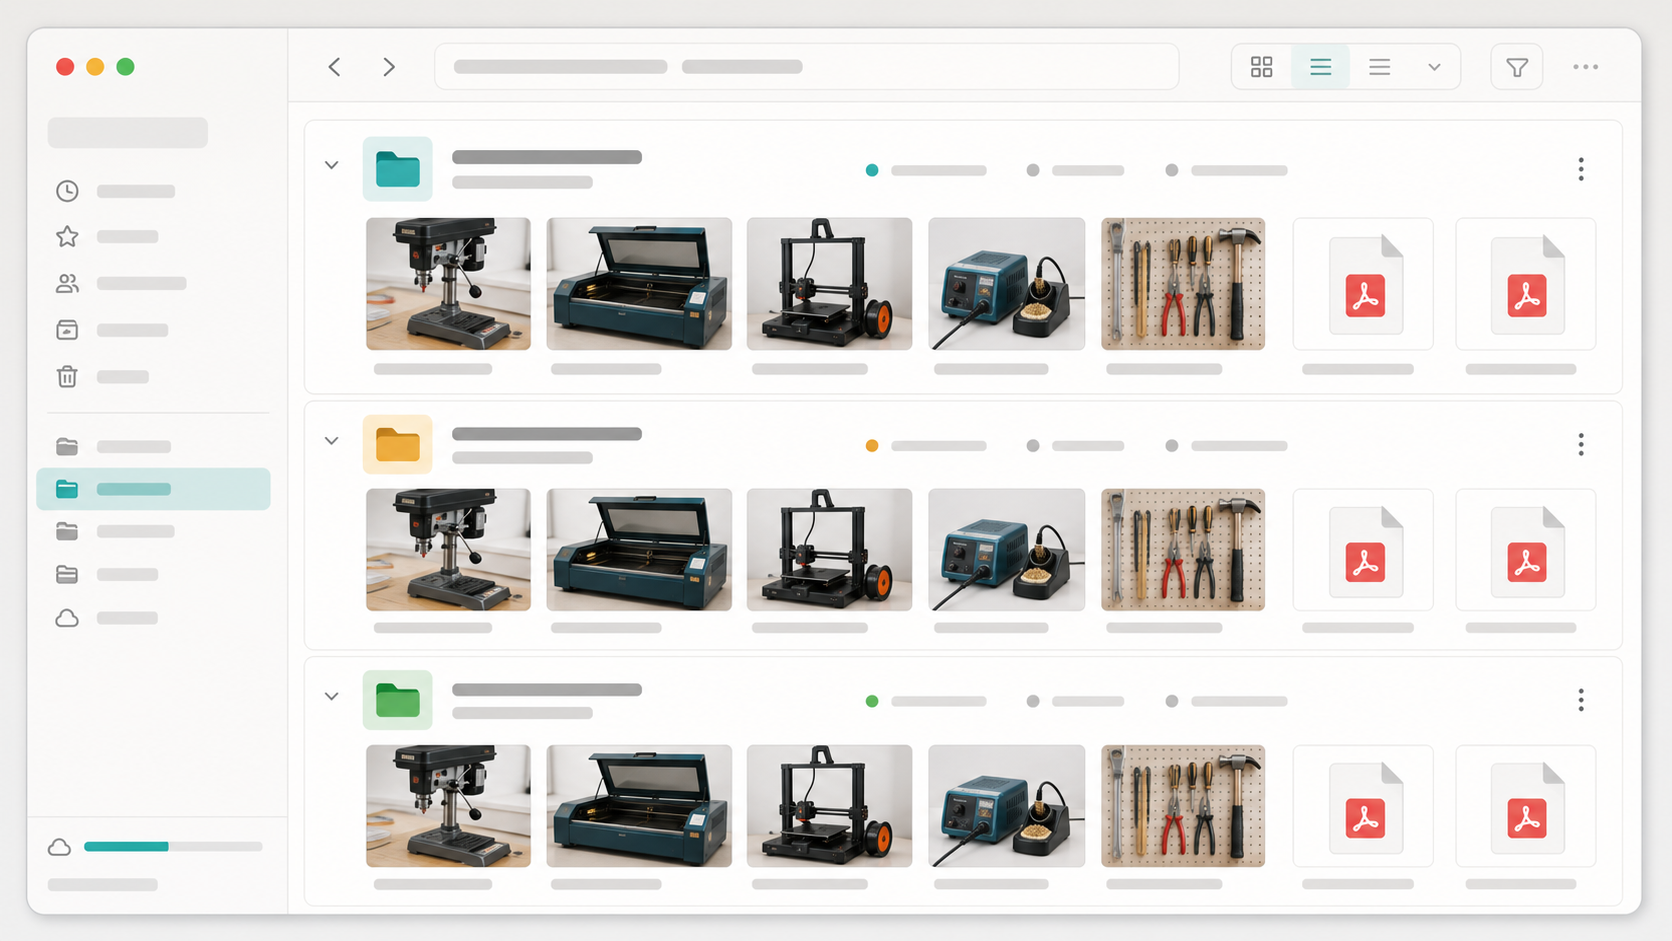
The best naming pattern is boring, short, and sortable. It should work in Google Drive, Dropbox, OneDrive, a NAS folder, and an exported ZIP file. Avoid names that depend on hidden metadata because shared systems often strip or rewrite it.
Use this pattern:
YYYY-MM-DD_assetid_checkout_borrowerinitials_sequence.ext
Examples:
| File | Purpose |
|---|---|
2026-07-06_ms-drill-014_checkout_jr_01-overview.jpg | Full tool overview |
2026-07-06_ms-drill-014_checkout_jr_02-id.jpg | Asset or serial label |
2026-07-06_ms-drill-014_checkout_jr_03-wear.jpg | Existing wear detail |
2026-07-06_ms-drill-014_checkout_jr_04-accessories.jpg | Accessory layout |
2026-07-06_ms-drill-014_checkout_jr_packet.pdf | Final packet |
The sequence numbers keep the images in the right order even when a file manager sorts alphabetically. The asset ID makes search practical. The date separates repeated checkouts of the same item. Borrower initials are often enough for local lookup without putting full personal information into every file name.
If your organization has privacy rules, avoid borrower names in filenames and use the checkout record ID instead. For example:
2026-07-06_ms-drill-014_checkout_co-5821_packet.pdf
This is cleaner for shared folders where many volunteers have access.
File Formats: JPG, PNG, WebP, and PDF
Different formats serve different parts of the packet.
| Format | Best use | Caution |
|---|---|---|
| JPG | General tool photos and accessory layouts | Too much compression can blur labels |
| PNG | Screens, labels, diagrams, high-contrast text | Larger file sizes for normal photos |
| WebP | Compact archive copies when supported | Some older systems may not preview it well |
| Final handoff packet | Bad source images remain bad inside a PDF |
For most makerspace packets, JPG is fine for photos and PDF is best for the final attachment. If a label or screen contains small text, PNG may preserve edges better. You can use convert image when a phone exports a format that your checkout system does not accept or preview cleanly.
Do not obsess over perfect format theory. The practical test is simple: can the next coordinator open it, read the label, count the accessories, and understand the condition? If yes, the format is doing its job.
Return Checks: Compare Without Overcomplicating It
The return check should be just as repeatable as the checkout packet. Open the original packet, place the returned item on the same style of background, and compare the major points.
Use this return checklist:
- Does the asset label match the packet?
- Does the tool body match the overview photo?
- Are the same accessories present?
- Are batteries, chargers, guards, keys, and cases included?
- Is any new damage visible in the known weak spots?
- Does the item power on or pass the normal intake test?
- Are consumables handled according to your policy?
If everything matches, your return note can be short. If something differs, take a return detail photo before the item goes back to the shelf. Add the return image to the same folder or create a return PDF using the same naming pattern.
For missing accessories, photograph the returned layout as it arrived. Do not rearrange it first. The point is to capture the state at return, not to make it look organized.
Special Cases: Kits, Screens, and Messy Labels
Some makerspace equipment needs a slight variation on the standard packet.
Multi-Part Kits
For kits with many pieces, create a top-down accessory layout on a gridded mat or light-colored surface. Group parts by type: power, measurement, cutting, fastening, safety, storage. If the kit has compartments, photograph the open case after the layout photo so the return volunteer knows how it should be packed.
For very small parts, use a tray or shallow dish. Loose tiny pieces disappear visually on a large bench.
Tools With Screens
For oscilloscopes, cameras, tablets, meters, and laser controllers, capture the powered-on screen if it proves basic function or settings. Reduce glare by tilting the device slightly. If the screen text is important, take a separate close-up.
Screen photos often compress poorly because text edges and moire patterns can break down. Check the final PDF at 100 percent zoom before deleting prepared copies.
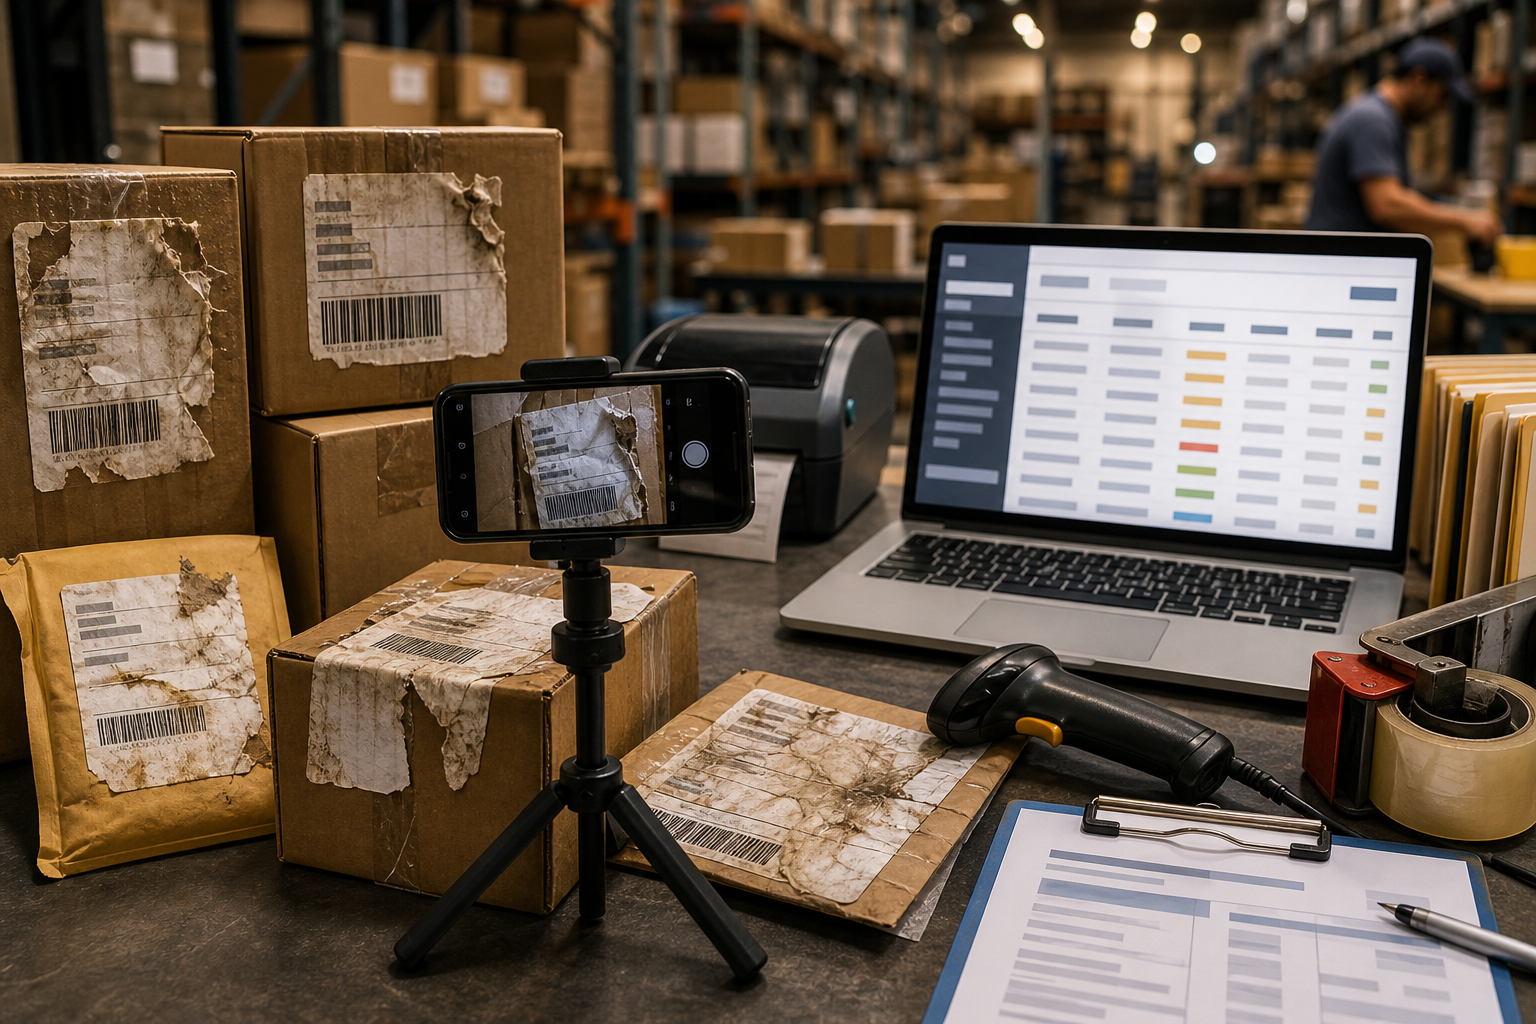
Damaged or Dirty Labels
If the identifier label is worn, photograph it from several angles. A side-lit image may reveal engraved or embossed characters that a straight-on image misses. You can also add a handwritten card with the asset ID beside the tool, but do not use the card as the only identifier. The physical label still needs to be shown when possible.
If OCR fails, record the number manually and note that it was verified from the image. That is enough for most internal records.
Privacy and Safety Boundaries
Tool checkout photos can accidentally capture more than intended: member faces, student names, project prototypes, whiteboards, access codes, mail labels, or personal items on the bench. A packet should document the equipment, not the room.
Before storing or sharing the packet, check the edges of each photo. Crop out people, badges, addresses, and unrelated projects. If a label includes personal information, use a separate internal storage location with appropriate access rather than circulating the packet broadly.
Avoid photographing keys, access cards, lock combinations, or security-sensitive panels in a way that exposes usable details. If the tool includes a key, show the key shape enough to prove presence, but do not create a high-resolution copy of a restricted key if your organization prohibits that.
For youth programs or school labs, keep the packet centered on the item and use checkout IDs instead of student names in filenames. Follow your institution's record retention rules.
A Front Desk Checklist for Volunteers
A good system survives busy evenings and rotating volunteers. Print or pin a short checklist near the checkout station. Keep it specific enough to be useful but short enough that people actually follow it.
Use this version as a starting point:
| Step | Action | Pass condition |
|---|---|---|
| 1 | Confirm the item and asset ID | Tool matches the checkout record |
| 2 | Take the overview photo | Entire item and case are visible |
| 3 | Take the identifier photo | Asset or serial label is readable |
| 4 | Photograph existing wear | Meaningful wear is documented |
| 5 | Lay out accessories | Every expected return item is visible |
| 6 | Prepare images | Cropped, resized, and readable |
| 7 | Create PDF packet | One packet per item |
| 8 | Attach or link packet | Record points to the correct file |
If volunteers skip steps, the system may be too slow. Look for friction. Maybe the photo station is poorly lit. Maybe the file naming pattern is too long. Maybe the shared folder is hard to find. Fix the bottleneck rather than blaming people for avoiding a clumsy process.
Common Mistakes That Make Packets Less Useful
The first common mistake is taking photos after the borrower has already packed the item. A closed case proves very little. Open the case, show the contents, and photograph the actual accessories.
The second is relying only on a wide overview photo. Wide images are helpful, but they rarely capture small serial labels or hairline cracks. Always include a close identifier image and a detail image.
The third is creating huge PDFs. A 60 MB packet may be technically complete but annoying to open on a phone or upload through a form. Resize and compress copies while preserving readability.
The fourth is changing names manually after upload. If a phone image called IMG_8421.jpg gets added to a shared folder, someone may later rename the wrong file or lose the sequence. Rename prepared images before PDF creation.
The fifth is mixing checkout and return evidence without dates. If a packet contains photos from different days, label the files clearly. Better yet, keep checkout and return sets separate inside the same item folder.
A Practical Starter Setup
You can set up a reliable checkout photo station in one afternoon. You need a clean surface, consistent light, a phone or tablet, and a shared folder structure.
Create these folders:
Tool Checkouts / 2026 / 2026-07 / asset-id_checkout-id /
Inside each checkout folder, store prepared images and the PDF packet. If you keep originals, place them in an originals subfolder. If you add return photos, place them in a return subfolder or use return in the filename.
For the physical station, keep a plain mat, microfiber cloth, small tray, neutral pointer, and charger nearby. Add a small sign with the four required photos: overview, identifier, wear, accessories. The fewer decisions volunteers need to make, the more consistent the packets become.
Run a pilot on ten high-value portable items before expanding. Pick tools that have different documentation needs: one drill kit, one measuring device, one camera or projector, one sewing machine, one electronics kit. After the pilot, review the PDFs on a laptop and a phone. If labels are hard to read, adjust distance or resolution. If files are too large, tune compression. If accessories are hard to count, change the layout surface.
Final Quality Check Before You Store the Packet
Before the packet becomes part of the record, open it once and check it like a person who was not present at checkout.
Ask these questions:
- Can I identify the tool from page one?
- Can I read or verify the asset label?
- Can I see the relevant existing wear?
- Can I count the accessories?
- Is the file small enough to open quickly?
- Does the filename point to the right date and item?
- Is unrelated personal or sensitive information cropped out?
This final check takes less than a minute, and it prevents most useless packets. The goal is not perfection. The goal is a record that makes the next conversation shorter, calmer, and more factual.
For a makerspace, that matters. Shared tools already require trust. Clear photo packets protect that trust without turning the front desk into a bureaucracy. They give borrowers a fair record of what they received, give volunteers a practical return reference, and give managers a consistent way to handle missing parts or damage when memory is not enough.