Piano Sheet Music Scan Cleanup for Recital Packet PDFs
A practical guide for music teachers preparing clean, readable recital packet PDFs from phone photos, scanner files, and mixed sheet music images.
Piano Sheet Music Scan Cleanup for Recital Packet PDFs
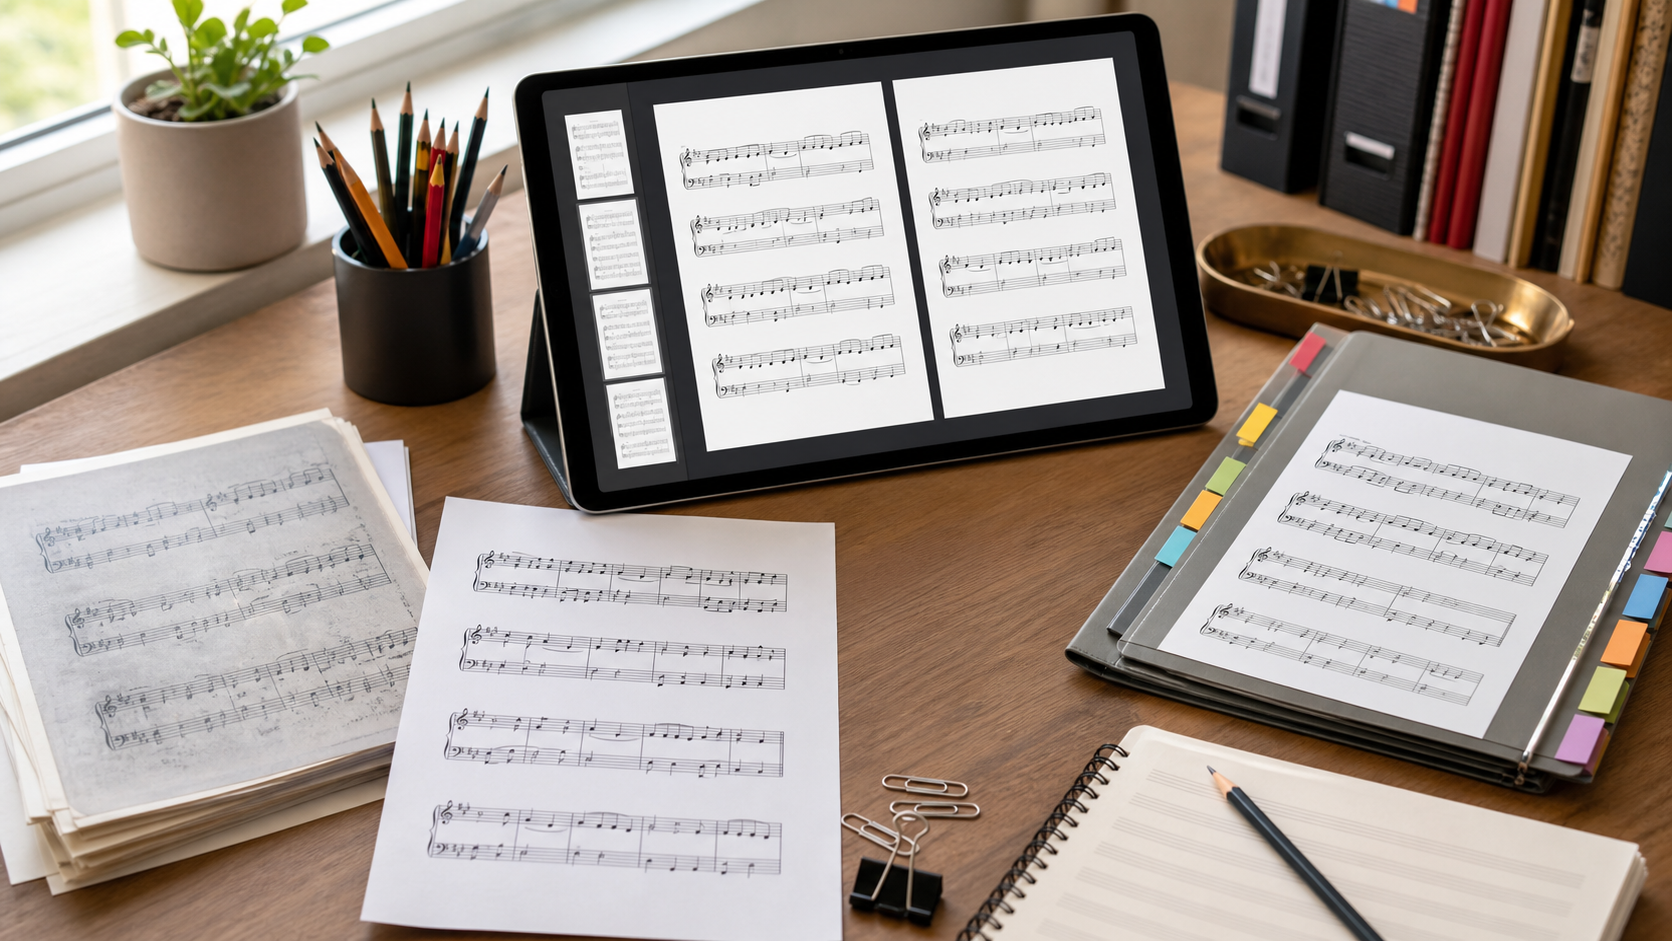
Recital packets look simple from the outside: a few pieces, a program order, maybe a duet part, and a reminder sheet. In practice, music teachers often build them from a messy mix of sources. One parent sends a phone photo of a page. A student brings a spiral book that cannot lie flat on a scanner. A public domain score arrives as a giant PDF. A duet part has pencil fingerings that matter. A replacement page is photographed under a ceiling light five minutes before rehearsal.
The final packet still has to be readable at a piano. That means staff lines must stay crisp, bar numbers should not disappear, page turns need to be predictable, and the PDF should be small enough to email or upload without drama. A recital packet is not a gallery scan. It is a working document for practice rooms, accompanists, substitute teachers, parents, and students who may print it on ordinary home printers.
This guide focuses on cleaning piano sheet music scans and photos before turning them into a practical PDF packet. It is written for private teachers, studio assistants, accompanists, small music schools, and volunteer recital coordinators who need a repeatable system without layout software.
Why Sheet Music Cleanup Is Different From Ordinary Document Scanning
Sheet music is unusually unforgiving. A slightly soft recipe scan may still be usable because the words can be inferred. A blurred eighth rest, missing ledger line, or washed-out dynamic marking can change how a student practices.
The page also contains many fine horizontal lines. Staff lines, stems, beams, slurs, pedal markings, finger numbers, and handwritten reminders all compete for clarity. Compression that works well for a typed letter can make music look fuzzy. Auto-enhancement that improves a receipt can over-darken page shadows until the left margin looks dirty. Aggressive contrast can erase light pencil markings a teacher wanted to preserve.
There is another practical issue: students rarely receive only one clean source. A single packet might include scanned book pages, downloaded PDF pages, photographed theory sheets, and a teacher-made note page. The goal is not perfection. The goal is consistency: pages should feel like they belong together, even if they came from different places.
The Recital Packet Quality Checklist
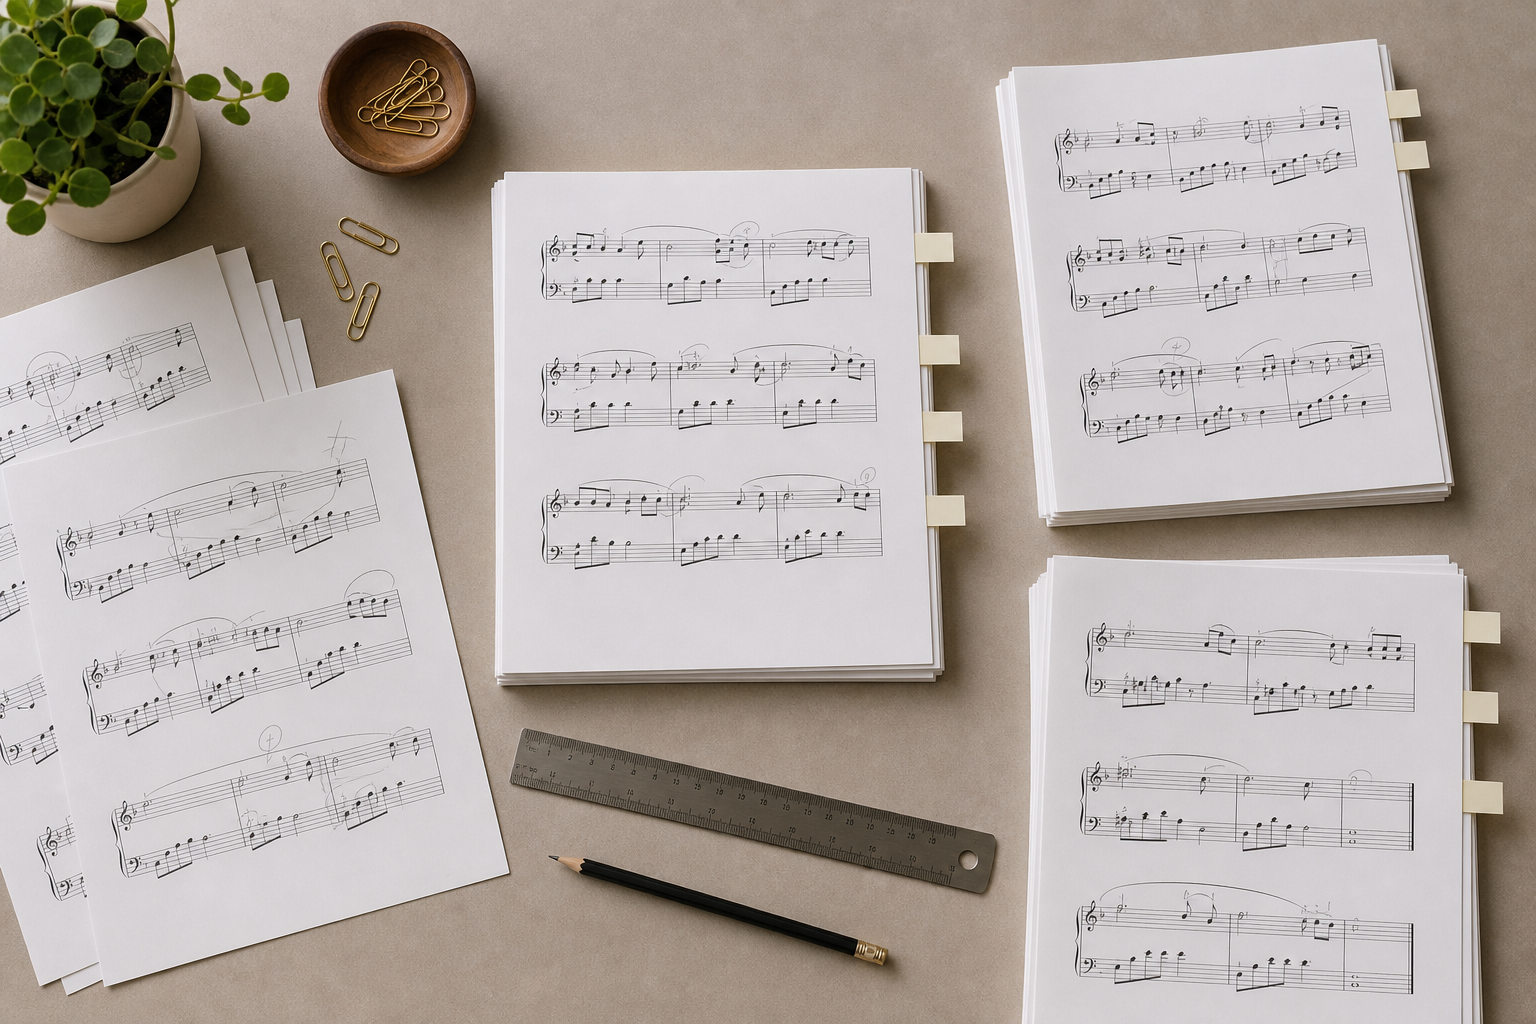
Before editing anything, decide what counts as acceptable. This prevents endless tweaking and gives helpers a shared standard.
Use this checklist for every page:
- The full printable area is visible, including clefs, key signatures, measure endings, and page numbers.
- Staff lines are straight enough that the page does not feel tilted when placed on a music stand.
- Notes, rests, accidentals, dynamics, articulations, and finger numbers are legible at normal tablet size and on letter or A4 paper.
- Pencil markings are either intentionally preserved or intentionally removed.
- Margins are not so tight that hole punching, binding, or printer clipping will damage the music.
- Page order is obvious, especially where a piece has repeats, second endings, or duet parts.
- File size is small enough to share, but not at the cost of fuzzy notation.
A useful test is the arm's-length check. Open the page on a laptop or tablet, step back to about the distance of a piano bench from a music stand, and look for weak spots. If a student must lean forward to read inner voices, slurs, or fingering, the page needs more care.
Source Types and What Usually Goes Wrong
Different sources fail in different ways. Treating them all the same wastes time.
| Source type | Common problem | Best first move |
|---|---|---|
| Phone photo of a book page | Curved page, shadows near spine, perspective distortion | Crop and straighten before any compression |
| Flatbed scanner page | Huge file, gray background, slight tilt | Normalize contrast, then compress carefully |
| Downloaded public domain PDF | Mixed page sizes, dark scans, old paper texture | Extract or convert only needed pages, then standardize size |
| Teacher annotation photo | Pencil marks too light, page not square | Preserve grayscale detail before final PDF creation |
| Student theory sheet | Color highlights, handwriting, folded paper | Keep color if it carries meaning, then resize consistently |
The biggest mistake is compressing too early. Compression should usually come after cropping, resizing, and cleanup. If you compress a crooked, shadowed image first, every later correction has less information to work with.
Decide What Must Stay Visible
Not all sheet music pages need the same treatment. Before touching files, decide what the reader needs from each page.
For performance pieces, preserve notation first. Staff lines, noteheads, stems, rests, beams, tuplets, accidentals, dynamics, and tempo markings matter most. If background paper texture remains slightly visible, that is usually fine.
For teacher-marked pages, pencil annotations may be essential. Finger numbers, circled measures, bracketed sections, and reminders such as slow practice markings should survive. Avoid harsh black-and-white conversion unless the pencil is dark enough.
For theory sheets, color might matter. A red circle around a cadence or a highlighted scale degree can be instructional. Keep those pages in color or soft grayscale if the color carries meaning.
For accompanist packets, page turns and ordering matter as much as clarity. Add divider pages only if needed, and keep any cut marks or performance notes visible.
A Practical Cleanup Sequence for Mixed Sources
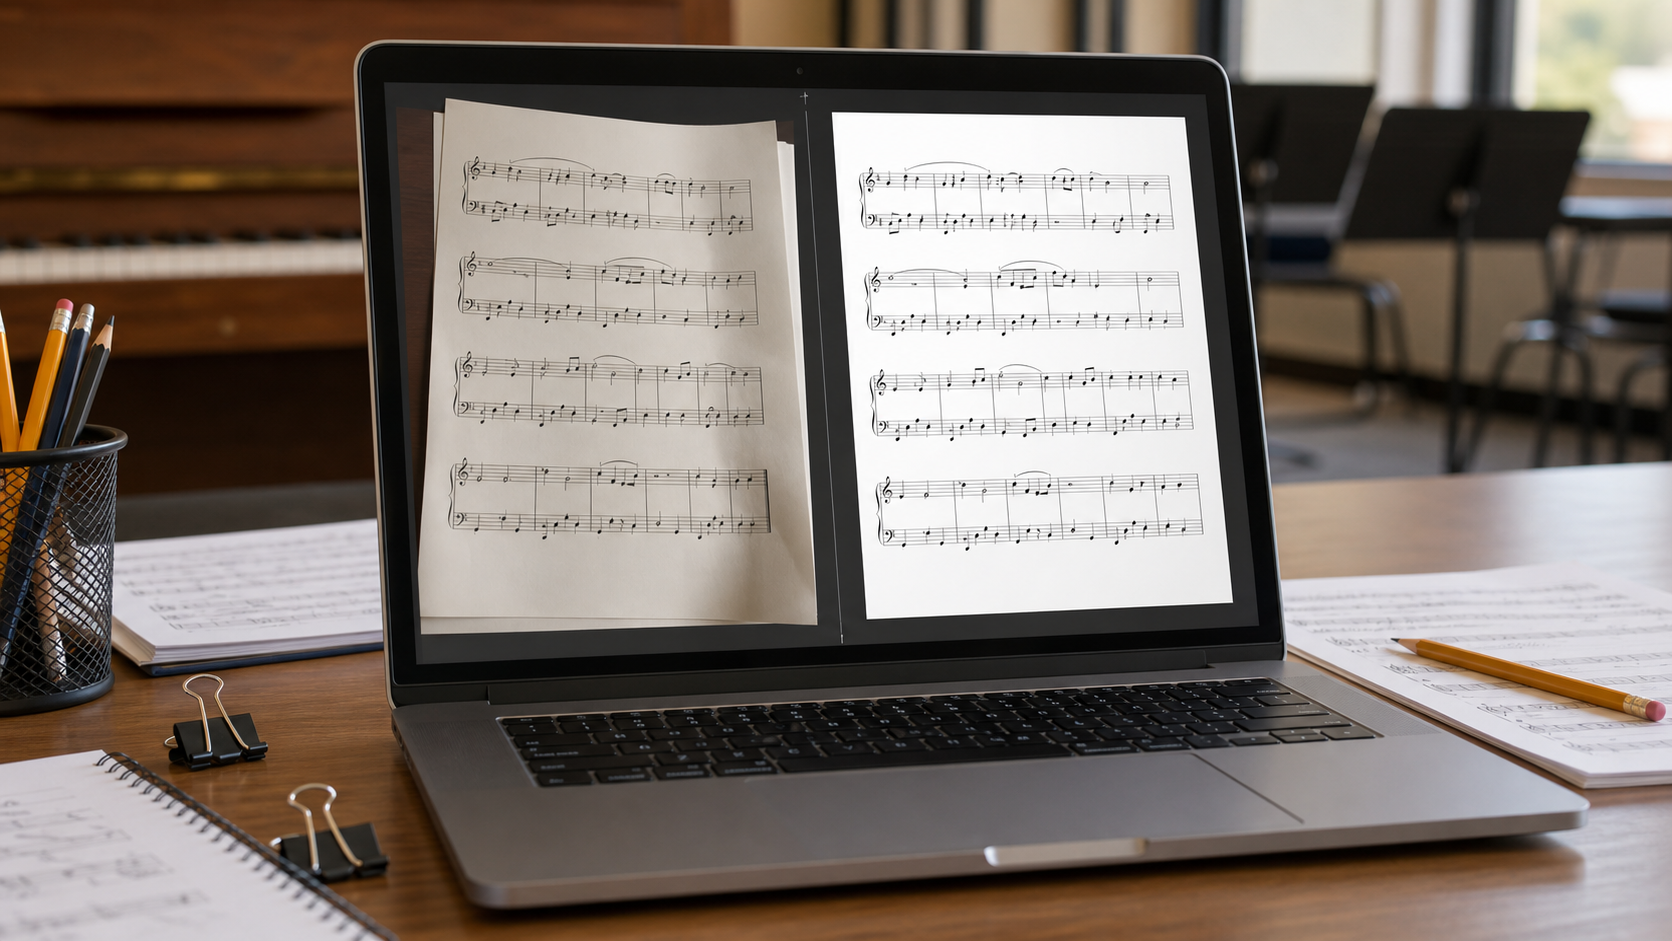
A reliable sequence matters more than fancy editing. Here is a simple order that works for most recital packets.
1. Sort Pages Before Editing
Create a folder for the recital and divide files by piece or student. Use plain filenames that sort naturally, such as student-lastname-01-piece-title-page-01.jpg. Avoid starting with vague names like IMG_3021 or scan-final-final.
If you have many images in different formats, convert them into a consistent format first. For example, you can use /convert-image to turn HEIC phone photos into JPEG or PNG files that are easier to review across devices. Consistency reduces mistakes when you later build the PDF.
2. Crop Around the Real Page
Crop before adjusting brightness. Remove table edges, fingers, carpet, scanner lid shadows, and unrelated book pages. Leave enough margin for binding and printing. A music packet with margins that are too tight can be frustrating, especially for young students who write extra reminders in the blank space.
When cropping book photos, do not chase the exact paper edge if the page is curved. Crop to the useful music area plus a comfortable margin. A slightly imperfect outer paper edge is less important than keeping the notes readable.
3. Straighten Staff Lines
Staff lines are the easiest way to spot tilt. If they slope downward across the page, the whole page feels careless. Straighten using the staff lines rather than the paper edge, because book photos often have curved or uneven borders.
For two-page spreads, split the pages before straightening. One page may lean differently from the other, especially near a book spine. A split-and-straighten approach usually produces a cleaner packet than trying to fix the spread as one image.
4. Balance Brightness Without Erasing Pencil
For clean printed pages, increase brightness until the paper looks close to white, then add enough contrast to keep staff lines dark. For pencil-marked pages, be gentler. Light graphite can vanish if contrast is pushed too hard.
If a page has heavy shadow near the binding, crop wider and accept a small shadow if the music is readable. Trying to force the shadow to pure white can create harsh bands or washed-out notation.
5. Resize to a Sensible Page Image
Very large phone photos are not automatically better. A 12-megapixel photo of a music page can create a huge PDF while adding no real readability after printing. Resize images to a practical long edge before PDF creation. For most recital packets, a clean page image around 2000 to 3000 pixels on the long side is enough for normal printing and tablet reading.
If you need to standardize mixed images, /resize-image is useful before combining pages. Keep the aspect ratio intact unless you are intentionally fitting every page to the same paper size.
6. Compress Last, With Notation in Mind
After pages are cropped, straightened, and resized, compress them. The goal is not the smallest possible file. The goal is a shareable PDF where notation still looks crisp.
Use /compress-image on image files when you need to reduce size before assembling the packet. Check stems, beams, small finger numbers, and dynamic markings after compression. If those details look fuzzy, use a lighter setting or return to a larger source image.
7. Build the Packet PDF
Once the images are ready, combine them into a PDF with /image-to-pdf. Keep page order exact. For larger studio recitals, consider making one packet per student and a separate master packet for the teacher or accompanist.
If you already have existing PDFs and newly cleaned image pages, use /pdf-merge to combine them in the correct order. This is helpful when a downloaded score already exists as a PDF but a replacement page or teacher note was created as an image.
Crop Rules for Piano Music
Piano pages need a little more margin awareness than many documents. A page may be read on a stand, punched for a binder, printed on a home printer, or viewed on a tablet with a toolbar at the top.
Use these crop rules:
- Keep more inner margin on pages from bound books, because spine shadows can distract from the left-hand part.
- Do not trim too close to bass clef notes near the left edge.
- Preserve page numbers if students or teachers refer to them during lessons.
- Leave top margin when tempo markings or rehearsal notes sit above the first staff.
- Leave bottom margin when pedal markings or teacher notes sit below the staff.
For duet music, be extra careful with part labels and page orientation. Primo and secondo pages can look similar at a glance. If the part name is printed near the top, keep it visible.
When to Use Color, Grayscale, or Black and White
Choosing the wrong color mode can ruin a page. Here is a practical decision table.
| Page condition | Recommended mode | Why |
|---|---|---|
| Clean printed notation, no annotations | Grayscale or black and white | Keeps file size low while preserving notation |
| Light pencil fingerings | Grayscale | Better chance of preserving graphite detail |
| Colored teacher marks | Color | Keeps instructional meaning intact |
| Old public domain scan with paper texture | Grayscale | Softer than harsh black and white conversion |
| Theory page with colored highlights | Color | Prevents loss of visual cues |
| Page with stains but clear black print | Grayscale with mild contrast | Avoids turning stains into black patches |
Black and white can be excellent for clean notation, but it is risky on imperfect photos. It can turn shadows into black blocks and erase pale pencil. Grayscale is often the safest default for recital packets because it preserves subtle detail without bloating file size as much as full color.
Handling Spiral Bindings and Book Spines
Music books are often the hardest source because they refuse to lie flat. A few small habits can improve results without special equipment.
Photograph near a window or with broad, even light. Avoid a single overhead lamp, which creates a bright center and dark edges. Place the book on a flat surface and use small weights outside the music area to hold pages open. Do not cover notes or page numbers.
Shoot from directly above whenever possible. If the camera is angled, the top and bottom staff systems may become different widths. Perspective correction can help, but it works better when the original photo is close to square.
For deep spine shadows, consider photographing one page at a time instead of a spread. This takes longer, but it often saves cleanup time later. A clean single page is easier to crop, straighten, and include in a PDF.
Making Packets That Print Reliably
A recital packet may look fine on screen and still print poorly. Home printers clip edges, scale pages unexpectedly, or lighten gray staff lines. Build packets with ordinary printing in mind.
Avoid edge-to-edge cropping. Keep a comfortable border around the music. If a student prints without choosing fit-to-page, you want the notation to survive.
Use consistent page orientation. A packet that switches between portrait, landscape, and rotated portrait pages can confuse families. If a landscape theory sheet is necessary, place it intentionally and name it clearly.
Check one test print before sending a large packet. Look at thin staff lines and small marks. If they print too lightly, return to the source images and adjust contrast before making the final PDF again.
Naming and Version Control for Studio Use
Recital packets tend to change. A student switches pieces. A teacher adds fingering. An accompanist requests a clearer copy. Without naming rules, files become hard to trust.
Use names that include the recital date, student name, and version number. For example: 2026-spring-recital-maria-keller-v2.pdf. Avoid final unless you truly mean it. If you need a later correction, use v3 rather than final2.
Keep a source folder separate from the finished PDFs. The source folder should hold original photos, cleaned images, and any downloaded PDFs. The finished folder should hold only packets ready to send. This separation prevents accidental sharing of rough photos or duplicate drafts.
For group recitals, create a simple index document for yourself with student names, piece titles, and packet status. This does not need to be inside the packet. It is a production note that helps you see what is missing.
Accessibility and Readability Considerations
Readable sheet music is not only a quality issue. Some students need larger print, cleaner contrast, or fewer distractions. A small adjustment can make practice more comfortable.
For young beginners, avoid shrinking pages too much to save space. Oversized notation and clear finger numbers matter. If a page has large beginner notation, preserve that scale.
For older students using tablets, check the packet at the device size they actually use. A page that is readable on a 15-inch laptop may be cramped on a small tablet.
For students with visual strain, keep contrast clear but not harsh. Pure black staff lines on a pure white background can be readable, but old scans with uneven cleanup can create visual noise. A balanced grayscale page may be more comfortable than an overprocessed one.
Common Mistakes That Create Bad Recital PDFs
The most common problem is building the PDF too soon. Once many pages are merged, people hesitate to fix individual images. Clean first, assemble last.
Another mistake is mixing page sizes without noticing. One page appears large, the next appears tiny, and students have to zoom in and out. Standardizing image size before PDF creation makes the packet feel calmer.
Over-compression is also common. Music notation has many fine details, and heavy compression can blur them. If the PDF is too large, resize oversized images before crushing quality.
A subtler mistake is removing all margins. A tight crop may look efficient on screen, but it leaves no room for printing, binding, or notes. Music is used physically. Leave space for real hands, pencils, and page turns.
Finally, do not assume every annotation is clutter. A circled measure, penciled fingering, or bracketed phrase may be the reason the page was photographed in the first place. Ask before removing markings from a teacher-provided source.
Example: Building a Four-Student Mini Packet
Imagine a small studio recital with four students. Each student needs two pages of music and one reminder sheet. Your sources include six phone photos, one downloaded PDF, and two scanned pages.
Start by sorting files into folders by student. Convert any phone-only formats into common image files with /convert-image. Crop and straighten the six photos, paying special attention to staff line tilt. Resize all cleaned images to a consistent long edge. Keep the scanned pages in grayscale and compress them gently. Extract or keep only the needed pages from the downloaded PDF.
Next, build one PDF per student. Use /image-to-pdf for the cleaned image pages. Use /pdf-merge where a student packet needs both PDF source pages and new image pages. Name each finished file with the recital date and student name.
Before sending, open each PDF and check page order. Print one sample page from the most difficult source, usually the shadowed book photo or pencil-marked page. If the print looks clear, the packet is ready to share.
Final Pre-Send Audit
Before emailing or uploading recital packets, run one last audit. It takes only a few minutes and catches the errors that families notice immediately.
Check these items:
- Every student has the correct piece and page count.
- Pages appear in performance order.
- Duet parts are clearly separated or correctly ordered.
- No page is upside down or sideways.
- No staff system is clipped at the edge.
- Pencil markings that matter are visible.
- File names are clear and not embarrassing draft names.
- The PDF opens on a phone, tablet, and desktop if possible.
- File size is reasonable for email or the studio portal.
If a packet fails the audit, fix the source page rather than adding patches around it. A clean source image makes every later version easier.
A Simple Standard for Better Music Packets
A recital packet does not need museum-grade scanning. It needs dependable readability. Students should see the same details their teacher sees. Parents should be able to print without guessing at settings. Accompanists should not have to decipher a shadowed bass line during rehearsal.
The best results come from a simple order: sort the pages, crop carefully, straighten staff lines, preserve meaningful marks, resize sensibly, compress gently, and assemble the PDF only after the images are ready. Tools such as /resize-image, /compress-image, /convert-image, /image-to-pdf, and /pdf-merge can cover the practical parts without forcing a music teacher into design software.
When the packet is clean, students practice with fewer interruptions. The teacher spends less time resending files. The recital feels more organized before anyone walks on stage.