Watermarked Proof Image Packs for Client Review
A practical guide for preparing watermarked image proofs that clients can review clearly without receiving production-ready files too early.

Watermarked Proof Image Packs for Client Review
Sending image proofs sounds simple until the same problems repeat: the client cannot zoom enough to judge details, someone forwards a near-final file before approval, filenames lose their order, or feedback arrives as scattered notes across email, chat, and screenshots. A good proof pack solves those issues before they start.
This guide is for small studios, freelance editors, product photographers, marketing teams, printers, real estate assistants, school portrait providers, and anyone who needs to show images for approval without handing over full production assets too early. The goal is not to make the files unusable. The goal is to make them clearly reviewable while reducing accidental misuse, download confusion, and version chaos.
A strong proof pack has four qualities: it is easy to inspect, visibly marked as a proof, light enough to share, and structured enough that feedback points to exact files. You can build that with simple image preparation habits, careful sizing, consistent watermark placement, smart compression, and optional PDF review sheets.
When a Watermarked Proof Pack Makes Sense
Watermarked proofs are useful when the person reviewing the image is not the person preparing the final file. That distance creates risk. The reviewer may need to approve retouching, cropping, color, product angles, compliance details, or selection choices, but they should not receive the final file set until the decision is complete.
Common use cases include wedding previews, school portrait galleries, ecommerce product retouching, catalog photography, social campaign image options, print proof approvals, website refresh imagery, listing photos, internal brand review, and edited user-submitted images.
Proof packs are especially helpful when a client must choose from many near-similar images. A folder of full-resolution files can be slow to open, easy to misuse, and hard to discuss. A structured set of watermarked JPEG or WebP files gives the client enough information to decide while keeping the production originals separate.
They are also useful when review happens outside a dedicated proofing platform. Not every team has a gallery tool, DAM, print portal, or client approval system. Sometimes the practical answer is a clean folder, a PDF contact sheet, and clear filenames.
The Proof Pack Standard: Clear Enough to Judge, Limited Enough to Protect
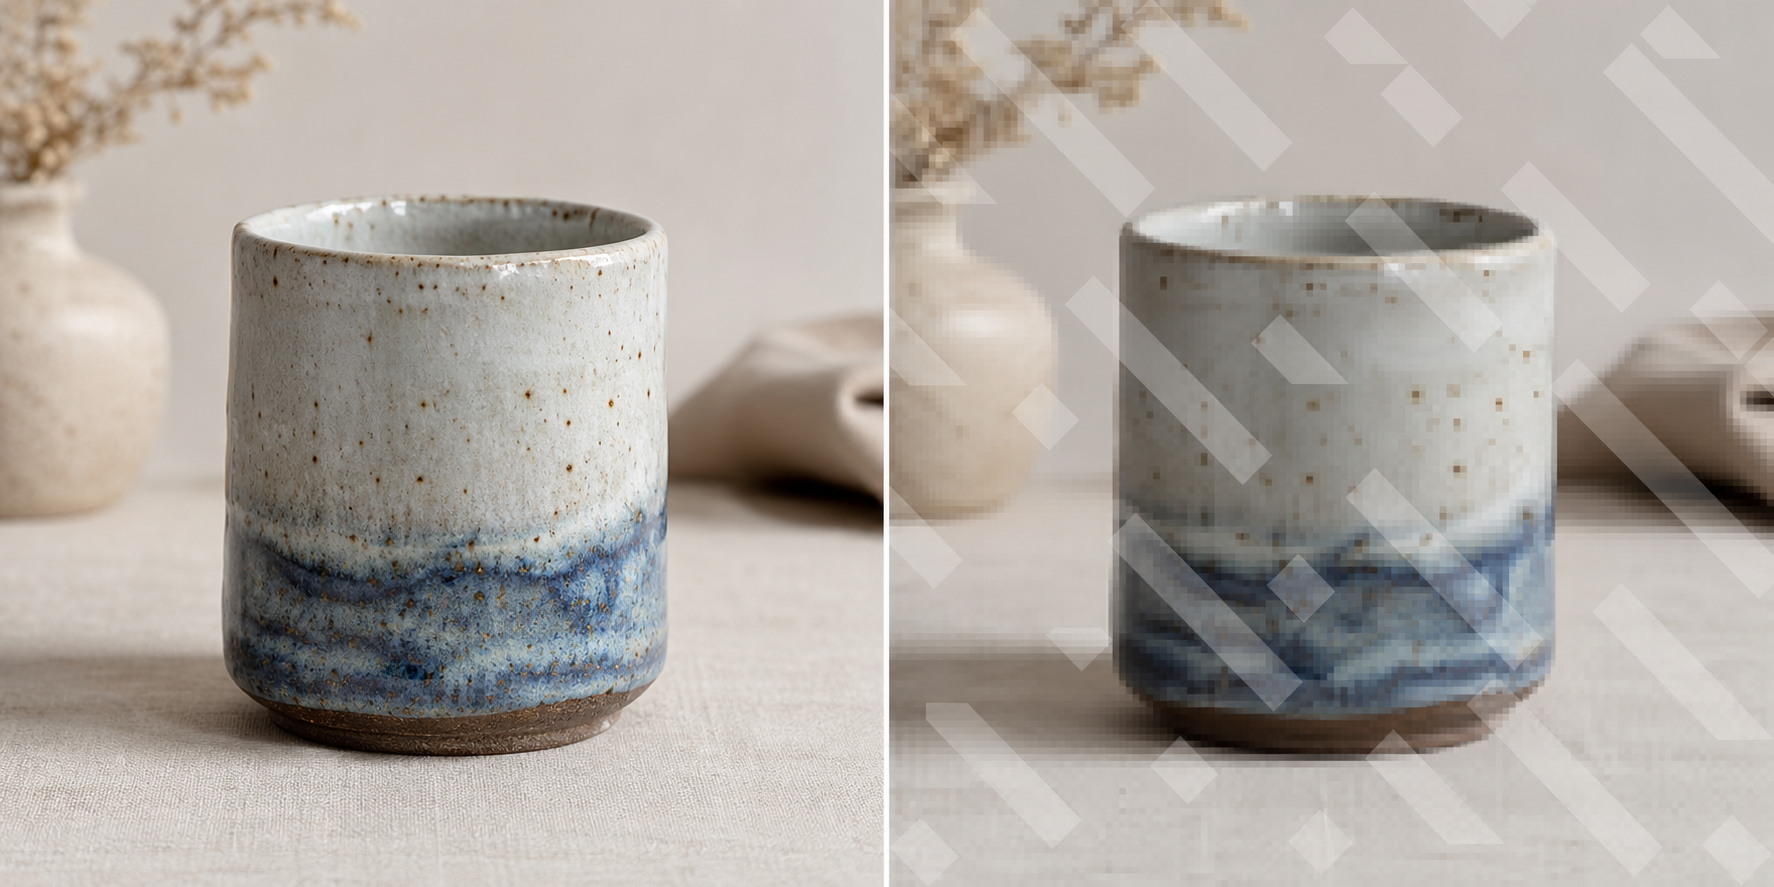
The most common mistake is making proof files too damaged to review. If the watermark blocks the subject, the resolution is too low, or compression creates ugly artifacts, feedback becomes unreliable. The client may reject an edit because the proof file looks worse than the final would.
A better standard is this: the image should be clear enough to evaluate composition, subject expression, crop, color direction, retouching choices, and obvious defects. It should not be so large, clean, or unmarked that it can easily substitute for the final deliverable.
Use this decision table as a starting point:
| Review need | Suggested proof size | Watermark strength | Notes |
|---|---|---|---|
| Portrait expression selection | 1600 px long edge | Medium | Face must remain readable |
| Product angle selection | 1800 px long edge | Medium | Preserve edges and labels |
| Retouching approval | 2200 px long edge | Light to medium | Avoid hiding edited areas |
| Print layout approval | PDF sheet plus images | Medium | Add ordered thumbnails |
| Social campaign selection | 1400 to 1800 px long edge | Medium | Match likely viewing crop |
| Internal archive review | 1200 to 1600 px long edge | Stronger | Speed matters more than detail |
The exact numbers depend on the job. A jewelry retouching proof may need more pixels than a headshot selection. A real estate contact sheet may need enough detail to judge room brightness but not enough to reuse as a listing package.
If you need to create consistent proof dimensions quickly, start by preparing a duplicate set and use an image resizing tool such as Resize Image. Keep originals untouched in a separate folder. Do not resize the only copy of a client asset.
Pick the Right Proof Format
Proof images are usually JPEG, WebP, or PNG. Each has a different role.
JPEG is the safest general choice for photographic proofs. It is widely supported, small enough for email or shared drives, and predictable for clients. Use it for portraits, events, real estate, food, apparel, and most product images.
WebP can be smaller at similar visual quality, which helps when sending many proofs through a web page or shared file manager. It is a good option for internal teams and modern browsers. If the client is nontechnical or may download files into older systems, JPEG is often less surprising.
PNG is useful when the proof itself needs transparency or crisp interface details. It is usually not the best choice for large photo sets because file sizes can balloon. Use PNG for app screenshots, logos, transparent product cutouts, and UI proofing where sharp edges matter.
If your source files arrive in mixed formats, normalize the proof set before sending it. A folder containing HEIC, TIFF, PNG, JPEG, and WebP files can confuse reviewers and break preview behavior on some devices. Convert review copies into one or two predictable formats with Convert Image, then reserve the originals for final delivery.
Decide What the Watermark Must Do
A watermark should communicate proof status and discourage casual reuse. It does not need to behave like a security system. If someone is determined to misuse an image, a simple visible watermark will not stop every possible method. The practical target is to prevent accidental publishing, premature sharing, and confusion between proof and final.
There are three common watermark styles.
A diagonal overlay works well for broad protection. It is visible across the whole image and hard to crop away without damaging the composition. The downside is that it can distract from faces, product labels, and retouching details.
A repeated tiled watermark is stronger for high-volume proof galleries. It makes reuse obvious even if someone crops the file. It can look heavy, so opacity and spacing matter.
A corner or edge watermark is least disruptive. It is useful when the client must evaluate small details, but it is easy to crop out. Use it when the relationship is trusted and the main concern is version clarity.
For most client review packs, a semi-transparent diagonal or lightly repeated watermark is the best balance. Keep it visible on both light and dark backgrounds. Avoid placing it only over empty sky, white studio background, or a dark corner where it disappears.
Size Proofs Without Making Them Misleading
Proof size controls usefulness and risk. Too small, and the client cannot judge quality. Too large, and the proof may become a substitute for the final image.
Use the long edge as your main sizing rule. For many review scenarios, 1600 to 2200 pixels on the longest side is enough. It looks clear on laptops and tablets, supports moderate zoom, and remains smaller than production output. For simple selection galleries, 1200 to 1600 pixels may be enough. For detailed retouching review, go larger but keep the watermark visible.
Do not shrink proofs so aggressively that important problems disappear. Dust, edge halos, skin retouching, label corrections, background cleanup, and fabric texture can all become invisible in tiny files. If those details matter to the approval, include a few detail crops alongside the main proof.
A useful approach is to create two proof tiers:
| Tier | Use | Example size |
|---|---|---|
| Gallery proof | Fast selection and broad review | 1400 px long edge |
| Detail proof | Retouching, labels, small defects | 2200 px long edge |
This gives clients speed for general review and enough detail where it matters. It also keeps you from sending one oversized folder for every job.
Compress Carefully So the Watermark Does Not Become the Problem
Compression is where many proof packs fall apart. Heavy compression can create blocky edges around watermark text, muddy gradients, and fake texture in clean backgrounds. The client may then comment on artifacts that exist only in the proof file.
Start with moderate quality settings. For JPEG proofs, aim for a level that keeps edges clean and skin tones natural. For WebP proofs, compare a few samples before batch converting everything. If the watermark creates artifacts, reduce its contrast slightly or export at a higher quality level.
Use Compress Image after resizing and watermarking, then inspect representative files. Check at least one light image, one dark image, one detailed image, and one image with smooth background. Compression problems show up differently across those cases.
A practical compression check:
- Zoom to 100 percent and look at the watermark edge.
- Inspect faces, product labels, fine lines, and flat backgrounds.
- Compare the proof against the resized version before compression.
- Make sure filenames and file order survived the export.
- Keep a copy of the uncompressed proof export until the client approves the pack.
If you are sending proofs for design or documentation review, be extra careful with screenshots. Thin UI lines and small text can degrade quickly. PNG may be better than JPEG for those files, even if the folder becomes larger.
Build a Repeatable Proof Pack Checklist
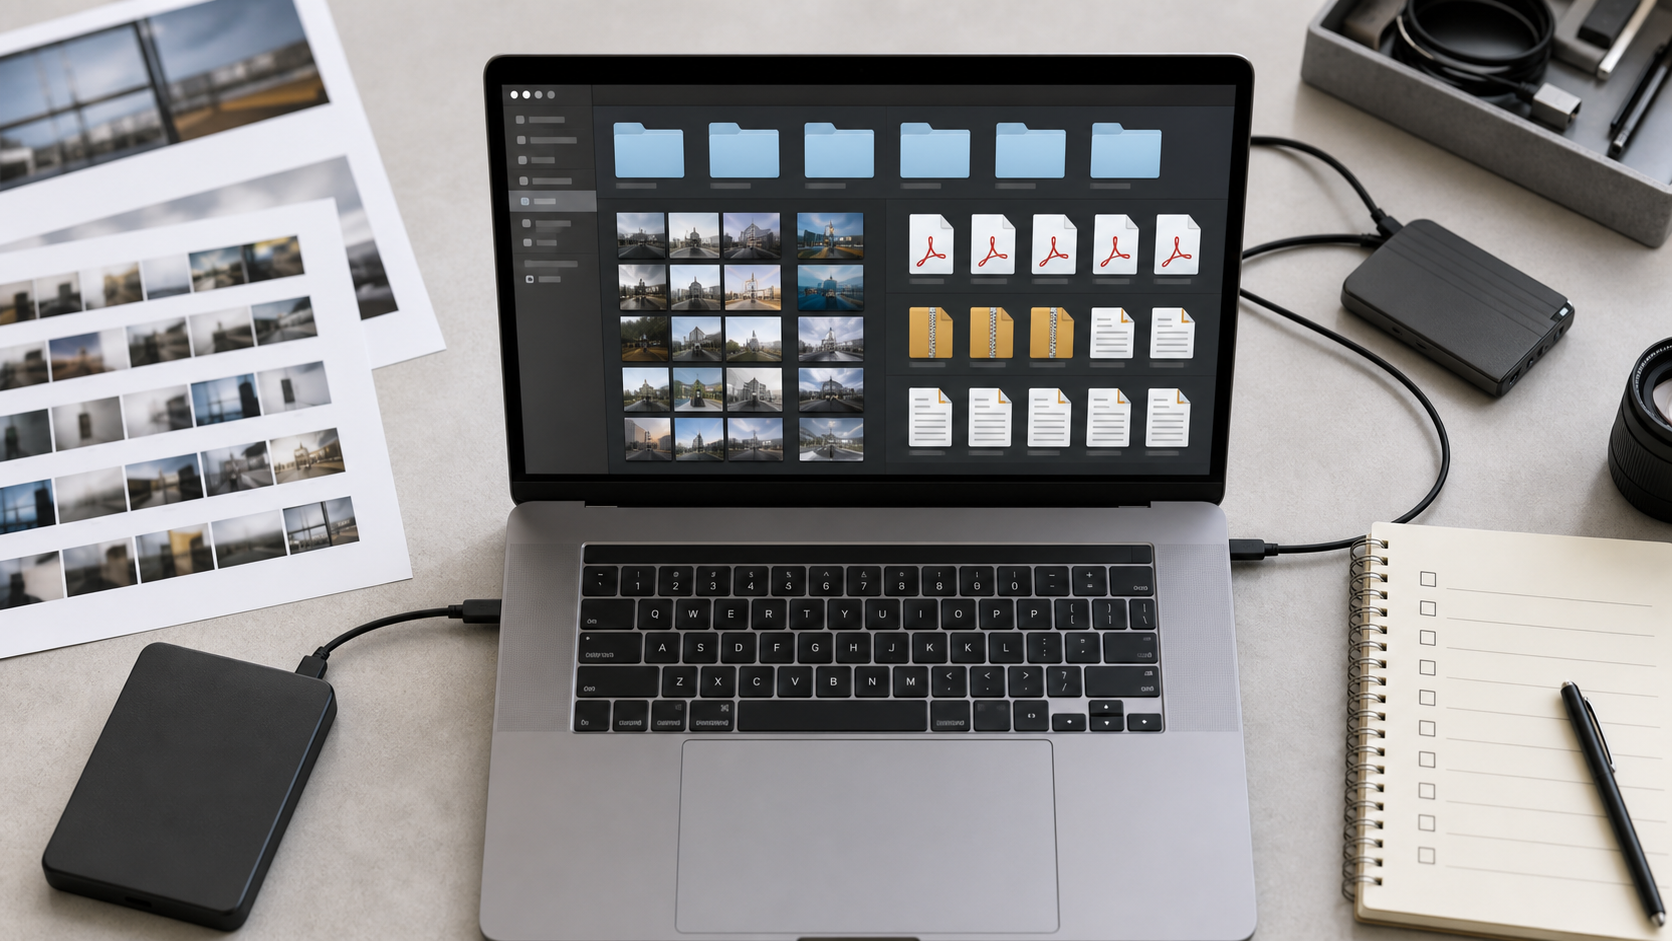
A proof pack should be boring to assemble. The less improvisation involved, the fewer mistakes reach the client.
Use this checklist for most image review jobs:
- Duplicate the source images into a working folder.
- Remove rejected test shots, accidental duplicates, and obvious misfires.
- Rename files into a stable order before exporting proofs.
- Resize copies to the agreed proof dimensions.
- Add the watermark consistently.
- Convert all proofs to the chosen format.
- Compress copies carefully and inspect samples.
- Create an optional PDF contact sheet for fast review.
- Save a plain text note or message explaining how feedback should reference filenames.
- Keep originals and final deliverables outside the proof folder.
Folder structure matters more than most people think. A client should not have to guess which files are review copies. Use names that make status obvious:
client-project/
  originals-do-not-send/
  working-edits/
  proof-pack-v01/
    images/
    contact-sheet.pdf
  final-delivery-after-approval/
For filenames, avoid vague exports like IMG_4032-final-final.jpg. A better pattern is:
project_subject_sequence_status_version.jpgExamples:
oak-chair_front_001_proof_v01.jpg
oak-chair_detail-leg_002_proof_v01.jpg
team-headshot_maria_014_proof_v02.jpg
This makes feedback easier. A client can say, approve oak-chair_front_001, crop team-headshot_maria_014 tighter, or remove dust on oak-chair_detail-leg_002.
Add a PDF Review Sheet When There Are Many Images
A folder of images is useful for close inspection. A PDF review sheet is useful for scanning the whole set. When the client must choose 8 images from 80, a contact sheet can save time.
A review PDF can include thumbnail grids, file order, and visual grouping. You do not need layout software for every job. Convert selected images into PDF pages with Image to PDF, or combine multiple review documents with PDF Merge if the pack includes notes, references, or separate sections.
Keep the PDF simple. The reviewer should be able to mark favorites, compare similar shots, and reference filenames. Do not overdesign the sheet. The images are the decision material.
Use PDF sheets for:
- Event photo selections.
- Product angle comparisons.
- Real estate room sets.
- Before-and-after retouching approvals.
- Social post image options.
- Print proof thumbnails.
Avoid using only a PDF when the client needs to zoom into fine detail. In that case, include both the PDF and individual proof images.
Handle Transparent and Cutout Images With Extra Care
Transparent product images, logo assets, and cutout PNGs need different proof handling. A watermark on a transparent background can be hard to see. It may also confuse the review if the client needs to judge the actual alpha edge.
For transparent assets, create a proof version on a neutral checker or light-gray background while keeping the production PNG separate. The proof background makes halos, rough edges, and missing pixels easier to inspect. It also prevents the proof from being used directly as a transparent final asset.
If the client needs to approve the transparency itself, include two versions:
| Version | Purpose |
|---|---|
| Neutral background proof | Shows edge quality and visible watermark |
| Transparency preview proof | Shows how the cutout behaves on a page-like surface |
Do not flatten the only copy of a transparent source. Work from duplicates. If the image needs cleanup before proofing, a visual editor such as AI Photo Editor can help prepare review copies, but keep edits consistent with what the client has requested. Avoid changing product shape, color, texture, or material in ways that could misrepresent the final asset.
Make Feedback Easier Before Sending
The best proof pack is not only a set of files. It is a small review system. If the client knows exactly how to respond, the approval cycle becomes cleaner.
Include short instructions in the email or shared folder message. Keep them plain:
Please review the images in proof-pack-v01. Reference filenames when sending notes. For selections, reply with the filenames you want finalized. The visible watermark and reduced size are only for review copies.If there are many files, ask for feedback in a table:
| Filename | Decision | Notes |
|---|---|---|
| product-front-001-proof-v01.jpg | Approve | Use for hero image |
| product-side-002-proof-v01.jpg | Revise | Reduce shadow on left edge |
| product-detail-003-proof-v01.jpg | Reject | Not needed |
This reduces vague comments like the third one in the folder or the image with the blue thing. It also protects both sides from version confusion.
For sensitive jobs, include version numbers in every export. Do not overwrite proof-pack-v01 with changed files and send the same link again unless the platform clearly tracks changes. Create proof-pack-v02 so everyone can compare the revision.
Common Mistakes That Cause Approval Trouble
Small proofing mistakes can create large client service problems. Watch for these patterns.
The watermark covers the exact area being reviewed. If the client needs to judge facial retouching, do not place a bold mark across the eyes and skin. If the client needs to check label accuracy, do not obscure the label. Move the watermark, reduce opacity, or provide a detail crop with a lighter mark.
The file is resized before cropping decisions are final. If the client is approving composition, send a proof that represents the intended crop. If you resize first and crop later, the proof may not match final framing.
The proof set mixes old and new versions. This is common when revised files are exported into the same folder as older proofs. Use versioned folders and clean exports.
The contact sheet has thumbnails but no usable filenames. A pretty grid is not enough. Reviewers need a way to refer to exact images.
The compression is too aggressive. If artifacts are visible, the proof may create false feedback.
The final files sit in the same folder as proofs. Keep deliverables separate. The folder name should make it impossible to mistake review copies for final assets.
A Sample Proof Pack for Product Retouching
Imagine a small furniture seller sends 36 chair photos for cleanup. The editor needs the client to approve angle selection, background cleanup, and color consistency before final export.
A practical proof pack might look like this:
chair-launch-proof-v01/
  read-me.txt
  chair-launch-contact-sheet-v01.pdf
  images/
    chair-front-001-proof-v01.jpg
    chair-side-002-proof-v01.jpg
    chair-back-003-proof-v01.jpg
    chair-leg-detail-004-proof-v01.jpg
The images are resized to 1800 pixels on the long edge. A semi-transparent diagonal watermark is placed away from key product details where possible. JPEG compression is moderate, preserving wood texture and clean background edges. The PDF contact sheet shows all 36 images in order, while the image folder allows closer inspection.
The message to the client asks for one of three decisions per image: approve, revise, or reject. It also asks them to reference filenames only. That one instruction prevents most confusion.
After review, the editor creates final high-resolution exports only for approved images. Revised proofs go into proof-pack-v02. Nothing overwrites v01.
A Sample Proof Pack for Portrait Selections
Portrait proofing has different priorities. The client usually cares about expression, hair, glasses glare, crop, and skin retouching level. A watermark that is too strong can make the proof frustrating.
For portraits, use a lighter watermark but keep it visible across clothing or background. If the mark crosses the face, reduce opacity enough that expression remains easy to judge. Export at 1600 to 2000 pixels on the long edge so the reviewer can compare expressions without downloading heavy originals.
For school, team, or staff headshots, filenames should identify the subject and sequence number:
maria-lopez-001-proof-v01.jpg
maria-lopez-002-proof-v01.jpg
jon-reed-001-proof-v01.jpg
If privacy matters, use internal IDs instead of full names. The proofing structure should match the sensitivity of the project.
When the client chooses favorites, create a final delivery folder with only the approved files. Do not send the whole proof set again as final delivery. That forces the client to sort through rejected images and increases the chance that the wrong file gets published.
Quality Control Before You Send
Before sharing a proof pack, open it as if you were the client. This catches problems that batch exports hide.
Use this final audit:
- The H1 or folder label says proof, review, or v01 clearly.
- Every image has a visible watermark.
- No final-resolution files are inside the proof folder.
- Image dimensions are consistent unless there is a reason.
- File format is predictable across the pack.
- Filenames sort in the intended order.
- Compression does not damage review-critical details.
- The PDF sheet opens and matches the image folder.
- Any instructions mention filenames and version numbers.
- Originals are stored separately.
Also test the pack on the likely review device. If the client will view on a phone, make sure filenames are not impossible to read. If they will view on a laptop, check the folder preview behavior. If the review is happening in a meeting, prepare a PDF sheet so the set can be scanned quickly.
Final Thoughts
Watermarked proof packs are not just about protection. They make review faster, feedback clearer, and final delivery cleaner. The best packs are easy to inspect, hard to confuse with final files, and organized around exact filenames.
Start with duplicates, resize with intent, watermark without hiding review-critical details, compress carefully, and package the images in a structure that supports decisions. For larger sets, add a PDF review sheet. For mixed formats, normalize the proof copies before sending.
A few minutes of preparation prevents hours of version cleanup later. More importantly, it gives clients a professional review experience without handing over production assets before the work is approved.