Court Exhibit Photo Boards: A Practical Guide for Clean, Numbered Evidence Images
Build clearer court exhibit photo boards from phone images, screenshots, scans, and labels with naming rules, cleanup steps, OCR checks, and PDF packaging tips.
Court Exhibit Photo Boards: A Practical Guide for Clean, Numbered Evidence Images
Evidence photos often start as ordinary files: a phone picture of damaged equipment, a screenshot of a message thread, a scan of a signed note, a close-up of a serial number, or a wide shot of a room. By the time those images reach a hearing binder, mediation packet, internal investigation file, or attorney review set, they need to be easier to read, easier to reference, and harder to misunderstand.
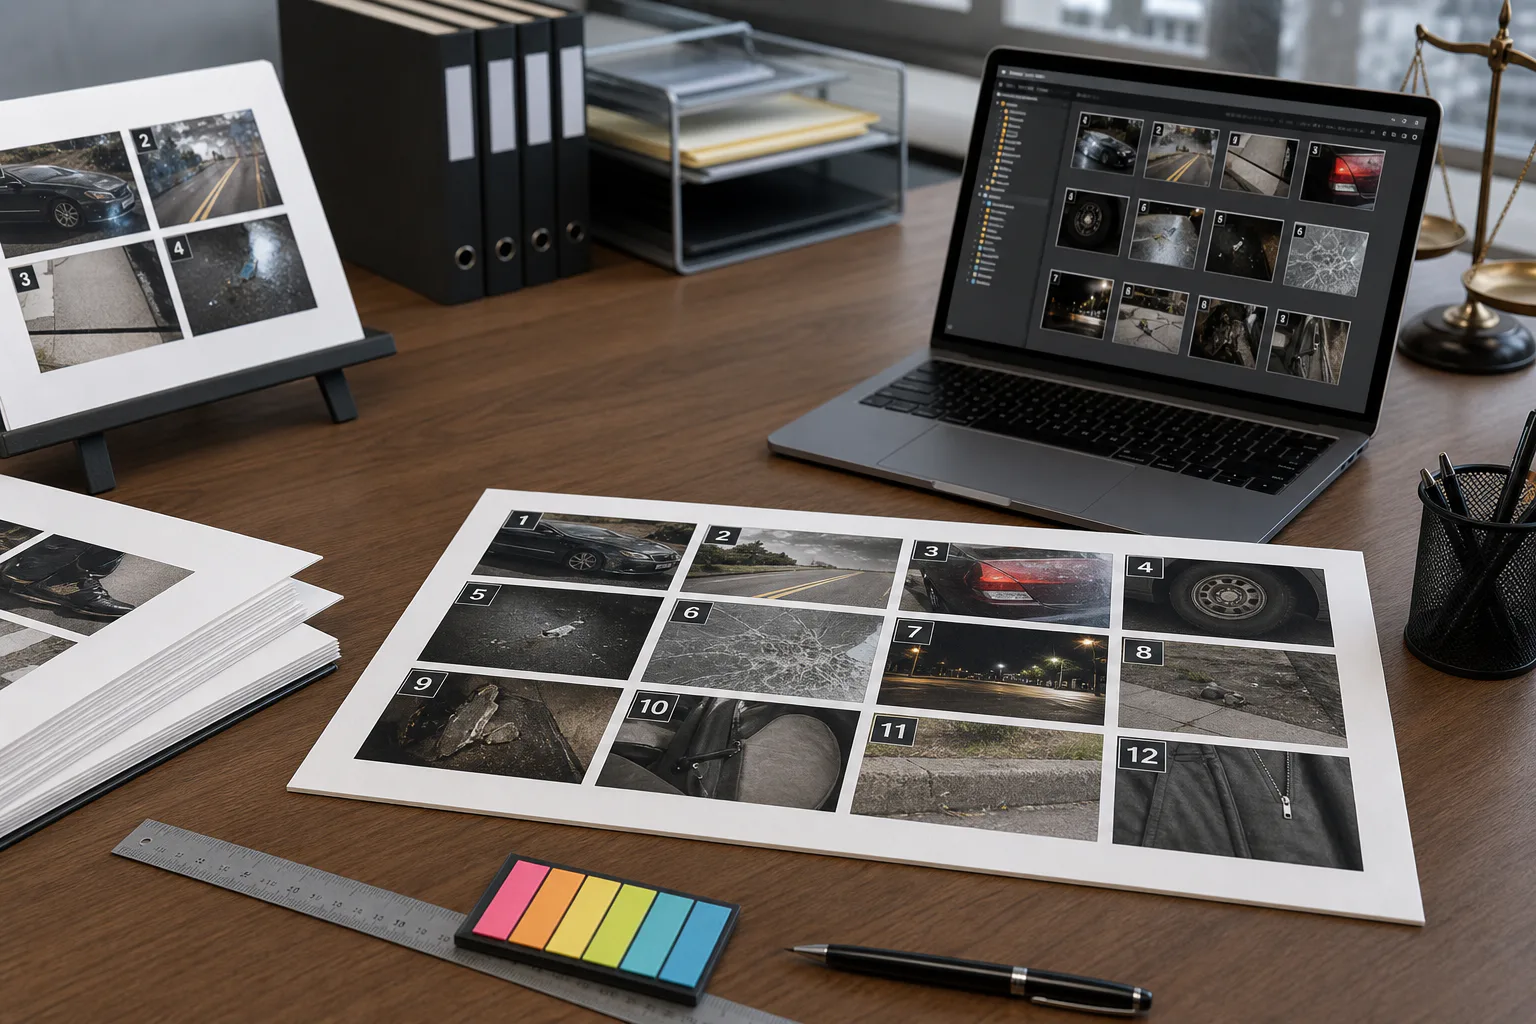
That is where a court exhibit photo board helps. It does not need to be fancy. In many cases, the best version is a plain page with a clean grid, consistent numbering, readable images, and enough surrounding context for a reviewer to understand what each image shows. The goal is not decoration. The goal is clarity.
This guide is for legal assistants, paralegals, claims coordinators, property managers, compliance teams, and small offices that need to turn mixed image evidence into a clean review-ready packet without relying on layout software. It focuses on practical preparation: choosing the right images, cleaning them without changing meaning, labeling them consistently, using OCR where it helps, and packaging the result as a PDF.
It is not legal advice, and it does not tell you what a court will accept. Always follow the rules of your jurisdiction, your attorney's instructions, protective orders, and any evidence handling requirements that apply. The practical aim here is simpler: make image sets legible, organized, and less painful to review.
When a Photo Board Is Better Than Loose Images
Loose image files are useful during collection, but they become awkward during review. File names get truncated. People refer to images by vague descriptions. Two nearly identical photos are confused. A screenshot is separated from the close-up that proves why it matters. Reviewers waste time opening, zooming, and comparing files one by one.
A photo board is better when the reviewer needs to scan many images quickly, cite specific items during a conversation, or compare related views. It gives every image a stable visual position and a simple reference number.
Use a photo board when you have:
- Damage photos from a vehicle, rental unit, construction site, or equipment inspection.
- Screenshots from support tickets, chat logs, listings, product pages, or account screens.
- Close-ups of labels, serial numbers, postage marks, handwritten notes, or small printed details.
- Photos that need to be grouped by location, date, item, room, device, or claim number.
- A review packet where the reader should not have to open separate image files.
Loose files may still be appropriate for originals, metadata preservation, or forensic review. The photo board should usually be a presentation copy, not the only retained version. Keep the untouched originals separately and treat the board as a readable reference layer.
The Minimum Standard for an Exhibit Photo Board
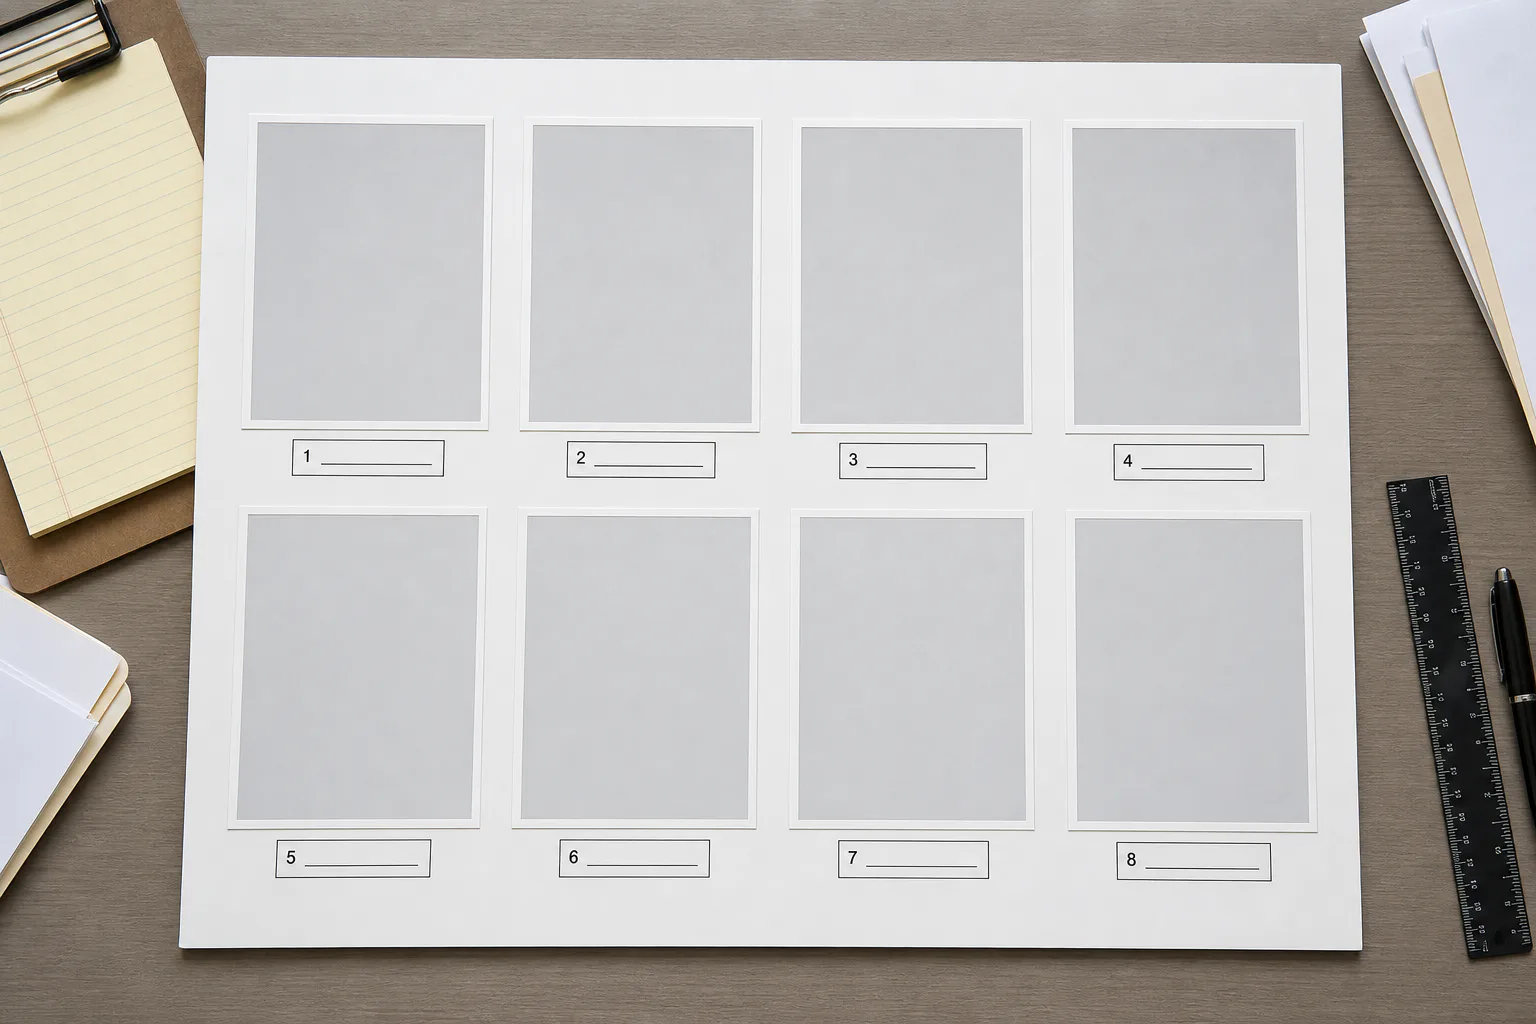
A useful exhibit photo board has five basic qualities: images are readable, labels are stable, ordering is intentional, pages are not overloaded, and the final PDF opens cleanly.
Readable images come first. If the key detail is a crack, timestamp, item label, screen message, or handwritten note, the viewer should not need to guess. A board full of tiny thumbnails may look organized, but it fails if the important detail disappears.
Stable labels are the second requirement. Each image should have a number or short identifier that does not change later. For example, Photo 01, Photo 02, and Photo 03 are easier to discuss than IMG_4839, Screenshot 2026-02-11, or damaged corner maybe final.
Ordering should be deliberate. Good ordering can be chronological, spatial, item-based, or issue-based. What matters is that a reviewer can predict why one image follows another.
Page density should be restrained. A page with twelve tiny photos may be acceptable for a broad contact sheet, but an exhibit board often works better with two, four, or six images per page. If the packet contains small text, labels, or fine damage details, use fewer images per page.
The final PDF should be boring in the best sense: it opens, prints, scrolls, and shares without surprises. If the file is too large, compress supporting images before packaging them. If the images are in mixed formats, normalize them first with a tool such as Convert Image. If the board needs to travel as a single document, convert the prepared images with Image to PDF.
Start With a Copy Set, Not the Originals
Before touching brightness, cropping, rotation, or file names, separate the originals from the working copies. This is especially important for legal, insurance, compliance, and dispute-related material.
A simple folder structure is enough for many small teams:
| Folder | Purpose | Edit it? |
|---|---|---|
01_originals | Untouched source files from phones, cameras, scans, exports, or screenshots | No |
02_selected | Images chosen for the board | Yes, copies only |
03_cleaned | Cropped, rotated, resized, or compressed versions | Yes |
04_pdf_packet | Final board pages and merged PDF | Yes |
05_notes | Index notes, source log, review comments | Yes |
This structure reduces accidental damage. It also makes later questions easier to answer. If someone asks whether a photo was edited, you can point to the original file and the cleaned presentation copy.
Do not rely on memory to explain changes. Keep a brief note when an image is cropped, brightened, converted, or compressed. The note can be plain English: Photo 07: rotated clockwise, cropped to remove table edge, brightness adjusted for readability. That kind of record is more useful than a complicated naming scheme nobody follows.
Choose a Numbering Pattern Before You Build Pages
Numbering mistakes are one of the fastest ways to make an evidence packet frustrating. If the numbers change after review comments have started, people lose confidence in the set.
Pick a pattern early and keep it plain.
Good options include:
P-001,P-002,P-003for a single photo exhibit set.ROOM-A-01,ROOM-A-02for site inspections grouped by location.DEVICE-01,DEVICE-02for hardware or equipment disputes.SCR-001,SCR-002for screenshots separated from camera photos.LABEL-01,LABEL-02for close-ups of markings, tags, or packaging.
Avoid labels that depend on final page position, such as top left, page 3 bottom, or second image after invoice. Those descriptions break as soon as pages are rearranged.
A practical naming pattern looks like this:
| File name | Board label | Description |
|---|---|---|
P-001_front-door-wide.jpg | P-001 | Wide view of front door area |
P-002_front-door-lock-close.jpg | P-002 | Close-up of lock damage |
P-003_keypad-screen-error.png | P-003 | Screenshot of access error |
P-004_serial-label-close.jpg | P-004 | Close-up of device serial label |
The file name can include a short description, but the board label should stay compact. A long label below every image makes the page harder to scan.
A Practical Cleanup Pass for Phone Photos
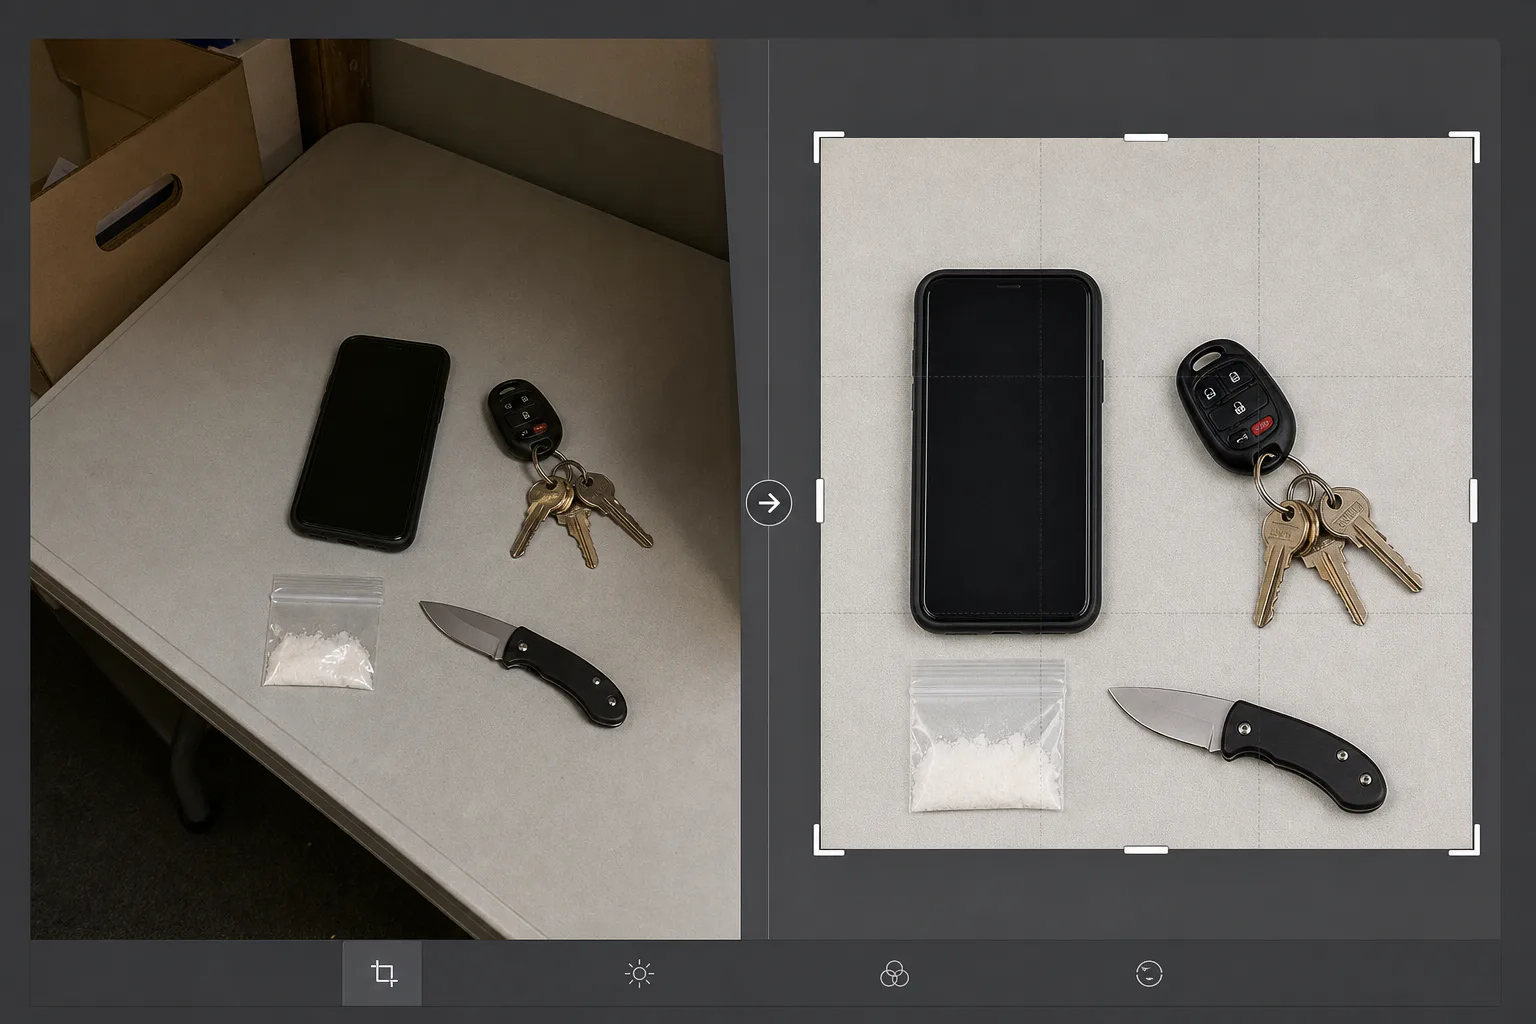
Phone photos often need light cleanup before they belong on a board. The important rule is to improve readability without changing the meaning of the image.
Start with rotation. A sideways image slows review and can make small labels harder to read. Rotate the image so the main subject is upright.
Next, crop only what is not useful. Remove empty table space, accidental fingers, irrelevant wall area, or black screenshot borders. Keep enough surrounding context to show what the image depicts. A close-up of a crack may need the wider image next to it so the reviewer knows where the crack is located.
Then correct exposure carefully. Brighten dark images enough to reveal detail, but avoid aggressive contrast that hides subtle marks or changes color relationships. If color matters, be conservative. If the issue is a printed label or typed text, readability may matter more than color fidelity.
Use resizing to make boards manageable. Large phone photos can be far bigger than needed for a PDF review packet. A 4000-pixel-wide image may not add value if it will appear as a quarter-page image. Resize copies through Resize Image and keep the original full-resolution file in the originals folder.
Compression should come last. If the PDF becomes too large to email, upload, or archive, compress the cleaned copies with Compress Image. Use enough quality to preserve text edges, label numbers, and small damage details. Do not compress originals.
A good cleanup pass usually follows this order:
- Duplicate the selected image into the working folder.
- Rotate it upright.
- Crop irrelevant borders while keeping context.
- Resize oversized copies for the intended board size.
- Adjust brightness only if the key detail is hard to see.
- Compress only when file size is a real problem.
- Save the cleaned copy with the chosen board number.
Handling Screenshots Without Losing Small Text
Screenshots are common in disputes, support investigations, marketplace issues, and account access problems. They need different handling than camera photos.
Do not crop a screenshot so tightly that navigation context disappears. A message, warning, transaction line, or listing detail may be easier to understand when the surrounding interface remains visible. At the same time, remove irrelevant browser chrome if it distracts from the evidence.
Avoid heavy JPEG compression on screenshots. Thin UI text, icons, table borders, and timestamp digits can blur quickly. PNG or WebP often works better for screenshots with flat color and sharp text. If you need to normalize formats before making a PDF, use Convert Image and inspect the result at 100% zoom.
If a screenshot contains sensitive information, handle redaction before board assembly and follow the review rules your organization uses. Do not rely on covering text with a semi-transparent mark. The redacted copy should not reveal the hidden content when zoomed, copied, or processed later.
For long scrolling screenshots, consider splitting the image into readable sections. A single extremely tall screenshot may become unreadable when fit onto a page. Split it into logical parts and label them as SCR-004A, SCR-004B, and SCR-004C if they belong together.
Use OCR as a Review Aid, Not a Replacement for Visual Checks
OCR can help when evidence images contain printed labels, screenshots, serial numbers, forms, receipts, or small annotations. It is especially useful for building an index or confirming that a label appears in the expected image.
For example, if you have a batch of photos showing equipment tags, OCR can help you find which image contains a specific serial number. If you have screenshots of error messages, OCR can help capture the exact message for a notes column.
Use Image OCR on cleaned copies when text matters. Straightened, well-cropped, evenly lit images usually produce better results than tilted or shadowed photos.
Still, OCR should not be treated as truth by itself. It can confuse 0 and O, 1 and I, or partial digits on curved labels. It can also miss text on glossy surfaces, low-resolution screenshots, or handwritten notes.
A sensible OCR check looks like this:
| Image type | OCR use | Manual check needed |
|---|---|---|
| Serial label photo | Capture model and serial number | Compare every character against the image |
| Screenshot of error message | Extract message text for notes | Confirm punctuation, timestamp, and account context |
| Scanned note | Search for names or dates | Verify handwriting visually |
| Receipt or invoice image | Pull totals, dates, vendor names | Confirm line items and tax figures |
If the OCR result is used in an index, mark uncertain characters. For internal review, Serial: AB10?4 is better than pretending uncertainty does not exist. For formal use, follow your attorney's preferred notation.
Decide How Many Images Belong on Each Page
The right page density depends on image detail. A broad site overview can be smaller. A serial number close-up needs more room. A screenshot with small interface text may need half a page or a full page.
Use this decision table before assembling the board:
| Image content | Suggested page density | Why |
|---|---|---|
| Wide condition photos | 4 to 6 per page | Reviewers need comparison more than tiny detail |
| Damage close-ups | 2 to 4 per page | Fine detail needs visible texture and edges |
| Screenshots with small text | 1 to 2 per page | UI text must remain readable |
| Product labels or serial tags | 2 to 4 per page | Characters must be inspectable |
| Before-and-after pairs | 2 pairs per page | Pairing matters more than density |
| Contact sheet overview | 9 to 12 per page | Useful for selection, not final detail review |
For many packets, a mixed approach works best. Use one page for wide context images, then follow with pages of close-ups. Keep related images near each other, but do not force them into the same grid if readability suffers.
If your first PDF feels cramped, it probably is. Print one test page or view it at typical laptop size. If the key detail does not survive that test, reduce the number of images per page.
Build the Board With Captions That Stay Neutral
Captions should identify, not argue. A caption like P-014: broken hinge caused by tenant misuse may be contested and may not belong in a neutral exhibit board. A cleaner caption is P-014: hinge close-up, interior cabinet door.
Use captions to answer basic questions:
- What is shown?
- Where was it captured?
- Which item, room, device, or screen does it relate to?
- Does it connect to another image in the set?
Keep captions short. If you need a longer explanation, put it in a separate index or memo rather than crowding the board.
Examples of better captions:
| Weak caption | Better caption |
|---|---|
Proof of damage | P-008: close-up of left rear panel dent |
Bad installation | P-012: underside view of sink drain connection |
Customer lied | SCR-006: account page showing delivery status |
Serial number | P-019: device label, serial number area |
Neutral captions improve credibility and make the board easier to use in different contexts. The same packet may be reviewed by counsel, operations staff, an adjuster, a mediator, or a court clerk. Clear identification travels better than argumentative wording.
Package the Final Set as a PDF
Once the images are cleaned, numbered, and arranged, package the board as a PDF. PDF is usually easier to share, print, archive, and cite than a folder of separate images.
If your board pages are exported as individual image files, use Image to PDF to combine them into a single document. If you also have a cover page, index, declaration, invoice, inspection report, or other PDF pages, combine them with PDF Merge.
A practical order for a small packet is:
- Cover page or short index, if needed.
- Wide context images.
- Detailed close-ups in the same order as the context images.
- Screenshots or scanned documents.
- Supporting labels, tags, receipts, or reference images.
Use consistent page orientation. Mixing portrait and landscape can be acceptable, but it increases review friction. If the packet will be printed, portrait pages are often easier to handle. If most evidence is screenshot-based, landscape may preserve readability better.
Before sending the PDF, open it on a different screen than the one used for assembly. This catches many practical problems: images that looked readable only on a large monitor, captions that are too small, pages that exported in the wrong order, or a file size that is larger than expected.
Quality Control Checklist Before Sharing
Run a short review pass before sending the packet. This takes less time than correcting a mislabeled board after it has been circulated.
Check the source set:
- Originals are stored separately and were not overwritten.
- Every board image has a matching source file.
- Cleaned copies are clearly separated from originals.
- Any edits are documented in simple notes.
Check image readability:
- Each image is upright.
- Crops preserve enough context.
- Small text is readable at the intended viewing size.
- Important details are not hidden by compression artifacts.
- Similar images are not accidentally duplicated.
Check numbering and captions:
- Labels are unique.
- Labels appear in the intended order.
- File names and board labels match.
- Captions are neutral and specific.
- Related close-ups follow or reference their wider views.
Check the PDF:
- Pages are in the right order.
- The PDF opens without missing images.
- File size is reasonable for the delivery method.
- The packet prints or previews cleanly.
- Redactions, if any, are handled according to your review rules.
For a high-stakes packet, ask someone who did not build it to perform a cold review. Give them the PDF and ask what each image appears to show. If they cannot follow the sequence, the board needs clearer ordering or captions.
Common Mistakes That Make Evidence Images Harder to Trust
The biggest mistake is over-editing. Strong filters, heavy sharpening, dramatic contrast, and color changes can make an image look less reliable. Clean enough to read; do not make the image look transformed.
The second mistake is removing too much context. A close-up may prove a detail exists, but a wider image often proves where that detail was found. Use pairs when necessary: one wide shot and one close-up.
The third mistake is inconsistent numbering. If a file is named P-011 but the board caption says P-010, reviewers will pause. In legal and compliance settings, that pause matters.
The fourth mistake is compressing too early. Compression should usually happen after cropping, resizing, and review. If you compress first, then crop and export again, quality can degrade through repeated saves.
The fifth mistake is building one giant page. Large image collages can look efficient, but they often fail on laptops, tablets, and printed copies. A few extra pages are better than a dense board nobody can read.
A Small Example: Property Damage Photo Set
Imagine a property manager preparing a review packet for a damaged storage room. The source folder contains thirty phone photos, four screenshots from a maintenance system, and two close-ups of product labels.
A clean board might use this structure:
| Label range | Content | Page density |
|---|---|---|
| P-001 to P-004 | Wide views of the room from each corner | 4 per page |
| P-005 to P-010 | Close-ups of wall, floor, and door damage | 2 to 4 per page |
| P-011 to P-012 | Product label and serial number close-ups | 2 per page |
| SCR-001 to SCR-004 | Maintenance system screenshots | 1 to 2 per page |
The preparer keeps the original phone images untouched, creates cleaned copies, rotates the sideways photos, crops empty borders, resizes the oversized images, and uses OCR to confirm the serial number visible in P-011. The final packet includes a short index page and photo board pages merged into one PDF.
Nothing about that packet is visually elaborate. It is useful because the reader can move from broad context to detail, cite any image by label, and open one PDF instead of sorting through loose files.
Final Review Standard
A strong exhibit photo board should feel calm, plain, and easy to verify. The images should be large enough to inspect. The labels should be simple enough to say aloud. The captions should identify without arguing. The PDF should open without requiring special software or explanation.
The practical test is this: can a reviewer who has never seen the source folder understand what each image shows, refer to a specific image without confusion, and find the original if needed? If the answer is yes, the board is doing its job.
Use ConvertAndEdit tools where they remove friction: resize oversized image copies, compress carefully when the packet gets heavy, convert mixed image formats before assembly, extract text with OCR when labels matter, and package the finished pages as a PDF. Keep originals separate, document meaningful edits, and let the board stay focused on clarity.