Darkroom Contact Sheet Digitization: A Field Guide to Searchable Negative Archives
Learn how to photograph, clean, label, OCR, and archive handwritten darkroom contact sheets without losing frame numbers, crop marks, exposure notes, or photographer annotations.
Darkroom Contact Sheet Digitization: A Field Guide to Searchable Negative Archives
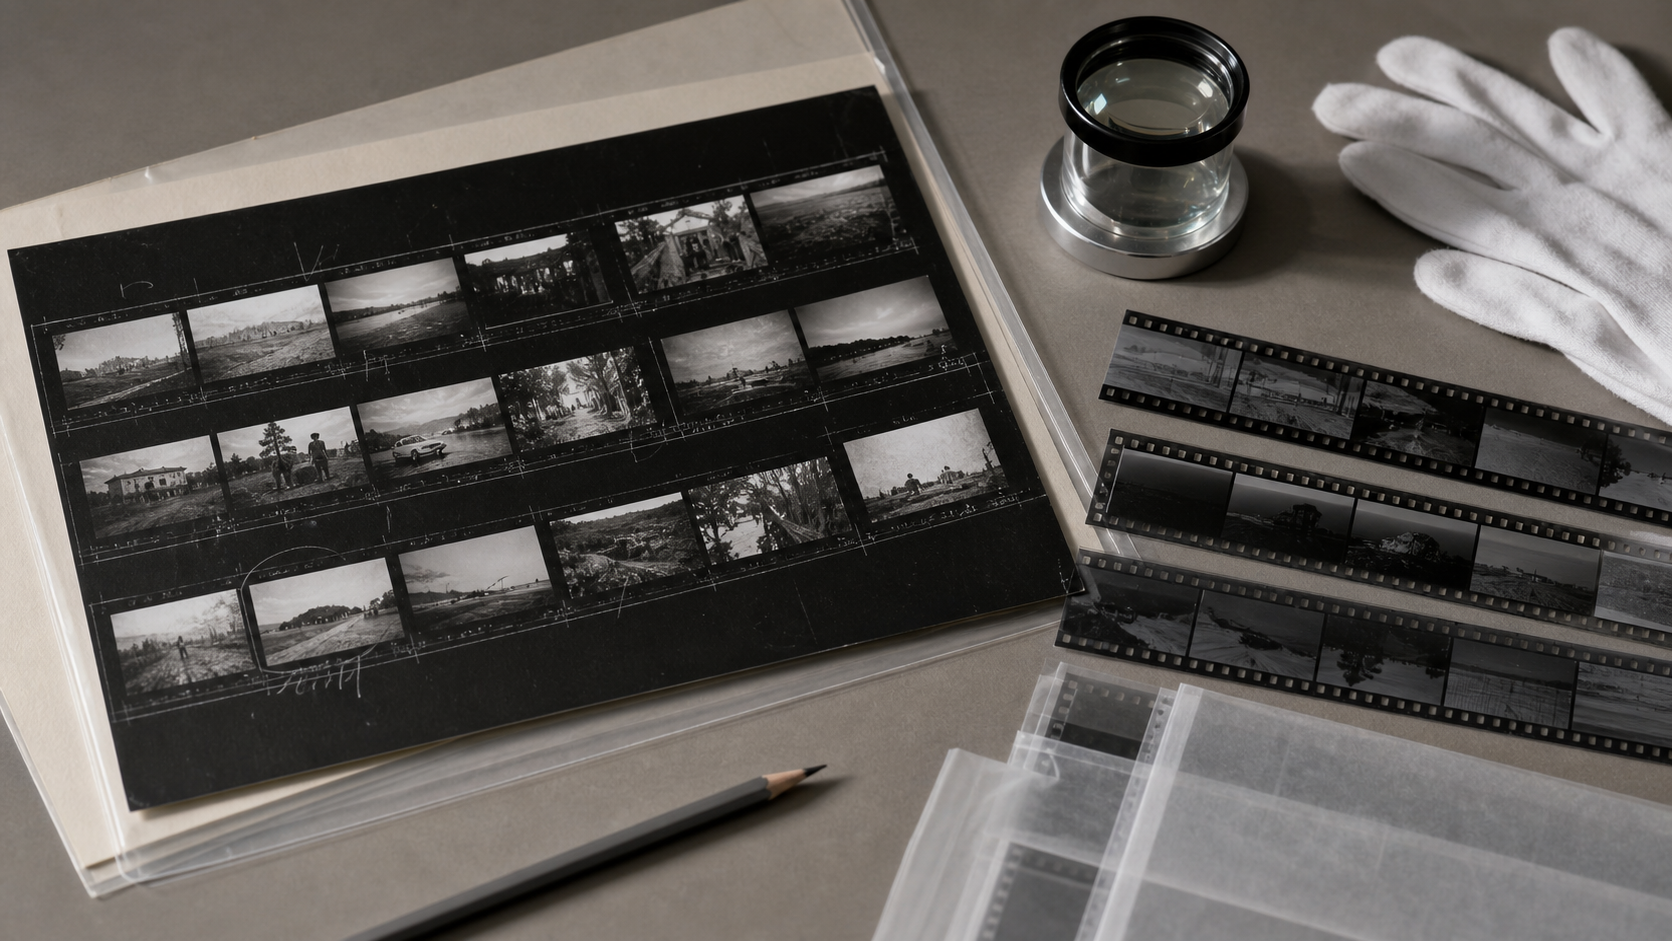
A darkroom contact sheet is more than a page of miniature photographs. It may also contain frame numbers, grease-pencil crop marks, exposure judgments, subject names, printing instructions, dates, and the photographer’s first edit of a roll. When the sheet becomes separated from its negatives—or when its annotations fade—the archive loses part of the reasoning that turned a roll of exposures into a finished body of work.
Digitizing these sheets therefore requires a different approach from ordinary document scanning. A technically sharp image can still be a poor archival record if reflected light hides pencil notes, automatic contrast erases faint marks, or the resulting filename cannot be connected to the correct negative sleeve.
This field guide presents a practical system for small studios, local archives, photography departments, and family collections. It concentrates on preserving visual evidence, making useful text searchable, and creating files that remain understandable without specialized collection software.
Understand What the Contact Sheet Is Recording
Traditional contact sheets were made by placing negatives directly against photographic paper and exposing the arrangement under an enlarger or contact printer. The resulting page preserves the sequence of the negatives at approximately their original size. Depending on the photographer, the sheet may show an entire 35 mm roll, several medium-format strips, or selected large-format negatives.
The page can contain several overlapping information layers:
- Photographic frames, including blank or severely underexposed exposures
- Manufacturer edge markings and negative frame numbers
- Handwritten roll numbers, dates, names, and locations
- Grease-pencil circles, crosses, crop boundaries, and printing notes
- Darkroom test marks, density variations, and chemical staining
- Stamps, filing codes, adhesive labels, or later archival annotations
- Evidence of the original strip order and orientation
Do not treat the photographs as the only valuable content. A red crop box drawn over a portrait may identify the composition that was printed or published. A small cross might mark a rejected frame. Even an apparently empty exposure can confirm that the negative sequence is complete.
The safest default is to capture the entire sheet, including margins, holes, torn corners, labels, and blank areas. Cropped derivatives can be produced later.
Define the Archive Unit Before Capturing Anything
Decide what one catalog record represents. This choice affects filenames, folder structure, OCR, and the amount of manual description required.
For most small collections, the contact sheet should be the primary archive unit. Individual frames can be referenced within its record rather than saved as dozens of separate master files. This preserves sequence while keeping the project manageable.
| Archive unit | Best use | Main drawback |
|---|---|---|
| One file per contact sheet | General preservation and browsing | Individual images are not separate assets |
| One file per negative strip | Damaged or rearranged sheets | Loses the page-level editing context |
| One file per frame | Publication-ready image discovery | Creates substantial cataloging work |
| Sheet master plus selected frame crops | Most working archives | Requires a clear derivative naming rule |
Assign a stable identifier before photography. A useful pattern is collection-box-sleeve-sheet, such as MW-03-117-CS01. It should describe the physical location or an established accession number, not a guess about the subject.
Write that identifier on an archival reference card placed beside—not on top of—the sheet during an initial reference capture. Then remove the card for the clean master image. This provides visual evidence if files are accidentally renamed later.
Inspect and Stabilize the Sheet
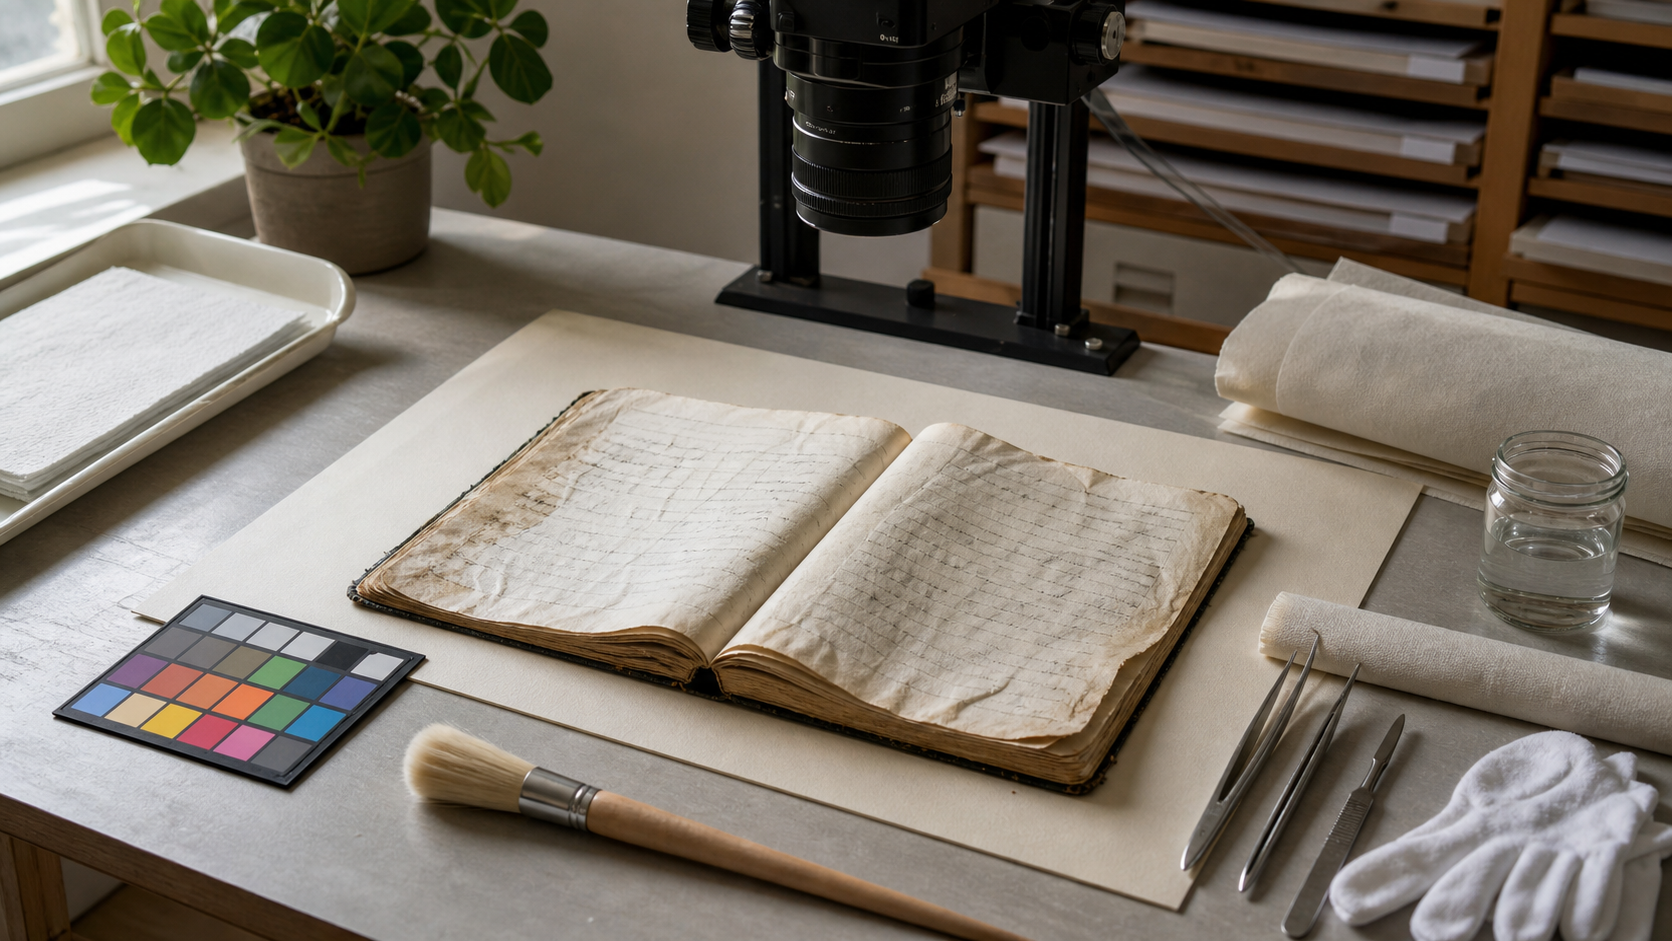
Work on a clean, dry surface away from food, drinks, direct sunlight, and open windows. Wash and thoroughly dry your hands. Clean bare hands often provide better control over paper than cotton gloves, although local conservation policy should take priority. Use suitable gloves when handling negatives directly.
Before flattening or cleaning a sheet, inspect it for:
- Cracked or flaking photographic emulsion
- Brittle paper and splitting folds
- Pressure-sensitive tape or failing adhesive
- Mold-like growth, unusual powder, or a musty odor
- Loose labels that may become separated
- Pencil, charcoal, or grease-pencil marks near the edges
- Strong curling caused by storage or processing history
Do not erase marks or apply liquid cleaners. Avoid household glass cleaner, compressed air cans, adhesive removers, and document-feeding scanners. If mold or active emulsion loss is suspected, isolate the item and consult a conservator before continuing.
A mildly curled sheet can often be photographed beneath a clean copy stand with small archival weights positioned outside the image area. Do not force a brittle sheet flat. Photographing gentle curvature is preferable to causing a tear.
Choose a Capture Setup That Preserves Small Marks
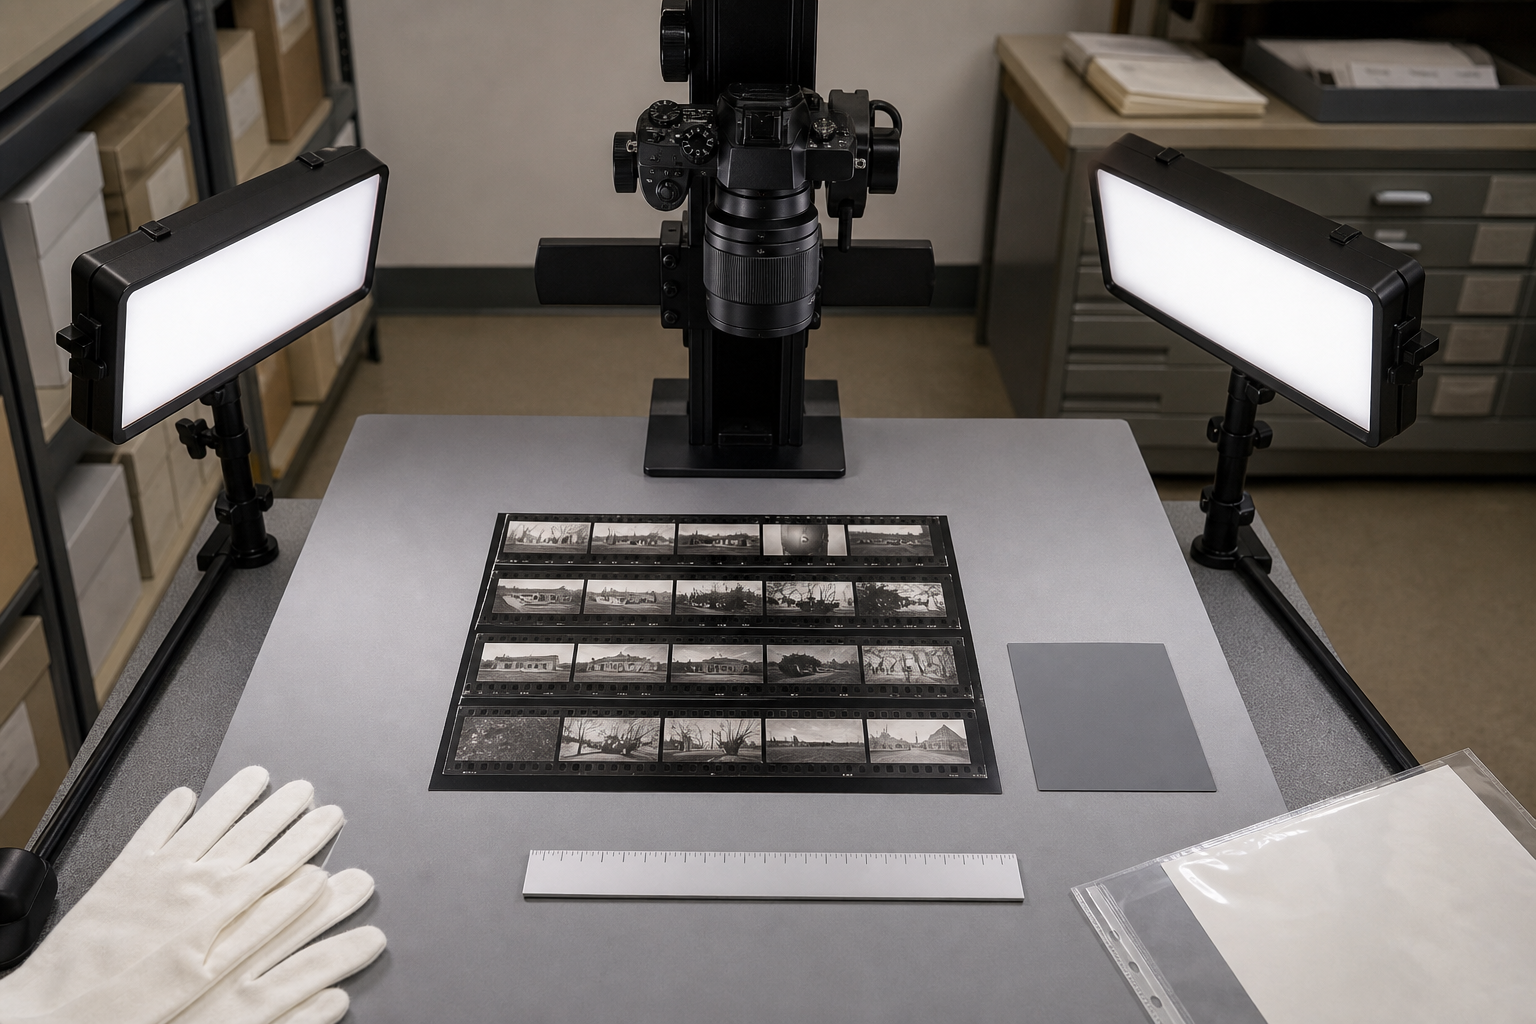
A flatbed scanner can produce excellent detail from stable, flat sheets. A camera copy setup is often safer for brittle, mounted, curled, or oversized material. The best method is the one that records fine marks without putting the original at unnecessary risk.
Flatbed scanning
Use a clean scanner platen and disable automatic document enhancement. Scan in color even when every photograph appears black and white. Color captures pencil, grease marks, paper discoloration, stamps, and retouching media that may disappear in grayscale.
A resolution of 600 ppi is a strong starting point for 35 mm contact sheets because the image frames and edge numbers are small. Larger medium-format contacts may need less resolution, but test whether the smallest useful annotation remains legible at 100 percent view.
Do not press the scanner lid down on curled or fragile material. Newton rings, glare, and focus variation can also occur when glossy sheets do not sit evenly against the glass.
Camera copying
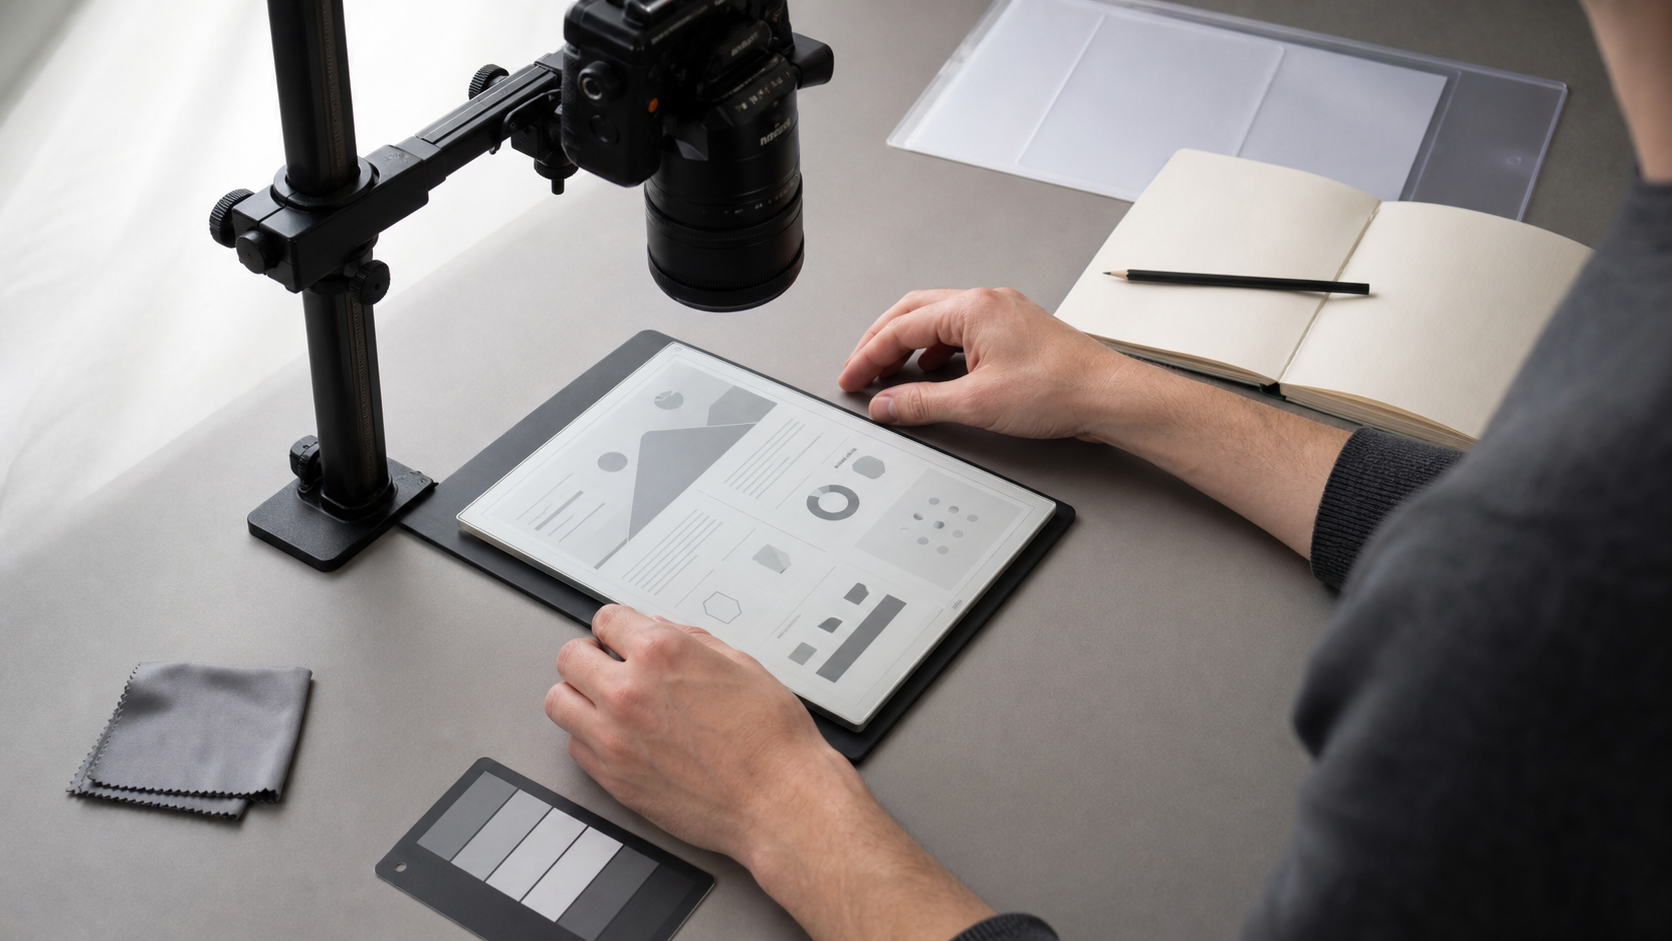
Mount the camera so its sensor is parallel to the sheet. Use a stable copy stand or rigid overhead support, not a handheld position. Place two diffused lights at matching angles on opposite sides. This reduces shadows and provides even illumination.
Glossy fiber-based prints may reflect the lights or camera. Adjust light height and angle while watching the darkest frames, since reflections are easiest to see there. Cross-polarization can suppress stubborn glare, but it should be tested carefully because it may change the appearance of metallic ink, surface sheen, or retouching marks.
Include a ruler and neutral color reference in the setup capture. Remove them from the preservation master unless your archive requires targets in every file.
Use a moderate aperture that provides edge-to-edge sharpness without excessive diffraction. Set the lowest practical ISO, focus manually, and trigger the camera without touching it. Capture raw files when possible, then export a high-quality archival master in a widely supported format.
Make Exposure Decisions for Both Paper and Photographs
Contact sheets contain extreme tonal differences: pale paper borders, dense black frames, thin negatives rendered as light images, and annotations of uncertain contrast. A single automatic exposure adjustment can protect one region while damaging another.
Check the histogram, but also inspect representative areas at full size:
- A nearly black photographic frame
- A highlight area within a correctly exposed frame
- The paper margin
- The faintest pencil or grease-pencil note
- Any label with typed or stamped characters
Avoid clipping the paper to pure white. Subtle staining and surface boundaries may matter later. Likewise, do not force the darkest frames to uniform black merely to make the page look cleaner.
If the sheet has severe glare or exceptionally dense and faded regions, make a second diagnostic capture with modified lighting or exposure. Keep it as a clearly labeled supplement, not as a silent replacement for the neutral master.
Create a Preservation Master and Reading Derivatives
One file does not need to perform every job. Preserve a restrained master, then create derivatives optimized for reading, OCR, browsing, or publication.
The preservation master should retain the complete sheet, natural color, original orientation, and generous tonal information. Limit edits to corrections that describe the capture rather than reinterpret the object: neutral white balance, lens correction, careful rotation, and minimal global exposure adjustment.
A reading derivative can receive stronger treatment:
- Straighten the page precisely
- Crop close to the outer edge while retaining the entire object
- Reduce uneven illumination
- Increase local contrast moderately
- Apply restrained sharpening after resizing
- Reduce color noise without smoothing pencil lines
- Produce a second grayscale version when it improves legibility
The AI Photo Editor can help with localized cleanup on access copies, especially when a distracting capture background needs simplification. Do not use generative removal, reconstruction, or beautification on the preservation master. An archive image must not acquire invented frame details or reconstructed handwriting.
Use the image conversion tool when access systems require JPEG, PNG, or WebP derivatives. Keep the original high-quality master separately; format conversion should create a new file rather than overwrite it.
Separate Faithful Correction From Visual Reconstruction
Contact sheets often look untidy because they were working documents. Dust, processing stains, tape shadows, handling wear, and crossed-out frames are part of their history. The aim is legibility, not cosmetic perfection.
A useful rule is to ask whether an edit corrects the capture or changes the object.
| Edit | Master file | Access derivative |
|---|---|---|
| Rotation and perspective correction | Yes | Yes |
| Camera color correction | Yes | Yes |
| Mild global tonal adjustment | Yes | Yes |
| Background outside the sheet removed | No | Sometimes |
| Dust spot removed from a photographed frame | No | Only if disclosed |
| Handwriting strengthened locally | No | Diagnostic copy only |
| Torn corner reconstructed | No | No |
| Missing image content generated | No | No |
If a stronger edit is genuinely useful, label the result as an enhanced reading copy. Keep the unchanged master and document what was done. This distinction protects the credibility of the archive while still allowing practical interpretation.
Extract Text Without Trusting OCR Too Much
Contact sheets are hostile OCR material. They mix tiny edge numbers, handwriting, rotated labels, photographic textures, stamps, and lines drawn through text. OCR can accelerate discovery, but it should not be treated as a definitive transcription.
Start by creating a high-contrast reading derivative. If the sheet contains several distinct text areas, crop them into separate images: top margin, bottom margin, sleeve label, and photographer notes. Rotate each crop so its main writing direction is horizontal.
Run those crops through Image OCR, then compare every important result with the image. Record uncertain characters with a consistent convention such as square brackets or a question mark. Do not silently convert an ambiguous 1 into I, or assume that a two-digit number is a year.
Separate different kinds of text in the catalog:
- Transcribed text: characters read directly from the sheet
- Normalized terms: standardized names, dates, or places used for searching
- Supplied description: information inferred by the cataloger
- Frame references: numbers visible within or beside the negative images
For example, a sheet might read J. Smth, Brghtn, 4/72. The transcription should preserve those visible forms. Separate normalized fields could contain J. Smith, Brighton, and 1972-04, provided the evidence supports those interpretations.
This separation prevents a helpful guess from masquerading as original text.
Read Crop Marks and Editorial Symbols as Data
Automated text recognition will not explain most visual annotations. A human reviewer must describe marks consistently.
Create a small controlled vocabulary before reviewing hundreds of sheets. Possible terms include:
- Circled frame
- Crossed frame
- Full-frame selection box
- Interior crop boundary
- Printing exposure note
- Contrast-grade note
- Retouch instruction
- Publication or assignment code
- Unidentified mark
Do not assume every circle means “selected” or every cross means “rejected.” Practices differ among photographers, editors, and darkrooms. Describe the visible mark first. Interpret its meaning only when collection documentation or repeated evidence makes that interpretation reliable.
Color also matters. A red grease-pencil box and a graphite outline may have been added at different stages. Retain the color master even if a monochrome derivative makes the photograph easier to inspect.
Build a Frame-Level Index Without Over-Cataloging
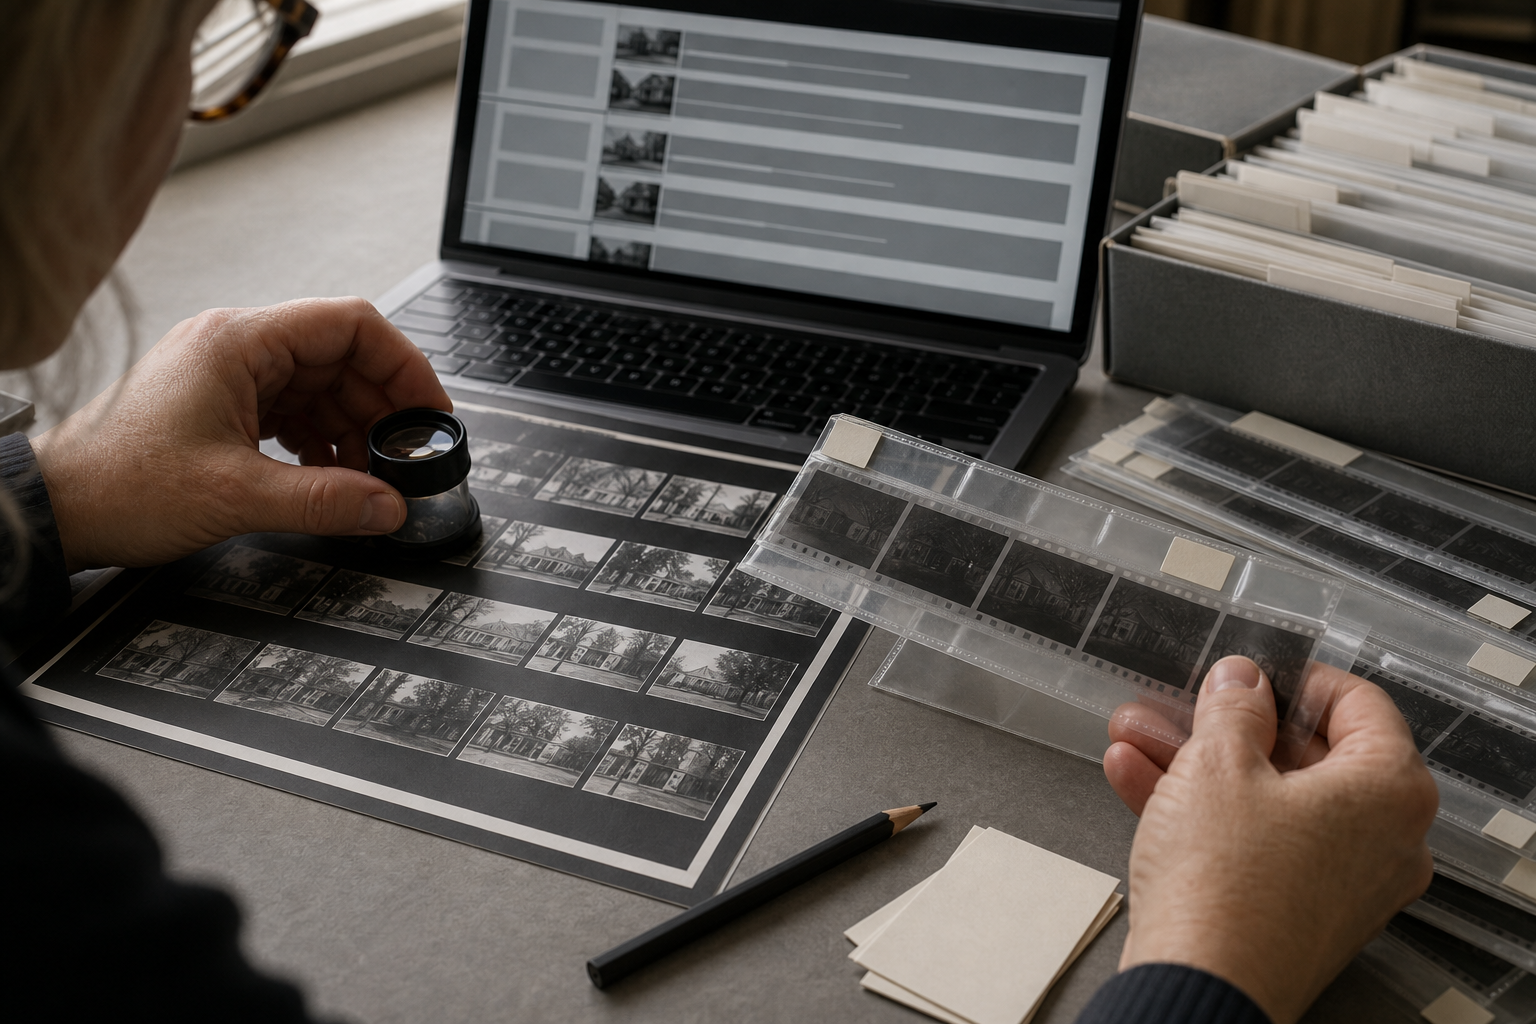
Frame-level indexing makes an archive searchable, but describing every visible person and object can consume more time than digitization itself. Use a tiered approach.
First, create a sheet-level record containing the stable identifier, physical location, capture date, photographer if known, approximate original date, format, visible roll number, and a concise subject summary.
Next, index only frames with a clear reason for individual discovery:
- Frames marked or circled by the photographer
- Images known to have been published or printed
- Frames containing named people, places, or objects central to the collection
- Unusual technical experiments or darkroom tests
- Images requested by researchers
- Frames linked to an existing print or publication record
Use a compact reference such as MW-03-117-CS01-F24A. Preserve the exact frame notation visible on the negatives when possible. If edge numbers cannot be read, use a positional code such as R3C5 for row three, column five, and state that it is an assigned location rather than an original frame number.
A minimal frame record might include:
| Field | Example |
|---|---|
| Sheet ID | MW-03-117-CS01 |
| Frame reference | 24A |
| Position | Row 4, frame 2 |
| Visible mark | Red crop boundary |
| Subject | Person beside shop entrance |
| Name status | Unidentified |
| Related print | PR-03-884 |
| Note | Similar scene appears in frames 23A–25A |
This is enough to support discovery without pretending that every miniature photograph has been fully researched.
Use Filenames That Preserve Relationships
Filenames should connect masters, reading copies, OCR crops, and frame derivatives without relying on folder location alone.
A practical pattern is:
MW-03-117-CS01_master.tifMW-03-117-CS01_access.jpgMW-03-117-CS01_reading-gray.pngMW-03-117-CS01_ocr-top-margin.pngMW-03-117-CS01-F24A_detail.jpg
Use lowercase or uppercase consistently. Avoid spaces, changing descriptive phrases, and filenames based only on subjects such as man-at-store-final2.jpg. Subjects can be corrected later; stable identifiers should not need to change.
If web access copies are too large, use image compression on derivatives only. Inspect small edge numbers, fine crop marks, and pencil notes after compression. A file can look acceptable as a thumbnail while its archival clues have become blocky or blurred.
Assemble a PDF Reference Packet
A PDF reference packet is useful when researchers, donors, or colleagues need to review several sheets without accessing the master repository. It can also keep the sheet image, transcription, and catalog notes together.
Create one or more pages per contact sheet:
- Full-sheet access image
- Enlarged views of marked or important frames
- Transcribed annotations
- Stable identifier and physical location
- Notes about uncertainty, orientation, or missing negatives
Convert prepared page images with Image to PDF. If notes, cover sheets, or separate PDF records must be combined, use PDF Merge to assemble the review copy.
Do not treat the PDF as the preservation master. It is a convenient presentation layer, and its images may be resized or compressed. Keep the original image files and structured catalog data separately.
Match Sheets to Negative Sleeves Carefully
A contact sheet and a negative sleeve may appear to match because they show the same event, but similar rolls can be easily confused. Verify the relationship using multiple clues.
Compare:
- Frame sequence and blank exposures
- Edge numbers and film stock markings
- Orientation of the strips
- Distinctive scratches or processing defects
- Roll identifiers on sheet and sleeve
- Number of frames and strip boundaries
- Repeated subjects at the beginning or end of adjacent rolls
Do not renumber negatives merely to make them conform to a contact sheet. Record discrepancies explicitly. The sheet may have been printed from selected strips, assembled out of order, or created after negatives were cut and reorganized.
When the match is secure, record reciprocal links: the sheet record points to the sleeve, and the sleeve record points back to the sheet. If confidence is limited, use language such as probable match and document the evidence.
Perform Quality Control at Three Viewing Scales
Reviewing only the full page misses focus problems. Reviewing only at 100 percent misses rotated pages and bad crops. Inspect each master at three scales.
Whole-sheet view
Confirm that the complete object is present, orientation is correct, color is plausible, and illumination is even. Check that no weight, ruler, finger, or reference card overlaps the sheet.
Frame view
Inspect several frames in the center and at every corner. Look for motion blur, focus falloff, reflections, compression artifacts, and clipped highlights. Confirm that negative edge markings remain distinguishable where the original allows it.
Annotation view
Inspect the faintest pencil note, smallest frame number, colored mark, and any label. Compare the transcription against the image. Check that sharpening has not created false letter strokes.
Use a short completion checklist:
- Stable identifier confirmed against the physical item
- Master includes all edges and annotations
- Focus checked in center and corners
- No destructive automatic enhancement applied
- Access derivative opens correctly
- OCR reviewed rather than accepted blindly
- Uncertain readings marked consistently
- Sheet-to-sleeve relationship recorded with confidence level
- Backup copy verified
- Physical sheet returned to its documented location
Preserve Context After Digitization
A digital image does not replace responsible physical storage. Return the contact sheet to a suitable enclosure, preserve its association with the negative sleeve, and avoid placing fresh adhesive labels on the original. Store location changes should be recorded immediately.
Maintain at least two copies of the digital masters on different storage devices, with another copy in a separate location when possible. Generate checksums if the collection system supports them, and periodically verify that files still open and match their recorded values.
Keep a small project note describing capture equipment, resolution, lighting, file formats, naming rules, editing limits, OCR conventions, and the date range of the digitization work. Future custodians should not have to reverse-engineer those decisions from the files.
A successful contact-sheet archive does not merely produce attractive scans. It preserves sequence, annotations, uncertainty, and physical relationships. With restrained image correction, reviewed text extraction, stable identifiers, and selective frame indexing, even a modest collection can become substantially easier to search without stripping away the evidence that makes each sheet historically useful.