Kiosk Error Screen Photo OCR: A Field Guide for Support Escalations
Turn blurry kiosk error screen photos into readable OCR notes, clean evidence images, and compact escalation packets for field service and support teams.
Kiosk Error Screen Photo OCR: A Field Guide for Support Escalations
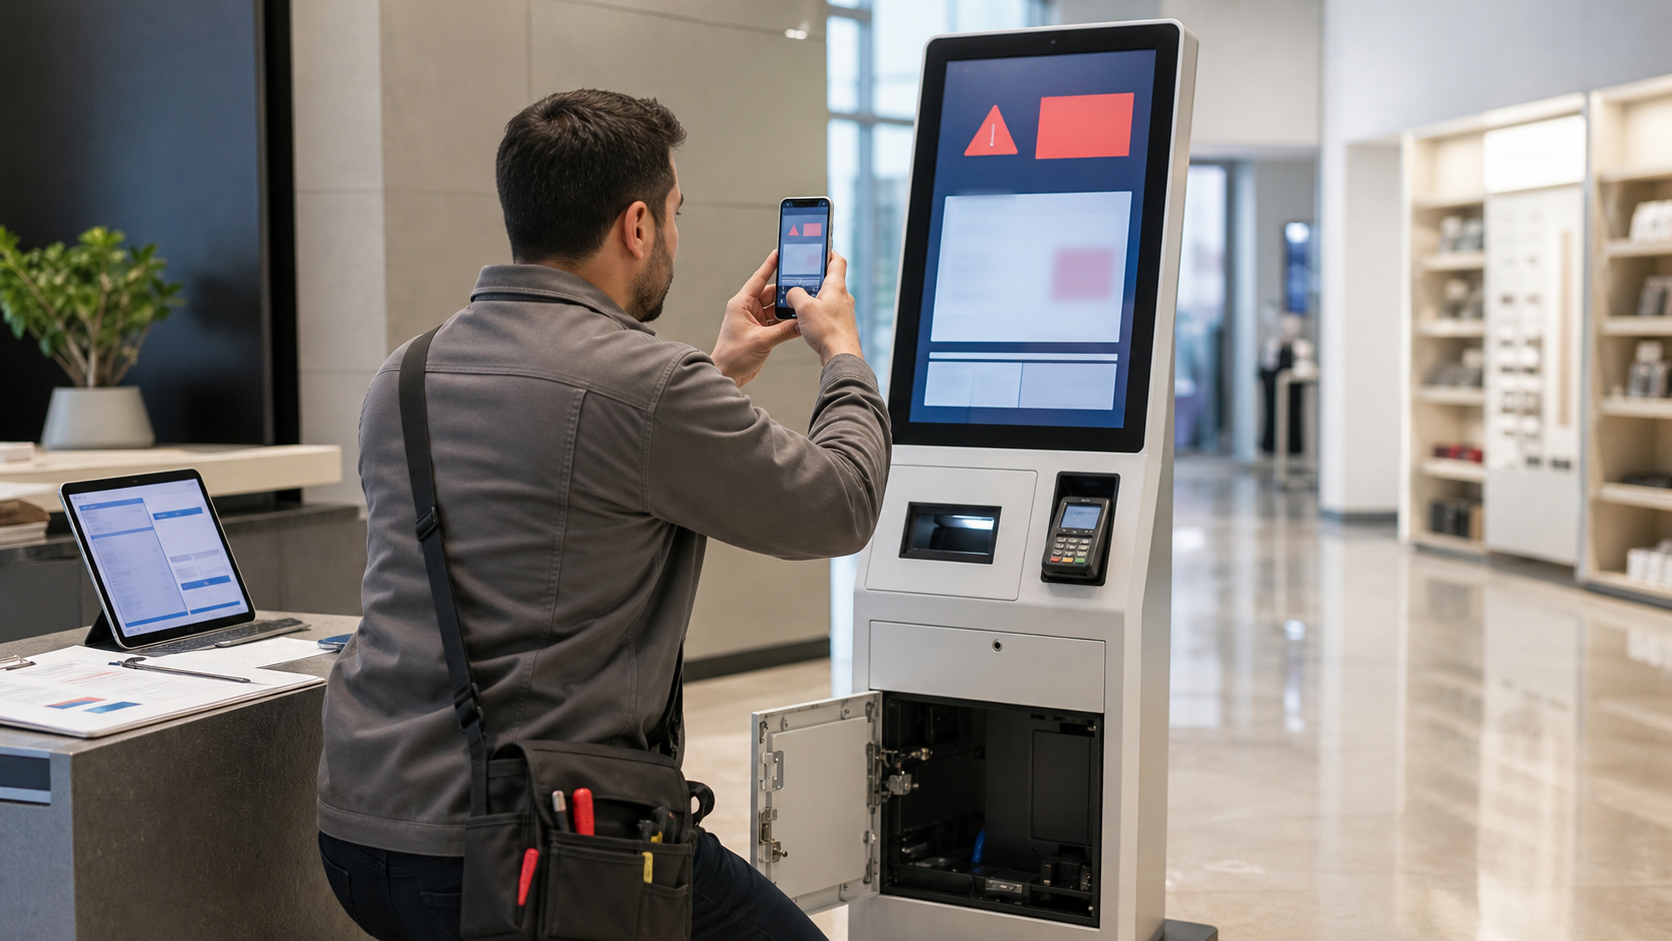
Self-service kiosks fail in very public places: airport check-in rows, hospital lobbies, parking garages, quick-service restaurants, hotel check-in corners, pickup lockers, ticket machines, and visitor registration desks. When they fail, the person closest to the machine is often not the person who can diagnose it. A cashier, attendant, facilities technician, or shift lead may only have a phone and a few minutes before someone reboots the device or tapes an out-of-service note over the screen.
That makes the first photo more important than it looks. A kiosk error screen can contain a device ID, transaction state, module name, time stamp, payment terminal message, printer fault, network warning, or support code that decides whether the escalation goes to software, hardware, payments, networking, or an onsite vendor. If that photo is blurry, cropped too tightly, washed out by reflections, or compressed into mush inside a chat app, the support team loses the fastest clue.
This guide gives field teams a practical standard for turning kiosk error screen photos into readable OCR notes and clean evidence images. It is written for operations managers, support leads, retail IT coordinators, and anyone who needs consistent escalation packets from people who are not image editors.
Why Kiosk Error Photos Are Harder Than Normal Screenshots
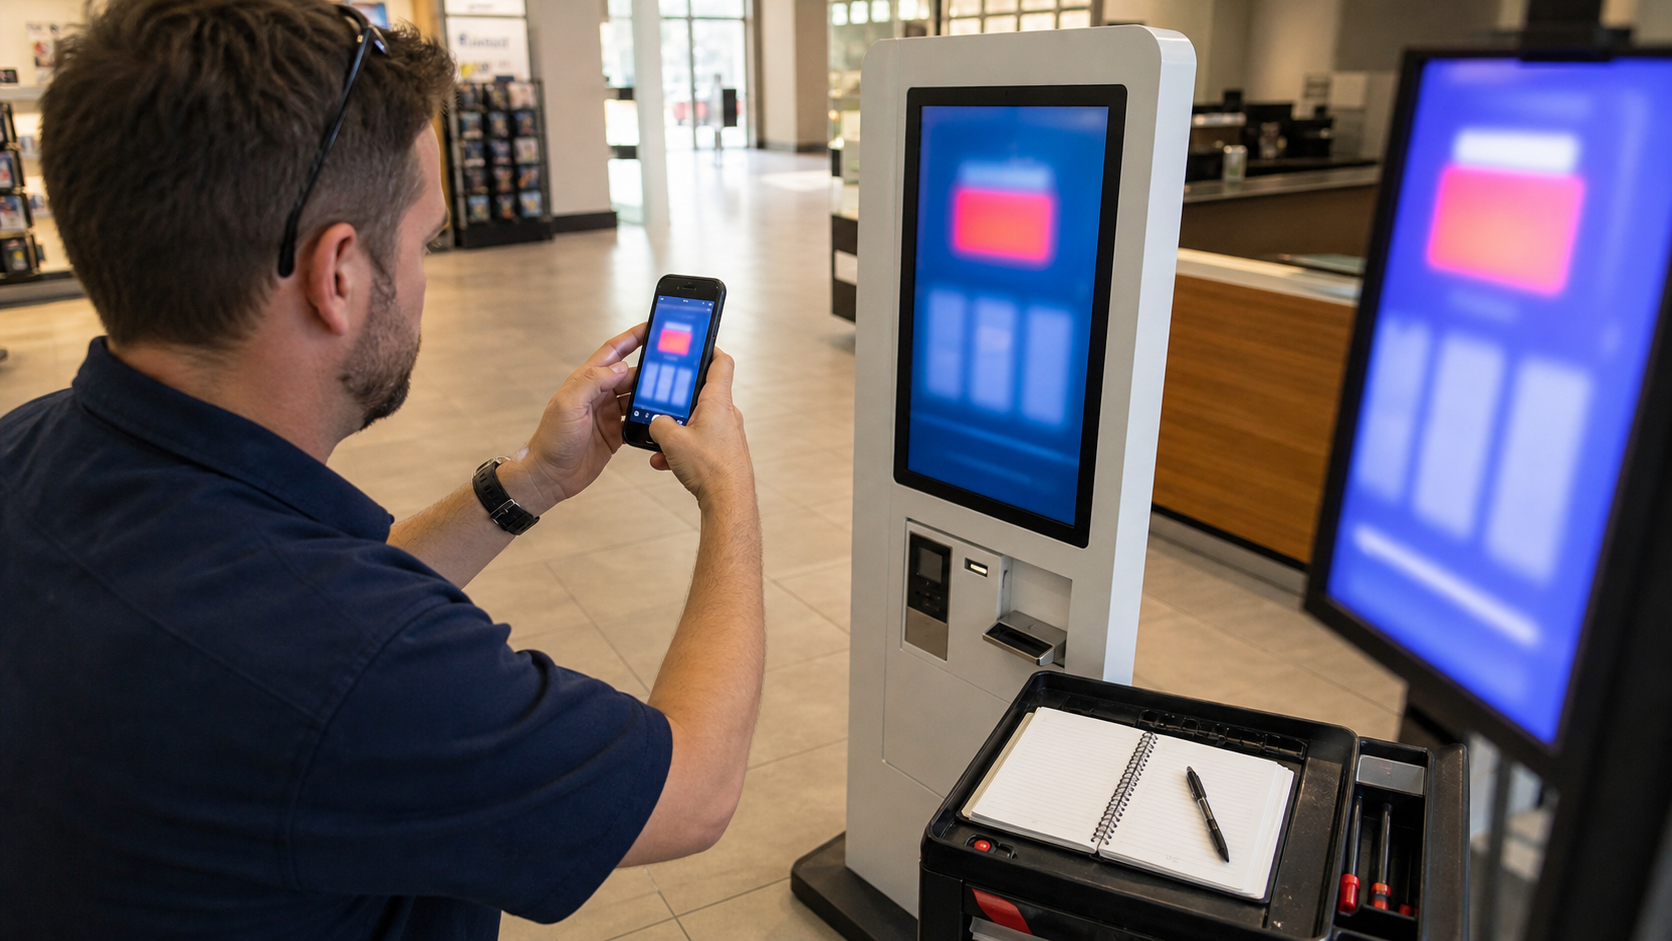
A screenshot is captured directly from the device. A kiosk error photo is usually a picture of a glowing screen behind glass, taken at an awkward angle while customers are waiting. That introduces problems OCR tools do not enjoy.
The most common issues are glare, moire patterns, motion blur, low resolution, tilted perspective, partial cropping, fingerprints, dark bezels, and strong reflections from windows or overhead lights. Kiosks also mix several text types in one frame: large user-facing messages, tiny diagnostic codes, payment terminal prompts, brand logos, system dialogs, browser bars, and sometimes handwritten notes taped nearby.
OCR does not need a beautiful image. It needs stable letter shapes, enough contrast, and a clean region to read. The job is not to make the screen look like a marketing asset. The job is to preserve the important evidence while removing obstacles that make the text harder to extract.
For kiosk incidents, the best output is usually three things:
- A cleaned image of the screen that a support engineer can inspect visually.
- OCR text copied into the ticket so it is searchable.
- A compact PDF or image packet that can be attached without bloating the help desk thread.
That combination is much stronger than a single raw phone photo.
The Capture Standard: What to Photograph Before Anyone Reboots
The best cleanup starts before editing. If field staff capture the right set of images, support can recover from one bad shot. If they capture only a single tilted close-up, every later step becomes guesswork.
Ask teams to take four photos before rebooting, unplugging, clearing a dialog, or covering the screen.
| Photo | Purpose | Capture tip |
|---|---|---|
| Full kiosk | Shows location, hardware model, peripherals, and visible status lights | Stand far enough back to include the whole unit |
| Straight screen | Best source for OCR and support-code reading | Hold the phone parallel to the display |
| Angled screen | Helps defeat glare from overhead lighting | Move left or right until reflections shift away from text |
| Peripheral detail | Captures printer, scanner, card reader, cash module, or locker bay state | Include any blinking lights or physical jam indicators |
The straight screen photo is the OCR candidate. The full kiosk photo is context. The angled screen photo is insurance against glare. The peripheral detail photo helps route the case.
Small capture habits make a measurable difference:
- Tap the screen area on the phone before taking the photo so focus lands on text, not the bezel.
- Avoid digital zoom when possible; move closer instead.
- Take the photo before opening a messaging app, because some apps reduce quality immediately.
- Keep the entire error dialog visible, including corners and buttons.
- If the screen cycles between messages, record a short video and later extract the clearest frame.
Do not ask field staff to crop or annotate immediately. In the moment, complete capture matters more than polish.
Decide What the Ticket Must Prove
Before cleaning the image, decide what information the escalation needs. Kiosk incidents often get delayed because the ticket contains a vague message like "screen frozen" while the photo contains a specific fault that nobody transcribed.
Use this quick routing table.
| Visible clue | Likely escalation path | What to preserve |
|---|---|---|
| Payment declined, terminal unavailable, PIN pad error | Payments or device vendor | Terminal code, merchant ID fragment, exact wording |
| Printer out, cutter jam, paper sensor fault | Hardware or onsite service | Printer status, kiosk ID, physical paper path photo |
| Network unavailable, server timeout, API error | IT, network, or software | Time stamp, endpoint clue, retry count, location |
| Browser error, certificate warning, app crash | Software or endpoint management | URL fragment if visible, certificate date, app version |
| Locker, scanner, camera, scale, or dispenser fault | Peripheral vendor | Module name, bay number, sensor message |
| User-facing apology with no code | Operations or support triage | Full screen plus kiosk location and time |
This matters because cleanup choices depend on the target. If the support team needs a tiny code in the lower corner, do not crop it away to make the main message look cleaner. If the screen contains customer information, the cleanup pass may need redaction before sharing outside the company.
A Cleanup Pass That Preserves Evidence
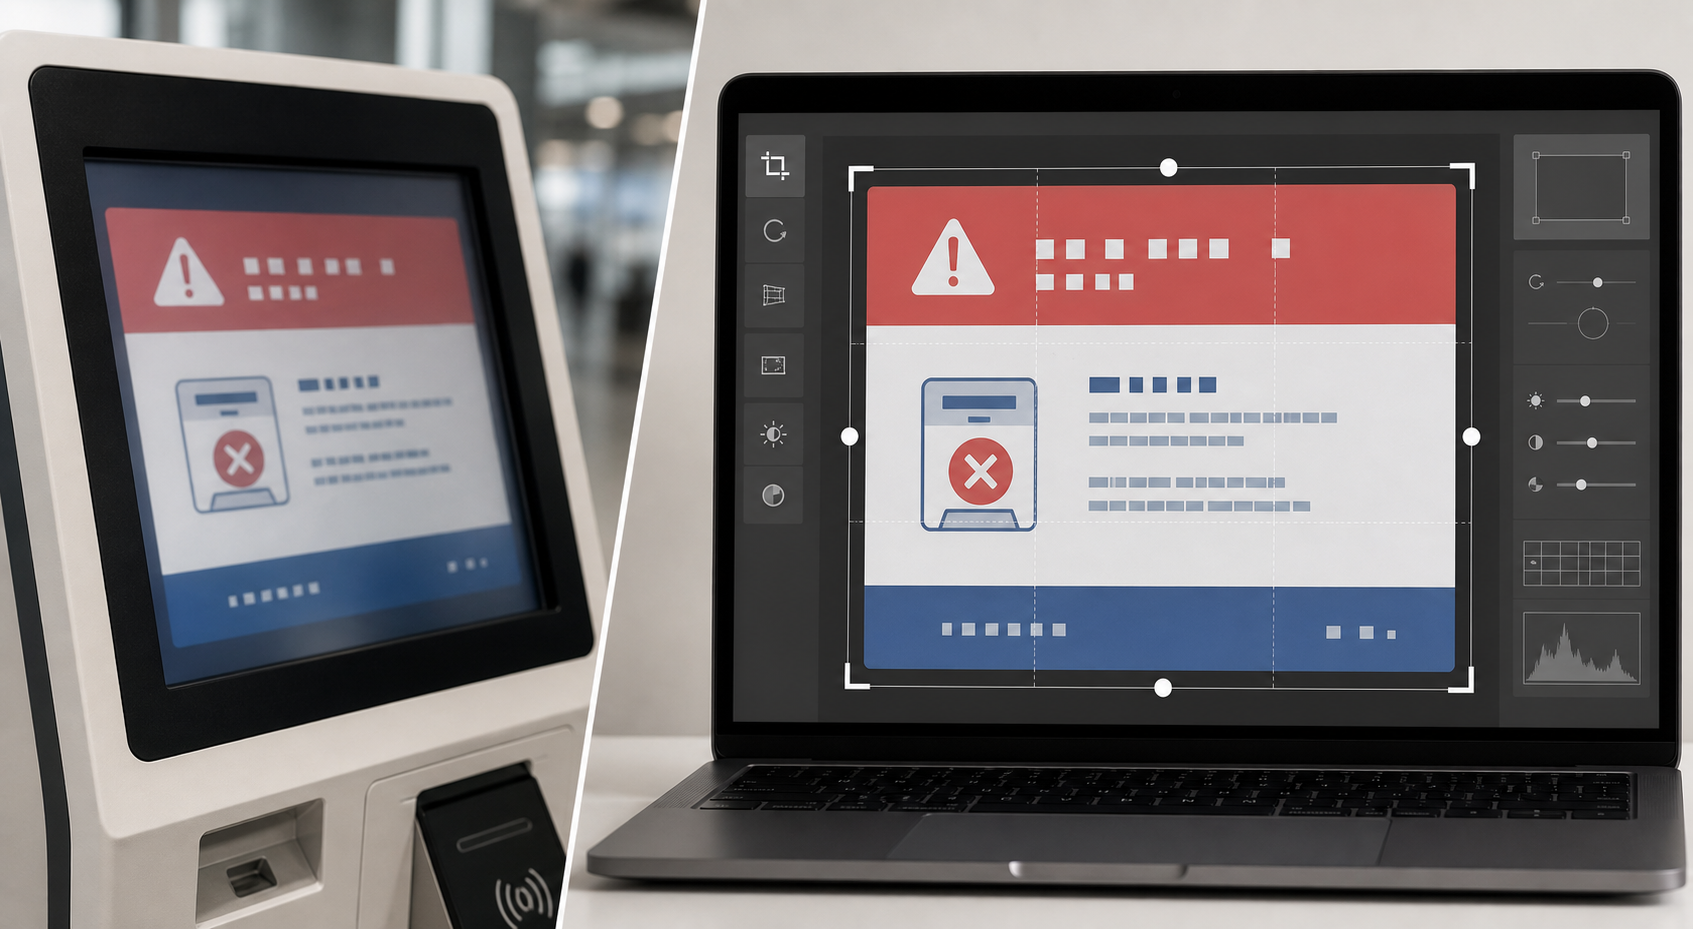
A good kiosk cleanup pass is conservative. The edited image should be easier to read, but it should not hide the original state of the machine. Avoid heavy retouching, decorative filters, or anything that changes the meaning of visible text.
Start with the least destructive steps.
1. Choose the strongest source image
Compare the straight and angled screen photos at full size. Pick the one where the smallest important text is sharpest. A photo with slightly worse color but sharper letters is usually better for OCR than a bright, attractive photo with motion blur.
If the only good capture is a short video, pause on the clearest frame and export that frame as an image. Use the frame where the screen text is most stable and glare is least aggressive.
2. Crop to the screen, but keep evidence margins
Crop out floors, walls, and waiting customers. Keep the entire screen area, the dialog edges, and a small margin of bezel if it contains a device label or helps prove the screen belongs to the kiosk.
For basic framing, a tool like Resize Image can help standardize output dimensions after the crop. Avoid making the image tiny too early. OCR benefits from pixels, especially when support codes are small.
3. Straighten perspective only enough
If the screen is tilted, straighten it until lines of text are horizontal and the dialog box is close to rectangular. Do not overcorrect so aggressively that letters become stretched. A slightly angled but sharp photo can outperform a warped correction.
The practical test is simple: zoom to the smallest code or time stamp. If straightening makes those characters easier to distinguish, keep it. If it smears them, use the original crop instead.
4. Improve contrast, not drama
Increase contrast just enough to separate text from background. Reduce highlights if glare is washing out white areas. Lift shadows if the bezel or dark dialog contains small gray labels.
Avoid extreme sharpening. It can create halos around letters, and OCR may misread those halos as punctuation. Avoid heavy denoise on small text because it can erase thin strokes.
When a reflection crosses the screen, do not try to erase it unless it clearly sits outside the text. For evidence images, it is better to preserve a visible reflection than to create an edited patch that looks suspicious.
5. Keep a raw copy
Always retain the original photo. The cleaned image is for reading and escalation. The original is the evidence source. If a vendor questions the edit, the raw capture resolves the issue.
A simple naming pattern helps:
| File | Meaning |
|---|---|
location-kioskid-date-raw.jpg | Original phone photo |
location-kioskid-date-screen-clean.jpg | Cropped and readable screen image |
location-kioskid-date-ocr.txt | Extracted text pasted or attached |
location-kioskid-date-packet.pdf | Final escalation packet |
Names do not need to be pretty. They need to be searchable and unambiguous.
OCR Extraction Without Losing Context
Once the screen photo is cleaned, run OCR on the cropped screen image. The goal is not perfect prose. The goal is to capture enough exact text that a support team can search logs, vendor portals, known issue lists, and past tickets.
Use Image OCR on the cleaned screen crop first. If the output is weak, try the angled photo or a less edited version. Sometimes OCR performs better on a darker original than on a high-contrast edit.
After OCR, manually compare the extracted text against the image. Pay special attention to characters that are often confused:
| Confusing pair | Where it matters |
|---|---|
0 and O | Error codes, kiosk IDs, transaction IDs |
1, I, and l | Module names, serial fragments |
5 and S | Payment and printer fault codes |
8 and B | Device IDs and API responses |
-, _, and spaces | Log keys, URLs, endpoint names |
: and ; | Time stamps and stack-like messages |
Do not paste raw OCR into a ticket without review. A single wrong character can send a support engineer searching for a code that does not exist.
A strong ticket note separates exact transcription from interpretation:
OCR transcription from screen photo:
[Paste cleaned OCR text here]

Human-checked key fields:
Kiosk ID: K-0142
Visible time: 2026-06-25 14:18
Main message: payment terminal unavailable
Possible module: card reader

Field context:
Customer reported failure during checkout. Reboot not attempted before photos.
This format keeps the machine-readable text while making the key facts easy to scan.
Redaction Rules for Public Kiosk Incidents
Kiosks can display sensitive data. Even if the error message looks technical, the surrounding screen may include customer names, appointment details, partial card digits, order numbers, phone numbers, pickup codes, addresses, or staff login identifiers.
Before sharing a cleaned image outside the organization, check for sensitive content in these locations:
- Header bars with account or session information.
- Receipt previews, order summaries, or pickup details.
- Payment dialogs showing partial card data.
- Browser address bars with tokens or internal hostnames.
- Staff override dialogs.
- Reflection of a person, badge, license plate, or customer area.
- Notes taped to the kiosk that include phone numbers or passwords.
Redaction should be obvious and minimal. Cover the sensitive field, not the whole screen. Keep the error code, module name, kiosk ID, and time stamp visible unless policy requires otherwise.
If the image needs visual cleanup beyond cropping and contrast, AI Photo Editor can be useful for non-evidence copies, such as removing distracting background clutter from a context image. For formal incident evidence, keep edits limited and retain the raw file.
Compression Without Destroying Thin Screen Text
Support teams often move incident images through email, help desk portals, chat, and vendor forms. Large phone photos are annoying, but aggressive compression can ruin the exact details the ticket needs.
The safe approach is to create two versions:
| Version | Use | Recommended handling |
|---|---|---|
| Clean readable image | Engineering review and OCR verification | Keep high enough resolution for zooming |
| Compressed attachment | Ticket upload, email, vendor portal | Reduce size only after OCR text is saved |
Use Compress Image after the OCR and manual check, not before. If you compress first, you may permanently blur thin UI lines or small support codes.
For kiosk screen photos, avoid shrinking the longest edge below about 1600 pixels unless the text is very large. If the portal has a strict limit, keep the OCR text in the ticket body so the support team is not dependent on zooming into the attachment.
Compression quality should be judged by the smallest meaningful text, not by the overall appearance. Zoom into the error code, time stamp, and any module label. If those survive, the file is probably acceptable.
Building a Compact Escalation Packet
For simple incidents, a cleaned image plus OCR text in the ticket is enough. For vendor escalations, repeated outages, insurance-style documentation, or management review, a small PDF packet is easier to route.
A good kiosk escalation packet usually contains:
- One full kiosk context photo.
- One cleaned screen crop.
- One peripheral detail photo if relevant.
- OCR transcription and human-checked key fields.
- Location, kiosk ID, date, time, and action taken.
- Raw photo filenames retained internally.
If the team has several images, convert them into a single PDF with Image to PDF. Keep the cleaned screen image near the top so reviewers do not need to hunt through context photos. If several PDFs must be combined, PDF Merge can help create one packet for the ticket.
A practical page order is:
- Summary page with kiosk ID, location, incident time, and key OCR fields.
- Cleaned screen crop.
- Full kiosk context photo.
- Peripheral detail photo.
- Raw screen photo, if the vendor requires it.
This structure gives engineers the readable clue first and evidence context second.
Field Checklist for Shift Leads and Technicians
Use this checklist when writing internal instructions for non-technical staff. It avoids editing jargon and focuses on actions they can perform quickly.
Before rebooting
- Take a full kiosk photo.
- Take a straight-on screen photo.
- Take one angled screen photo to avoid glare.
- Take a photo of any printer, scanner, card reader, cash unit, locker bay, or status light involved.
- Note the time and what the customer or staff member was trying to do.
Before sending
- Do not crop inside the phone if you are unsure what matters.
- Send original quality when the app offers a choice.
- Include location, kiosk ID, and whether anyone rebooted the unit.
- Mention if the screen changed after the photo.
During support cleanup
- Pick the sharpest screen image.
- Crop to the full screen and keep important margins.
- Straighten only if it improves readability.
- Run OCR and manually check key codes.
- Save a cleaned image, OCR text, and a compact packet if escalation requires it.
This checklist is intentionally short. A field guide that is too detailed will not be followed during a lobby incident.
Example: Turning a Blurry Payment Terminal Error Into a Useful Ticket
Imagine a hotel check-in kiosk fails during card authorization. The shift lead sends one full kiosk photo, one straight screen photo, one angled screen photo, and a close-up of the card reader. The straight photo has glare across the main dialog, but the angled photo shows a small terminal message in the lower third.
The support coordinator chooses the angled image, crops to the screen, straightens it slightly, and runs OCR. The first OCR output misreads the terminal code, confusing S with 5. The coordinator checks the image manually and corrects the code in the ticket.
The final ticket contains:
Issue: Check-in kiosk payment failure
Location: Lobby west wall
Kiosk ID: HK-03
Time visible on screen: 22:41
Human-checked screen message: terminal unavailable
Human-checked terminal code: PT-S17
Reboot attempted before photos: no
Attachments: cleaned screen crop, full kiosk photo, card reader photo
That ticket is immediately routable. Payments can search for the terminal code. Onsite support can see which kiosk and reader were involved. The raw photos remain available if a vendor asks for source evidence.
Without the cleanup pass, the ticket might have been "kiosk broken, see photo," which usually creates a long back-and-forth.
Common Mistakes That Slow Down Escalations
The same errors show up across kiosk support programs.
The first is cropping too tightly. A close crop of the main dialog may remove the kiosk ID, browser bar, time stamp, module label, or support button. Crop for readability, but keep diagnostic context.
The second is beautifying the image. Saturation boosts, portrait filters, background blur, and aggressive cleanup can make evidence less trustworthy. Kiosk incident images should look plain and factual.
The third is compressing before OCR. Messaging apps and help desk portals can reduce image quality dramatically. Extract the text before size reduction.
The fourth is skipping manual OCR review. Kiosk codes often contain mixed letters and numbers. OCR is a starting point, not the final authority.
The fifth is failing to note whether the machine was rebooted. A post-reboot photo can show a different state than the original fault. Support needs to know the sequence.
The sixth is sharing sensitive customer information with a vendor unnecessarily. Redact only what must be hidden, but do that check every time.
A Practical Standard for Repeat Incidents
Once a location has more than a few kiosk incidents, standardization matters. Support teams should not invent a new packet format for every outage.
Create a shared template with these fields:
| Field | Example |
|---|---|
| Location | Store 118, north entrance |
| Kiosk ID | K-118-N2 |
| Incident time | 2026-06-25, 09:14 local |
| User action | Customer attempted card payment |
| Visible message | Terminal unavailable |
| Visible code | PT-S17 |
| Reboot before capture | No |
| Attachments | Full kiosk, screen crop, card reader |
| Redaction needed | No customer data visible |
This kind of template reduces ambiguity. It also helps teams compare repeated failures across locations. If the same code appears on three kiosks after a software release, searchable OCR text makes the pattern easier to find.
For larger teams, store the cleaned screen images and OCR text with consistent naming. The searchable text is often more valuable than the image when investigating trends over time.
Final Preflight Before Sending to a Vendor
Before forwarding the packet outside the company, run a quick preflight:
- The cleaned image still matches the raw photo.
- The smallest important code is readable at normal zoom.
- OCR text has been manually checked.
- Sensitive customer or staff data is redacted.
- File names include location or kiosk ID without exposing private data.
- The packet is small enough to upload but not so compressed that text is damaged.
- The ticket states whether reboot, reset, or physical intervention happened before capture.
This final pass takes a few minutes and can save days of back-and-forth.
Conclusion
Kiosk error screen photos are not just pictures. They are diagnostic records captured under pressure by people who may not know which detail matters. A reliable guide turns those photos into searchable OCR text, readable evidence images, and compact escalation packets that support teams can act on.
The key is restraint: capture enough context, clean only what improves readability, preserve the raw source, verify OCR by eye, and package the result in a form that fits the ticket. Tools like Image OCR, Resize Image, Compress Image, and Image to PDF can cover the practical steps without requiring layout software or specialist image editing skills.
When every kiosk incident arrives with a readable screen crop, checked OCR text, and clear context, support teams spend less time asking for another photo and more time fixing the actual failure.

