Legacy Portal Screenshot OCR Cleanup: A Practical Guide for Messy Admin Screens
Clean up low-resolution admin portal screenshots before OCR, documentation, audits, and support archives with practical crop, contrast, redaction, and export checks.
Legacy Portal Screenshot OCR Cleanup: A Practical Guide for Messy Admin Screens
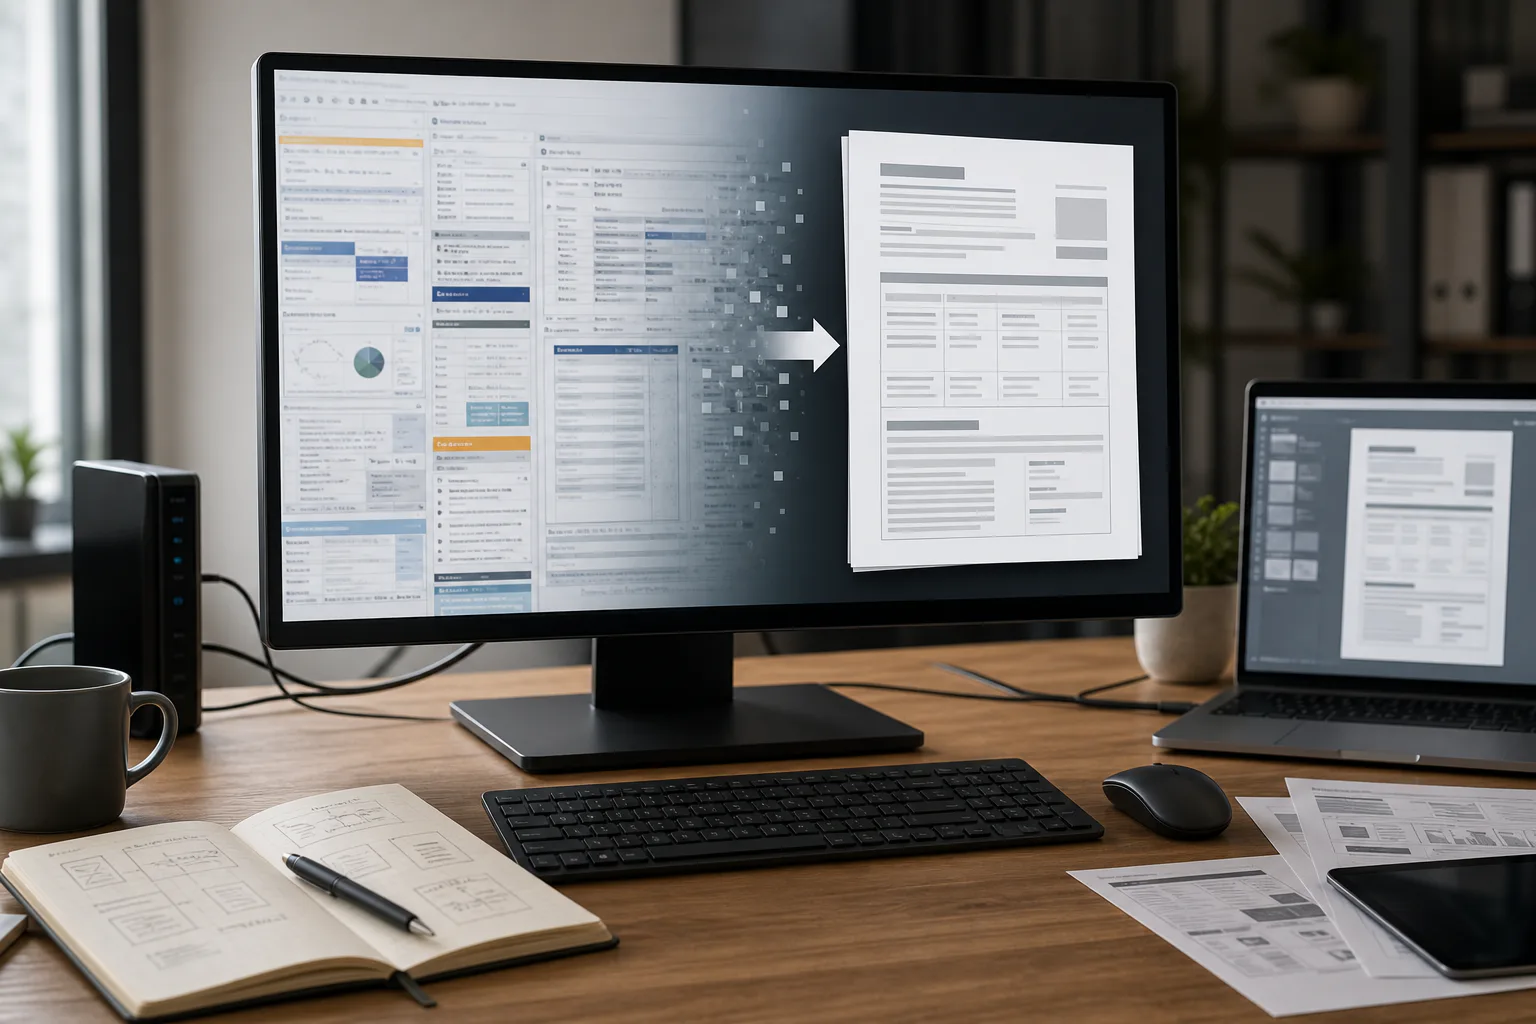
Old admin portals are often documented through screenshots because nobody wants to touch the system twice. A support agent captures a billing page, an operations manager photographs a warehouse terminal, or a product specialist grabs a legacy settings screen before a migration. Months later, someone needs to search those screenshots, quote a field label, verify a configuration, or attach the evidence to a PDF pack.
That is where the trouble starts. Legacy portal screenshots are rarely clean. They include dense tables, tiny labels, browser toolbars, colored status badges, annotation arrows, modal windows, spreadsheet grids, pixelated logos, and sometimes sensitive customer details. OCR can help, but OCR is not magic. If the image is noisy, cramped, blurred, or overloaded with decorative interface fragments, the extracted text becomes unreliable.
This guide is for teams that need practical, repeatable cleanup before running screenshots through OCR or packaging them for review. It is especially useful for support archives, migration audits, compliance evidence, help center updates, internal SOPs, and customer success notes built from older web apps or back-office systems.
The goal is not to make screenshots beautiful. The goal is to make them readable, searchable, safe to share, and small enough to store without damaging thin interface text.
Why Legacy Portal Screenshots Are Hard to Read Later
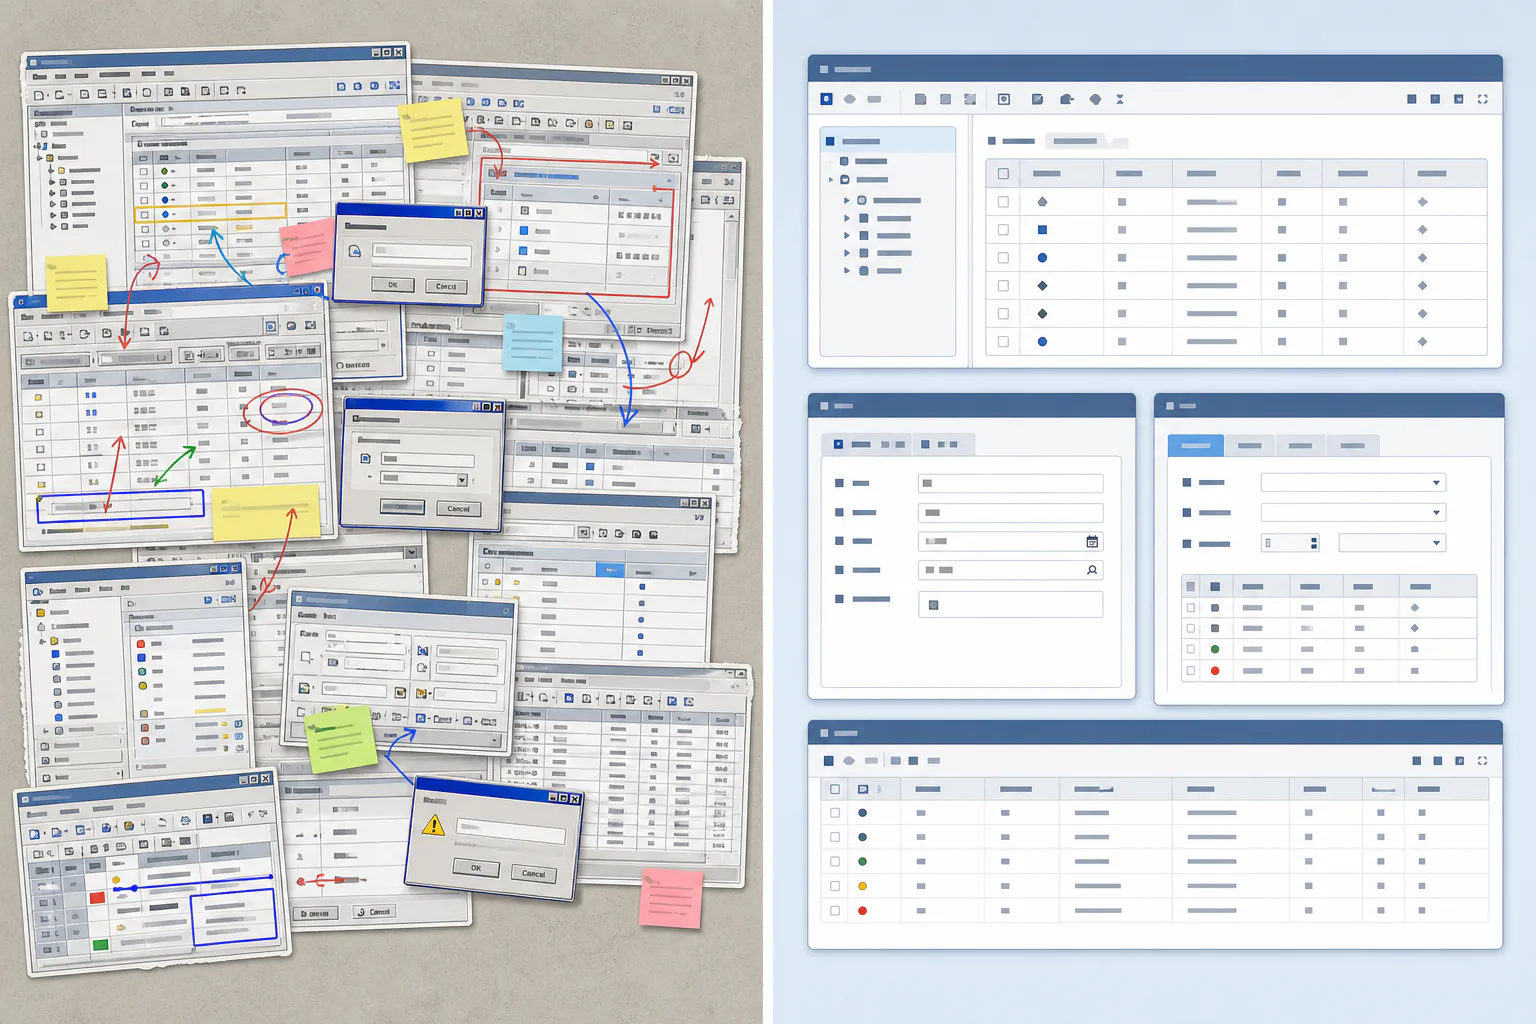
Modern product screenshots are usually captured with documentation in mind. Legacy portal screenshots are usually captured under pressure. Someone needed proof, not polish.
Common problems include:
- Browser chrome, bookmarks, extensions, and desktop notifications around the actual app
- Tiny table text, narrow columns, and compressed row spacing
- Low contrast labels from older UI themes
- Popups covering the field that matters most
- Annotation boxes added by support or QA teams
- Repeated logos, navigation items, and footer text that confuse OCR
- Screens captured at fractional zoom levels, causing fuzzy letter edges
- Red or yellow status colors that compress poorly
- Customer names, IDs, emails, or account numbers that should be redacted
- Screens pasted into slide decks, chat apps, or documents before being saved again
The hardest screenshots are not always the blurriest ones. A perfectly sharp screenshot can still produce bad OCR if the page has ten competing text regions. OCR tools must decide reading order. A left navigation menu, top navigation bar, status banner, table, sidebar, tooltip, and footer can all be interpreted as one chaotic document.
For documentation and audit use, cleanup should focus on removing distractions before extraction. You want the OCR engine to see the meaningful interface region first, with enough contrast and resolution to preserve small characters.
Decide What The Screenshot Must Prove
Before editing anything, define the purpose of the screenshot. This prevents over-cleaning and helps you avoid removing context that matters.
Use this quick decision table:
| Screenshot purpose | Keep | Remove or reduce | Best final format |
|---|---|---|---|
| Support ticket evidence | Error message, account state, relevant fields | Browser clutter, unrelated customer data | PNG or compressed PDF |
| Migration audit | Field names, selected options, IDs, timestamps | Navigation clutter, decorative panels | Searchable PDF or image set |
| Help center rewrite | UI labels, visible steps, final state | Internal-only data, debug overlays | Clean PNG or WebP |
| Compliance packet | Full context, timestamps, status fields | Unneeded personal data only | PDF with numbered pages |
| Product teardown | Layout, labels, interaction states | Private data, duplicate captures | Annotated image set |
A screenshot for a compliance packet may need more surrounding context than a screenshot for a help article. A screenshot for OCR extraction may need fewer annotations than a screenshot for a human reviewer. Decide that first, then edit with a narrow purpose.
Collect The Best Source Image You Can
Cleanup gets easier when you start from the best available source. If you have access to the original portal, capture a new screenshot before trying to rescue a compressed copy from chat or email.
Use these capture rules:
- Capture at 100% or 125% browser zoom, not an odd value like 90% or 110%.
- Use the operating system screenshot tool instead of photographing the screen.
- Expand the browser window so tables have enough width.
- Close tooltips, chat widgets, and browser extension panels unless they are part of the evidence.
- Capture modals separately when they cover important page content.
- Avoid dark mode unless the legacy app was actually used in dark mode and that state matters.
- Save as PNG for the initial capture when possible.
If you only have a pasted or photographed screenshot, do not give up. You can still improve OCR results by cropping, straightening, resizing, and adjusting contrast. Just avoid pretending that a heavily compressed source can be restored to original quality.
A Practical Cleanup Pass Before OCR
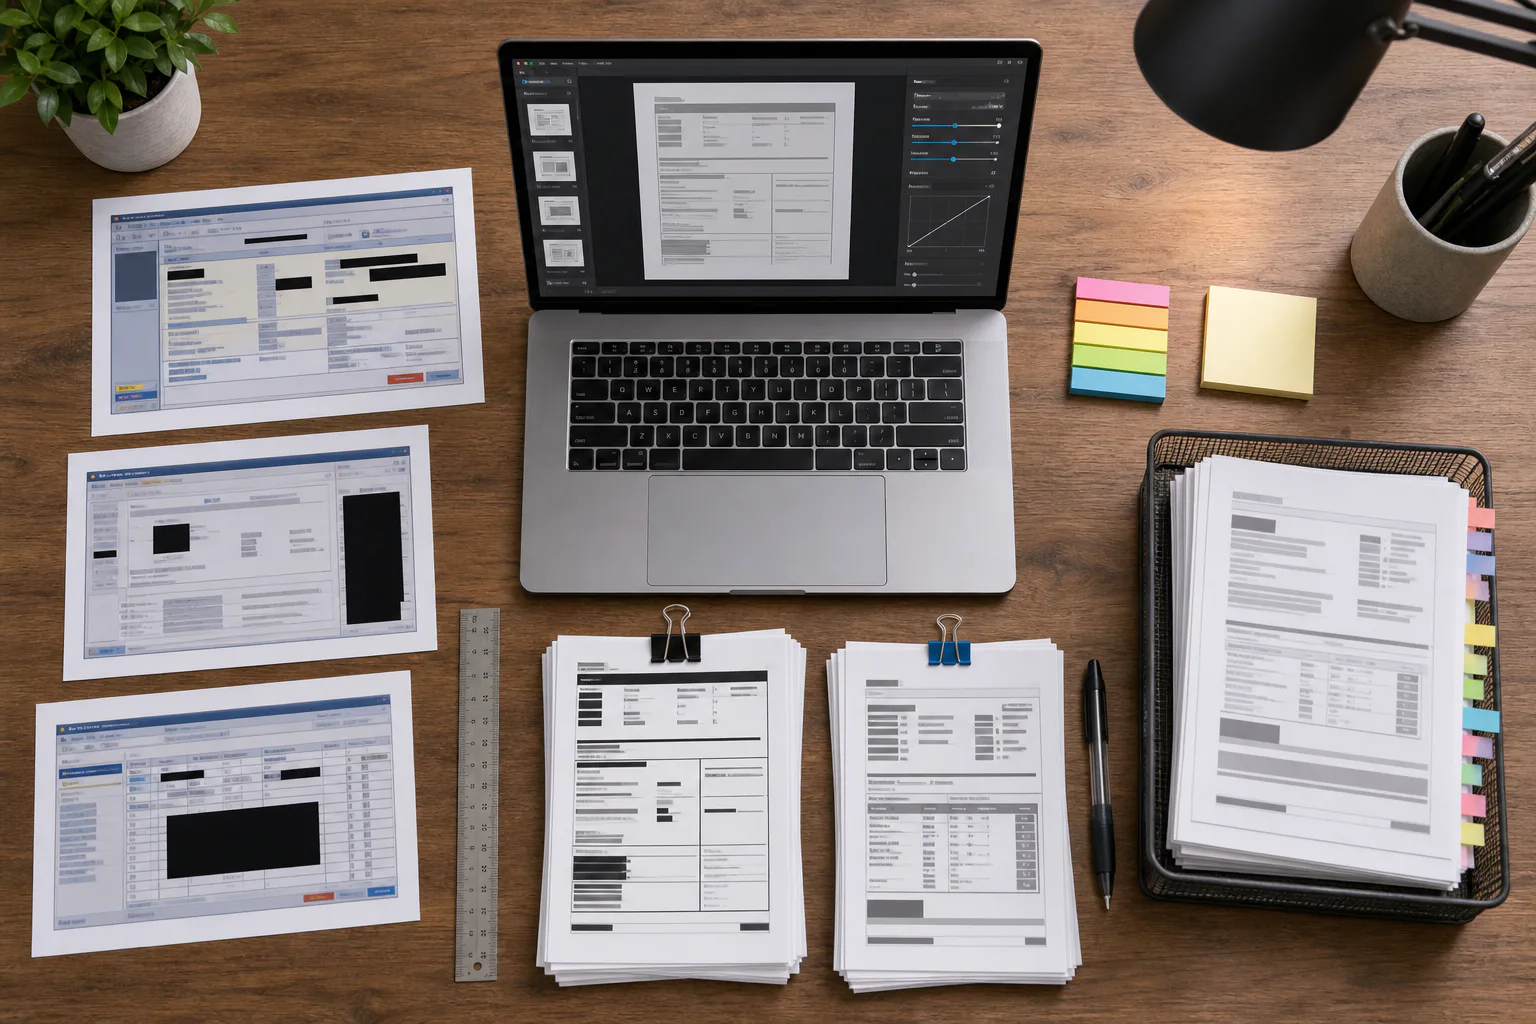
The cleanup pass should be simple and conservative. You are preparing the image for extraction and review, not redesigning the interface.
1. Crop To The Meaningful Region
Start by removing everything outside the application area. Browser tabs, bookmarks, operating system docks, and desktop backgrounds add text that OCR may extract before the content you actually need.
For a support archive, crop to the smallest region that still proves the issue. For an audit record, keep enough context to show where the field lives in the system. If the left navigation proves the module name, keep it. If it only adds noise, remove it.
A good crop should answer three questions:
- What screen is this?
- What field, table, message, or setting matters?
- Is enough context visible for a reviewer to trust the capture?
If the screenshot is oversized, use a tool like Resize Image after cropping rather than before. Cropping first prevents irrelevant areas from influencing your size and compression decisions.
2. Split Crowded Screens Into Smaller Evidence Images
OCR struggles when one screenshot contains several dense zones. A legacy admin screen might include a navigation menu, filters, a table, a detail panel, a message banner, and a footer. If all of them are needed, consider making two or three focused images instead of one overloaded image.
For example:
- Image 1: page header and selected filters
- Image 2: table rows or key record list
- Image 3: detail panel or confirmation message
This makes the reading order more predictable. It also helps human reviewers, because each image has a clear job.
When the final deliverable must be one document, combine the cleaned images later with Image to PDF. For multi-page review sets, this is usually cleaner than forcing every detail into one giant screenshot.
3. Redact Before OCR When Privacy Matters
If screenshots contain customer names, emails, payment details, account IDs, addresses, IP addresses, or internal tokens, redact before OCR. Redacting after OCR can leave sensitive text embedded in a searchable layer, metadata, copied notes, or exported files.
Use solid blocks for redaction. Blur is risky because some text can remain recognizable, especially with short IDs, emails, or high-contrast characters. Pixelation can also leak patterns. A flat rectangle is boring, but it is clear and dependable.
Keep field labels visible when possible. For example, redact the value next to “Account ID” but leave the label visible so the reviewer understands what was removed. If the label itself is sensitive, remove the entire row or capture a different screen state.
Before exporting, zoom in and check every redaction boundary. Thin characters can sometimes peek out above or below a block.
4. Improve Contrast Without Crushing Thin Text
Many old portals use pale gray labels, blue links, thin table borders, and low-contrast disabled fields. A modest contrast adjustment can help OCR, but aggressive sharpening can damage letters.
Use these settings as a practical starting point:
| Problem | Adjustment | Avoid |
|---|---|---|
| Pale gray text | Slight contrast increase | Turning backgrounds harsh white |
| Fuzzy screen photo | Gentle sharpening after resizing | Heavy edge halos |
| Yellow highlight over text | Slight brightness reduction | Oversaturating the highlight |
| Thin blue links | Preserve color or convert carefully | Strong JPEG compression |
| Dark screenshot | Raise exposure first, then contrast | Clipping white text |
If the screenshot is a direct digital capture, it usually needs less sharpening than a camera photo. For OCR, clean edges matter more than dramatic contrast.
5. Resize For Readability, Not Just File Size
Tiny UI text needs enough pixels. If a screenshot is reduced too far, OCR mistakes 8 for B, 1 for l, and 0 for O. Keep the edited image large enough that table text is readable at 100% zoom.
A practical rule: if a human reviewer must zoom past 150% to read the labels, the image is probably too small for reliable OCR.
For wide portal screens, resize proportionally after cropping. Do not squeeze the image into a fixed square or social-media-style canvas. Interface screenshots depend on geometry. Distorting them damages trust and makes extracted text harder to verify.
6. Compress Only After Cleanup
Compression should be the last image step. If you compress first, then crop, annotate, and export again, you may stack quality loss. This is especially visible on thin table lines and small type.
For screenshots with text, prefer PNG or WebP for clean edges. JPEG can work for photo-like screen captures, but it often creates artifacts around letters and icons. If the screenshot must be added to a report or shared by email, use Compress Image after all cleanup is complete.
Check the result at actual size. The file size is only a win if the screenshot remains readable.
Handling Logos, Icons, And Repeated Navigation Text
OCR often extracts repeated navigation labels before the main content. In a legacy portal, the left menu may contain dozens of items. If every screenshot in a packet includes the same menu, the extracted text becomes noisy and repetitive.
There are three practical options:
| Situation | Recommended action |
|---|---|
| Navigation proves the module or page location | Keep a narrow slice of it |
| Navigation repeats across many pages | Keep it only on the first page |
| Navigation has no evidentiary value | Crop it out |
Logos are usually safe to keep when they establish the system being documented. But if a logo appears in every screenshot and OCR repeatedly reads it as broken text, crop it after the first reference image.
Icons can also confuse extraction. A warning triangle beside a status message may be useful, while a row of toolbar icons may not be. Keep icons that explain meaning. Remove icons that only add clutter.
Annotation Rules For Screenshots That Will Be OCRed
Annotations are useful for human readers and annoying for OCR. Arrows, circles, callouts, and labels can interrupt reading order. If the screenshot needs both OCR and annotation, create two versions:
- A clean OCR version with minimal markings
- A human review version with arrows, highlights, and callouts
If you must annotate one version, follow these rules:
- Place callouts in empty margin space, not over table text.
- Use simple boxes instead of freehand circles.
- Avoid adding large text labels inside the screenshot.
- Highlight the row or field without obscuring characters.
- Keep annotation colors consistent across the packet.
For support teams, this two-version habit is worth the extra minute. The clean version gives better extraction. The annotated version helps the reviewer understand the point quickly.
OCR Preparation Checklist
Before using Image OCR, run through this checklist:
- The screenshot is cropped to the relevant application region.
- Sensitive values are redacted with solid blocks.
- Important labels and values remain visible.
- The image is not distorted or stretched.
- Thin text is readable at 100% zoom.
- Contrast is improved without harsh halos.
- Repeated navigation text is removed unless needed.
- Popups are captured separately if they hide important content.
- The final image has not been repeatedly recompressed.
- A human can understand the screenshot purpose in five seconds.
This checklist is intentionally plain. OCR quality depends on basic visual discipline more than elaborate editing.
Example: Cleaning A Billing Admin Screenshot
Imagine a support manager needs to archive proof that a customer account had a failed renewal attempt. The available screenshot shows the whole browser window, a left navigation menu, the billing tab, a table of invoices, a red error banner, a chat widget, and the customer email address.
A clean preparation would look like this:
- Duplicate the original file so the source remains unchanged.
- Crop out the browser tabs, bookmarks bar, and desktop area.
- Keep the billing tab label and the failed payment banner.
- Crop away most of the left navigation, leaving only the section name if needed.
- Redact the customer email and account number with solid rectangles.
- Split the invoice table into a separate image if the rows are dense.
- Adjust contrast slightly so gray table text is easier to read.
- Export a PNG master and a compressed sharing copy.
- Run OCR on the clean master image.
- Add the cleaned images to a PDF packet if the ticket needs a permanent record.
The important part is sequence. Redact before OCR. Crop before resize. Compress after editing. Package only after checking readability.
When To Convert The Screenshot Format
Format choice is not just a technical detail. It affects text clarity, file size, and long-term usefulness.
| Format | Best for | Watch out for |
|---|---|---|
| PNG | UI screenshots, thin text, tables, labels | Larger file size |
| WebP | Smaller web-ready screenshots with good clarity | Some older systems may not accept it |
| JPEG | Photo-heavy captures or screen photos | Artifacts around text |
| Evidence packets, review sets, archives | Make sure source images are readable first |
If you need to change formats, use Convert Image after deciding what the image is for. A help center image may benefit from WebP. A compliance archive may need PDF. A source master should usually stay in a lossless or near-lossless format.
Do not convert the same screenshot through several formats casually. PNG to JPEG to WebP to PDF can accumulate artifacts and make later review harder.
Packaging Cleaned Screenshots Into A Review PDF
Once the screenshots are cleaned and OCR-ready, many teams need a shareable packet. This is common for vendor reviews, internal audits, migration planning, and support escalations.
A useful screenshot PDF should have a simple structure:
- Cover page or first image that identifies the system and date range
- One screenshot per page when details are dense
- Related before-and-after screens placed next to each other only if both remain readable
- Consistent page order that follows the task or investigation
- Redactions applied before the PDF is assembled
- File name that includes the system, topic, and date
If the PDF contains other source documents, combine them with PDF Merge after the image pages are ready. Keep the screenshot pages readable; do not shrink dense portal screens into tiny proof-sheet thumbnails unless the purpose is only visual inventory.
For searchable archives, store the OCR text alongside the PDF or inside your document system if it supports searchable layers. Always spot-check a few key fields after extraction. Searchability is useful only when the extracted text is trustworthy enough for the task.
Common Mistakes That Break Screenshot OCR
Over-sharpening The Capture
Sharpening can make a screenshot look crisp at first glance while making small letters worse. Edge halos around text confuse OCR. Use gentle sharpening only when the source is soft, and compare against the original.
Reducing Width Too Aggressively
A 1920-pixel-wide screenshot reduced to 900 pixels may look acceptable as a thumbnail, but dense table text can become unreadable. If you need a smaller file, crop irrelevant regions before reducing dimensions.
Keeping Every Annotation
A screenshot covered in arrows and labels may be useful in a Slack thread, but it is often poor OCR material. Keep a clean version when extraction matters.
Trusting OCR Without Spot Checks
Always verify key fields manually. OCR may read invoice numbers, dates, SKU-like strings, and account IDs incorrectly. For high-stakes records, treat OCR as a search aid, not as the sole source of truth.
Using Blur As Redaction
Blur can fail visually and can leave sensitive text in OCR output if applied after extraction. Use solid blocks before OCR.
File Naming For Screenshot Sets
Good file names make cleaned screenshots easier to review even before they enter a CMS, ticket system, or archive.
Use names that describe the system, subject, order, and date:
billing-admin-renewal-error-01-overview-2026-05-21.png
billing-admin-renewal-error-02-invoice-table-2026-05-21.png
billing-admin-renewal-error-03-detail-panel-2026-05-21.png
Avoid vague names like:
screenshot-final-new2.png
portal-proof.png
image-from-slack.png
If the screenshot contains redactions, include that in the name only when it helps your team distinguish versions:
billing-admin-renewal-error-01-overview-redacted-2026-05-21.pngKeep original captures in a separate folder. Edited images should not overwrite the source.
Quality Control Before Sharing
Before you send cleaned screenshots to another team, publish them in documentation, or attach them to a review packet, do a final check.
Open the final file, not just the editing preview. Review it at the size where the recipient will likely see it. If it is a PDF, open the PDF. If it is a compressed image, open the compressed image.
Check for:
- Missing context after cropping
- Redaction leaks at the edges of blocks
- OCR errors in important IDs or dates
- Table columns that became too narrow to read
- Repeated menu text overwhelming the extracted content
- Compression artifacts around small labels
- Inconsistent order across multi-image sets
- File names that no longer match the content
For team handoff, include a short note explaining what was captured and what was redacted. Do not rely on the screenshot alone to carry all context.
A Small Standard For Teams That Capture Legacy Screens
If your team regularly documents older admin systems, create a lightweight standard. It does not need to be formal. A short checklist in your team wiki is enough.
A good standard might say:
- Capture source screenshots as PNG when possible.
- Crop to the meaningful application area.
- Redact sensitive values before OCR or sharing.
- Keep one clean OCR version and one annotated review version when needed.
- Use consistent file names with dates and sequence numbers.
- Compress only after editing is complete.
- Package related screenshots into a PDF only after readability checks.
This prevents every person from making different choices under pressure. It also makes later audits and migrations less painful because the archive has a consistent shape.
Final Thoughts
Legacy portal screenshots are valuable because they preserve states that may be hard to recreate later. But without cleanup, they become noisy images that are difficult to search, risky to share, and frustrating to review.
The best preparation is not complicated: crop with purpose, split crowded screens, redact early, protect small text, compress late, and check the final file. When OCR is part of the job, make the screenshot easier for both machines and humans to read.
A clean screenshot archive will not make an old admin portal modern. It will make the evidence usable when support, operations, compliance, or documentation teams need it most.