Temporary Wayfinding Sign Photo Cleanup for Event Teams
A practical guide for turning quick photos of temporary event signs into readable, searchable, shareable records for audits, maps, vendor notes, and post-event reviews.

Temporary Wayfinding Sign Photo Cleanup for Event Teams
Temporary wayfinding signs are easy to treat as disposable. They are printed late, taped to doors, moved during load-in, replaced after a sponsor change, and often removed before anyone thinks to document them. Then the post-event review starts and the team needs to know which signs were actually used, where they were placed, what guests saw, and why certain queues, rooms, or entrances caused confusion.
A simple photo set can answer those questions, but only if the images are readable enough to review later. Blurry hallway snapshots, angled posters, glossy reflections, half-covered arrows, and photos buried in chat threads are hard to search and even harder to turn into useful evidence. The goal is not to create perfect graphic assets. The goal is to create a clean, lightweight record of temporary signs that operations, venue, sponsor, accessibility, and production teams can understand after the floor has been reset.
This guide is for event teams, venue coordinators, conference producers, pop-up retail crews, and anyone who has to prove what signage was posted during a short-lived event. It covers how to photograph signs quickly, clean the images, extract readable text, package the record, and avoid common mistakes that make sign documentation less useful.
Why Temporary Sign Photos Need More Care Than They Get
Permanent signs usually have architectural drawings, vendor proofs, installation records, and fixed locations. Temporary signs rarely have that level of structure. They may be created from spreadsheets, last-minute room changes, sponsor revisions, or handwritten access notes. When the event ends, the signs vanish.
That makes photos the closest thing to a source of truth. A good sign photo can show the final wording, arrow direction, room reference, placement height, nearby landmarks, obstruction issues, and whether the printed sign matched the plan. A poor sign photo can only prove that something was taped somewhere.
The difference matters in several common situations:
| Situation | Why the sign record matters | What the photo must preserve |
|---|---|---|
| Guest complaints about confusing directions | The team needs to compare intended routing with what attendees saw | Text, arrows, nearby doors, and hallway context |
| Sponsor or exhibitor disputes | The team may need to confirm logo placement or directional mentions | Full sign face, placement, and neighboring signs |
| Accessibility review | Routes, elevators, ramps, and check-in alternatives must be verified | Wording, route cues, height, glare, and obstructions |
| Repeating annual events | Next year's team needs practical placement notes | Location context and final sign copy |
| Vendor handoff | Printers, installers, and venue teams need correction examples | Defects, mounting method, and installation angle |
You do not need a complex system to capture this. You need consistent photos, a small cleanup pass, and a naming structure that lets people find what they need.
Decide What the Record Is For
Before cleaning images, decide what your sign photo set needs to prove. The answer changes which edits are acceptable.
If the record is for internal planning, you can crop tightly, brighten aggressively, and remove distracting background clutter. If the record is for a vendor dispute or accessibility review, keep an untouched original and make an edited copy for readability. If the record is for future sign planning, context matters almost as much as the sign face.
Use this decision table before you start:
| Main use | Keep background context? | Extract text with OCR? | Package as PDF? | Keep original photo? |
|---|---|---|---|---|
| Post-event operations review | Yes | Yes | Usually | Yes |
| Sponsor placement confirmation | Yes | Sometimes | Yes | Yes |
| Internal sign copy library | No, crop is fine | Yes | Optional | Recommended |
| Accessibility route review | Yes | Yes | Yes | Yes |
| Printer or installer correction notes | Yes | Optional | Yes | Yes |
For most teams, the best approach is to keep two versions: the original capture and a cleaned review version. The cleaned version can be cropped, brightened, resized, compressed, converted, or added to a packet. The original stays available if someone needs to verify exactly what was photographed.
The Capture Checklist for Busy Event Days
The easiest cleanup is the cleanup you do not need. A few capture habits will save more time than any editing tool later.
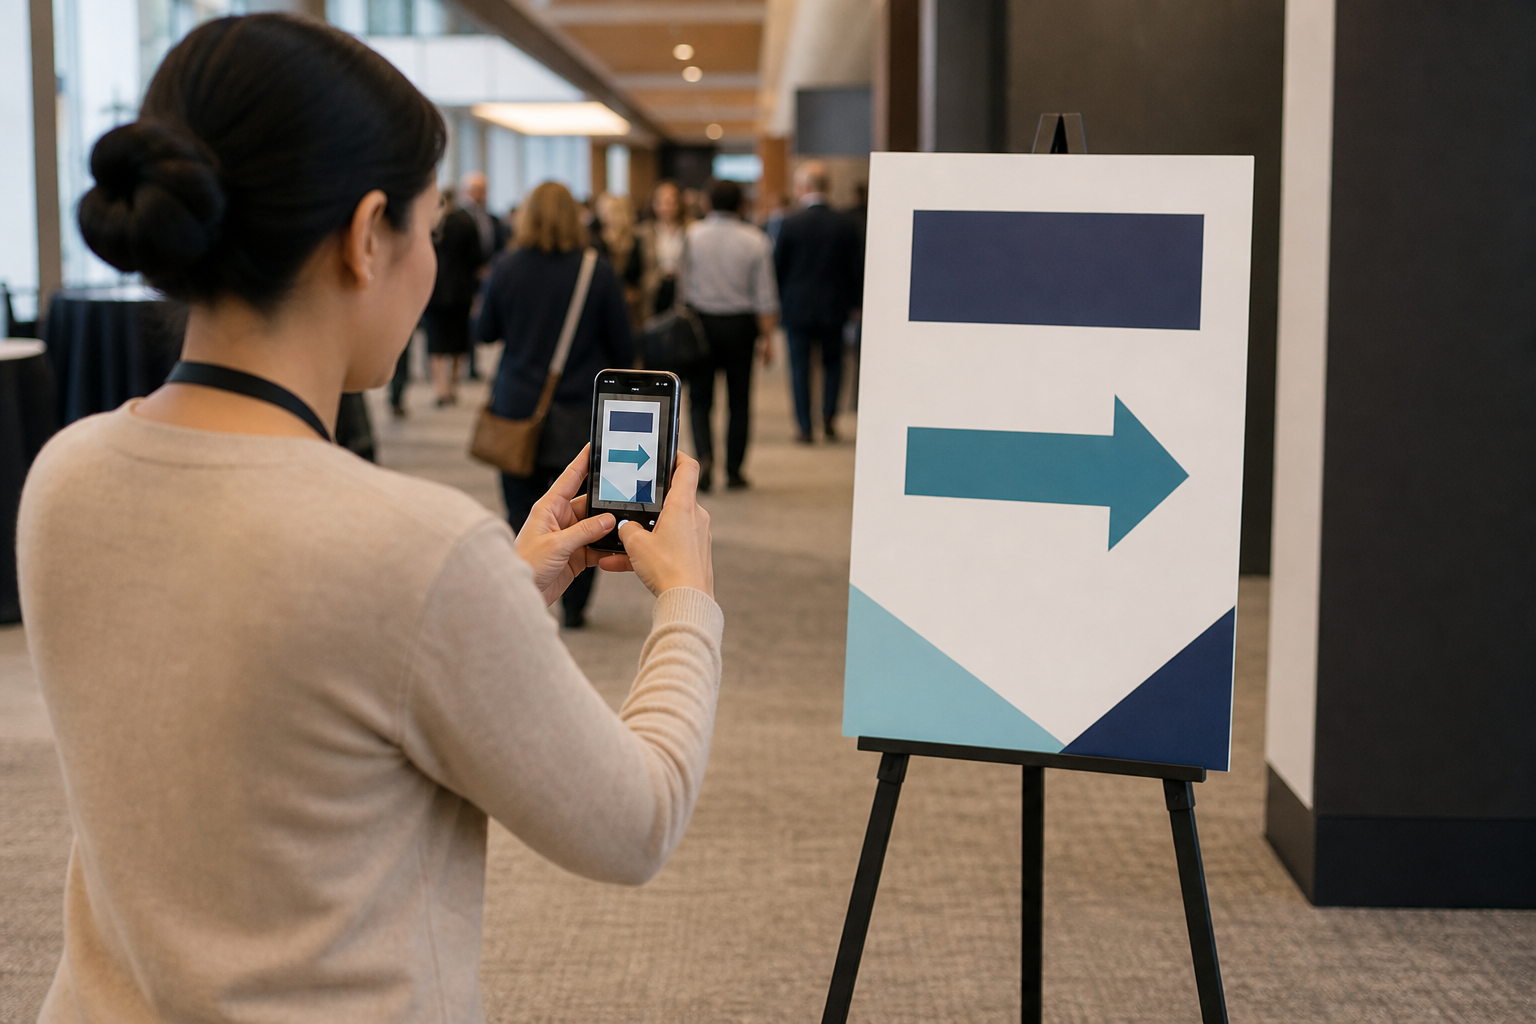
Photograph each sign from two distances. First, take a straight-on close photo where the text fills most of the frame. Second, step back and take a context photo that shows the sign's location: the doorway, hallway, registration desk, elevator bank, escalator, or queue entrance. If the sign is directional, include enough surrounding space to understand where the arrow points.
Use this field checklist:
- Stand as square to the sign as possible.
- Tap the sign face on the phone screen before shooting so focus lands on the text.
- Avoid using digital zoom unless you have no other option.
- Move slightly left or right if overhead lights create glare.
- Take one extra photo if the sign is behind glass, laminated, or glossy.
- Include the floor, doorway, or landmark in the context shot.
- Photograph replacement signs after changes, not just the first version.
- Capture handwritten or taped-on changes before they are removed.
For multi-day events, add one habit: photograph the date or daily run sheet before each batch of signs. It does not have to be part of every image. A single separator photo can help you later understand which photos belong to which day.
Do not overcomplicate the capture pass. Event teams are usually moving fast, and documentation that requires too many steps will be skipped. The practical minimum is close photo, context photo, and one retake when the first image is visibly unreadable.
Clean the Image Without Changing the Evidence
Sign photo cleanup should improve readability without rewriting what happened. Avoid edits that remove important placement clues, alter the sign message, or make a printed defect disappear if that defect is part of the review.
Start with rotation and perspective. Temporary signs are often photographed at an angle because hallways are crowded or the sign is mounted above eye level. Straightening the image makes text easier to read and improves OCR accuracy. Crop only after straightening, and keep a little margin around the sign so arrows, tape, edges, and nearby markers remain visible.
Next, improve contrast. Many sign photos fail because black text on white paper becomes gray under venue lighting. Increase brightness enough to recover paper tone, then raise contrast until the letters separate from the background. Be careful with colored paper, sponsor logos, or accessibility icons. Heavy contrast can crush subtle details or make colors look inaccurate.
If the image is too large for sharing, use a tool like compress image after cleanup. Compression is useful for review packets and email attachments, but avoid compressing the only original. Save a cleaned compressed copy for sharing and keep the original untouched.
For signs that need to be reused in planning decks, resize them consistently with resize image. A consistent width makes side-by-side comparisons easier, especially when reviewing different versions of the same room sign or entrance sign.
A practical edit order looks like this:
- Duplicate the original photo.
- Rotate and straighten the duplicate.
- Crop to keep the sign and immediate context.
- Adjust brightness and contrast.
- Resize for review if needed.
- Compress the sharing copy.
- Rename the file with location and sign type.
That order keeps destructive decisions late. If a crop removes too much context or compression makes small text fuzzy, you can step back without touching the original.
Use OCR for Search, Not Blind Trust
OCR is useful because event sign sets often contain repeated room names, sponsor names, session tracks, entrances, and service locations. Searchable text lets a producer find every sign mentioning a keynote hall, VIP entrance, coat check, shuttle stop, or accessible route without opening every image.
Upload cleaned sign photos to image OCR when the text is readable enough for extraction. OCR works best when the image is straight, high contrast, and not overloaded with background clutter. It struggles with motion blur, glare, extreme angles, decorative type, and signs where arrows or icons interrupt the text.
Treat OCR output as an index, not as legal-grade transcription. Review the extracted text for the details that matter most:
- Room names and numbers
- Time ranges
- Arrow directions described in text
- Sponsor or exhibitor names
- Accessibility terms
- Check-in categories
- Ticket tiers
- Staff-only or restricted access notes
Create a small correction habit. If OCR reads "Hall B" as "Hall 8" or misses a hyphenated sponsor name, fix the text in your notes or review document. The value comes from making the set searchable enough to support decisions, not from pretending every extraction is perfect.
For large events, group OCR text by area. A simple structure might be registration, main stage, breakout rooms, expo hall, food and beverage, restrooms, accessibility, transport, and staff areas. This helps the post-event team find patterns. If guests were confused about shuttle pickup, you can review only the transport signs instead of scrolling through hundreds of unrelated images.
Naming Files So People Can Find the Right Sign
Good file names do more than look tidy. They reduce repeated questions after the event. A photo named IMG_4839.jpg is nearly useless in a shared drive. A photo named day-01_level-02_hall-b_north-entrance_close.jpg tells the team what it is before they open it.
Use a naming pattern that matches how your team thinks about the venue. Do not force a complicated taxonomy if the event is small. The best pattern is the one your team can apply quickly and consistently.
Useful file name parts include:
| Part | Example | When to use it |
|---|---|---|
| Day | day-01 | Multi-day events |
| Zone | expo, lobby, level-02 | Large venues or festivals |
| Location | hall-b, east-entry | Any event with multiple rooms or entrances |
| Sign purpose | registration, speaker-checkin, shuttle | When signs support different teams |
| View type | close, context, replacement | When you capture more than one photo per sign |
| Version | v2, final, changed | When signs are revised onsite |
A strong pattern might be:
day-02_lobby_west-entry_registration-context.jpg
For OCR text files, use the same base name. If the image is day-02_lobby_west-entry_registration-context.jpg, the extracted text can be saved as day-02_lobby_west-entry_registration-context.txt or pasted under the same heading in a review document.
Avoid overloading file names with every detail. Long names are hard to scan and easy to mistype. Put extended notes inside the review packet, not in the file name.
Turn Sign Photos Into a Searchable Review Pack
Once photos are cleaned and named, combine them into a format that matches the review. For many teams, a PDF packet is the easiest format to share because it preserves order, travels well in email, and can include both close shots and context shots.
Use image to PDF when you want a simple visual record. Put related signs together: registration first, then major venue routes, session rooms, food and beverage, accessibility, transport, sponsor placements, and staff-only areas. If the packet is long, create separate PDFs by area instead of one giant file.
A useful sign review page often includes:
- One close photo of the sign face
- One context photo showing placement
- Location name
- Event day or time period
- Extracted OCR text if relevant
- Notes about glare, obstruction, wrong direction, or replacement
- Action item for next event
If you need a single combined report from multiple sources, collect sign photos, maps, printer proofs, and venue notes, then merge the final documents with PDF merge. Keep the merged file organized in review order. A packet that jumps randomly between floors, days, and sign types will frustrate the people who need to act on it.
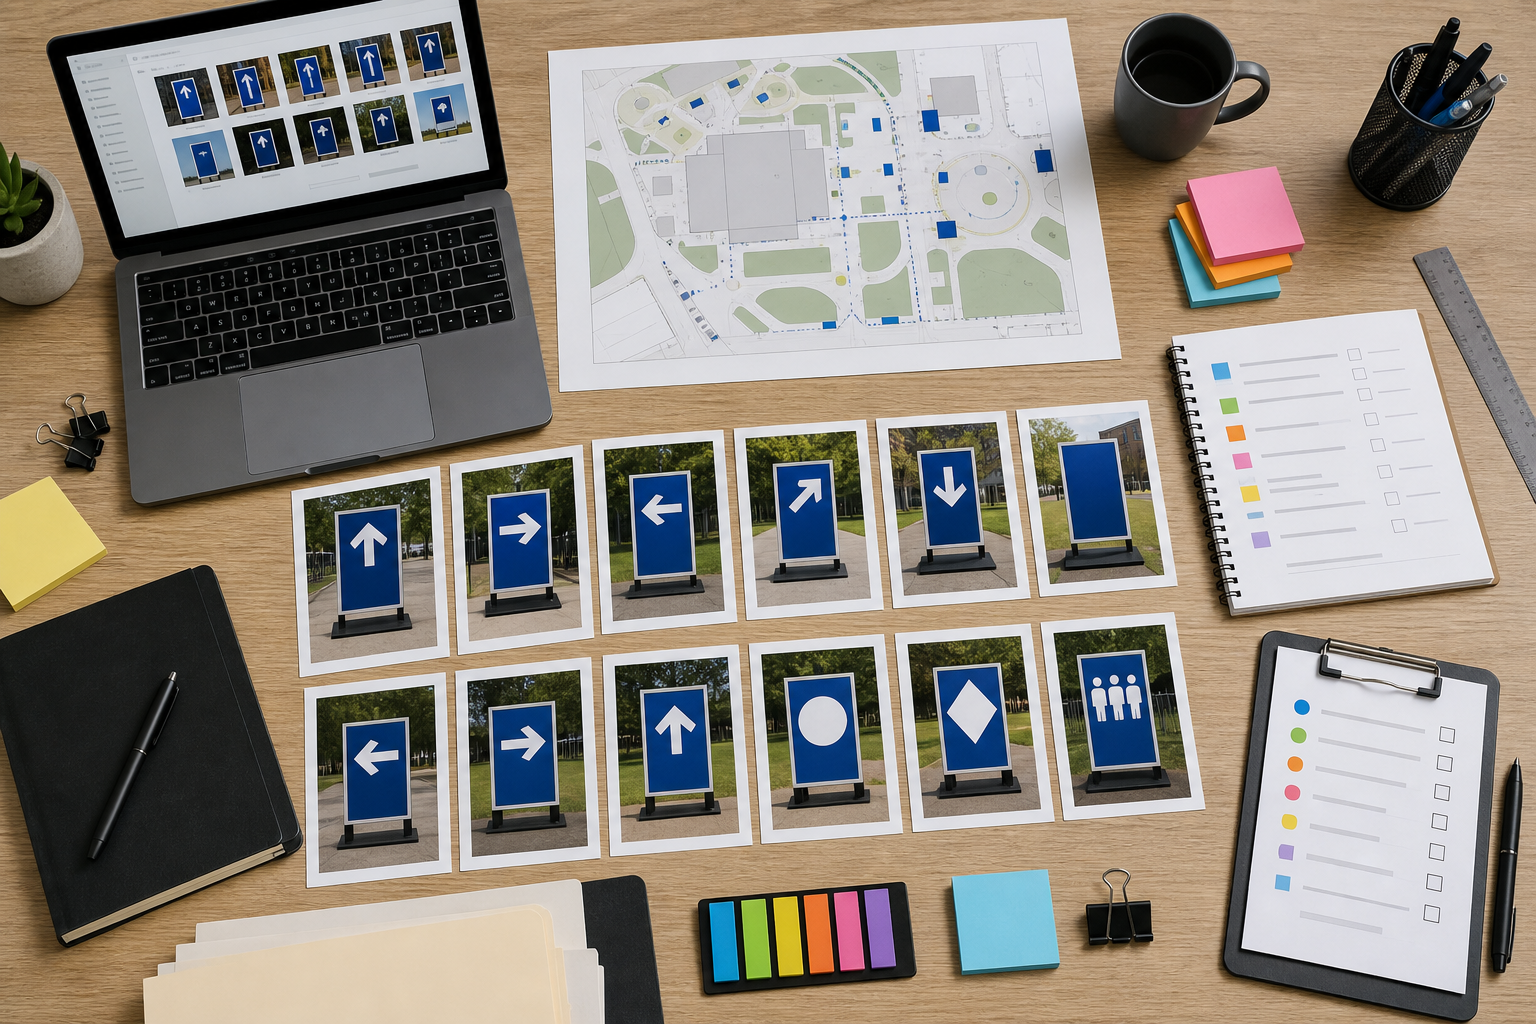
For quick internal reviews, you can also create a contact sheet: several sign images on one page, grouped by area. Contact sheets are not ideal for tiny text, but they are excellent for spotting duplicates, inconsistent design, missing arrows, or signs that look visually different from the rest of the set.
When AI Photo Editing Helps and When It Does Not
AI-assisted editing can help with some sign documentation problems, especially when the issue is background distraction, poor lighting, or a messy edge around a cropped image. It can be useful for creating cleaner internal illustrations from sign photos, such as anonymized examples for training seasonal staff.
Use AI photo editor cautiously for sign records. Do not use generative cleanup on the only copy of a sign photo if the image is being used as evidence. AI edits may remove tape, change small marks, smooth paper texture, or alter background details that matter for installation review.
A good rule is simple: use AI edits for presentation copies, not verification copies. If you want to show a cleaned example in a training deck, AI cleanup can be reasonable. If you are confirming whether an accessibility route sign was blocked by a display stand, preserve the original and use traditional edits like crop, rotation, exposure, and compression.
Acceptable AI-assisted uses include:
- Removing irrelevant background clutter from a training example
- Extending a neutral background around a cropped sign for a slide
- Softening visual noise in a non-evidence presentation copy
- Creating anonymized sample images for staff instruction
Avoid AI edits when:
- The sign photo is part of a dispute
- The placement environment matters
- Text accuracy is being reviewed
- A printed defect or obstruction is important
- The image may be compared against a vendor proof
This distinction protects the review. You can still make attractive presentation images, but your operational record remains grounded in the captured scene.
Common Problems and Practical Fixes
Temporary signs create predictable image problems. Most are fixable if you catch them before packaging the final set.
| Problem | Likely cause | Practical fix |
|---|---|---|
| Text looks soft | Motion blur or missed focus | Retake if possible; otherwise use the context photo only for placement, not OCR |
| White paper looks gray | Dim venue lighting | Increase brightness and contrast before OCR |
| Glossy reflection hides words | Lamination or overhead lights | Retake from a slight side angle; keep the clearest version |
| Arrow direction is unclear | Crop is too tight | Include more wall, doorway, or corridor context |
| OCR confuses room numbers | Small type or angled photo | Straighten, crop closer, and manually correct important numbers |
| File is too large to share | Phone image resolution is excessive | Resize and compress a copy, keeping the original |
| Duplicate signs are hard to compare | Random file names | Rename by day, zone, location, and view type |
| Review packet is overwhelming | Too many images in one PDF | Split by area or purpose |
The most common mistake is cropping too tightly. A perfect close-up of a sign face may not show whether the sign was next to the correct door, visible from the guest path, or pointing toward the right hallway. Capture and keep context whenever placement is part of the question.
A Small Event Example
Imagine a two-day professional conference in a hotel with registration in the lobby, three breakout rooms, a sponsor lounge, a keynote ballroom, and shuttle pickup outside the west entrance. The team receives complaints that attendees could not find the sponsor lounge and that shuttle pickup moved without clear notice.
A useful sign record would include close and context photos for every sponsor lounge sign and shuttle sign. The cleaned images would be named by day, area, and purpose. OCR text would be extracted for sponsor lounge, shuttle, west entrance, and lobby signs. The review packet would group sponsor lounge signs first, then shuttle signs, then related venue maps or notes.
During review, the team might discover that the sponsor lounge sign was readable close up but hidden behind a queue stanchion in the context photo. They might also see that the shuttle sign was replaced on day two, but the old sign was still visible near the original exit. Those findings are only possible because the photo set captured both the sign face and its environment.
The next year's action items become concrete: move the sponsor lounge sign higher, place a second sign before the queue, remove outdated shuttle signs immediately, and photograph replacements after each change. That is much more useful than a vague note saying wayfinding needs improvement.
Final Preflight Before Sharing
Before sending the sign record to stakeholders, run a short preflight. This prevents the most common problems from reaching the review meeting.
Check that every major area has at least one close photo and one context photo. Confirm that file names are readable and sorted in a sensible order. Open the compressed images to make sure small text did not fall apart. Search the OCR notes for a few known terms, such as a room name or shuttle stop, to confirm the extraction is useful. Review the PDF packet on a laptop screen, not only on your own phone.
Use this final checklist:
- Originals are stored separately from edited copies.
- Cleaned photos are straightened and readable.
- Context photos still show placement clues.
- OCR text has been checked for critical names and numbers.
- Files follow a consistent naming pattern.
- Oversized images have been resized or compressed for sharing.
- The PDF packet is grouped by area or sign purpose.
- AI-edited images are clearly treated as presentation copies, not evidence.
Temporary signs may disappear within minutes of teardown, but a careful photo record can keep the useful information alive. With clear captures, modest cleanup, searchable text, and an organized review packet, event teams can turn hurried hallway snapshots into practical evidence for better routing, cleaner vendor handoffs, and less guesswork at the next event.