Microscope Slide Label Photo OCR: A Cataloging Guide for Teaching Collections
Turn inconsistent microscope slide label photos into searchable, reviewable catalog records with controlled photography, OCR cleanup, confidence flags, and compact PDF evidence sheets.
Microscope Slide Label Photo OCR: A Cataloging Guide for Teaching Collections
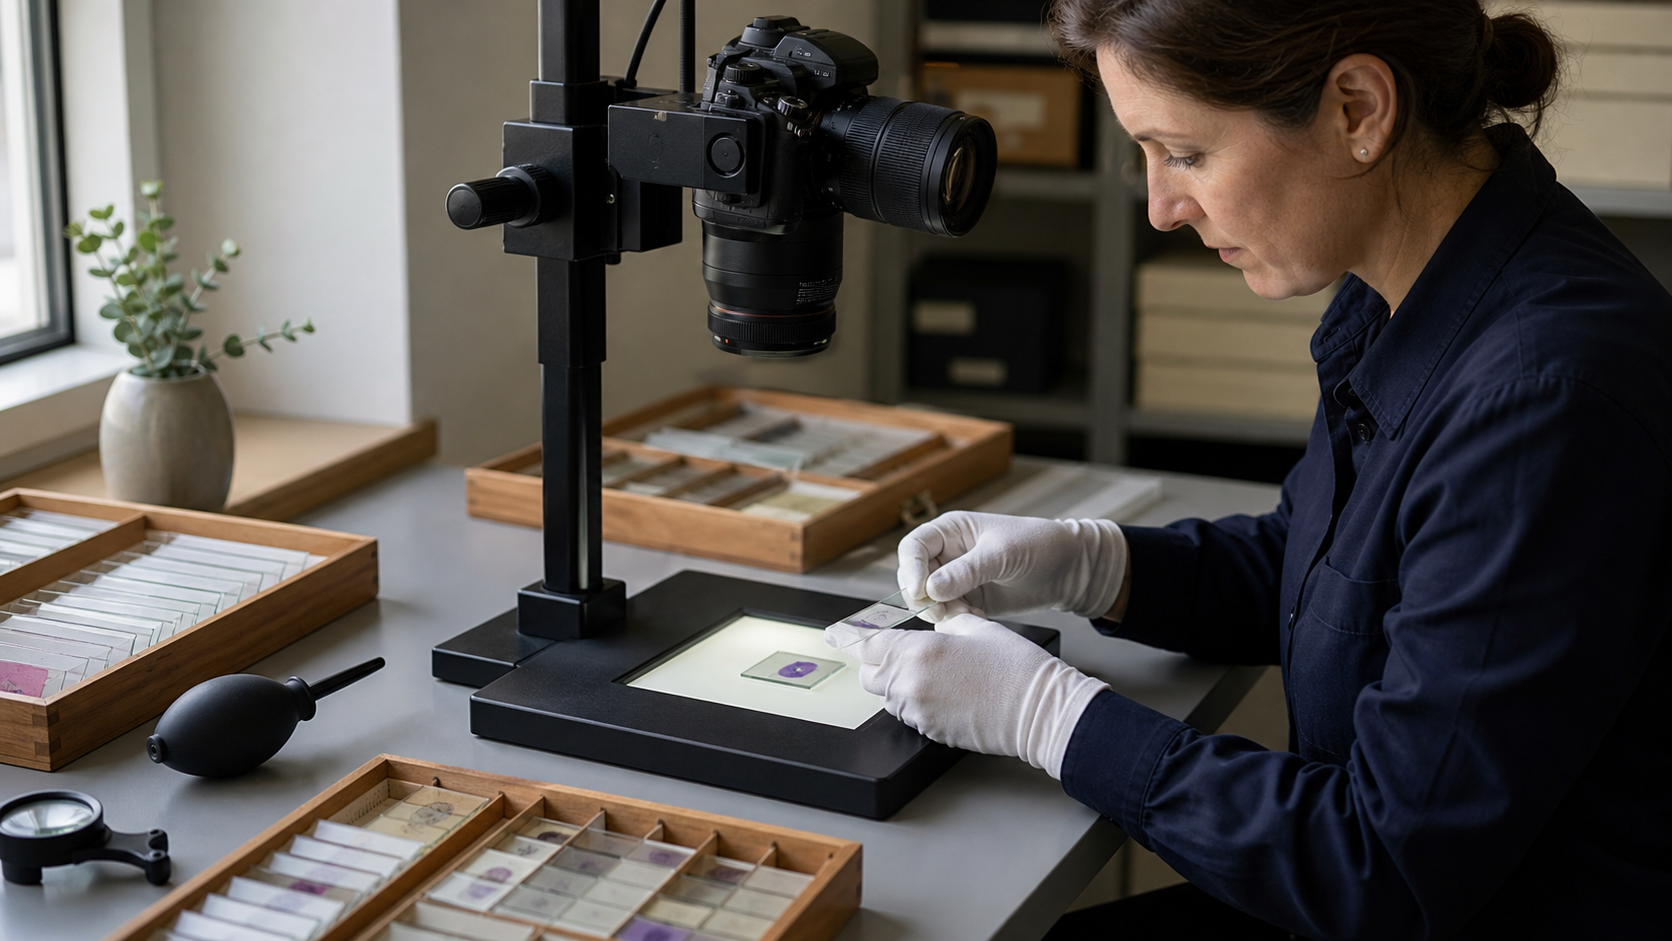
Microscope slide collections often look orderly until someone tries to catalog them. A tray may contain fifty neatly arranged slides, yet their labels can span decades of handwriting, fading ink, typewritten abbreviations, chipped paper, adhesive stains, and inconsistent naming conventions. Some labels identify a specimen precisely. Others contain only a surname, preparation method, class code, or cryptic number whose meaning survives in one retired instructor's notebook.
Photographing each slide and applying optical character recognition can accelerate cataloging, but OCR alone does not create a reliable record. Glass produces reflections, labels occupy a small part of the frame, handwriting is difficult to interpret, and scientific names are especially vulnerable to plausible-looking transcription errors. The practical goal is therefore not perfect automatic recognition. It is a traceable system that produces useful candidate text, preserves visual evidence, and directs human attention to uncertain fields.
This guide describes such a system for schools, universities, small museums, medical teaching collections, and volunteer-run archives. It concentrates on ordinary equipment and manageable batches rather than specialized collection-management installations.
Decide What the Catalog Must Preserve
Before taking photographs, define the minimum record. Otherwise, each person will transcribe a different selection of label details, and the resulting spreadsheet will be difficult to reconcile.
A useful teaching-slide record might contain:
- A newly assigned collection identifier
- The complete label transcription
- A normalized specimen or subject name
- Preparation type, such as section, smear, or whole mount
- Stain or mounting method when stated
- Preparer, supplier, or institution
- Original number or teaching code
- Tray and slot location
- Condition notes
- OCR confidence or review status
- The source image filename
Keep transcription and interpretation in separate fields. If a label says frog bl. smear, preserve that wording in the transcription field. A normalized field can separately contain frog blood smear. Silent expansion makes it impossible for a later reviewer to distinguish original evidence from cataloger interpretation.
The same rule applies to scientific names. Record what is visible, including historical spellings, then place a currently accepted name in another field if the collection needs taxonomic normalization. Do not overwrite an old label merely because modern terminology differs.
Assign Identifiers Before Photography
A photograph without a stable identifier becomes surprisingly easy to detach from its slide. Tray order is not enough: slides may be removed for teaching, rearranged during cleaning, or returned to the wrong slot.
Create identifiers before the main photography session. A compact pattern such as BIO-HIST-00427 can encode a collection while avoiding excessive meaning. Identifiers that embed room, tray, specimen, owner, and date tend to break when the collection moves or an attribution changes.
Place a temporary identifier card beside the slide rather than attaching a new label immediately. The identifier should appear in the first reference image, but it should not cover the historic label or create reflections on the glass. If the final cataloging system supports barcodes, add them only after duplicate checks and record approval.
Use filenames that preserve the identifier and view type:
BIO-HIST-00427-label.jpgBIO-HIST-00427-object.jpgBIO-HIST-00427-detail-a.jpg
Avoid relying on camera sequence numbers. A filename such as IMG_8472.jpg provides no protection when images from several sessions are combined.
Build a Repeatable Slide Photography Station
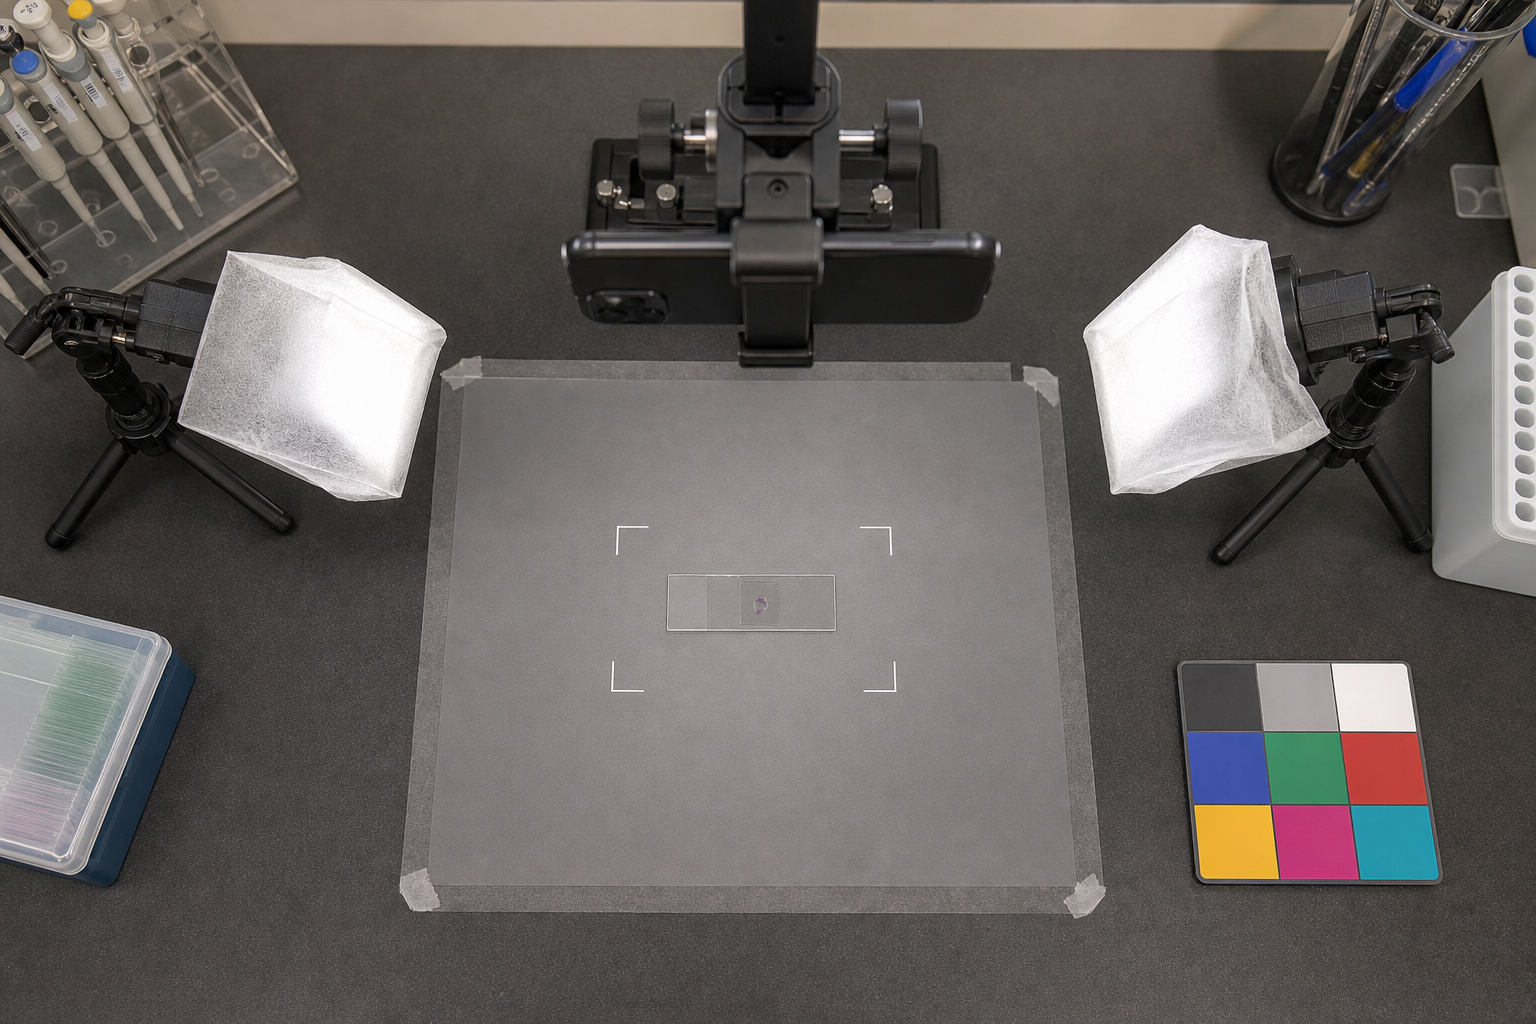
Consistency matters more than expensive equipment. A modern phone can capture adequate label detail if it remains parallel to the slide, receives soft light, and focuses reliably.
Mount the camera above the work surface with a copy stand, articulated arm, or stable overhead phone holder. Mark one placement area for the slide and another for the temporary identifier. A neutral, matte background reduces glare and gives transparent glass a visible boundary. Mid-gray often works better than bright white or deep black because it avoids extreme exposure compensation.
Use two diffused lights placed on opposite sides at shallow angles. Small LED panels can work, but direct bare LEDs often create bright point reflections. Diffusion material or a compact light tent produces a broader, softer source. Turn off nearby overhead lamps if they appear as streaks or rectangles in the glass.
Before processing a full tray, photograph five difficult examples: a faded label, glossy glass, blue ink, pencil writing, and a slide with a second label underneath. Inspect the images at full size. Confirm that paper fibers and individual pen strokes are visible, not merely that the label looks legible on the phone screen.
Lock exposure and white balance when the camera permits it. Automatic settings may brighten a dark label and then underexpose the next pale one, creating unnecessary variation. Include a color or gray reference in the first frame of each session, but keep it outside the crop used for OCR.
Capture Two Views When the Collection Justifies It
One photograph rarely serves every purpose equally well. A tight label image benefits OCR, while a full-slide image documents condition, mount placement, broken corners, secondary labels, and relationships between markings.
For collections with research, insurance, or conservation value, capture at least:
- A full object view showing the entire slide and identifier.
- A close label view with enough resolution to inspect individual characters.
A third transmitted-light or dark-background view may help document the specimen, but it should not replace the label photograph. Treat specimen imaging as a separate technical task because it may require a light box, polarizers, or microscopy.
If time is limited, prioritize a sharp full-slide image whose label remains large enough to crop. Test this assumption first. Enlarging a tiny label later cannot restore detail that the camera never recorded.
Crop for OCR Without Losing the Master Image
OCR performs better when the label fills most of the image. Background glass, specimen shapes, ruler marks, and identifier cards introduce competing edges and characters. Keep the original photograph unchanged, then make a derived crop specifically for recognition.
Use the image resize tool only after cropping. Enlarging the whole photograph wastes pixels on empty glass. A label crop between roughly 1,500 and 2,500 pixels across is usually ample for ordinary printed or typewritten text, although image clarity matters more than an arbitrary dimension.
Maintain the aspect ratio while resizing. Stretching a crop changes letter shapes and may turn narrow characters into convincing but incorrect alternatives. Save the derivative with a suffix such as -label-ocr so nobody mistakes it for the master.
If a crop contains labels on both ends of the slide, create two derivatives rather than forcing the OCR engine to interpret opposing text directions. Name them consistently, for example -label-left-ocr and -label-right-ocr.
Correct Contrast Conservatively
Faded ink tempts catalogers to apply aggressive contrast, sharpening, and threshold effects. These can make writing appear stronger while also closing loops, erasing punctuation, and converting stains into false characters.
Begin with modest tonal correction. Set the pale paper closer to neutral without clipping it to featureless white, then darken the writing enough to separate it from the substrate. If the label is yellow or stained, a grayscale copy may improve recognition, but retain a color version for human review. Color differences can reveal whether two notes were written in different inks or whether a mark is discoloration rather than handwriting.
For difficult labels, create two OCR derivatives:
- A natural-color crop with mild contrast correction
- A grayscale version with stronger local contrast
Run recognition on both and compare the outputs. Agreement is informative; disagreement identifies a field that deserves inspection. Do not replace the master with either derivative.
An AI photo editor may help clarify uneven illumination or isolate a label from a distracting background, but use generative or reconstructive edits cautiously. Catalog evidence should never depend on invented letter strokes. Any enhanced copy must remain clearly identified as a derivative, with the untouched photograph available beside it.
Choose the Right File Format for Each Stage
The master, OCR derivative, and review copy have different requirements.
| File purpose | Practical format | Main reason |
|---|---|---|
| Camera master | Original JPEG, HEIC, or RAW | Preserves the source capture |
| Edited archival derivative | TIFF or high-quality PNG | Avoids repeated lossy recompression |
| OCR input | PNG or high-quality JPEG | Broad compatibility and sufficient detail |
| Contact-sheet thumbnail | Compressed JPEG | Keeps review documents manageable |
| Web catalog preview | JPEG or WebP | Efficient delivery at display size |
If a phone records HEIC files that the recognition system cannot accept, convert copies rather than changing or deleting the originals. The image conversion tool can produce compatible PNG or JPEG derivatives. Record conversion in a brief batch note, especially if color profiles or orientation metadata change.
Avoid repeatedly opening and resaving JPEG files. Each lossy generation can soften thin pencil lines and create halos around typewritten characters. Perform adjustments from the original and export the final derivative once.
Run OCR as a Draft, Not a Verdict
Use image OCR to generate candidate text from the prepared label crop. Copy the result into a temporary OCR field, not directly into the approved transcription field.
Recognition engines commonly struggle with:
- Binomial scientific names absent from general dictionaries
- Abbreviations such as
x.s.,l.s., andw.m. - Roman numerals mixed with catalog numbers
- The characters
1,I,l,0, andO - Faded decimal points and hyphens
- Handwritten corrections crossing printed text
- Supplier names set in decorative type
- Text seen through the reverse of a second label
Preserve line breaks when they carry meaning. A supplier printed at the bottom of a label should not automatically become part of the specimen name. If the OCR tool merges everything into a single line, reconstruct the label layout in a transcription note or store distinct fields after visual review.
Never use spelling correction blindly. A dictionary may transform an unfamiliar taxon into a common English word. Search a trusted taxonomic, anatomical, or institutional reference only after recording the literal label text.
Review by Field and Confidence Level
A simple confidence scheme is more useful than a vague impression that the OCR was mostly correct. Assign confidence at the field level, because one label may contain a clear catalog number and an unreadable specimen name.
| Status | Meaning | Required action |
|---|---|---|
| Confirmed | Image and transcription agree clearly | Approve the field |
| Probable | One or two characters remain uncertain | Mark uncertain characters and request review |
| Unresolved | Several readings are plausible | Leave interpretation blank and escalate |
| Not present | The label does not supply the field | Do not infer a value |
A common notation for uncertain characters is to place them in brackets or use a question mark, but choose one house style and document it. For example, Hae[ma]toxylin indicates a constrained uncertainty more honestly than a confident guess.
Separate legibility from identification. A cataloger may read W. Watson & Sons perfectly while not knowing whether the phrase names a preparer, supplier, or previous owner. The transcription can be confirmed even while the role field remains unresolved.
Create a Contact Sheet for Human Review
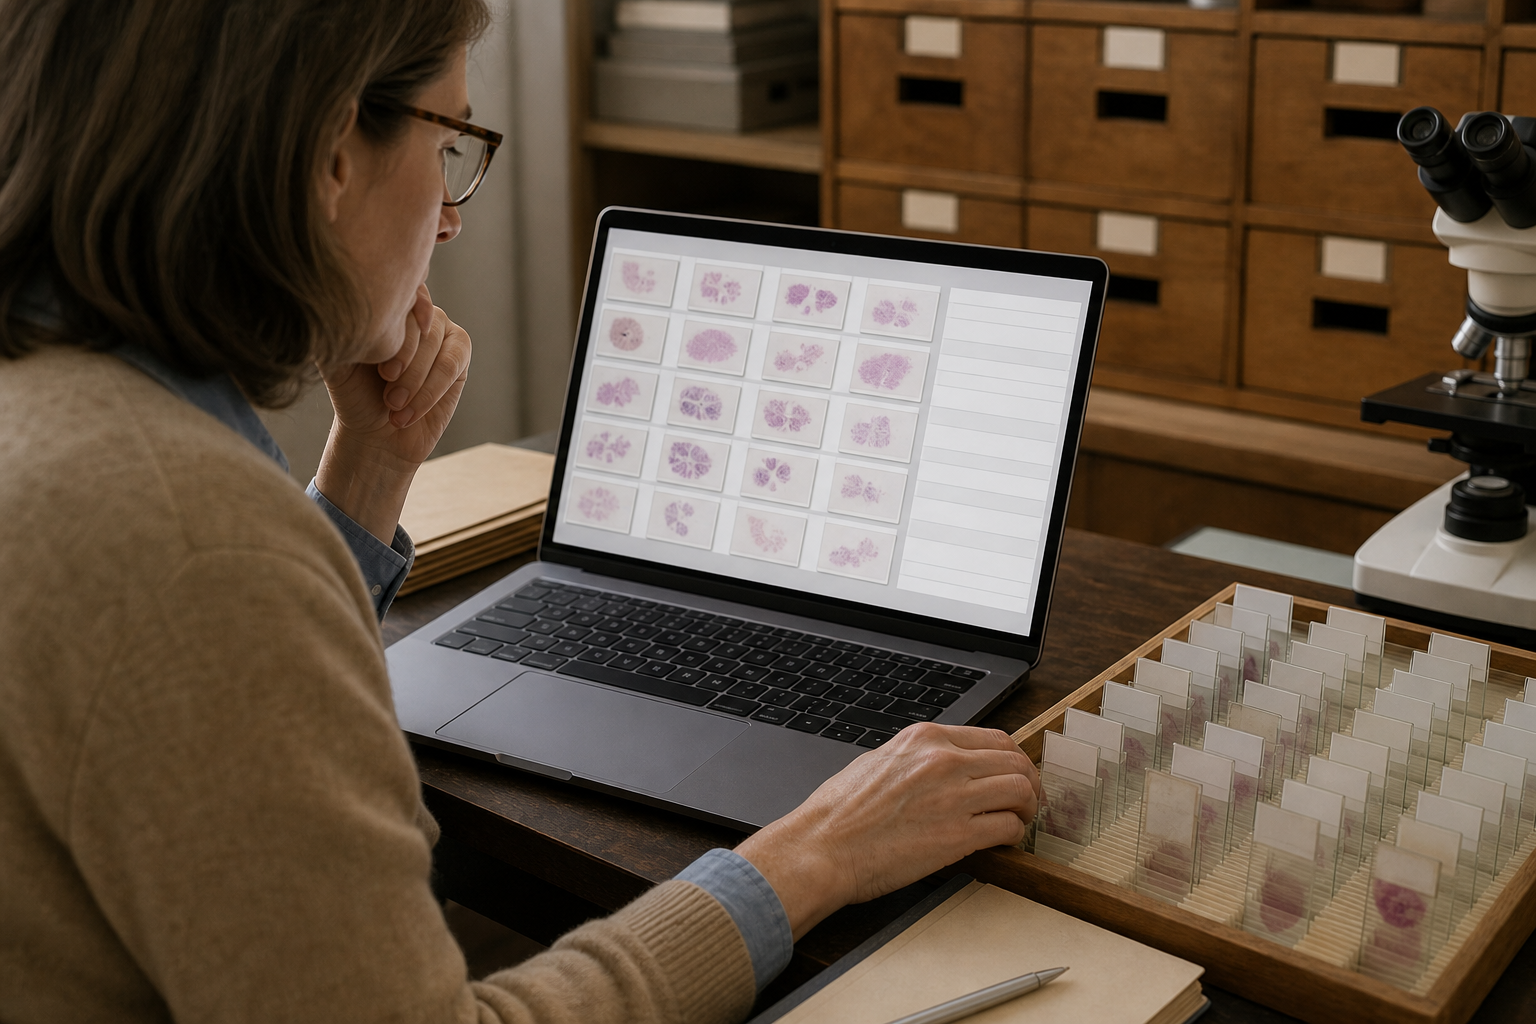
Reviewing hundreds of isolated image files is slow and makes comparison difficult. A contact sheet lets a subject specialist scan adjacent records, notice repeated handwriting, recognize supplier label templates, and compare uncertain abbreviations.
Create a grid containing each slide identifier, a full-slide thumbnail, a larger label crop, and a short OCR candidate. Use a readable page size and resist squeezing too many records onto one sheet. Six to twelve slides per page is often more useful than a dense wall of tiny thumbnails.
The visual sheet and structured catalog should reference the same stable identifier. Export the pages and combine them with PDF merge when reviewers need one portable packet. Keep the spreadsheet or database as the authoritative structured record; the PDF is an evidence and review aid, not the master catalog.
Organize review packets by tray, subject group, or suspected preparer. A specialist can often resolve difficult labels more effectively when related material appears together. However, do not renumber slides merely to make the packet sequence tidy.
Handle Glass, Adhesive, and Reverse-Side Problems
Some errors originate in the object rather than the software. A label beneath the glass may be readable only from the reverse, while adhesive staining can obscure individual characters. Photograph both sides when information is visible through the slide, and add the view direction to the filename.
Do not peel, wet, flatten, or reposition historic labels solely to improve OCR. Such treatment can destroy evidence or damage the specimen. Physical intervention belongs to a conservator or appropriately trained collection professional.
When reflections remain stubborn, rotate the entire slide slightly while keeping the camera parallel. The reflection may move away from the label without changing text geometry significantly. Cross-polarized lighting can suppress glare, but it also changes the appearance of some materials; document its use and retain a normally lit reference image.
Condensation, mold, broken glass, and leaking mountant require collection-care decisions before extended handling. Isolate hazardous or actively deteriorating material according to local safety guidance instead of placing it in the routine photography queue.
Keep Batch Notes Short but Useful
A batch note should make later discrepancies understandable without becoming a second catalog. Record the date, operator, equipment, lighting arrangement, file format, derivative settings, OCR service or software version when known, and the identifier range processed.
Also document exceptions. Examples include a camera shift halfway through the session, labels photographed through a protective sleeve, or a set processed only in grayscale. These details help explain why one group produced different OCR results.
If several people participate, write a one-page transcription convention covering capitalization, line breaks, illegible characters, expanded abbreviations, scientific names, and crossed-out text. Test the convention on ten slides and compare results before dividing the main collection among catalogers.
Audit the Collection Before Declaring the Batch Complete
Completeness checks catch more practical failures than another round of image enhancement. Reconcile the physical slides, image files, and catalog rows by identifier.
For each batch, verify that:
- Every physical slide has exactly one catalog identifier
- Every identifier has the required photograph views
- Every image filename begins with a valid identifier
- Every catalog row points to an existing source image
- Duplicate identifiers have been resolved
- Uncertain readings carry an explicit review status
- Normalized names remain separate from literal transcriptions
- Original images remain unchanged
- Derived images can be regenerated from documented settings
- The review packet opens and thumbnails remain legible at normal zoom
Spot-check records from the beginning, middle, and end of each session. Focus drift, battery-saving changes, or a bumped camera mount may affect only part of a tray.
A useful error-rate check is to select a random sample and have a second person compare every character against the photograph. Count consequential errors separately from cosmetic differences. Confusing 8 with 3 in an accession number matters more than inconsistent punctuation in a note.
A Practical Small-Collection Example
Consider a department with 420 histology teaching slides stored in twelve trays. The collection has no searchable catalog, but most slides carry a typed specimen label and a handwritten class number.
The team assigns stable identifiers without changing tray order. One person photographs forty slides per session, capturing a full view and a close label crop. The source photographs remain in session folders, while standardized PNG crops are created for recognition.
OCR candidates populate a temporary spreadsheet column. A student assistant confirms clear class numbers and literal label text, marking ambiguous scientific names as probable or unresolved. A histology instructor reviews contact sheets grouped by tray and resolves recurring abbreviations after seeing them across several related slides.
The final catalog retains the original label wording, a normalized tissue name, tray position, image reference, and review status. Unresolved labels remain searchable by partial transcription rather than receiving invented descriptions. That restraint makes the catalog more trustworthy and leaves a clear queue for future research.
Final Handoff Checklist
A finished cataloging batch should be understandable to someone who did not participate in photography. Deliver the structured catalog, untouched master photographs, named derivatives, review PDFs, transcription convention, and batch notes together.
Use a directory structure that separates sources from derivatives and exports. Confirm that identifiers survive outside the original computer by testing a copied package. If the institution has a digital preservation policy, follow its storage, checksum, and backup requirements rather than treating a cloud synchronization folder as the only copy.
Most importantly, preserve uncertainty. OCR can reduce typing and reveal patterns across a collection, but the photograph remains the evidence. A catalog that distinguishes visible text, interpretation, and unresolved questions will remain useful long after the recognition software, staff, and teaching terminology have changed.