Solar Inverter Fault Screen Photos: An OCR Cleanup Guide for Installer Service Records
A practical guide for turning glare-heavy solar inverter fault screen photos into readable, searchable service records for maintenance logs and partner handoffs.
Solar Inverter Fault Screen Photos: An OCR Cleanup Guide for Installer Service Records
Solar inverter fault screens are awkward evidence. They are often small, reflective, backlit, mounted at chest height, and surrounded by cables, warning labels, conduit, breakers, and dust. When an installer or maintenance technician needs to document a fault code, production warning, grid message, or communication status, the quickest capture is usually a phone photo. That photo may be enough for a quick chat message, but it is rarely enough for a clean service record.
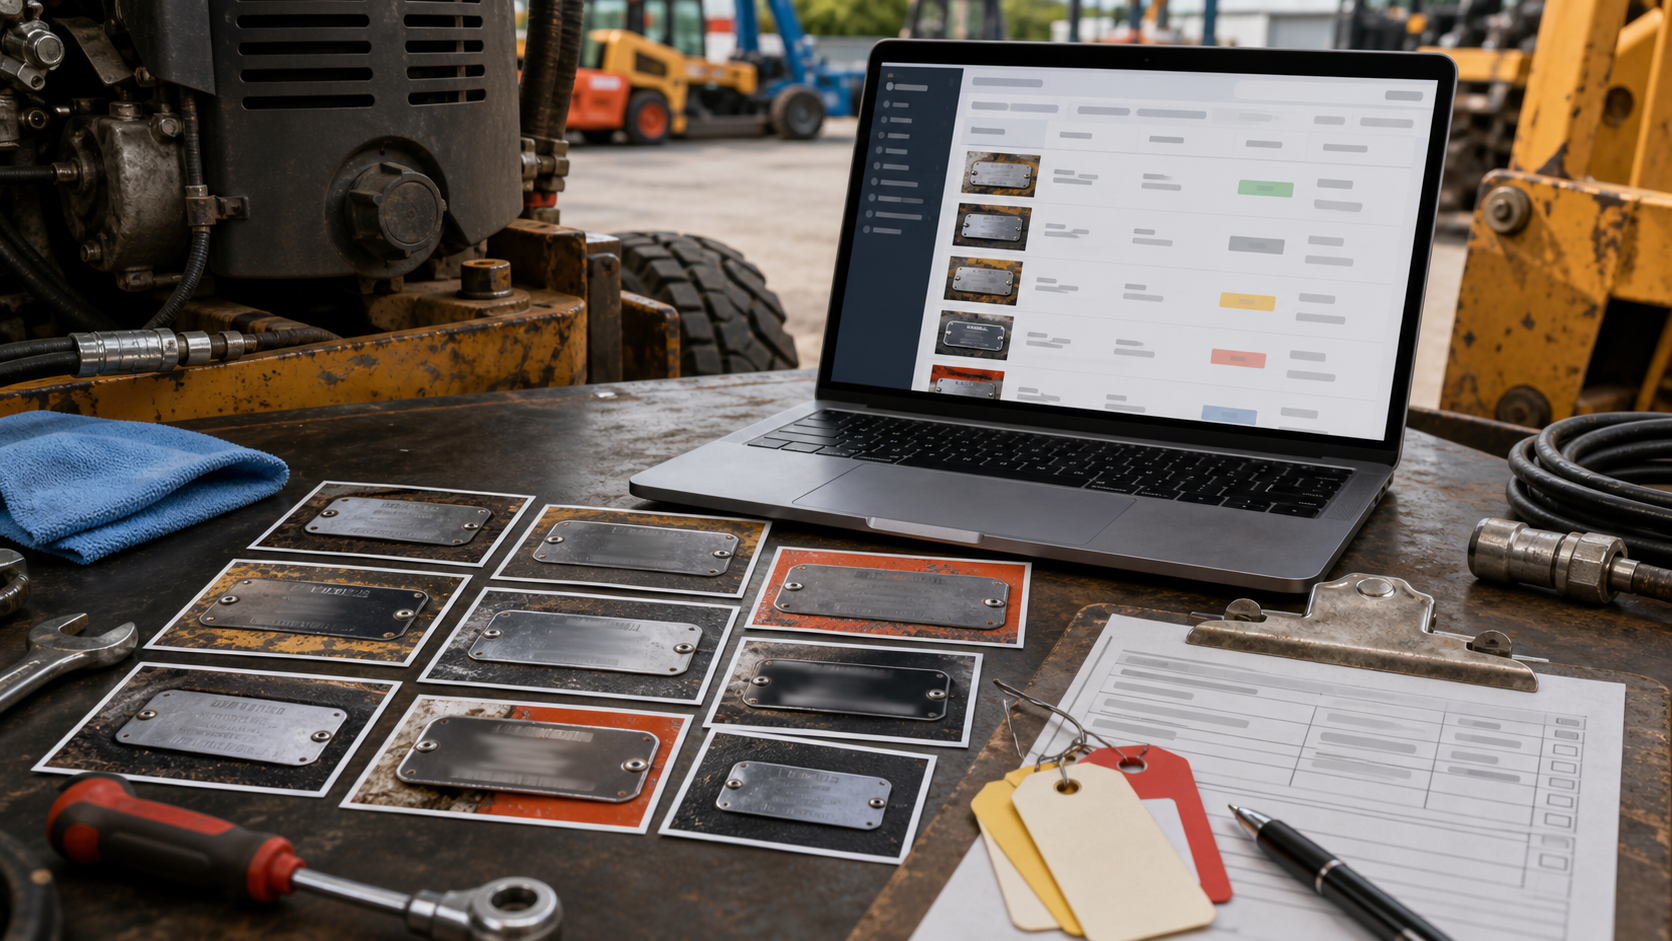
The problem shows up later. A project manager searches for the fault code and cannot find it. A manufacturer asks for the exact error message and timestamp. A utility partner wants proof that the site displayed a grid-related warning before a truck roll. A warranty folder contains five blurry inverter photos named IMG_4821, IMG_4822, and IMG_4823, but no one can tell which one belongs to which system.
This guide focuses on a narrow but common need: turning solar inverter screen photos into readable, searchable records. It is not a guide to diagnosing electrical faults, resetting equipment, or interpreting manufacturer-specific codes. It is about capture quality, image cleanup, OCR preparation, file naming, and PDF handoff so the technical people can work from better evidence.
For small solar installers, operations teams, and maintenance coordinators, this is a practical way to reduce repeated site questions without buying document management software.
Why Inverter Screen Photos Fail as Records
A solar inverter display is usually designed for on-site viewing, not document capture. Even when the screen is legible to the person standing in front of it, the photo can fail for several reasons.
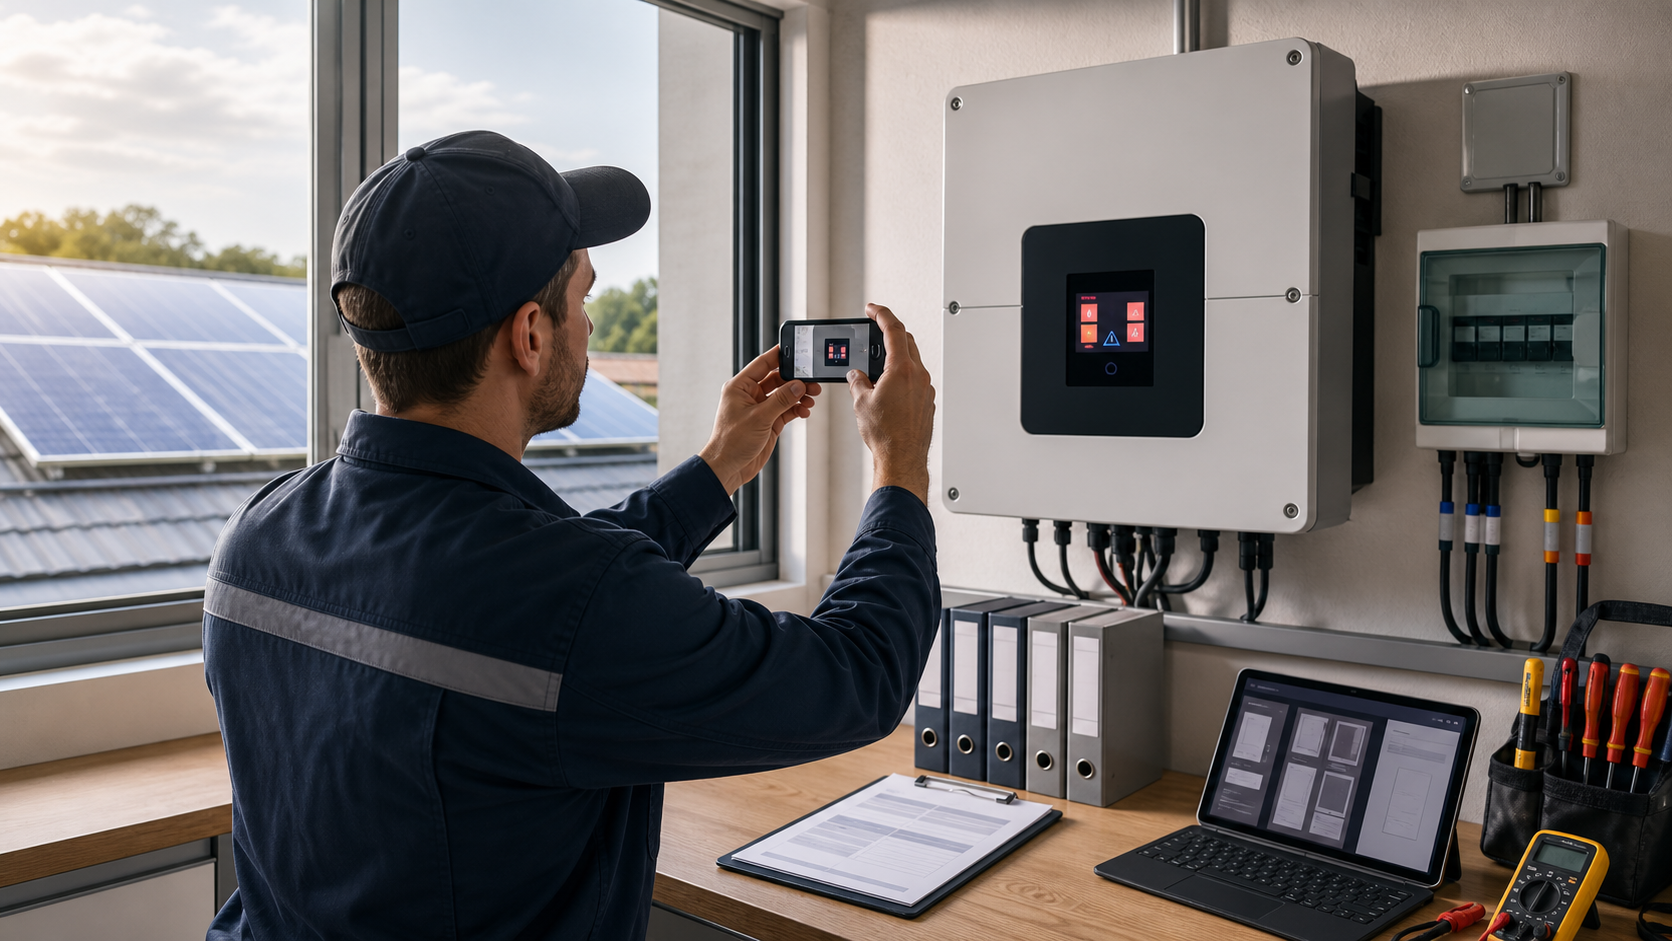
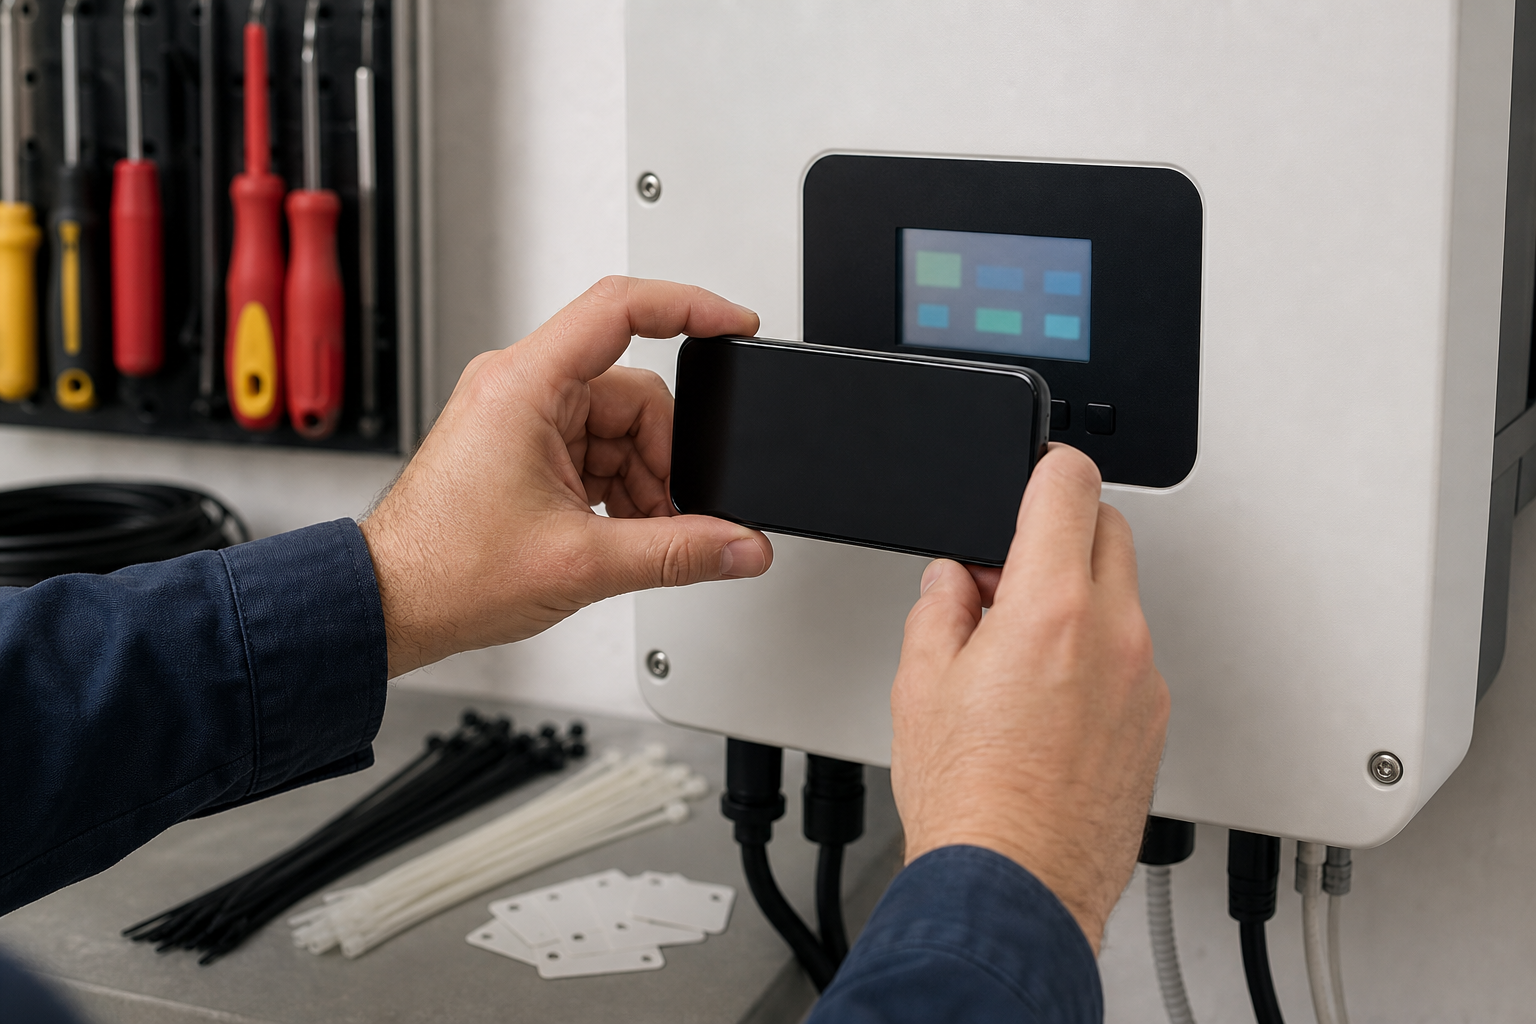
Glare is the most obvious. Utility rooms, garages, and exterior walls often create bright reflections across plastic display covers. A technician may see the code clearly by leaning slightly, but the phone captures a reflection of the sky, fluorescent tube, or high-visibility vest.
Angle distortion is another issue. If the photo is taken from above, below, or off to the side, the screen becomes a trapezoid. OCR tools can still read some distorted text, but small characters, seven-segment numbers, and compact fault labels become unreliable.
Motion blur is common because the technician is often holding a phone with one hand while standing near equipment. Low indoor light forces the camera to use slower exposure, and a small shake softens the display text.
Over-compression can ruin the final detail. A messaging app may shrink the original photo before anyone saves it to the service folder. Thin LCD characters and small icons degrade quickly when compressed too hard.
The last failure is context loss. A close-up of a fault code is useful, but not if no one knows which inverter, string, combiner, meter, or site it came from. A record needs both the readable screen and enough surrounding evidence to place it.
The Capture Standard: Make the Screen Readable Before Editing
Editing can improve a photo, but it cannot reliably recover a fault code that was never captured. The best improvement happens before the technician taps the shutter.
Use a simple three-photo capture standard for each inverter event:
- Context photo: show the inverter, nearby labels, and mounting area.
- Screen photo: fill most of the frame with the display, taken as square-on as possible.
- Detail photo: capture the serial label, asset tag, or other identifying marker if permitted by company policy.
The screen photo is the OCR source. The context and detail photos are there to prevent confusion later. Do not rely on only one wide photo, because the screen will usually be too small for reliable text extraction.
For the screen photo, keep the phone parallel to the display. Move the phone, not just your wrist, until the screen edges look straight. If the cover reflects light, shift slightly left or right while staying as square as possible. Use your body, a clipboard, or a clean piece of dark material to block reflections when safe and practical.
Tap the screen area on the phone before shooting. This usually tells the camera to focus and expose for the display instead of the wall or conduit. If the phone allows exposure adjustment, drag it down slightly when the display is glowing too brightly. Overexposed LCD text is harder to recover than a slightly dark frame.
Take two screen photos if the message cycles. Many inverters rotate between power, voltage, communication, and fault screens. Wait for the fault message to reappear and capture it again. If the screen has a timestamp or event number on a separate page, capture that page too.
A useful field rule is: if the code is not readable when you zoom in on the phone before leaving the site, it is not ready for the service record.
Keep Both Context and Cropped Evidence
A clean record usually needs two versions of the same source photo: the original context image and a cropped display image.
The original context image helps reviewers understand where the screen came from. It may show the inverter model, installation position, nearby disconnect, or site-specific label. Even when it is not ideal for OCR, it is valuable evidence.
The cropped display image is the working copy for readability and text extraction. Cropping removes distracting cables, wall texture, warning stickers, and reflections outside the display. It also gives OCR tools a better chance because the text occupies more of the image.
Do not overwrite the original. Keep the raw capture and create an edited copy. If a later reviewer questions the crop, you can show the surrounding context. This matters for warranty, service disputes, and partner handoffs where the record may be reviewed weeks later.
A practical naming pair looks like this:
| File type | Example name | Purpose |
|---|---|---|
| Original photo | site-184-inverter-a-context-2026-06-18.jpg | Shows equipment and location |
| Cropped screen | site-184-inverter-a-fault-screen-2026-06-18.png | Used for reading and OCR |
| Searchable PDF | site-184-inverter-a-fault-record-2026-06-18.pdf | Sent or archived |
PNG is often a good choice for cropped screen images because it preserves sharp edges better than a repeatedly saved JPEG. If storage size becomes a problem, use careful compression only after you verify that the code and labels remain readable.
You can use ConvertAndEdit's image tools to prepare these copies. Crop and resize the source image with /resize-image, convert the cleaned crop to a preferred format with /convert-image, and reduce large field photos with /compress-image after checking that the LCD characters still hold up.
A Practical Cleanup Pass for LCD and LED Displays
Solar inverter displays vary. Some have monochrome LCD screens with dark characters on a pale background. Others use bright LED segments, color touchscreens, or small status icons. The cleanup approach should match the display type.
Start with cropping. Cut away everything except the screen and a thin border around it. If the screen has a label immediately above or below it, keep that label only if it helps identify the display mode. Do not include the whole inverter face if the goal is OCR.
Next, straighten the crop. A slightly tilted screen makes text recognition harder and looks careless in a packet. Rotate until the top and bottom of the display are level. If the photo is heavily skewed into a trapezoid, use a perspective correction tool if available. If not, return to the original photo and see whether another capture is more square.
Then adjust brightness and contrast. For LCD screens, increase contrast enough to separate characters from the background, but avoid crushing pale gray segments into black blocks. For bright LED or touchscreen displays, reduce highlights if the characters bloom into thick shapes.
Sharpen gently. A small amount of sharpening can help thin characters, but aggressive sharpening creates halos that confuse OCR and make the evidence look altered. Avoid filters that stylize the image. The goal is documentary clarity, not visual polish.
If the screen background is noisy, slight denoising can help. Use it carefully. Too much denoising smears digits such as 8, 6, 0, and 9 into ambiguous shapes.
Finally, export a clean copy and zoom to 200 percent. Check the characters manually before running OCR. If a human cannot confidently read the code, OCR will not rescue it.
OCR Preparation: What to Extract and What to Leave Manual
OCR is useful for turning screen photos into searchable records, but it should not be treated as the final authority. Inverter fault displays often contain compact codes, abbreviations, icons, scrolling messages, and manufacturer-specific formatting. OCR may misread a zero as O, a one as I, or a seven-segment 8 as B.
Use OCR for searchability and quick indexing, then manually verify the critical text.
Good candidates for OCR include:
- Fault code numbers
- Short status messages
- Date and time shown on the display
- Menu labels
- Device names shown on a touchscreen
- Communication status messages
Items that often need manual review include:
- Serial numbers with mixed letters and digits
- Tiny model labels near the screen
- Icons without labels
- Abbreviated electrical units
- Scrolling messages captured mid-transition
A strong service note pairs extracted text with a human-checked line. For example:
| Record field | Example entry |
|---|---|
| OCR text | Grid fault 203, reconnect delay |
| Technician verified text | Fault 203, grid reconnect delay |
| Confidence note | Screen readable in crop; original context photo retained |
If you need searchable text from the cleaned image, run the crop through /image-ocr. Keep the extracted text near the image in your service record. If the OCR output is imperfect, correct it in the record rather than pretending the extraction was exact.
The best habit is to separate evidence from interpretation. The photo shows what the screen displayed. The OCR text makes it searchable. The technician or reviewer can add interpretation in a separate note.
Build a Searchable Service Packet
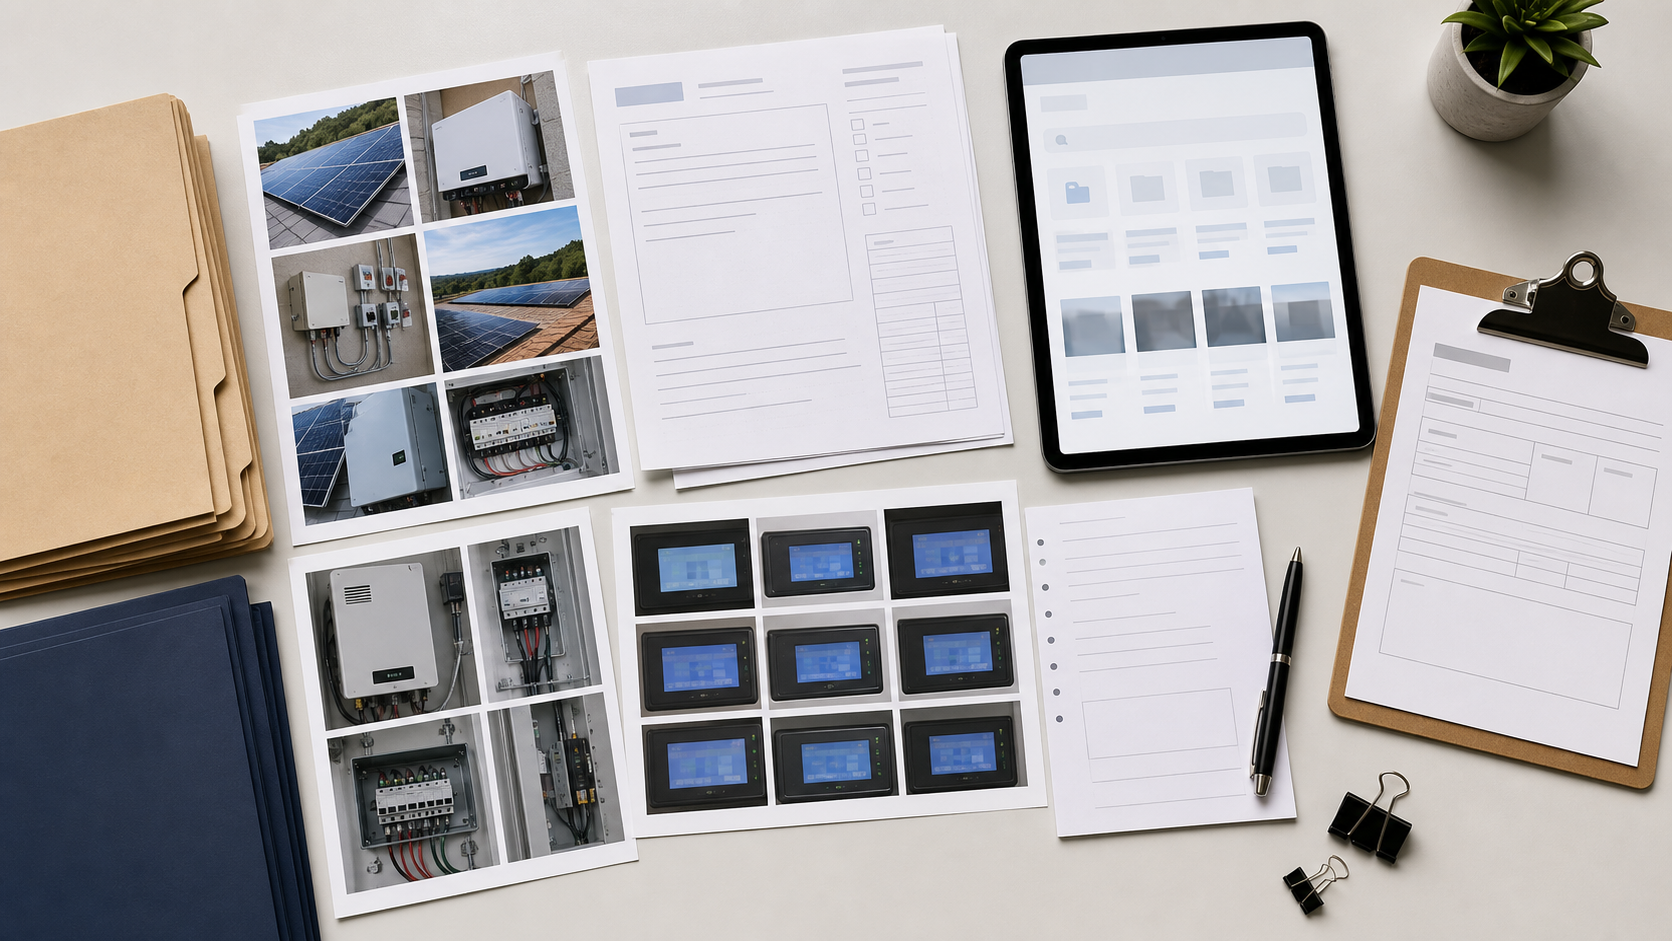
A single cleaned image is helpful, but a structured packet is easier to review, forward, and archive. For many small teams, a PDF packet is the most practical container because it travels well through email, ticketing systems, shared folders, and vendor portals.
A compact inverter fault packet can include:
- Cover page or first page with site name, date, technician, and inverter identifier
- Context photo of the inverter installation
- Cropped screen photo for each fault or warning message
- OCR text below or beside each screen image
- Detail photo of the serial label or asset tag when appropriate
- Short service note with next action or handoff status
Keep the packet focused. Do not dump every photo from the site visit into one PDF if only three images support the fault record. Large packets slow down review and increase the chance that the important screen capture gets missed.
If you are building a record from several cleaned images, ConvertAndEdit's /image-to-pdf can turn the selected photos into a PDF. If the final packet needs to be combined with a site report, commissioning sheet, or manufacturer form, use /pdf-merge to combine the files in the right order.
The order should follow how a reviewer thinks:
- Which site and asset is this?
- What did the inverter show?
- What supporting evidence confirms the asset?
- What note or action is attached?
Avoid placing OCR text pages at the end without image references. The reviewer should not have to match extracted text back to images by guessing.
Compression Rules for Sending Without Losing the Code
Solar service records often need to be emailed, uploaded to a ticket, or attached to a partner portal. Compression helps, but screen evidence is easy to damage.
Use the original full-resolution images for your archive. Compress copies for sending. This gives you a fallback if someone later needs a clearer version.
For context photos, moderate JPEG compression is usually acceptable. The goal is to show the equipment and surroundings, not read tiny LCD characters from the wide shot.
For cropped screen images, be more conservative. Thin characters, decimal points, small icons, and status labels can disappear quickly. If the crop is small, avoid resizing it down too far. A 900 to 1400 pixel wide crop is often more useful than a tiny thumbnail, even if the display itself looks simple.
Use this decision table before sending:
| Asset | Compress aggressively? | Reason |
|---|---|---|
| Wide inverter context photo | Usually yes | Main purpose is identification and placement |
| Cropped fault screen | No | Text detail is the core evidence |
| Serial label photo | Lightly | Small characters need preservation |
| Final PDF packet | Moderately | Must stay readable after upload or email |
After compression, open the final file and zoom in. Check the actual code, not just the overall appearance. A PDF can look clean at page view while hiding damaged text in the crop.
Use /compress-image for large image copies when file size is the blocker, and keep your original evidence folder untouched.
File Naming That Survives Shared Folders
Good naming is not glamorous, but it prevents records from becoming useless. Solar maintenance teams often pass files through phones, cloud folders, email, ticketing systems, and vendor portals. Generic names break the chain.
A useful naming pattern includes site, asset, evidence type, and date:
site-184-inverter-a-fault-screen-2026-06-18.png
If the site has a customer name, use the internal site ID first and avoid sensitive personal details unless your company policy requires them. File names are often visible in emails and downloads, so keep them professional and minimal.
For multiple messages from the same inverter, add a sequence or code:
site-184-inverter-a-fault-203-screen-2026-06-18.png
site-184-inverter-a-grid-warning-screen-2026-06-18.png
site-184-inverter-a-comms-status-screen-2026-06-18.png
Do not put uncertain interpretations into the file name. If the screen is unclear, use a neutral label such as status-screen and explain the uncertainty in the service note. A filename should help locate the evidence, not overstate what it proves.
For the final PDF, use a packet name that indicates the record type:
site-184-inverter-a-fault-record-2026-06-18.pdf
This makes it easier to find later when someone searches for the asset, date, or fault record.
Quality Checklist Before You Archive or Send
Before sending the packet to a manufacturer, utility partner, internal reviewer, or customer support channel, run a short quality check. It takes less time than answering follow-up questions.
Use this checklist:
- The fault or status code is readable in the cropped screen image.
- The original context photo is retained.
- The inverter or asset identity is clear from the record.
- OCR text has been manually checked for critical codes and digits.
- The final PDF opens correctly after compression or merging.
- File names include site, asset, evidence type, and date.
- The packet excludes unrelated photos and private information not needed for the review.
- The record separates displayed evidence from technician interpretation.
If a packet fails one of these checks, fix that specific issue. Do not rebuild everything. Most problems are simple: recrop the screen, rerun OCR, rename the file, or replace an over-compressed image.
For teams handling many sites, this checklist can become a short internal standard. The value is consistency. A reviewer should be able to open any inverter fault record and know where to find the screen, the extracted text, and the context image.
Common Mistakes and Better Alternatives
The most common mistake is sending only a close-up screen photo. It may show the code, but it does not prove which asset displayed it. Always keep at least one context image.
Another mistake is using screenshots from messaging apps as the record source. If the technician sends a photo through chat and someone else saves a compressed preview, the useful detail may already be gone. Whenever possible, collect the original image file from the phone or field app.
A third mistake is over-editing. Heavy contrast, extreme sharpening, color filters, and background removal can make the photo look less trustworthy. Service evidence should look clear and plain.
Some teams also rely too heavily on OCR. Extracted text is convenient, but a fault code should be verified against the image. Treat OCR as a search layer, not a substitute for review.
Finally, avoid giant mixed PDFs. A 40-page file containing every site photo from a visit is not a fault record. It is a folder flattened into a document. A useful packet is selective and ordered.
Better alternatives are simple: capture context and detail, preserve originals, clean copies lightly, run OCR on the crop, verify important text, and build a focused PDF.
A Lean Standard for Small Solar Teams
You do not need a complex system to improve inverter fault records. A small team can start with one shared rule: every fault screen gets a context photo, a readable screen crop, verified OCR text, and a short PDF packet when the issue leaves the field team.
That standard helps technicians because they know what to capture before leaving the site. It helps coordinators because records are easier to name and file. It helps reviewers because the code, asset, and supporting context are in one place. It also reduces the awkward back-and-forth that happens when a manufacturer or partner asks for the exact screen message days after the visit.
ConvertAndEdit can support the practical pieces without forcing a new publishing system. Use /resize-image to crop and size the screen, /convert-image to save clean display crops, /image-ocr to extract searchable text, /image-to-pdf to build a focused packet, and /pdf-merge when the packet needs to sit beside existing documents.
The goal is not to make inverter photos beautiful. The goal is to make them readable, searchable, and useful after the technician has already moved on to the next site.