Faded Stamp and Signature Scans: A Practical Guide for Clean Approval PDFs
Learn how to clean faded approval stamps, signatures, and scanned forms into readable PDF packets without overprocessing evidence or losing important context.

Faded Stamp and Signature Scans: A Practical Guide for Clean Approval PDFs
Approval paperwork has a strange way of becoming important only after it has already been copied, stamped, rescanned, emailed, printed, signed, and scanned again. By the time a facilities team, finance clerk, school office, nonprofit administrator, or small legal department needs to archive it, the key proof may be the weakest part of the page: a pale received stamp, a blue-ink signature, an embossed seal, a date mark, or a handwritten approval note sitting across a low-quality photocopy.
This guide is for that exact corner of document cleanup. The goal is not to make a page look artificially perfect. The goal is to create a clean, readable approval PDF that keeps the original context intact, makes stamps and signatures easier to review, and avoids destructive edits that could raise questions later.
The practical system below works for scanned authorization forms, vendor approvals, delivery confirmations, site inspection sign-offs, municipal paperwork, school permission forms, board minutes, maintenance acceptance sheets, and other records where the stamp or signature is the point of the file.
Why Approval Scans Need Different Treatment
A normal document cleanup guide often focuses on making black text sharp and removing background noise. Approval scans are trickier because the most important marks are often not black text.
Rubber stamps may be red, purple, green, or blue. Signatures may be thin, pressure-sensitive, and partially transparent. Date stamps may overlap printed lines. Initials can sit inside checkboxes. Embossed seals may only appear because of a shadow. If you apply aggressive black-and-white conversion too early, you can erase or flatten the very marks you need to preserve.
A good approval PDF should satisfy four conditions:
| Need | What it means in practice |
|---|---|
| Readability | Names, dates, stamps, and key form fields are clear enough to review without zooming excessively. |
| Context | The full page, page order, margins, headers, and related fields remain visible. |
| Restraint | Cleanup improves legibility without making the page look fabricated or heavily altered. |
| Portability | The final PDF is small enough to email, upload, or store without turning stamps into artifacts. |
That balance is the reason this guide separates capture, cleanup, OCR, PDF assembly, and compression instead of treating the scan as a single image problem.
The Three Things That Usually Go Wrong
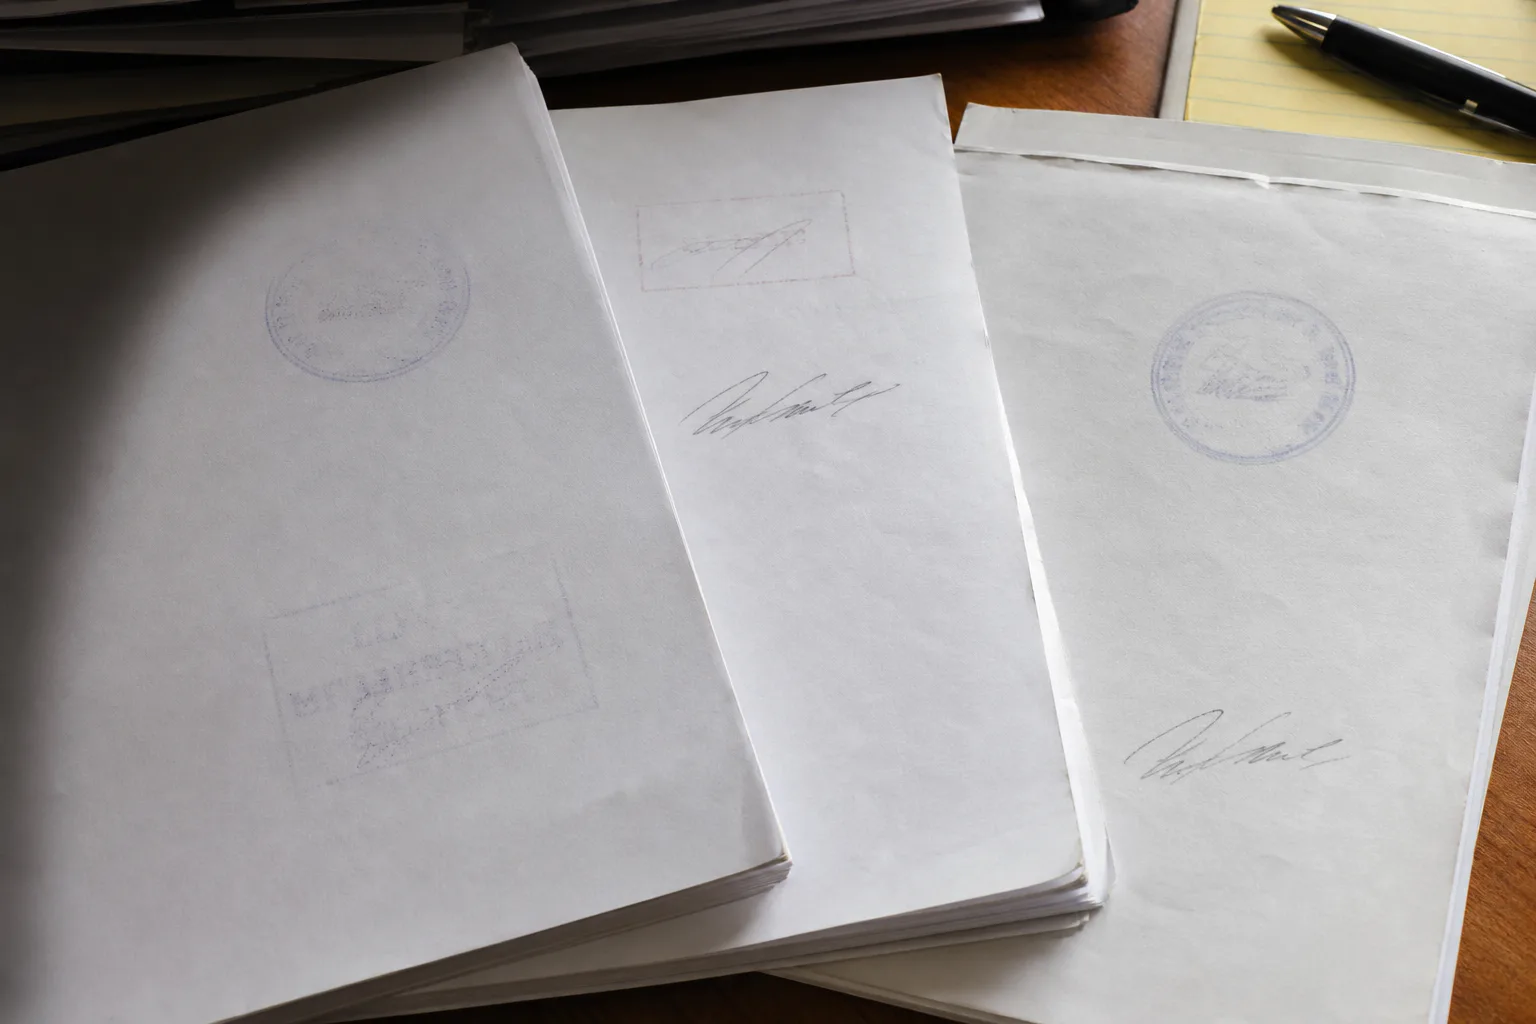
Most poor approval packets fail in one of three ways: the page is captured badly, the cleanup is too aggressive, or the final PDF is built without checking the marks that matter.
1. The Scan Hides the Stamp
Faded stamps usually disappear because the scan was made for black text only. Many office scanners use automatic contrast, automatic background removal, or black-and-white document mode. Those settings can work for typed forms, but they often destroy pale ink.
If the stamp is red or purple, scan in color or grayscale first. You can always compress later. Starting with a black-and-white scan gives you fewer rescue options.
2. The Signature Gets Treated Like Noise
Handwritten signatures are irregular by nature. Cleanup tools may interpret thin strokes, pen pressure changes, or broken ink as dust. If the page is over-sharpened, a signature can become jagged. If it is over-smoothed, it can become blurry.
For signatures, the safest approach is usually moderate contrast, careful cropping, and light background cleanup. Avoid filters that turn every gray mark into either pure black or pure white unless you have verified the signature still looks natural.
3. The PDF Is Compressed Too Late or Too Hard
Many teams assemble a large PDF first, then use a heavy compression setting to make it uploadable. That can create blocky stamp edges, fuzzy small dates, or muddy signatures.
A better approach is to prepare images with a sensible size first, convert them into a PDF, and then apply final compression only as needed. ConvertAndEdit tools such as compress image, image to PDF, and PDF merge can help keep each step visible and reversible.
Start With a Capture That Protects Weak Ink
If you control the scan or photo, spend the extra minute here. Cleanup can improve a weak source, but it cannot recover detail that was never captured.
Scanner Settings That Usually Work
Use color mode when stamps, signatures, initials, seals, highlighter, or colored form sections matter. Use grayscale only when the page is purely black pen or pencil. Avoid black-and-white mode for the first capture unless the document is simple printed text.
A practical starting point:
| Document type | Suggested capture setting | Why |
|---|---|---|
| Red or purple rubber stamp | Color scan, 300 dpi | Preserves faint colored ink and stamp edges. |
| Blue pen signature | Color scan, 300 dpi | Keeps pen tone separate from printed text. |
| Pencil initials | Grayscale or color, 300 dpi | Avoids losing light strokes. |
| Embossed seal | Color scan with slight side lighting if photographed | Captures shadow and relief. |
| Old photocopy with approval marks | Color scan, 300 dpi | Gives cleanup tools more tonal information. |
For most approval paperwork, 300 dpi is enough. Higher resolution can help with very small date stamps, but it also creates large files and may exaggerate paper texture. If you are scanning a stack, consistency matters more than maximum resolution.
Photo Capture When a Scanner Is Not Available
Phone photos can work if you control light and alignment. Put the page on a flat, neutral surface. Use indirect light from two sides if possible. Avoid a single harsh desk lamp that creates glare on ink or shadows along folds.
Before taking the photo, check four edges of the page in the frame. Keep the phone parallel to the document. If the page is curled, hold it flat with clean blank paper weights near the corners, not over content. Take one full-page photo for context and, if the stamp is very faint, one close-up for review reference.
Do not crop away margins immediately. Page edges, hole punches, headers, and surrounding fields can help reviewers understand what the approval mark belongs to.
Make a Preservation Copy Before Editing
Before any cleanup, keep an untouched source file. This can be the scanner output, original phone photo, or first PDF received by email. Store it with a clear name such as vendor-approval-original-scan.pdf or permit-page-03-original.jpg.
Then create an edited copy for the readable packet. This habit matters because approval documents sometimes need later review. A clean PDF is useful for daily operations, but the original capture may still be needed for audit, legal, or recordkeeping reasons.
A simple naming pattern helps:
| File role | Example name |
|---|---|
| Untouched source | 2026-05-approval-form-original.jpg |
| Cleaned page image | 2026-05-approval-form-clean-page-01.jpg |
| OCR reference text | 2026-05-approval-form-ocr-notes.txt |
| Final packet | 2026-05-approval-packet-final.pdf |
The point is not bureaucracy. It is avoiding a situation where the only remaining file is a heavily processed page and nobody remembers what was changed.
Clean the Page Without Flattening the Evidence
Approval scans usually need light, targeted cleanup. Think in passes: straighten first, crop second, adjust tone third, then inspect stamps and signatures before converting anything.
Straighten Before You Crop
Skewed pages make signatures harder to compare and can make OCR less reliable. Straighten the page while keeping the whole document visible. A slight border is acceptable. Cutting into the page edge to create a perfect rectangle is usually not worth it if it removes form context.
If the page was photographed at an angle, perspective correction can help. The goal is a rectangular page that still looks like a document, not a reconstructed template.
Crop for Context, Not Just Beauty
Crop out the table, desk, or scanner lid border, but keep page margins. If the stamp sits near an edge, leave breathing room around it. For multi-page packets, use consistent cropping so pages do not jump around when reviewed.
A good crop includes:
- The complete page boundary
- The form title or identifying header
- Any page numbers or revision marks
- Nearby fields connected to the approval mark
- Enough blank margin to show the page was not cut tightly around the signature
Adjust Brightness and Contrast Carefully
Faded stamps benefit from contrast, but only up to a point. Increase contrast enough to separate ink from paper. Avoid pushing the background to pure white if that erases pale marks. If the paper is gray, slightly improving brightness may help, but keep an eye on colored ink.
For a mixed page with typed text, stamp, and signature, inspect three zones after each adjustment:
| Zone | What to check |
|---|---|
| Printed text | Letters stay sharp and do not fill in. |
| Stamp | Edges and internal date characters remain visible. |
| Signature | Thin strokes are not broken, jagged, or blurred. |
If improving the typed text damages the stamp, prioritize the approval mark. The typed text may be available elsewhere on the form, but the stamp or signature is often unique.
Use OCR as a Review Aid, Not a Replacement
OCR can help you catch dates, names, form IDs, and stamp text, but it should not be treated as the document itself. Rubber stamps and handwriting are especially difficult for automated text extraction.
Use image OCR to create a review layer or notes, then compare the output against the image. OCR is useful for finding likely text, but the scan remains the source for visual approval evidence.
What OCR Can Usually Help With
OCR performs best on printed fields, typed names, invoice numbers, permit IDs, addresses, and clear date stamps. It can also help locate repeated labels in a packet, such as approved by, received, inspected, or paid.
It struggles more with cursive signatures, partial stamps, diagonal marks, low-ink rubber stamps, and handwriting over form lines.
Use OCR results to support these tasks:
- Renaming files with invoice numbers or dates
- Checking whether a stamp date is readable
- Finding pages that contain approval terms
- Creating searchable reference notes for an archive
- Spotting missing pages in a larger packet
How to Handle Uncertain OCR Output
If OCR reads a stamp date as 03/08/26 but the scan might say 03/06/26, do not silently correct the file based on a guess. Instead, keep the image visible in the final PDF and use a neutral filename such as approval-stamp-page-04.pdf rather than embedding a questionable date.
For internal notes, mark uncertainty plainly. For example: Stamp date appears to be March 6 or March 8, 2026; verify against source scan. That kind of note is more useful than false certainty.
Decide When AI Cleanup Is Appropriate
AI photo editing can be useful for removing shadows, evening out a background, or improving a poor photo of a document. It should be used carefully with approval records because the marks themselves have evidentiary value.
A conservative rule: use AI cleanup around the document, not on the approval mark. If you use AI photo editor style tools for document images, avoid instructions that ask the system to redraw, complete, reconstruct, enhance, or invent stamp and signature details.
Better instructions are limited and environmental:
| Safer edit request | Riskier edit request |
|---|---|
| Remove desk shadows around the page. | Make the stamp clearer by filling missing letters. |
| Even out paper lighting without changing ink marks. | Restore the signature. |
| Clean background outside the document edge. | Recreate the approval seal. |
| Reduce glare while preserving all handwriting. | Make the document look new. |
For records, the best cleanup is usually transparent in intent: straighten, crop, balance, compress, assemble. If a mark is illegible, note that it is illegible rather than manufacturing clarity.
Convert Cleaned Pages Into a Reviewable PDF
Once each page image is readable, convert the cleaned images into a PDF. The order matters. Put pages in the same sequence as the original document unless there is a clear reason to add cover sheets or reference pages.
Use image to PDF for scanned pages, receipt photos, and approval images that need to become a single document. Before conversion, check the image dimensions so pages do not mix portrait and landscape unexpectedly.
Page Order Checklist
Before creating the final PDF, run through this list:
- The first page identifies the document, vendor, case, site, project, or request.
- Signature pages appear directly after the forms they approve.
- Stamp close-ups, if included, are placed after the full-page scan they relate to.
- Duplicate pages are removed unless they show different marks.
- Blank backs are excluded unless they contain stamps, notes, or page references.
- File names sort naturally, such as
page-01,page-02,page-03.
For packets assembled from multiple PDFs, use PDF merge after each source document has been cleaned or converted. This keeps the merge step focused on order, not image repair.
Build the Final Approval Packet
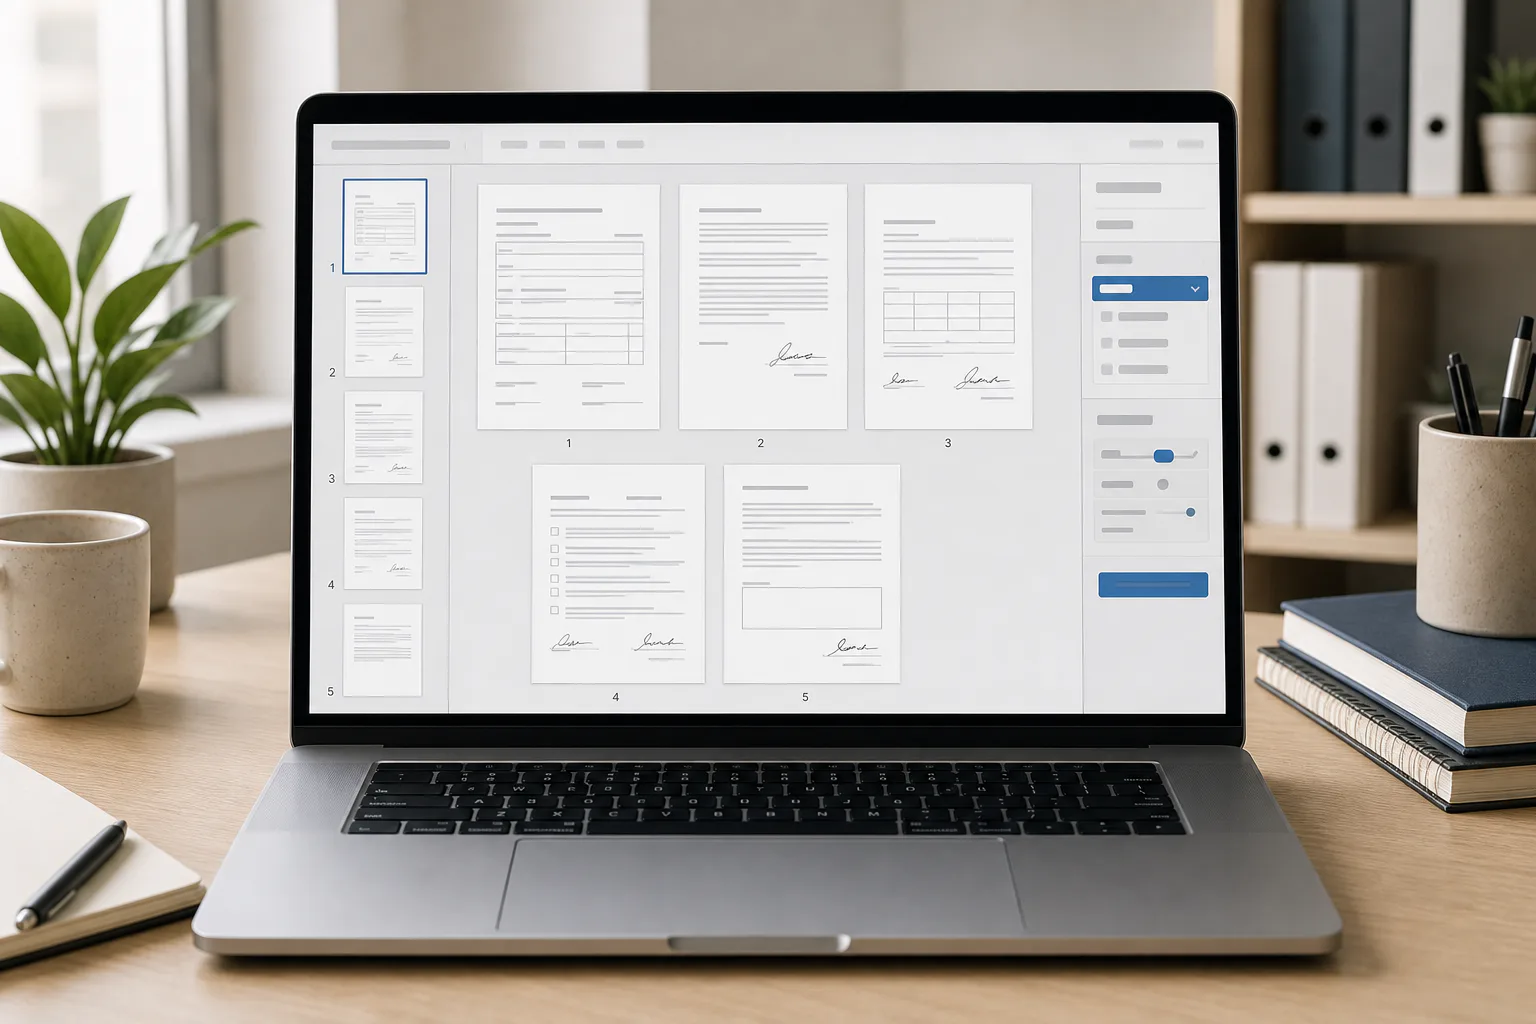
A useful approval packet is easy to review from beginning to end. It should not force someone to open separate images, guess page order, or zoom into every stamp.
Include Full Pages Before Close-Ups
If a stamp or signature is very faint, you may include a close-up page after the full-page scan. The full page provides context. The close-up provides readability. Do not replace the full page with a crop only.
A practical sequence looks like this:
| Page | Purpose |
|---|---|
| Full form page | Shows the complete document and where the approval appears. |
| Optional close-up | Helps reviewers inspect a faint stamp, seal, or signature. |
| Supporting attachment | Shows invoice, request, delivery note, or related record. |
If you include close-ups, label them in the file name before conversion, not by adding large text on top of the image. The final PDF should remain visually clean and should not cover original content.
Keep Color Where It Carries Meaning
Some teams convert every page to grayscale to reduce size. That is fine for many text documents, but approval marks often use color to distinguish official stamps from printed form text.
Keep color when:
- The stamp is red, blue, purple, or green.
- The signature ink color matters.
- A highlighter mark identifies approved sections.
- A seal or watermark is easier to see in color.
- The document includes colored status marks.
Use grayscale only when it improves readability without losing meaning. Avoid pure black-and-white conversion unless the page has no faint marks and no useful color.
Compress Without Damaging Stamps and Signatures
Final compression is where many approval PDFs lose quality. The trick is to compress enough for practical sharing while inspecting the weak marks after compression.
If your source pages are large images, resize or compress them before the final PDF when appropriate. ConvertAndEdit's compress image tool is useful when image pages are too large before PDF assembly. If you need format changes first, convert image can help standardize mixed JPG, PNG, or WebP inputs.
Compression Decision Table
| Situation | Better choice | Why |
|---|---|---|
| A photo page is 8 MB but the stamp is clear | Moderate image compression | Reduces size while preserving review detail. |
| A stamp is already faint | Light compression only | Heavy compression may break edges and date numbers. |
| A page is mostly black typed text | Stronger compression may be acceptable | Printed text usually survives better than pale ink. |
| A PDF must be uploaded under a strict limit | Compress gradually and inspect | Avoid one extreme pass that damages approval marks. |
| A close-up page is included | Keep close-up quality higher | The close-up exists specifically for inspection. |
After compression, open the final PDF and check the exact locations that matter: stamp date, signature line, initials, printed approval status, and any surrounding fields. File size is not the only success metric.
A Practical Page-by-Page Checklist
Use this checklist when preparing a small approval packet of one to twenty pages.
Source Check
- Keep the original scan or photo unchanged.
- Confirm every expected page is present.
- Identify which pages contain stamps, signatures, initials, seals, or approval notes.
- Mark pages where the approval evidence is faint or partly obscured.
Cleanup Check
- Straighten pages without cutting off margins.
- Crop desk, scanner edge, or background clutter.
- Preserve page headers, page numbers, and nearby fields.
- Adjust brightness and contrast while watching stamp and signature detail.
- Avoid aggressive black-and-white conversion on colored or faint marks.
OCR Check
- Run OCR for reference where printed fields matter.
- Compare extracted dates and names against the image.
- Treat uncertain stamp or handwriting readings as uncertain.
- Do not use OCR text as a substitute for the visible scan.
PDF Check
- Convert cleaned images into PDF pages.
- Keep full-page scans before any close-ups.
- Merge related PDFs in the right order.
- Compress gradually if size is too large.
- Reopen the final PDF and inspect weak marks at normal and zoomed views.
Example: Vendor Approval With a Faint Received Stamp
Imagine a facilities office receives a vendor completion form. The document has typed project details, a blue pen signature, and a faded purple received stamp across the lower right corner. The PDF needs to be archived and emailed to accounting.
A poor preparation path would be to scan in black-and-white, crop tightly around the form, apply strong contrast, and compress the PDF until it is tiny. The typed fields may look crisp, but the purple stamp might disappear.
A better path:
- Scan the page in color at 300 dpi.
- Save the original file unchanged.
- Straighten the page and crop only the scanner border.
- Lightly raise contrast while preserving purple ink.
- Run OCR to capture the vendor name and form number for reference.
- Convert the cleaned page to PDF.
- Add a close-up page only if the stamp date is still hard to read.
- Compress moderately and inspect the stamp again.
The final PDF may be slightly larger than a harsh black-and-white version, but it will be more useful and less ambiguous.
Example: Signed School Form With Parent Initials
School offices often deal with permission forms, medical acknowledgments, pickup authorizations, and activity approvals. These documents can contain a full signature plus several small initials in boxes.
For this kind of page, tiny initials are easy to lose. Keep color or grayscale capture, avoid smoothing, and inspect every initial box after cleanup. If the document includes multiple student forms, assemble them in a consistent order such as student last name or received date, depending on the office's recordkeeping practice.
If the packet is going to be shared internally, make sure the final file size is reasonable, but do not compress so heavily that initials become dots. A small handwritten mark can carry the same approval weight as a full signature.
Common Mistakes to Avoid
Recreating Missing Stamp Letters
Do not redraw missing stamp letters or ask an editor to complete them. If a stamp is partial, preserve it as partial. Improve capture and visibility, but do not invent content.
Cropping Only the Signature Area
A signature crop alone may look convenient, but it removes context. Always keep the full signed page in the packet. Use close-ups only as supporting pages.
Converting Colored Marks to Black Too Early
Color helps distinguish layers of information. A red approval stamp over black form text is easier to interpret in color than after conversion to a single dark tone.
Trusting OCR Without Looking
OCR can misread stamps, especially dates. Always compare output to the scan before using it in filenames, notes, or records.
Compressing Once at the End Without Inspection
Final PDFs should be opened and checked after compression. If the approval mark has become blocky, blurry, or unreadable, step back to a lighter setting or compress source images more carefully.
Final Quality Review Before Sharing
Before sending or archiving the approval PDF, review it like the recipient will. Open the file on a normal screen, not only inside an editor. Move page by page. Check whether the purpose of each page is obvious.
For every approval mark, ask:
- Can I tell where the mark appears on the original page?
- Can I read the date, name, initials, or stamp label if it was readable in the source?
- Does the cleanup look restrained and document-like?
- Did compression introduce artifacts around the important mark?
- Is the page order logical without extra explanation?
If the answer is yes, the packet is ready for ordinary review. If not, return to the smallest step that caused the problem. Usually that means adjusting contrast less aggressively, using a better source capture, or reducing compression.
The Clean Approval PDF Standard
A clean approval PDF is not the prettiest possible version of a document. It is the most useful honest version: readable, complete, compact enough to handle, and careful with the marks that prove approval.
For faded stamps and signatures, restraint is a feature. Preserve the original, clean around the evidence, use OCR as a helper, assemble pages in a clear order, and compress only after checking the fragile details. That approach gives teams a packet they can search, share, and archive without turning a weak scan into a questionable record.