Green Screen Cleanup for Small Explainer Teams: A Practical Field Guide
A practical guide for small teams cleaning green screen explainer footage, from backdrop checks and edge repair to compression, subtitles, thumbnails, and delivery files.
Green Screen Cleanup for Small Explainer Teams: A Practical Field Guide
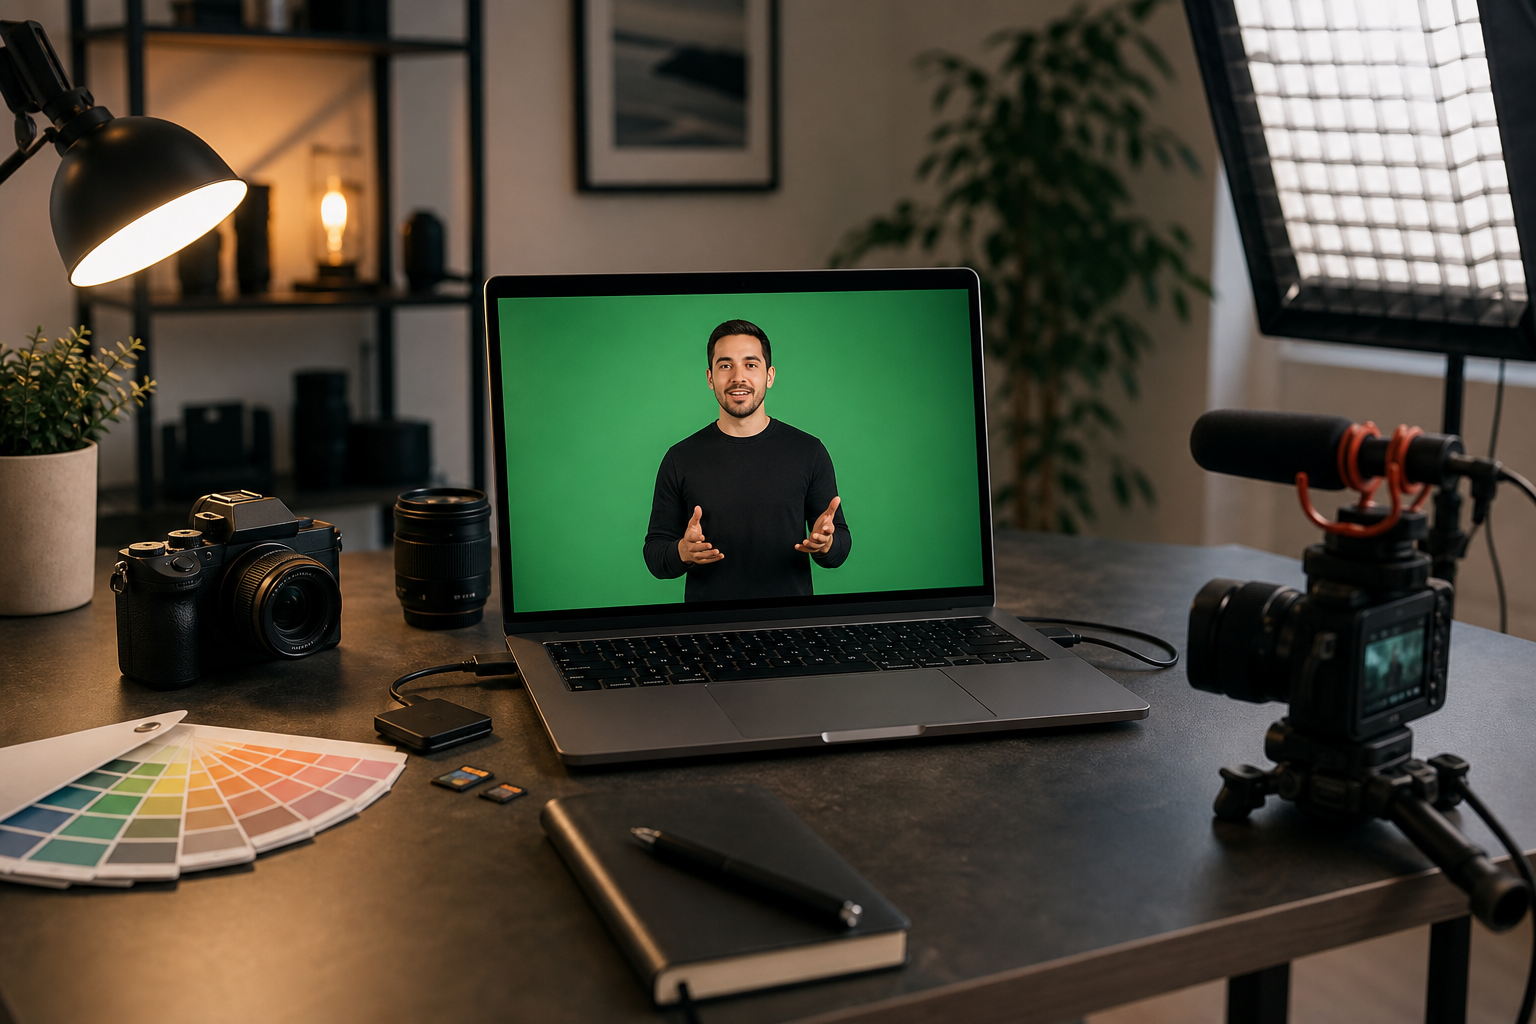
Green screen footage is attractive to small teams because it promises control. A product manager can record a feature explainer in a meeting room. A founder can introduce a launch without renting a studio. A customer education team can place a presenter beside screenshots, diagrams, or short product clips. The setup looks simple: hang a green backdrop, light the person, remove the background, and export.
The hard part is not the first key. It is the last 15 percent: green edges around hair, a fuzzy shoulder, color spill on glasses, subtitles that sit on top of hands, and a file that looks fine in the editor but muddy after upload. Small teams often do not have a dedicated compositor, so the practical goal is not cinematic perfection. The goal is a clean, consistent result that works in product pages, help centers, webinars, onboarding lessons, and social cutdowns.
This guide focuses on that middle ground. It explains how to capture footage that is easier to clean, how to judge whether a key is good enough, how to repair common edge problems, and how to prepare final files without losing clarity. It also includes places where lightweight browser tools can help: compressing review clips, extracting frames, preparing thumbnails, converting image assets, and making small supporting GIFs.
Who This Guide Is For
This guide is for teams producing practical explainer videos without a full post-production department. That includes SaaS marketing teams, support teams recording product education clips, technical writers creating video supplements, founders making launch explainers, and agencies preparing quick client revisions.
The advice assumes you have access to ordinary editing software with chroma key controls. The exact buttons vary by editor, but the decisions are the same: separate subject from background, reduce green contamination, keep edges believable, and export files that survive real publishing conditions.
It is especially useful when your source footage is almost good, but not quite ready. Maybe the backdrop has wrinkles. Maybe the presenter was too close to the green wall. Maybe a webcam recording has compression blocks. Maybe the clip needs subtitles, a transparent thumbnail, or a compressed delivery version for a landing page.
Why Green Screen Footage Fails in Small-Team Production
Green screen footage usually fails for practical reasons, not artistic ones. The most common issue is uneven lighting. A backdrop that is bright in one corner and dark in another forces the keyer to remove a wide range of green tones. That wide tolerance often eats into the subject, especially around hair, fingers, glasses, and semi-transparent fabric.
The second issue is spill. Green light bounces from the backdrop onto the presenter. This creates a green rim on cheeks, shirts, hands, and reflective objects. Spill is worse when the subject stands close to the backdrop or when the green surface is overlit.
The third issue is compression. Many screen recordings, webcam clips, and meeting recordings use heavy compression. Compression blends color boundaries and creates blocky edges. A clean key depends on clean separation between subject and background, so compressed footage makes every edge less trustworthy.
The fourth issue is layout planning. Teams often remove the background first, then decide where the presenter should sit. If subtitles, product screenshots, callouts, or captions are added later, the presenter may cover important UI or the text may cover the presenter. A good green screen result starts with the final frame in mind.
Capture Choices That Make Cleanup Easier
The best cleanup happens before editing. You do not need a studio, but you do need separation, steady light, and a few habits that reduce later repair work.
Place the presenter at least six feet from the green backdrop when space allows. More distance means less spill and a softer shadow. If the room is small, prioritize moving the subject forward over making the backdrop perfect from wall to wall. The camera only sees part of the background, so keep the visible area clean.
Light the backdrop separately from the subject. The backdrop should be even, not glowing. The presenter should have a main light and, if possible, a small back or hair light that separates shoulders and hair from the green. Avoid placing the main light so it bounces strongly off the backdrop and back onto the presenter.
Ask presenters to avoid green clothing, tiny striped patterns, shiny jewelry, and transparent frames. Fine patterns can shimmer after compression. Reflective objects can pick up the green background and become difficult to separate.
Record at the highest quality your setup can handle. If your camera offers 4K, use it even if the final video is 1080p. Downscaling after keying can hide minor edge imperfections. If recording through conferencing software, check whether local recording is available at higher quality than cloud recording.
The Green Screen Cleanup Checklist
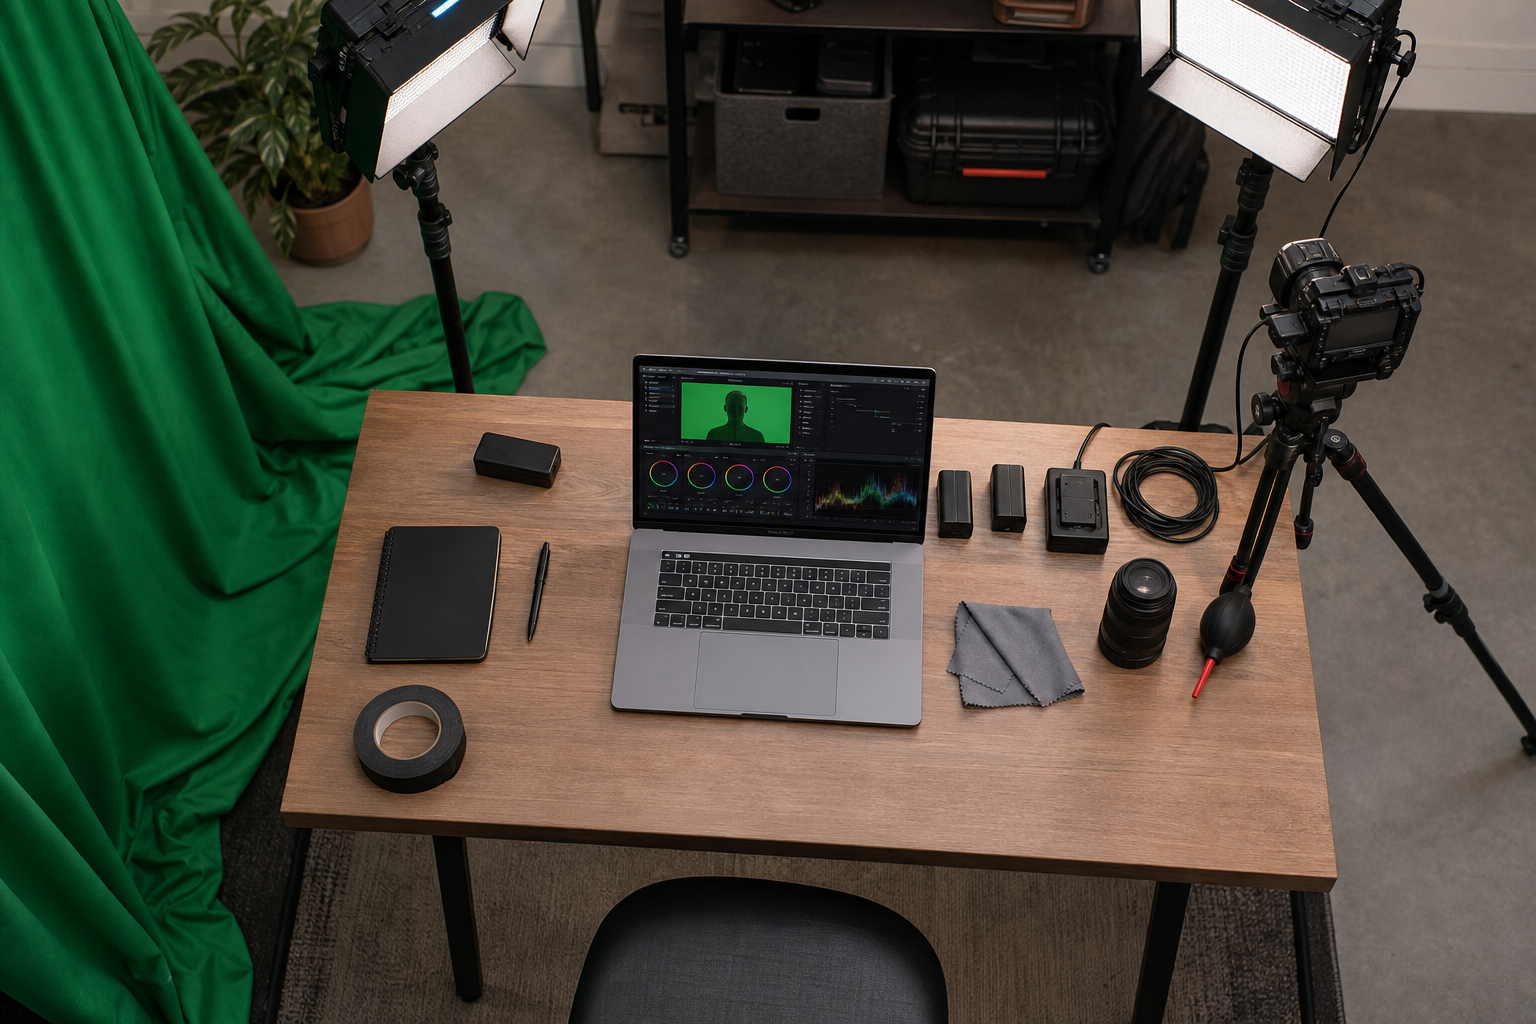
Use this checklist before you spend time on detailed edits. It helps decide whether the clip is worth cleaning or whether a quick reshoot will save more time.
Source Footage Check
Look at the raw clip before applying the key. Scrub through the whole take and watch for motion blur, hands leaving the frame, shadows crossing the backdrop, and moments where the presenter turns sideways. A key that looks good on a still frame can fail when hair moves or hands pass over the background.
Check the brightest and darkest parts of the green backdrop. If the color shifts dramatically, plan for masks or multiple key passes. If the subject has green spill on one side of the face, plan to use spill suppression carefully rather than simply increasing key strength.
If the footage is very compressed, export a short test before editing the full clip. Heavy compression often creates crawling edges after the background is replaced. A ten-second test can reveal whether the result will survive.
Key Quality Check
After applying the key, place the presenter over three test backgrounds: white, dark gray, and the actual background you plan to use. White reveals dirty shadows and gray halos. Dark gray reveals missing hair detail and jagged edges. The final background reveals whether the imperfections matter in context.
Zoom to 100 percent, not 300 percent. Small teams often overcorrect tiny issues that viewers will not notice. Judge the clip at the size it will be published. A 720px-wide help center embed does not need the same edge quality as a full-screen product launch video.
Look for four problem areas: hair, shoulders, glasses, and hands. If these areas hold up while the presenter moves, the key is probably usable.
Background and Layout Check
Place the presenter where they will stay in the final frame before adding subtitles or product visuals. If the video will be watched muted, subtitles need a protected area. For clips with product UI, leave room for interface details and avoid covering primary buttons, menus, or cursor movement.
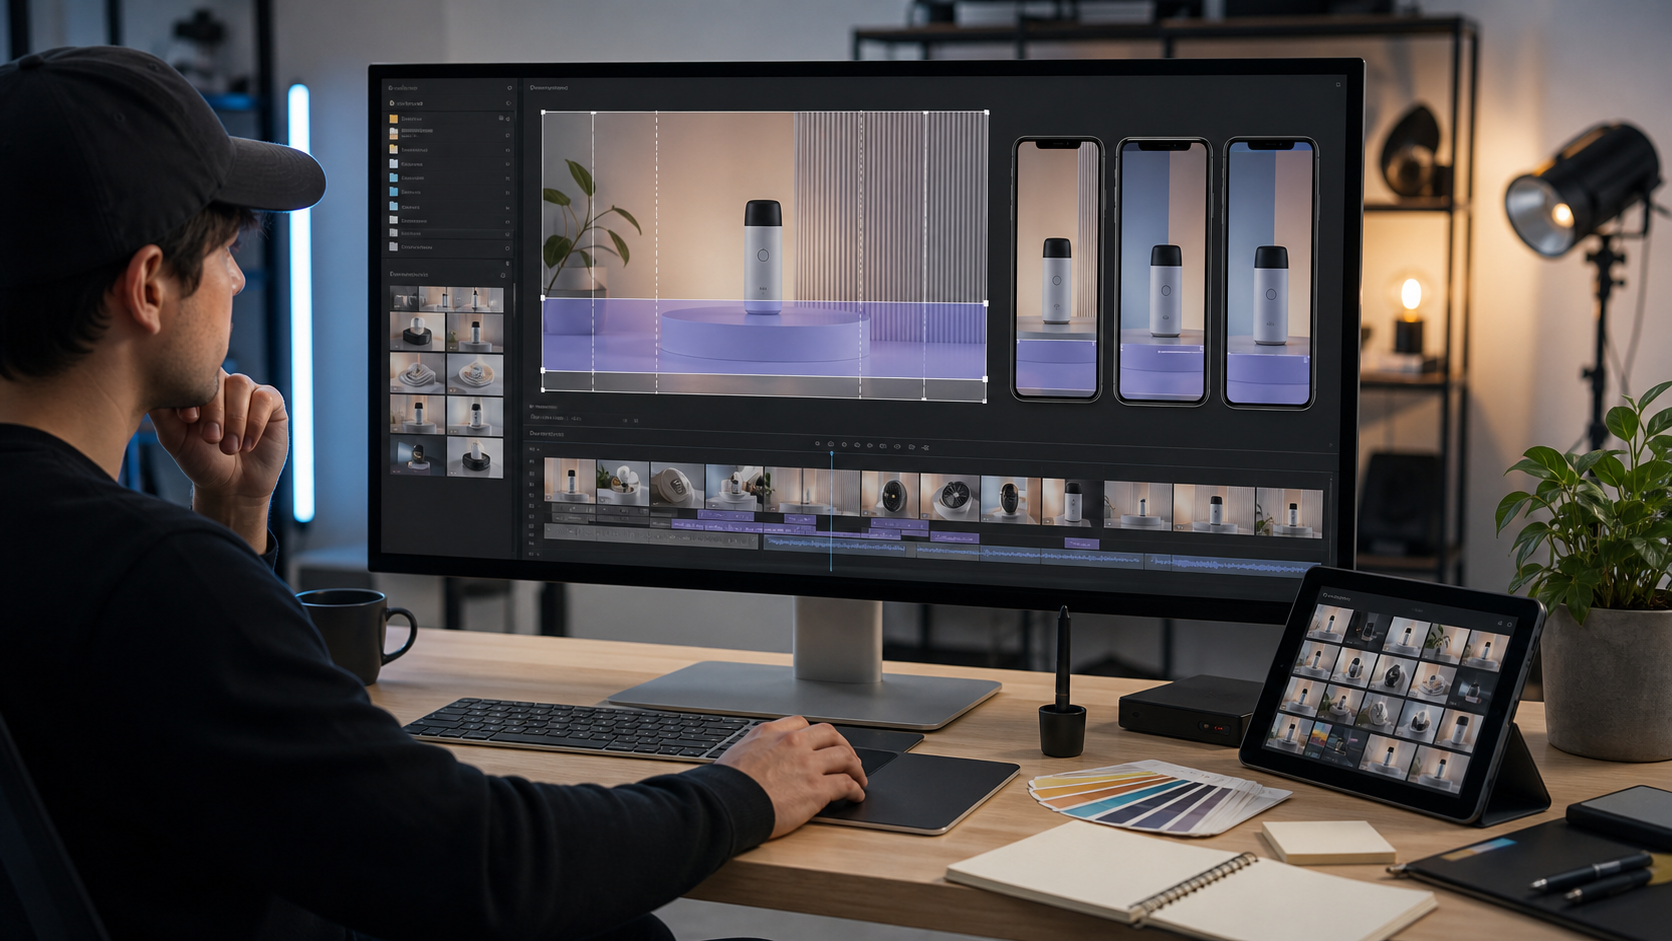
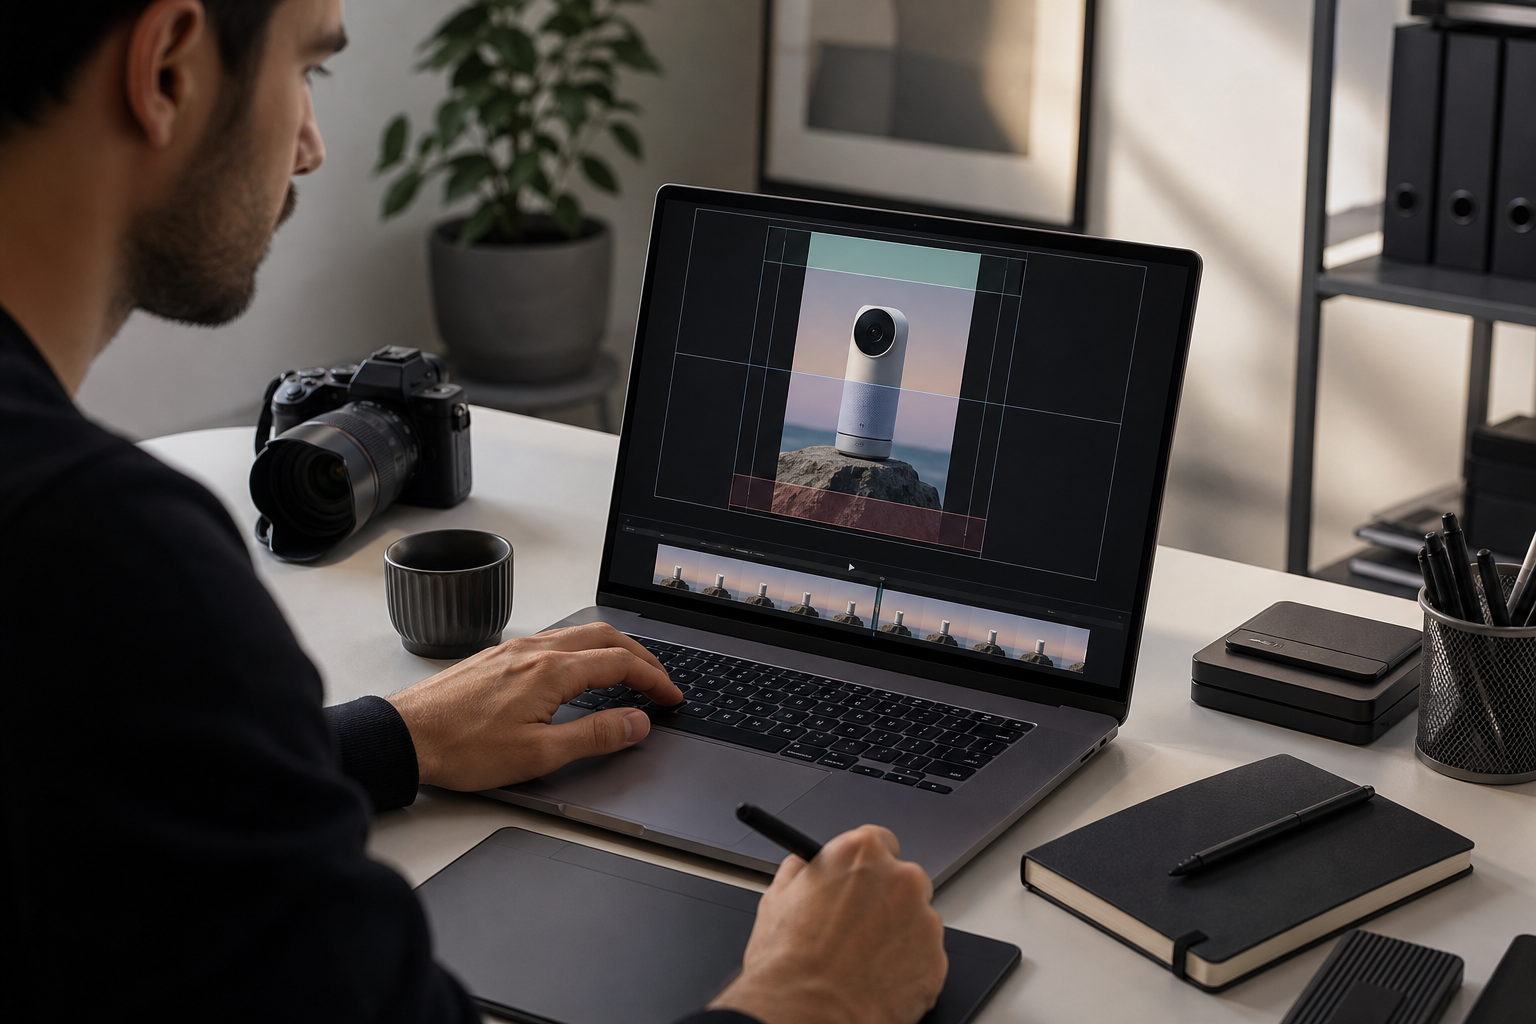
For vertical cutdowns, test the crop early. A landscape green screen recording may not leave enough headroom or side room for a 9:16 layout. If you need a vertical version, create a quick draft before polishing the horizontal edit.
A Practical Cleanup Sequence
A reliable cleanup sequence prevents overcorrection. Start broad, then get specific.
First, apply the base key. Choose the green color from an evenly lit area near the subject, not from a corner shadow. Adjust tolerance until the background disappears, but stop before the subject becomes transparent or crunchy.
Second, refine the matte. The matte is the black-and-white separation map that tells the editor what to keep and what to remove. Use matte view if your editor has it. The subject should be solid white, the background should be solid black, and edge areas should have controlled softness. If the subject interior has holes, reduce key aggression before trying to fix edges.
Third, clean spill. Spill suppression removes green contamination from the subject. Use it gently. Too much spill suppression can make skin gray, hair flat, and clothing unnatural. If only one side has spill, a local color correction mask may look better than global suppression.
Fourth, soften or choke the edge only as needed. Choking shrinks the visible subject edge, which can remove halos. Softening blurs the edge, which can hide jagged pixels. Too much of either makes the presenter look pasted on. The best setting is usually the smallest visible correction.
Fifth, match the new background. If the presenter is warm and the background is cool, the key can look fake even when the edge is clean. Adjust exposure, contrast, and color temperature so both layers feel like they belong in the same frame.
Decision Table: Fix It, Mask It, or Reshoot
| Problem | Best first move | When to reshoot |
|---|---|---|
| Mild green edge on hair | Add gentle spill suppression and test on dark gray | If hair disappears when spill is removed |
| Wrinkled backdrop in corners | Use a garbage mask around the presenter | If wrinkles cross behind moving hands or hair |
| Shadow behind shoulders | Improve matte and add slight edge choke | If the shadow touches the body throughout the clip |
| Green reflection on glasses | Local color correction or choose a different take | If lenses repeatedly become transparent |
| Compression blocks around hands | Downscale after keying and add subtle edge softness | If hands are central to the explanation and look broken |
| Presenter covers product UI | Reposition, crop, or use a different background layout | If important UI is hidden in every usable composition |
This table is intentionally practical. A reshoot is not failure. For a two-minute explainer, re-recording ten minutes of source footage can be faster than repairing every frame.
Repairing Common Edge Problems
Hair is the hardest area because it is detailed, semi-transparent, and always moving. Do not try to preserve every strand unless the video demands it. For most explainers, the viewer needs a natural outline, not perfect hair isolation. A slightly softer edge is better than a sparkling or noisy one.
Shoulders and sleeves often show a green rim. If the rim is consistent, reduce it with spill suppression and a small edge choke. If the rim changes as the presenter moves, check whether the original light is bouncing from the backdrop. You may need a local correction on one side of the subject.
Hands create problems because they move quickly and often blur. Motion blur blends skin with green, so aggressive key settings can cut fingers apart. If hand gestures are not essential, crop tighter or position the presenter so hands remain away from detailed background elements.
Glasses and shiny objects need special attention. A transparent lens may briefly reveal the removed background, creating flicker. Sometimes the best fix is to lower key aggression and accept a little green around the frame of the glasses. In an explainer video, stable imperfection is usually less distracting than flicker.
Preparing Backgrounds That Do Not Expose Every Flaw
The replacement background affects how visible the key is. Pure white backgrounds reveal gray shadows. Pure black backgrounds reveal light halos. Saturated backgrounds can make spill obvious. If you have flexibility, choose a background with moderate brightness and low visual noise.
Product screenshots work well when they are slightly softened or placed with depth behind the presenter. Avoid putting a high-contrast UI edge directly behind hair. If you need a product screen in the background, resize it first with consistent dimensions using a tool such as Resize Image. Clean, predictable dimensions make it easier to reuse the same composition across several videos.
For help center videos, use calm backgrounds with enough contrast for subtitles. If the final clip needs a poster image or thumbnail, export a clean frame and prepare it separately. You can adjust the thumbnail with AI Photo Editor if it needs small background cleanup or visual consistency, but keep edits honest and avoid changing the presenter in a way that misrepresents the video.
Subtitles, Captions, and Safe Areas
Muted playback is common on landing pages, social feeds, and internal knowledge bases. Subtitles should be planned before final export, not added as an afterthought.
Keep subtitles away from hands, product UI, and lower-third graphics. If the presenter is on one side of the frame, place subtitles in a protected band that remains readable across desktop and mobile embeds. For vertical cutdowns, test the subtitle area at phone size. Text that looks comfortable on a desktop preview may feel crowded on a small screen.
When generating subtitle files from a clip, review names, product terms, acronyms, and UI labels carefully. Automated transcripts often struggle with feature names and technical phrases. A tool like Video to Subtitles can help create a starting point, but the final pass should be human-reviewed for product language and timing.
If you burn subtitles into the video, export a clean version without burned-in text too. The clean version is useful for future edits, localization, or platforms that prefer separate caption files.
File Size Without Muddy Edges
Compression is where many green screen videos lose their clean look. Edges that seemed acceptable in the editor can become blocky after export and upload. This is especially visible around hair and hands.
Use a short test clip with the most difficult motion. Export ten to fifteen seconds, compress it, upload it to the intended platform if possible, and view it at the final size. Do not judge only from the editor preview.
Avoid compressing the same clip repeatedly. Each generation can soften edges and introduce new artifacts. Keep a high-quality master export, then create delivery versions from that master. When sending drafts to teammates, use a compressed copy rather than shrinking the master file. Compress Image is useful for thumbnails and supporting graphics, while video compression should be handled from the best available source export.
If your video includes screenshot backgrounds, keep those screenshots crisp before they enter the edit. Thin UI lines and small text degrade quickly. Convert and prepare background images with Convert Image when you need consistent formats across a batch of product visuals.
Export Versions That Keep the Team Moving
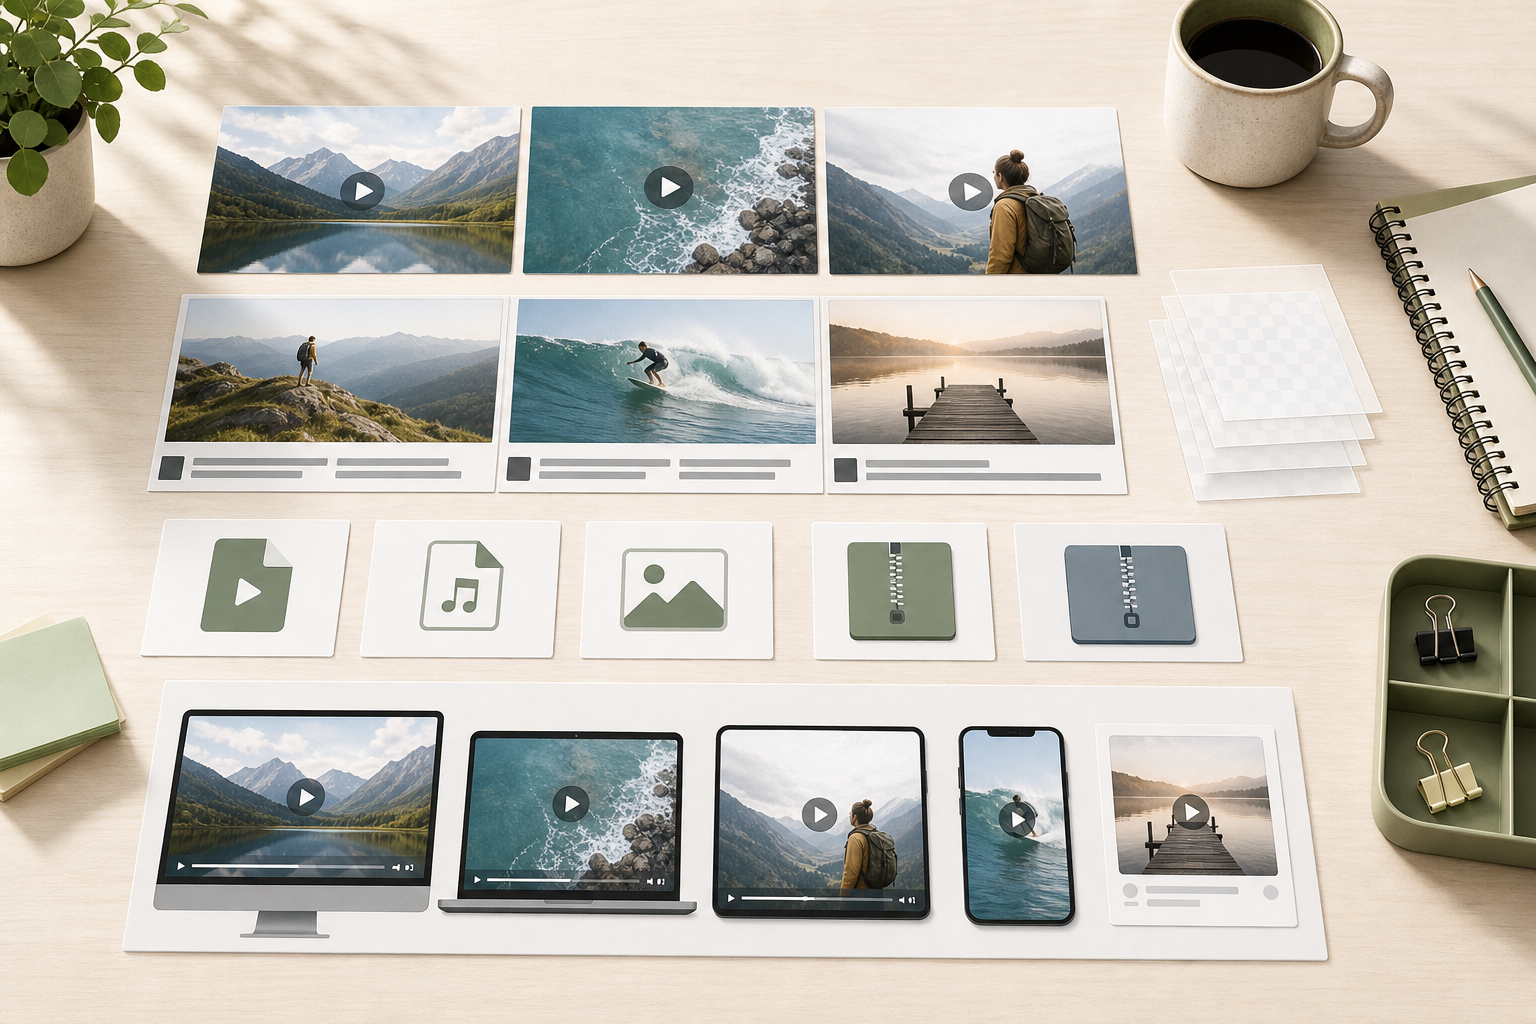
A small team usually needs more than one final file. Preparing the right set prevents last-minute rework.
Create a high-quality master file for archiving. This should be the cleanest version, with the highest practical bitrate, and without platform-specific compromises. Keep it even if you do not upload it directly.
Create a web delivery file for landing pages, help centers, or documentation. This version should balance size and clarity. Check the presenter edge after compression, not just the overall file size.
Create a subtitle file or a clean transcript. This supports accessibility, search, localization, and repurposing. If the clip is used in documentation, the transcript can also help writers quote the exact explanation.
Create a poster image or thumbnail. Pick a frame where the presenter has a natural expression and the background is clean. Export the frame, crop it to the target ratio, then resize it for the publishing surface. If you need to combine several stills into a PDF review packet for stakeholders, Image to PDF can be useful for quick visual approvals.
Create short animated snippets only when they serve a purpose. A lightweight GIF can help in a release note or support article, but it should focus on one action. For small demonstrations, GIF Maker can turn a short segment into a compact visual reference.
Naming and Handoff Rules
File naming is not glamorous, but it prevents confusion. Use names that identify the project, version, ratio, and purpose. For example, a clean naming pattern might include the product area, date, aspect ratio, and export type.
Avoid vague names such as final-final.mp4 or new-edit-v3.mp4. They create mistakes when multiple people upload files to a CMS, help center, or ad platform. Include the aspect ratio in the filename because horizontal, square, and vertical versions often travel together.
Store source footage separately from exports. Keep the original green screen recording, the project file, the master export, compressed delivery files, subtitle files, and thumbnail images in clear folders. A future update is much easier when the team can find the clean source and does not have to edit from a compressed published version.
Quality Review Before Publishing
Before publishing, review the clip in the environment where it will actually appear. A video can look clean in an editor and still fail on a page with different scaling, background color, or autoplay behavior.
Check the first frame. Some platforms show the first frame before playback, so avoid starting with a half-blink or a messy transition. If needed, set a separate poster image.
Check the edges at normal viewing size. Look for green halos, gray outlines, flickering hair, and transparent spots in glasses. Watch the clip once with sound and once muted. The muted pass reveals whether subtitles and visuals carry the explanation.
Check mobile. If the presenter becomes too small or subtitles cover the subject, create a dedicated mobile or vertical version instead of relying on automatic cropping.
Check page weight. A beautiful explainer that slows a landing page can hurt the page it was meant to improve. Compress supporting images, use appropriate poster dimensions, and avoid embedding oversized media when a shorter clip or GIF would communicate the point.
A Small-Team Standard Worth Reusing
The best result is not a single perfect edit. It is a repeatable standard the team can apply to every explainer: capture with separation, test the key early, repair edges lightly, protect subtitle space, export a master, and create only the delivery versions that are actually needed.
Green screen cleanup becomes easier when the team stops treating it as a magic background removal step and starts treating it as a chain of practical decisions. Good lighting reduces repair. Good layout prevents subtitle conflicts. Good compression preserves edges. Good naming keeps future updates possible.
For small explainer teams, that is the win: videos that look clean enough to trust, load fast enough to publish, and remain organized enough to update when the product changes.