Menu Board Photo OCR Workflow for Restaurants Updating Delivery App Listings
A practical workflow for turning imperfect menu board photos into clean OCR text, resized images, and review-ready PDFs for delivery app listing updates.
Menu Board Photo OCR Workflow for Restaurants Updating Delivery App Listings
Restaurant menu updates are rarely as tidy as they look from the outside. A new seasonal drink gets written on a chalkboard. A breakfast combo changes price after a supplier increase. A photo of the wall menu gets sent in a group chat because nobody has the original design file. Then someone has to update delivery app listings, website menus, printed inserts, and social posts from a mix of photos, screenshots, PDFs, and half-remembered notes.
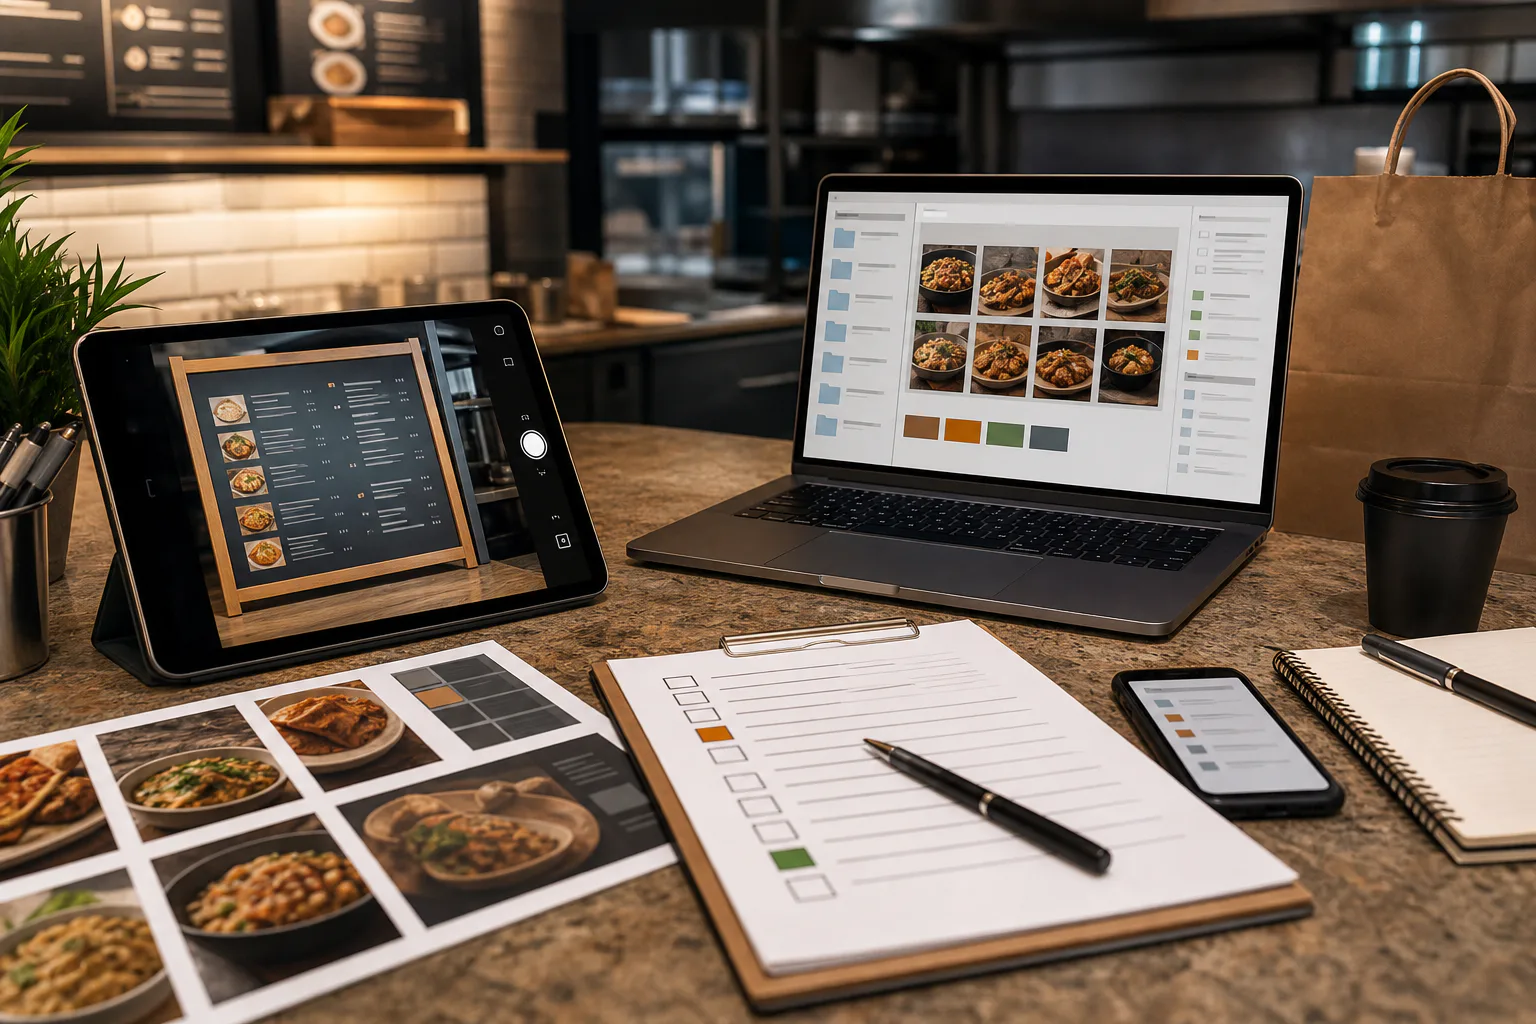
This article covers a practical workflow for turning menu board photos into clean, reviewable assets. The goal is not to create a perfect design archive or rebuild the entire menu system. The goal is to help a restaurant, cafe, food truck, bakery, or small hospitality team capture what is currently on the wall, extract the useful text, clean up supporting images, and package everything so the next person can update listings without guessing.
The workflow is especially useful when the source material is imperfect: glass reflections, angled wall photos, chalkboard contrast, handwritten add-ons, menu stickers, QR codes, old prices, and mixed language item names. You can use it for delivery app listing updates, menu audits, price change reviews, nutrition or allergen checks, and seasonal launch preparation.
Why Menu Board Photos Are Harder Than Normal Documents
A menu board looks structured to a customer standing in line, but it is difficult material for extraction tools. It may combine large category labels, small descriptions, prices, modifier notes, icons, allergens, brand marks, handwritten stickers, and decorative food photography. The camera often sees glare, perspective distortion, shadows from ceiling lights, and people moving in the foreground.
Standard OCR workflows assume a flat page with predictable rows. Menu boards are more like a visual map. The word order may jump from left to right, then down, then across a different panel. Prices may sit far away from item names. A note like “add oat milk” might belong to one drink category, not the whole board. If you treat the photo like a normal document, you can end up with copied text that is technically extracted but operationally dangerous.
For delivery apps, small mistakes matter. A missing modifier can create refund requests. An old price can create margin leakage. A copied allergen note in the wrong place can become a serious trust issue. The workflow below is designed to preserve context while still moving quickly.
The Output You Actually Need
Before editing anything, define the handoff. A useful menu board OCR packet usually has four parts:
- A clean reference image of the menu board.
- Extracted text grouped by category, item, description, price, and modifiers.
- Cropped or resized supporting images for listings, if food photos are present.
- A PDF packet for manager review, showing the source image beside the cleaned text.
This structure prevents the common failure mode where someone pastes OCR text into a spreadsheet, loses the source context, and later cannot explain where a price or description came from. The reference image remains the evidence. The cleaned text becomes the working layer. The PDF packet becomes the review layer.
For ConvertAndEdit users, the most relevant tools are Image OCR for extracting text, AI Photo Editor for visual cleanup when a source photo is messy, Resize Image for delivery-app-safe image dimensions, Compress Image for upload-friendly files, and Image to PDF for a final review packet.
The Menu Board Capture Standard
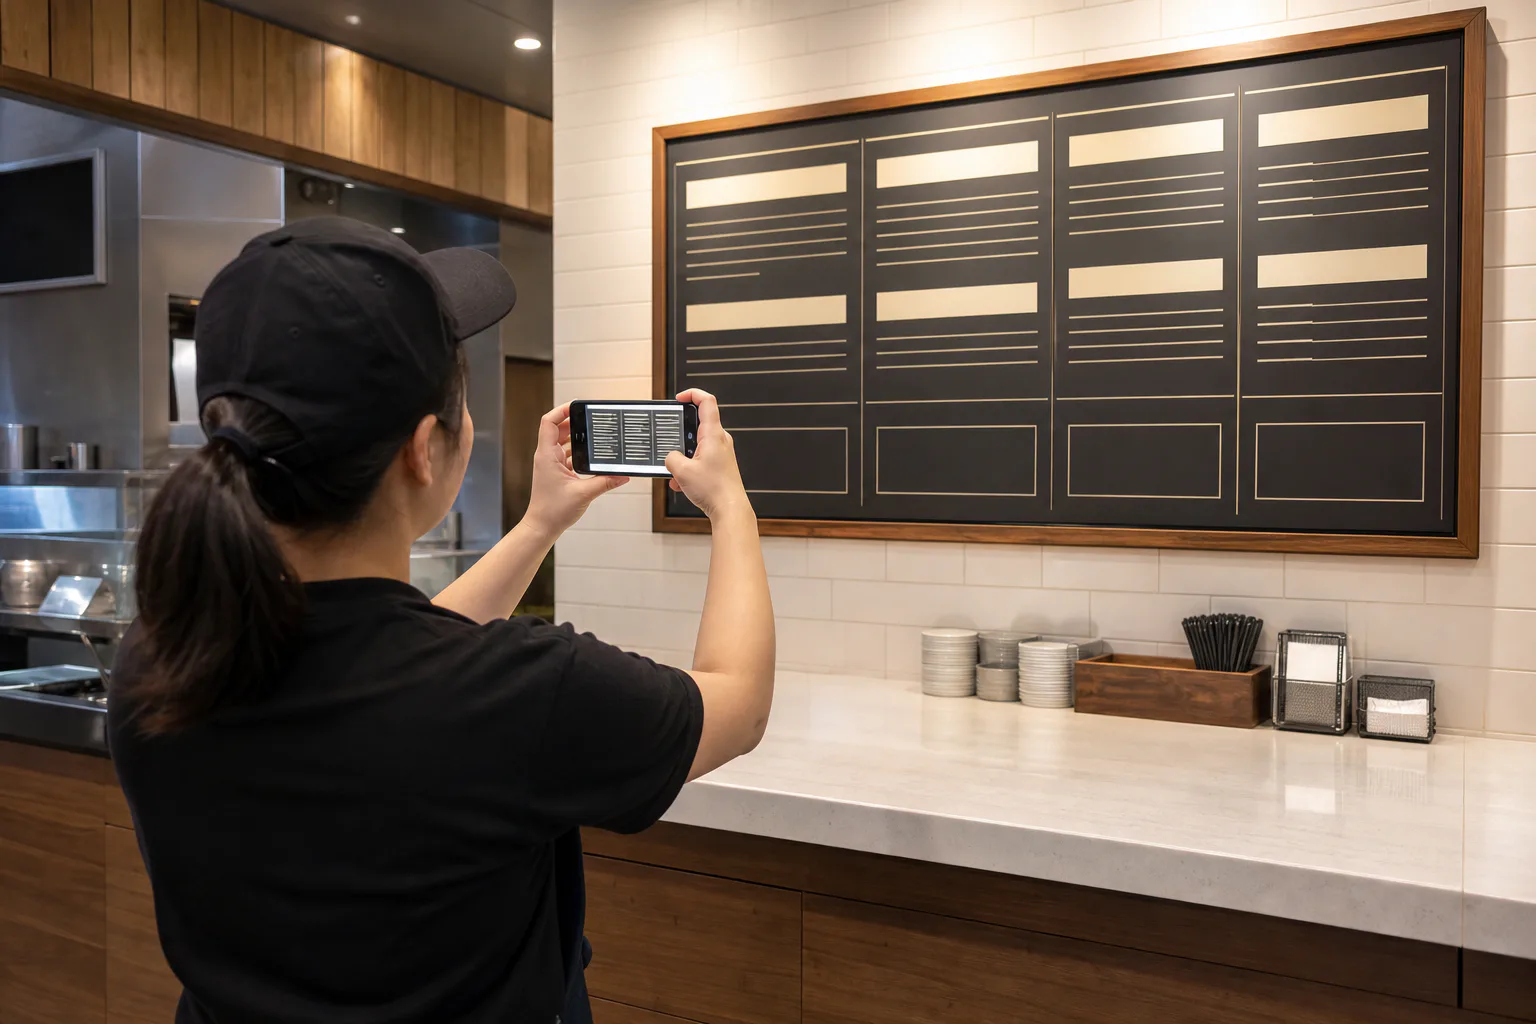
The best OCR improvement happens before any tool touches the image. If the photo is bad, every later step becomes slower. Use a simple capture standard whenever possible.
Stand square to the menu board. Keep the camera lens centered on the board, not above it or off to one side. If the board is wide, take one full reference photo and then separate close-up photos for each panel. Do not rely only on a zoomed-out image if small descriptions or prices matter.
Avoid mixed lighting. Turn off decorative lights that cause glare if staff can do so safely. If the board is behind glass, move slightly until reflections stop covering prices. For chalkboards, exposure matters: tap the board area on the phone screen before taking the photo so the camera does not brighten the wall and wash out the chalk.
Use this capture checklist:
| Capture issue | What to do | Why it matters |
|---|---|---|
| Angled photo | Step back and center the camera | OCR reads rows more reliably when text lines are horizontal |
| Glare over prices | Shift position or lighting | Price errors are the most expensive OCR mistakes |
| Tiny descriptions | Take panel close-ups | Descriptions often contain allergens and modifiers |
| Handwritten specials | Capture a separate close-up | Handwriting needs more manual review than printed type |
| People in frame | Wait or retake | Background clutter can confuse cropping and review |
| Multiple boards | Photograph each board separately | Prevents category mixing during extraction |
If you are auditing several locations, ask each store to follow the same capture routine. Consistency is more valuable than camera quality. A mid-range phone photo taken straight on is usually better than a high-resolution photo taken at a dramatic angle.
File Naming Before Cleanup
Rename files before you start editing. It sounds minor, but menu work often involves several people and many near-duplicate photos. A clear filename can prevent a delivery app update from using the wrong location’s menu.
A practical naming pattern is:
location-menuarea-date-sequence
Examples:
oak-street-coffee-board-2026-05-14-01.jpg
oak-street-drinks-closeup-2026-05-14-02.jpg
north-mall-lunch-specials-2026-05-14-01.jpg
Avoid filenames like IMG_8392 or new menu final final. If the team later needs to compare a listing against the original menu board, the file name should reveal where the image came from without opening it.
First Cleanup: Make the Source Photo Easier to Read
Do not over-edit the source photo. The goal is to make text easier to inspect, not to create a beautiful social image. Heavy filters, artificial sharpening, or aggressive contrast can distort letters and prices. Keep a copy of the original photo untouched, then create a cleaned working version.
Start with these adjustments:
| Problem | Recommended fix | Avoid |
|---|---|---|
| Crooked board | Rotate and crop to board edges | Cropping off category labels |
| Dim image | Increase exposure slightly | Blowing out white menu panels |
| Low contrast chalk | Increase contrast carefully | Turning chalk texture into blobs |
| Warm indoor light | Neutralize color cast | Making food photos look unnatural |
| Background clutter | Crop outside the board | Removing useful context like panel boundaries |
If a reflection or stain blocks a small area, use cleanup tools conservatively. The AI Photo Editor can help remove distracting background elements or improve readability, but do not use it to invent missing text. When text is blocked, mark it as unclear and verify it with staff. Menu data should be confirmed, not guessed.
For large wall boards, create one full-board reference image and separate cropped images for each section. The full board preserves context. The section crops improve OCR accuracy.
OCR Cleanup Pass: From Photo to Editable Menu Text
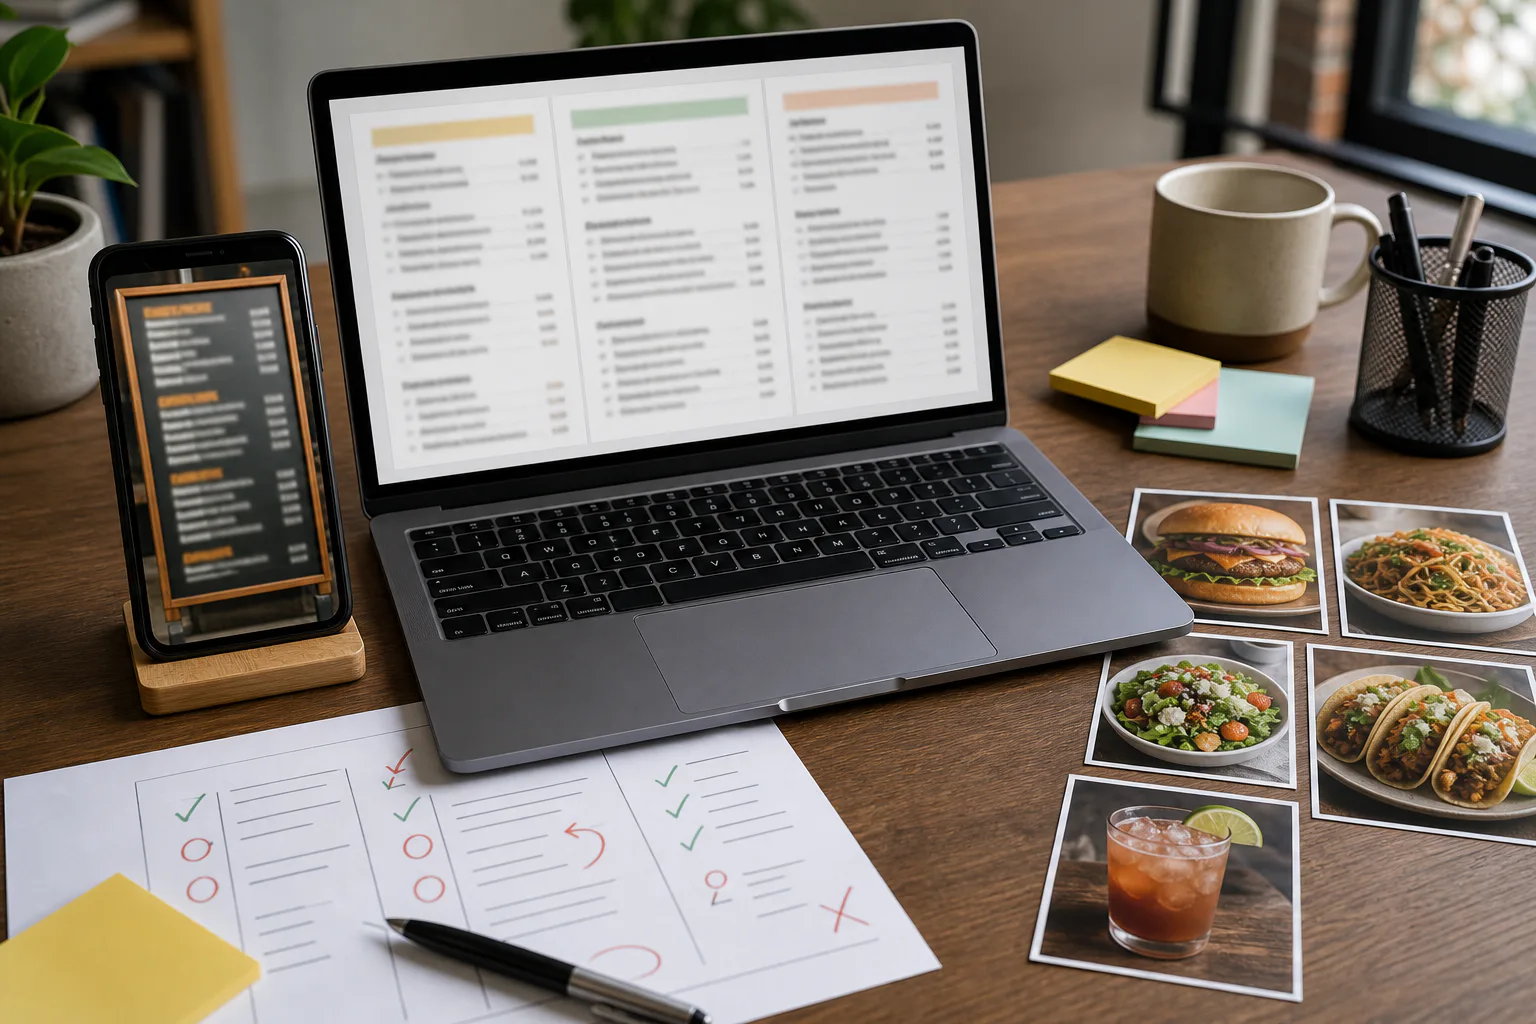
Once the photo is cropped, straightened, and readable, run the relevant image through Image OCR. Treat OCR output as a draft, not a finished menu. The first pass should focus on structure.
Create a working table with these columns:
| Category | Item name | Description | Price | Options or modifiers | Source file | Review status |
|---|---|---|---|---|---|---|
| Coffee | Iced latte | Espresso with milk over ice | 4.75 | oat milk +0.75 | oak-street-drinks-closeup-2026-05-14-02.jpg | needs review |
| Breakfast | Egg sandwich | Egg, cheese, choice of bread | 6.50 | add bacon +2.00 | oak-street-breakfast-2026-05-14-01.jpg | confirmed |
This table format forces ambiguous text into visible review decisions. If OCR returns a line like LATTE 475 OAT .75, do not paste it directly into a listing. Split it into item, price, and modifier. If a price symbol is missing, decide whether the number is a price or a calorie count by checking the source image.
Common OCR corrections for menus include:
| OCR mistake | Likely cause | Review action |
|---|---|---|
S read as 5 | Stylized fonts or chalk | Check all prices and item names with S |
0 read as O | Rounded menu type | Verify prices and size labels |
| Category merged with item | Tight spacing | Rebuild category hierarchy manually |
| Price attached to description | Multi-column layout | Compare against source image row by row |
| Modifier applied globally | Board note placement | Confirm whether note applies to one item or category |
| Hyphen lost in item name | Decorative type | Restore only if it appears in source or style guide |
For multilingual menus, keep accents and spelling as shown unless the restaurant has a separate naming standard. A delivery app listing may normalize certain characters, but your working document should preserve the source first.
Price Review Is Its Own Step
Do not review prices while also rewriting descriptions. Price checks deserve a dedicated pass because they are easy to miss when the team is focused on copy quality.
Use a two-column method. Put the source image on one side of the screen and the working table on the other. Read only item names and prices. Ignore description polish until every price is confirmed.
Mark prices with one of three statuses:
| Status | Meaning | Next step |
|---|---|---|
| Confirmed | Clearly visible and matches the table | Ready for listing update |
| Unclear | Partially blocked, blurry, or ambiguous | Ask location or manager to verify |
| Conflicting | Different source files show different prices | Decide which source is current before publishing |
Conflicting prices are common when a team photographs both a printed menu and a wall board. Do not average, infer, or choose the more recent-looking design. Ask which menu is authoritative for the delivery channel. Some restaurants intentionally price delivery items differently from in-store items because of packaging and platform costs.
Handling Specials, Sold-Out Items, and Temporary Stickers
Menu boards often include temporary information that should not automatically become a delivery listing. A handwritten soup special may be useful for a daily post but wrong for a permanent app menu. A sticker that says “sold out” may reflect one shift, not the normal item status.
Use a separate notes column for temporary content. Do not delete it, because it explains what was visible in the source image. But do not mix it into the main menu data until someone confirms it belongs there.
A useful decision table:
| Board content | Put in delivery listing? | How to handle |
|---|---|---|
| Permanent printed item | Usually yes | Extract into main table |
| Seasonal item with end date | Maybe | Add launch and removal review date |
| Daily handwritten special | Usually no | Keep in notes or daily specials workflow |
| Sold-out sticker | No, unless current app status | Record as temporary source note |
| Staff-only prep note | No | Exclude from customer-facing listing |
| Allergen warning | Yes, if customer-facing | Confirm exact placement and wording |
This is where the workflow becomes more than OCR. OCR extracts text. A good menu update process decides which text belongs in which publishing channel.
Prepare Food Photos Without Breaking the Listing
Some menu boards include product photos, or the restaurant may provide separate food images during the same update. Delivery platforms often crop images differently across mobile screens, search results, item pages, and promotional placements. A dish that looks fine in a wide photo may lose the actual food when cropped into a square.
Start by identifying each image’s role:
| Image type | Best use | Editing priority |
|---|---|---|
| Item photo | Individual delivery listing | Center the dish, keep natural color |
| Category photo | Menu category header | Show variety, avoid tiny details |
| Storefront photo | Restaurant profile | Straighten, brighten, remove clutter if appropriate |
| Menu board reference | Internal review | Preserve accuracy over aesthetics |
Use Resize Image to create consistent versions for upload. If the platform does not provide a required size, prepare a square crop and a horizontal crop so the team can choose the safer version later. Keep the main subject centered with breathing room around the edges.
Then use Compress Image when file sizes are too large for upload or slow internal review. Compression should not make small menu text blurry if the image is being used as a reference. For food photos, inspect edges and color after compression. Over-compressed food images can look dull or unappetizing even when technically accepted by an upload form.
A simple asset set for each location might include:
| Asset | Purpose |
|---|---|
full-board-reference.jpg | Human verification |
drinks-panel-ocr.jpg | OCR extraction |
breakfast-panel-ocr.jpg | OCR extraction |
hero-food-square.jpg | Delivery item or category image |
storefront-profile.jpg | Restaurant profile image |
menu-review-packet.pdf | Manager approval |
Build a Review Packet Before Publishing
The final review packet should make it easy for a manager to approve or correct the menu without opening ten separate files. A good packet is short, visual, and traceable.
Use Image to PDF to combine source images, panel crops, and final reference pages into a single PDF. If you already have multiple PDFs from designers, operations, or franchise teams, a merge step can help, but keep the packet focused. The reviewer should not have to search through unrelated brand materials to find the menu changes.
A practical PDF order is:
- Cover page or first page with location, date, and update scope.
- Full menu board reference image.
- Cropped panel images in reading order.
- Cleaned menu text table exported from your working document.
- Unclear or conflicting items list.
- Food image contact sheet if images are part of the update.
The “unclear items” page is important. It keeps the review honest. Instead of hiding uncertainty inside comments or chat messages, put every unresolved item in one place.
Example unclear item list:
| Item | Issue | Needed decision |
|---|---|---|
| Turkey pesto sandwich | Price could be 8.95 or 9.95 | Confirm current delivery price |
| Mango iced tea | Seasonal or permanent? | Confirm listing status |
| Gluten-free bun | Modifier price not visible | Confirm availability and surcharge |
This packet becomes a lightweight audit trail. If a delivery listing is questioned later, the team can see what source image was used and which items were approved.
Quality Control Checklist for Menu OCR
Before anyone updates a delivery platform, run a final QC pass. This is where you catch mistakes that OCR tools cannot understand.
Use this checklist:
| Check | What to verify |
|---|---|
| Category order | Matches the board or the desired delivery app structure |
| Item names | Spelling, capitalization, accents, and brand terms are correct |
| Prices | Every price has been reviewed separately from descriptions |
| Modifiers | Add-ons, sizes, substitutions, and surcharges are attached to the right items |
| Allergens | Warnings are included only where appropriate and copied exactly when required |
| Temporary items | Specials and sold-out notes are not accidentally published as permanent items |
| Images | Crops show the actual dish and meet upload needs |
| File sizes | Images are small enough to upload without damaging readability |
| Source traceability | Every extracted section has a source image filename |
For teams with multiple reviewers, assign clear roles. One person checks prices. One person checks descriptions. One person checks images. Splitting the review prevents everyone from assuming someone else already caught the issue.
A Realistic Small-Team Workflow
Here is a complete version of the workflow for a small cafe updating delivery app listings after a menu refresh.
Day one starts with capture. The manager takes one full-board photo, three close-up panel photos, and six item photos. The files are renamed by location, menu area, and date. The original files are stored in an originals folder.
Next, the operations person crops and straightens the panel photos. They avoid heavy editing and keep a cleaned copy in a working-images folder. Each panel is processed through Image OCR, then the output is pasted into a structured table. Obvious OCR mistakes are corrected, but unclear items are flagged instead of guessed.
The team does a price-only review. They compare the source images against the table and mark each item as confirmed, unclear, or conflicting. Two items need manager confirmation because the wall board and printed takeout menu show different prices.
Food photos are resized into square and horizontal crops using Resize Image. Oversized images are reduced with Compress Image, then checked visually so the dish still looks sharp and natural.
Finally, the source photos, cleaned panel crops, menu table, unclear items list, and food contact sheet are turned into one PDF packet with Image to PDF. The manager reviews the packet, confirms the two price conflicts, and signs off in the team’s normal approval channel.
Only after that does someone update the delivery app listings.
Common Mistakes to Avoid
The biggest mistake is treating OCR output as truth. OCR is a speed tool, not a menu authority. It can save typing time, but it cannot decide whether a seasonal item belongs on a delivery platform or whether a blurry number is current.
Another common mistake is editing the reference image too aggressively. If a cleanup pass removes a sticker, changes contrast heavily, or smooths out chalk texture, the reviewer may lose evidence. Keep the original and cleaned versions separate.
Teams also underestimate file organization. When menu updates happen under time pressure, unclear filenames become a real operational problem. A few seconds of naming discipline can prevent the wrong branch, old price, or outdated photo from entering a public listing.
Finally, do not combine every asset into one giant folder with no status. Use simple folders:
| Folder | Contents |
|---|---|
originals | Untouched source photos |
working-images | Cropped and cleaned OCR images |
ocr-text | Extracted and structured text files |
listing-images | Resized and compressed food images |
review-packet | Final PDF and approval materials |
This is not complex project management. It is basic hygiene for fast, accurate publishing.
When to Rephotograph Instead of Repairing
Sometimes the best workflow decision is to stop editing and take a better photo. Rephotograph if any of these are true:
| Problem | Why rephotographing is better |
|---|---|
| More than one price is unreadable | Price guessing creates avoidable risk |
| A reflection covers item names | Cleanup may distort text |
| The image is heavily angled | OCR structure will be unreliable |
| Handwriting is too blurry | Manual review becomes slower than retaking |
| The board was mid-update | The source does not represent the final menu |
A retake request should be specific. Instead of saying “send a better photo,” ask for “one straight-on close-up of the right drinks panel, with the bottom price row visible.” Specific requests save time and reduce frustration for store staff.
Final Handoff: Make the Update Repeatable
A menu board OCR workflow is successful when the next update is easier than the current one. Save the table structure, folder pattern, and review checklist. Keep the final PDF packet with the date and location in the filename. If the same restaurant updates prices again next month, the team can compare against the last packet instead of starting from scattered photos.
For small restaurants and hospitality teams, this repeatability matters. Delivery listings are living documents. Prices change, seasonal items rotate, photos improve, and platform requirements shift. A clean workflow turns menu updates from a stressful copy-paste task into a controlled review process.
The practical rule is simple: preserve the source, extract the text, separate uncertain items, prepare images carefully, and package the result for approval before publishing. With that discipline, menu board photos become useful operational assets instead of another messy attachment in a chat thread.