Microfiche Scan Cleanup for Local History Blogs
A practical guide for turning uneven microfiche captures into cleaner images, readable OCR text, and tidy PDF packets for local history publishing.

Microfiche Scan Cleanup for Local History Blogs
Microfiche is awkward source material for digital publishing. It is small, contrasty, dusty, often warped, and usually photographed through equipment that was designed for reading, not for making clean web images. Yet local history blogs, museum newsletters, school archive projects, and neighborhood preservation sites still rely on it because many small newspapers, directories, minutes, and public notices were never digitized properly.
The goal is not to make a century-old clipping look modern. The goal is to make it readable, searchable enough to be useful, and packaged so a reader can trust where it came from. That means careful capture, restrained image cleanup, OCR preparation, and a final web or PDF version that does not bury the evidence under cosmetic edits.
This guide is for small teams and solo researchers who need a repeatable practical system without buying specialist archival software. It focuses on microfiche captures used in local history publishing: newspaper clippings, announcement columns, club notes, property notices, small ads, meeting minutes, and directory pages. The same approach also helps with microfilm viewer photos, library reader exports, and low-resolution scans from older archive terminals.
What Makes Microfiche Hard to Publish
Microfiche introduces problems that ordinary document scans do not. A flatbed scan of a letter may have shadows or skew, but the page is usually full size. A microfiche frame is a tiny reduction of a page or spread, and every defect becomes part of the image.
Common problems include:
- Low contrast between ink and paper tone
- Bright centers with dark corners from uneven viewer illumination
- Curved or bowed text columns
- Dust, scratches, fingerprints, and small chemical marks
- Cropped margins from the reader lens
- Moire-like texture from screen capture or camera sensors
- Tiny serif type that falls apart under aggressive compression
- Mixed content, such as headlines, ads, photos, rule lines, and body text
These issues matter because OCR engines need predictable shapes. Human readers can guess a fuzzy surname from context. OCR may turn the same surname into three different spellings across one article. For local history, that is not a small error. Names, streets, dates, church groups, schools, and businesses are often the whole reason the clipping is being published.
Decide the Output Before You Edit
Before cleaning a batch, decide what the final item needs to do. A scan for a blog illustration does not need the same treatment as a citation packet for a historical society researcher.
| Use case | Best output | Main priority | Avoid |
|---|---|---|---|
| Blog article image | Cropped WebP or JPEG | Fast loading and readable preview | Over-sharpened text halos |
| Source evidence packet | PDF with images and notes | Citation clarity | Cropping away publication info |
| OCR research file | High-contrast PNG or TIFF-style source copy | Letterform clarity | Heavy compression |
| Social media teaser | Cropped image plus short caption | Visual context | Tiny unreadable full pages |
| Internal archive review | Numbered PDF pages | Consistent naming | Unlabeled screenshots |
For most local history posts, you will want two versions: a clean image for the article and a more complete PDF packet for readers who want the source context. The article image can be tightly cropped. The packet should preserve enough surrounding page detail to show where the clipping came from.
Capture Rules That Save Hours Later
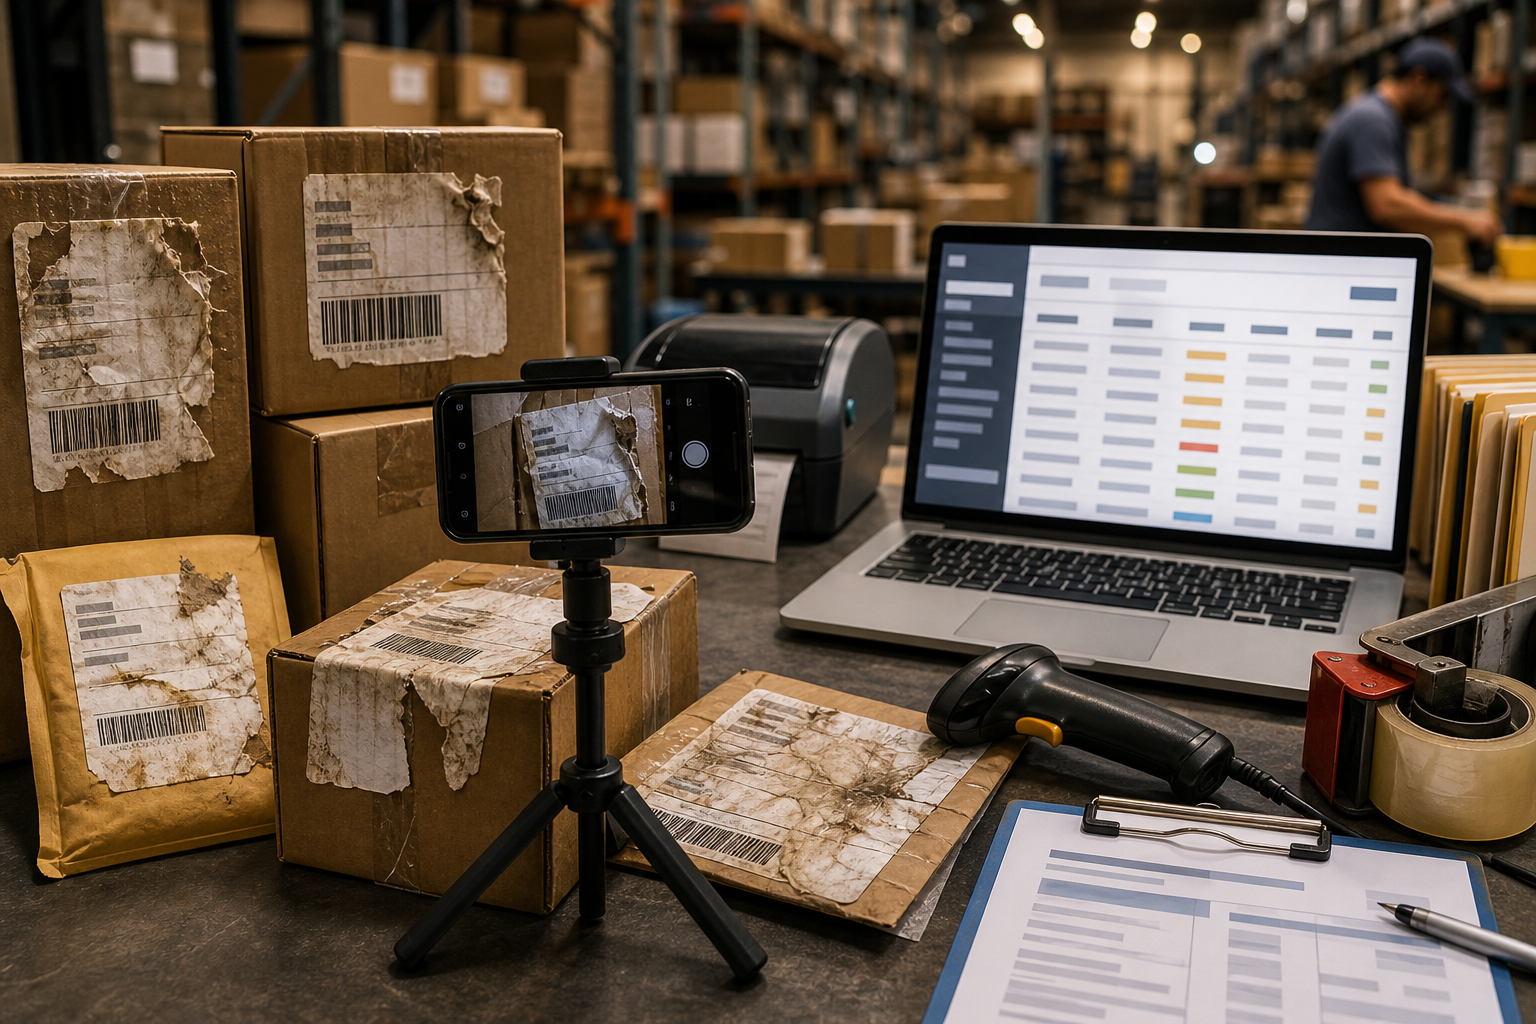
Cleanup cannot recover detail that was never captured. If you are photographing a library microfiche reader screen, exporting from a reader machine, or receiving scans from a volunteer, use capture rules that protect legibility first.
Keep the Frame Larger Than the Clipping
Do not crop too tightly at capture time. Leave a border around the article, column, or page area. That border helps later when straightening, comparing columns, and building a citation note. If the clipping includes a continuation marker, page number, date line, masthead fragment, or section label, keep it.
For evidence packets, capture the full frame first, then capture a close-up of the relevant clipping. The full frame gives context. The close-up gives readability.
Shoot Straight, Then Correct Small Skew
If you are using a phone or camera through a reader screen, align the camera as squarely as possible. Perspective correction can fix mild trapezoid distortion, but it cannot fully restore text that was captured at an angle through glass and screen texture.
Use a small tripod, a book stack, or a stable shelf if the library allows it. Tap to focus on the text, reduce exposure if the whites are blowing out, and take multiple versions when the viewer lamp flickers or the machine has uneven brightness.
Capture in Color Even If the Source Is Black and White
Microfiche often contains color casts from the viewer, lens, or display. Capturing in color preserves information you may use later to separate paper tone from ink. You can convert to grayscale after cropping and contrast correction. Starting in grayscale can make stains, glare, and text all collapse into the same muddy tone.
Use File Names That Survive Research
A file called scan_12.jpg is fine for one afternoon. It is terrible six months later. Use a name that includes source, date, page or frame, and subject when known.
A practical pattern:
town-paper_1948-06-17_p03_school-board-frame2.jpg
If the exact page is uncertain, mark that honestly:
town-paper_1948-06-17_page-unknown_fire-station-notice.jpg
The file name does not replace a citation, but it prevents a folder of orphaned images.
The Cleanup Pass: Make the Scan Boring on Purpose

Good archival cleanup is restrained. The finished image should look plain, stable, and readable. It should not look like a redesigned newspaper clipping.
Start with these steps before any creative enhancement:
- Duplicate the original capture and keep it unchanged.
- Crop to include the clipping plus useful context.
- Straighten the baseline of text columns.
- Correct perspective only if it improves readability.
- Adjust brightness and contrast gradually.
- Remove obvious dust only when it does not alter letters.
- Export a clean master image before resizing for the web.
The boring version is valuable because it does not call attention to itself. Readers should focus on the source, not the edit.
Crop for Reading, Not Decoration
A beautiful crop can be a bad research crop. If a clipping spans two columns, keep both columns even if the shape looks awkward. If a headline is separated from the body by a rule line or advertisement, include enough spacing so the relationship is clear.
For blog posts, you can create a secondary visual crop for the page layout, but keep a fuller version for the evidence packet. ConvertAndEdit's image tools can help when you need a clean web version after you have preserved your master. For example, use /resize-image when you need a display copy that fits your article width without forcing the browser to load a giant scan.
Level the Text Before Improving Contrast
Skewed text becomes more obvious after contrast changes. Straighten first. Use column edges, rule lines, or repeated text baselines as guides. If the page is bowed, choose the section that matters most rather than trying to make every line perfect.
For a single clipping, a slight rotation is usually enough. For full pages, you may need to split the page into smaller regions and process the article separately. OCR accuracy often improves when a long, curved page is divided into straighter, smaller captures.
Use Contrast Like a Research Tool
The temptation is to push contrast until the text looks bold. That can damage small letters. Thin strokes close up. Periods become blobs. Commas disappear. The letter e can turn into c, and rn can look like m.
A better approach is to make the background more even while preserving letter edges. Raise midtone brightness, deepen dark ink carefully, and avoid clipping highlights into pure white if faint punctuation still lives there.
Check three areas before exporting:
- A dense paragraph with small serif type
- A headline or bold label
- A damaged or faded line near the edge
If all three remain readable, the contrast is probably balanced.
OCR Preparation for Tiny Newspaper Type
OCR does not read a document the way a person does. It segments shapes, guesses characters, and compares patterns. Microfiche makes that difficult because the text is often broken, uneven, and surrounded by visual noise.
Give OCR a Clean Single-Column Target When Possible
OCR performs better on one column than on a full newspaper page. If you only need one article, crop that article as a separate image. If the article continues across columns, create one image per column or stack the columns in reading order before OCR if your tools allow it.
Avoid sending a full page with ads, photographs, rules, and unrelated articles unless you need broad discovery. For citation-ready text, isolate the relevant area.
Keep Resolution High Until After OCR
Do not compress or resize the image before OCR unless the source is enormous and your OCR tool requires it. Tiny type needs pixel detail. A web-friendly image may look acceptable in the browser but produce weak OCR because compression has softened the letter edges.
Use a lossless or low-compression working copy for OCR. After you have extracted and corrected the text, make a smaller web version with /compress-image if the image will be embedded in a post.
Convert Format Only When It Helps
PNG is often a good working format for cleaned text images because it preserves sharp edges. JPEG may be fine for photographic scans, but it can introduce artifacts around letters. WebP can be excellent for final publishing, but keep a master copy in a format that does not degrade each time you edit.
If a source file arrives in an odd format from an archive terminal, use /convert-image to create a more practical editing or publishing version. Keep the original export too, especially if it contains metadata or a naming convention from the archive machine.
Use OCR as a Draft, Not a Source of Truth
OCR text from microfiche should be treated as a draft transcription. Read it against the image, especially for names, addresses, dates, prices, and organization names.
A practical correction pass looks like this:
- Run OCR on the cleaned image.
- Paste the text into a plain document.
- Compare line by line against the scan.
- Mark uncertain words with brackets, such as
[unclear]. - Preserve original spelling unless you are clearly correcting an OCR error.
- Add a note if the source is damaged or cropped.
The aim is not to modernize the source. It is to make the source searchable while staying honest about uncertainty.
Handling Names, Dates, and Local Terms
Local history research depends on details that general OCR dictionaries do not know. A surname common in one county may be treated as nonsense by OCR. A street abbreviation may be mistaken for a word. A town name may be split or merged.
Build a Small Term List
For a batch on one topic, create a term list before correcting OCR. Include:
- Town and neighborhood names
- Street names
- Family surnames
- Churches, schools, clubs, and societies
- Local businesses
- Common abbreviations from the newspaper
- Variant spellings used during the period
Use the list during proofreading. It helps you catch errors like Harnilton instead of Hamilton or St. Pau1 instead of St. Paul.
Do Not Smooth Away Historical Spellings
Old newspapers contain inconsistent spellings, outdated names, and typographic quirks. Keep them unless you are writing a modern explanation outside the transcription. If the article says to-day, preserve it in quoted transcription. If a person’s name is misspelled in the source, preserve the source spelling and clarify in your commentary only when needed.
Separate Transcription From Commentary
A useful local history post often includes both the original clipping and a cleaned transcription. Keep them visually and structurally separate. Readers should know when they are looking at the source text and when they are reading your interpretation.
A simple structure works well:
- Source image
- Short citation note
- Transcription
- Research comment or context
- Link to full packet when available
Build a Searchable Research Packet

A blog image is not enough for many readers. A compact PDF packet lets you preserve the cleaned scan, the broader context, and the corrected transcription in one shareable file.
A strong packet does not need elaborate design. It needs order.
Include these pages when useful:
| Page | Contents | Why it helps |
|---|---|---|
| Cover note | Topic, publication, date, location, compiler | Gives immediate context |
| Full frame | Wider scan or page capture | Shows surrounding source evidence |
| Clean clipping | Cropped readable image | Supports close reading |
| Transcription | Corrected OCR text | Makes names and terms searchable |
| Notes | Unclear words, damage, assumptions | Prevents false certainty |
| Related items | Nearby notices or continuation clips | Preserves relationships |
You can turn cleaned images into a reader-friendly packet with /image-to-pdf. If you already have separate PDF pages from a library terminal, combine them with /pdf-merge so the full frame, close-up, and transcription stay together.
Keep Page Order Predictable
Use the same order across packets. Researchers should not have to guess where the source image or transcription lives. Put broader context before cropped details, then place the OCR text after the image it describes.
A good order is:
- Source context page
- Cropped article image
- Transcription page
- Notes and citation page
If you are publishing several related clippings, repeat that pattern for each item.
Add Citation Notes Without Overdesigning
A citation note can be plain. It should include publication title, date, page or frame when known, archive or library source, capture date, and any uncertainty.
Example:
Source: Example County Herald, June 17, 1948, p. 3, microfiche frame captured at Example Public Library on March 4, 2026. Page number visible in frame; column crop prepared for readability.
If the page number is not visible, say so. If the date comes from a fiche sleeve rather than the page itself, say so. These small notes build trust.
Web Image Versions That Stay Readable
Once you have a clean master and a packet version, create web images for the blog. This is where file size matters. A full-resolution archival image can be several megabytes, and a page with many clippings can become slow quickly.
Make Two Web Sizes
For most posts, make one main display image and one smaller preview image.
A practical pair:
- Main article image: 1400 to 1800 pixels wide
- Preview or card image: 800 to 1000 pixels wide
Do not resize tiny text too far down. If the reader must zoom to read it, provide a link to the PDF packet or a larger image. The embedded image should communicate the source visually, while the packet can carry the fine detail.
Compress Carefully
Compression should reduce file size without turning thin type into gray fuzz. Use a side-by-side check at 100 percent zoom. Look at punctuation, small numerals, and faded words. If those survive, the image is probably acceptable.
Use /compress-image for final web copies, not for the master or OCR source. Keep your master clean and high quality so you can remake web versions later.
Use Alt Text That Says What the Image Is
Alt text for a microfiche clipping should be specific without trying to transcribe the whole article. Mention the source type, topic, and date if known.
Weak alt text:
Old newspaper clipping
Better alt text:
Cleaned microfiche scan of a 1948 county newspaper notice about a school board meeting
If the image is decorative in a layout but the transcription is present nearby, the alt text can be shorter. If the image is the primary source evidence, be more descriptive.
When AI Editing Helps and When It Hurts
AI photo tools can be useful for presentation images, but archival source material needs restraint. Do not use generative edits to recreate missing letters, invent torn edges, or fill in damaged names. That crosses from cleanup into alteration.
A tool like /ai-photo-editor may be appropriate for non-source visuals around the article, such as a hero image for a guide, a neutral background image, or a presentation graphic. For the actual scan, stick to reversible edits: crop, rotate, brightness, contrast, dust cleanup, and format conversion.
Use this rule: if an edit changes what a reader might cite, do not make it on the source image. If you need to clarify a damaged word, do it in a note, not by painting the word into the scan.
Quality Checklist Before Publishing
Use this checklist before a cleaned microfiche item goes live.
Source Image
- The original capture is preserved unchanged.
- The cleaned image is straight enough for comfortable reading.
- The crop includes useful context, not only the prettiest rectangle.
- Contrast improves readability without closing small letterforms.
- Dust removal has not erased punctuation or faint letters.
- The final web image is compressed only after OCR and review.
OCR and Transcription
- OCR text has been checked against the image.
- Names, dates, addresses, and organization names were reviewed manually.
- Unclear words are marked honestly.
- Historical spelling is preserved where appropriate.
- Commentary is separate from transcription.
Packet and Publishing
- File names include source, date, and topic.
- PDF pages appear in a predictable order.
- Citation notes include uncertainty where needed.
- Alt text identifies the item specifically.
- Internal links point readers to useful supporting material, not unrelated tools.
A Practical Example: One Clipping From Capture to Post
Imagine you are preparing a local history post about a 1952 library fundraising event. You have a microfiche capture from a county newspaper. The article is three narrow columns, with a small headline and a faded continuation line.
First, keep the original capture. Then create a working copy and crop it wide enough to include the headline, all three columns, and the continuation note. Straighten the columns using the rule lines nearby. Adjust contrast until the body text is readable, but stop before the faded punctuation disappears.
Next, create three OCR images, one per column. OCR each column separately, then combine the text in reading order. Proofread names against the scan. If the OCR reads Mrs. Car1son, check the image and correct it to Mrs. Carlson only if the letter is clear. If the final sponsor name is damaged, mark it as uncertain rather than guessing.
Then make a PDF packet. Page one contains the wider frame with a short citation note. Page two contains the cleaned clipping. Page three contains the corrected transcription. Page four contains notes about the continuation line and any uncertain names.
Finally, prepare the blog image. Resize the cleaned clipping to a sensible width for the article, compress it gently, and write alt text that identifies the newspaper, date, and event. The post can quote the transcription, show the clipping, and link to the packet for readers who want the full evidence.
Common Mistakes That Weaken Archival Posts
The most common mistake is treating microfiche like a normal screenshot. It is not. A screenshot usually contains crisp digital text. A microfiche capture contains degraded analog text passing through several layers of reproduction.
Avoid these traps:
- Cropping away the date or page context because it looks cleaner
- Compressing before OCR
- Using heavy sharpening that creates false letter shapes
- Publishing OCR text without proofreading names
- Replacing damaged words with guesses in the image itself
- Mixing commentary and transcription without labels
- Keeping only the final web image and deleting the master
The second common mistake is overdesigning the evidence. Local history readers usually want clarity more than decoration. A plain packet with honest notes is more useful than a beautiful layout that hides uncertainty.
Final Publishing Pattern
For most local history blogs, a dependable publishing pattern looks like this:
- Preserve the untouched source capture.
- Create a cleaned master image for reading and OCR.
- Run OCR on high-quality cropped sections.
- Proofread names, dates, and local terms manually.
- Build a PDF packet with context, clipping, transcription, and notes.
- Export a resized and compressed article image.
- Publish with specific alt text and a clear citation note.
That pattern keeps the public post readable while preserving enough evidence for serious readers. It also makes future corrections easier. If a descendant, librarian, or local researcher spots a better interpretation of a damaged name, you can return to the master image and update the transcription without rebuilding the entire post.
Microfiche will never be as clean as born-digital text, but it does not need to be. With careful capture, restrained cleanup, and honest packaging, small archival fragments become usable public history. The result is a post that loads quickly, reads clearly, and still respects the source.