Network Rack Cable Label Photography: A Field Guide for Port Migration Audits
Build a reliable visual record of network rack ports and cable labels before a migration, with practical guidance for photography, OCR cleanup, naming, verification, and PDF handoff.
Network Rack Cable Label Photography: A Field Guide for Port Migration Audits
A network rack migration can fail for an embarrassingly small reason: someone cannot tell whether a photographed cable label says AP-17, AP-I7, or AP-71. Dense patching, reflective laminate, shallow focus, and years of improvised labeling turn what appears to be a simple documentation task into a small evidence-management project.
The goal is not to produce attractive rack photographs. It is to create a visual record that lets another technician identify a cable, locate its current port, compare it with a migration sheet, and resolve discrepancies without revisiting the site.
This field guide covers capture, image cleanup, OCR, verification, file naming, and PDF handoff for small IT teams documenting copper and fiber connections before a move. It is designed for racks where labels are inconsistent and time is limited—not pristine demonstration cabinets.
Define the Evidence You Need Before Taking Photos
Begin with the questions the record must answer. A useful audit normally needs to establish four facts:
- Which rack and patch panel are shown?
- Which numbered port is involved?
- Which cable label is attached to that port?
- Where is that connection expected to terminate?
A single close-up rarely proves all four. A macro image may show the label but hide the port number. A wide photograph may establish location while making every identifier unreadable. Treat orientation and identification as separate photographic jobs.
Write down the audit boundary before entering the rack room. For example: “Document panels A through D in rack R02, including occupied ports, unconnected labeled cables, and both ends of cross-rack links.” This prevents the photographer from silently skipping empty ports, unmanaged switches, or cables that disappear behind vertical organizers.
Also decide which source is authoritative when records conflict. It might be the physical cable label, the switch configuration, the patching schedule, or a live trace. Photography preserves visible evidence, but it does not prove that a handwritten label is correct.
Prepare the Rack Without Disturbing Service
Do not begin by pulling bundles forward. Even a slight movement can loosen a damaged connector, change fiber bend radius, or obscure the original routing that the audit is meant to record.
Perform a visual safety check first. Look for strained patch leads, unsupported couplers, sharply bent fiber, exposed conductors, blocked ventilation, and cables stretched across power equipment. If touching the installation requires authorization, photograph it as found and escalate the issue.
For non-disruptive preparation:
- Remove loose packaging and unrelated objects from the floor.
- Open rack doors fully if access rules permit.
- Ask whether automatic room lighting can be supplemented.
- Clean only the camera lens, not installed labels or equipment.
- Record the rack identifier with an opening photograph.
- Confirm that the camera clock is reasonably accurate.
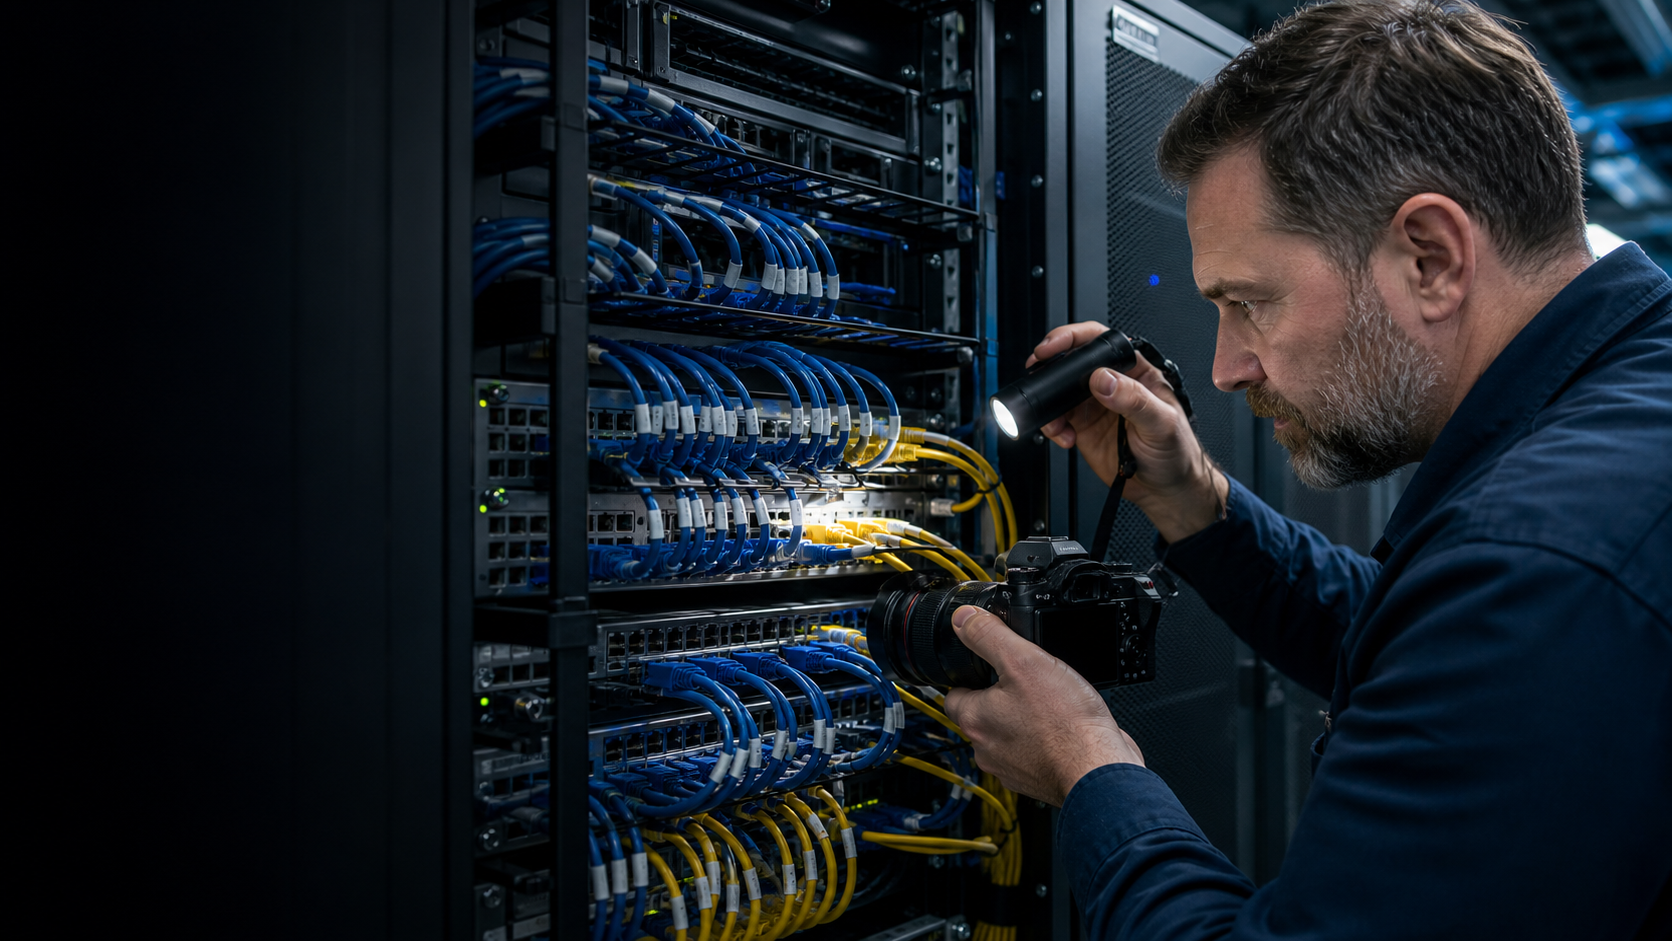
A small LED light with adjustable brightness is usually more useful than a direct flash. Laminated cable flags and glossy faceplates reflect flash back into the lens. Hold the light above or to one side of the camera so that glare moves away from the label.
Use a Three-Frame Capture Pattern
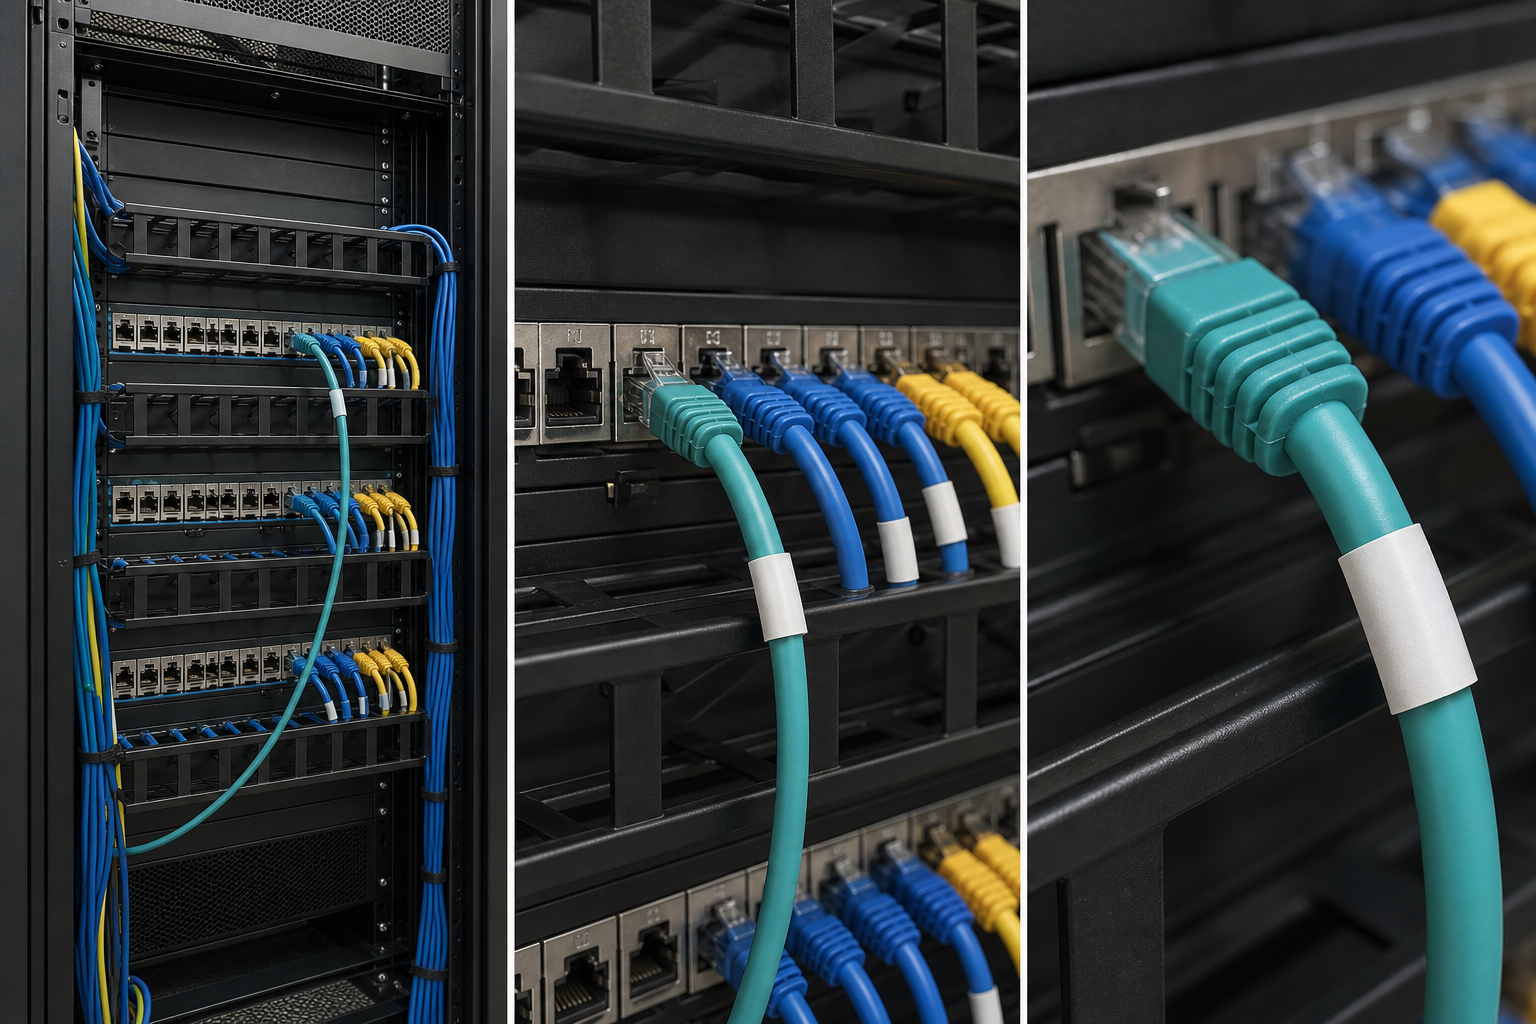
For every rack section, capture three kinds of evidence.
1. Orientation frame
Photograph the complete rack or a large, unmistakable portion of it. Include the rack identifier, top and bottom reference points, and enough surrounding hardware to establish position. Take another orientation frame whenever you move to a different rack face or cabinet.
2. Section frame
Capture one patch panel, switch, or manageable port group at a time. Keep the camera as square to the equipment as possible. A section frame should show panel identity, port numbering, occupied ports, and cable colors without requiring extreme enlargement.
Groups of 12 or 24 ports are often practical. Photographing an entire 48-port panel in one frame may save seconds on site but creates far more review work later.
3. Identification frame
Take a close image wherever a label is too small, damaged, folded, duplicated, or visually ambiguous. Include both the label and its physical connection. If they cannot fit into one sharp frame, take two overlapping images and preserve their sequence.
This pattern creates a chain from rack to section to individual connection. It is much safer than collecting hundreds of disconnected close-ups that appear clear but cannot be located afterward.
Control Focus, Glare, and Perspective
Cable labels present several optical problems at once. They curve around narrow leads, sit at different depths, and may be partly hidden by adjacent connectors. Automatic camera settings often focus on the patch panel instead of the label positioned a few centimeters in front of it.
Tap or lock focus on the printed characters when using a phone. Take two frames if focus confidence is low: one optimized for the label and another for the port face. Avoid portrait-mode effects because artificial background blur can erase nearby port numbers or connector details.
Keep the lens parallel to flat labels whenever possible. Strong perspective makes similar characters harder to compare and reduces OCR accuracy. For wraparound labels, photograph at least two sides rather than trying to flatten the cable.
Glare should be corrected during capture, not merely repaired later. Shift the light, camera, or both by a few degrees. Watch for bright bands running through the exact line of text. A second exposure from a slightly different position is cheap insurance.
Use digital zoom sparingly. Moving closer usually preserves more detail, provided you do not touch or lean on the rack. If safe access is impossible, capture a wider sharp frame and crop it later with the image resizing tool.
Record Difficult Label Types Deliberately
Different label materials fail in different ways. The capture method should reflect that.
| Label condition | Main risk | Capture response |
|---|---|---|
| Clear laminate over print | Specular glare | Move the light off-axis and take two angles |
| Wraparound cable label | Hidden characters | Photograph both visible sides with overlap |
| Handwritten flag | Similar letters and digits | Capture close, square, and at maximum detail |
| Faded thermal print | Low contrast | Add soft side lighting and preserve the original file |
| Label behind a cable bundle | Lost port relationship | Take a section frame before any authorized movement |
| Two labels on one cable | Conflicting identity | Photograph both labels and mark for review |
| Unlabeled cable | False assumptions | Photograph the connector and assign a temporary audit ID |
Never silently choose between conflicting labels. The discrepancy is part of the audit. Give it a temporary reference such as EXC-R02-B-014, then connect that reference to the relevant photographs and review notes.
Fiber identifiers deserve extra care because duplex pairs can be separated or polarity can be changed during handling. Capture connector orientation, pair clips, cassette position, and any A/B markings that are visible. Do not unplug fiber merely to expose a label unless the approved migration procedure explicitly calls for it.
Establish a File-Naming System at Capture Time
Camera-generated names such as IMG_8472.jpg provide no help when files are copied, reordered, or sent to another team. A compact naming pattern makes the collection navigable even without special software.
One useful pattern is:
SITE-RACK-PANEL-PORT-VIEW-SEQUENCE
Example:
VIE02-R02-PPA-17-ID-003.jpg
Here, VIE02 identifies the site, R02 the rack, PPA the panel, 17 the port, ID the identification view, and 003 the sequence. Use OR for orientation and SC for section frames if short view codes are helpful.
When the port is unknown, use a controlled placeholder such as UNK01, not a guessed number. Do not rename the only copy of the images during hurried fieldwork. Preserve original files, then create a clearly separated working set for naming and editing.
Maintain a simple capture log with columns for file name, rack, panel, port range, photographer, time, and exception notes. The log can be a spreadsheet, a plain table, or an export from an asset system. Consistency matters more than the application.
Clean Images Without Removing Evidence
Editing should improve legibility while preserving the relationship between the label and hardware. Start from copies and retain untouched originals.
A conservative cleanup sequence is:
- Rotate the frame to the rack’s true horizontal or vertical lines.
- Crop away irrelevant neighboring equipment while keeping location clues.
- Correct overall brightness and white balance.
- Add modest contrast to separate characters from the label substrate.
- Apply restrained sharpening only after resizing.
- Export a review copy without overwriting the source.
Aggressive filters can create convincing but false edges. Excessive sharpening may turn a worn C into an O, while heavy noise reduction can merge 11 into H. Review the edited copy beside the original at high magnification.
If the rack images are extremely large, produce separate review copies rather than shrinking the masters. Use image compression to reduce transfer size, but inspect thin characters, hyphens, slashes, and small port numbers before adopting a compression setting for the entire set.
JPEG is suitable for ordinary photographic records. PNG can be useful for tightly cropped labels or annotated comparison images, especially when repeated JPEG export would introduce artifacts. The image conversion tool can create standardized working copies while the camera originals remain unchanged.
Use OCR as a Draft, Not as Proof
OCR can accelerate transcription, but rack labels contain exactly the features that automated recognition handles poorly: short strings, abbreviations, inconsistent fonts, curved surfaces, glare, and ambiguous alphanumeric characters.
Run OCR on close crops rather than full rack photographs. A crop containing one label and a little surrounding context gives the recognition engine a more useful text scale. The image OCR tool can provide a first-pass transcription for these crops.
Normalize the OCR result only after comparing it with the image. Do not automatically convert all text to uppercase, remove punctuation, or replace spaces if those distinctions carry meaning in the organization’s naming scheme.
Create an ambiguity list for common substitutions:
0andO1,I, and lowercasel5andS8andB2andZ6andG- hyphen, slash, and faint separator marks
A useful review table includes the OCR result, human reading, confidence, source file, and final accepted value. Confidence should describe the reviewer’s certainty, not an unexplained percentage copied from software.
Apply a Two-Person Rule to Critical Connections
Require independent verification for uplinks, storage paths, firewall interfaces, hypervisor hosts, building controls, and any circuit whose incorrect movement could cause a serious outage.
The second reviewer should inspect the image and supporting records without being told which character is in doubt. Otherwise, the first interpretation can bias the review. If both readers remain uncertain, mark the connection unresolved and schedule physical tracing or a controlled technical check.
Reconcile Photographs With Technical Records
A photograph tells you what was visible at a moment in time. It does not establish switch state, VLAN assignment, remote termination, or service ownership.
Compare the visual record with the available port schedule, switch configuration, cable database, and migration map. Track discrepancies explicitly:
| Physical evidence | Existing record | Audit disposition |
|---|---|---|
| Label and record agree | Matching port entry | Ready for migration review |
| Label readable, record differs | Conflicting identifier | Investigate before change |
| Label unreadable | Record contains an assignment | Verify by trace or technical check |
| Cable has no label | Record suggests a connection | Assign temporary ID and investigate |
| Port appears empty | Record says active | Confirm rack and panel reference |
| Two cables share one identifier | Record has one endpoint | Treat as a duplicate-label exception |
Avoid “correcting” the photographs to match the database. Preserve the observed label exactly, then store the normalized or expected identifier in a separate field. This distinction makes later investigation possible.
Build a Review Packet That Another Technician Can Use
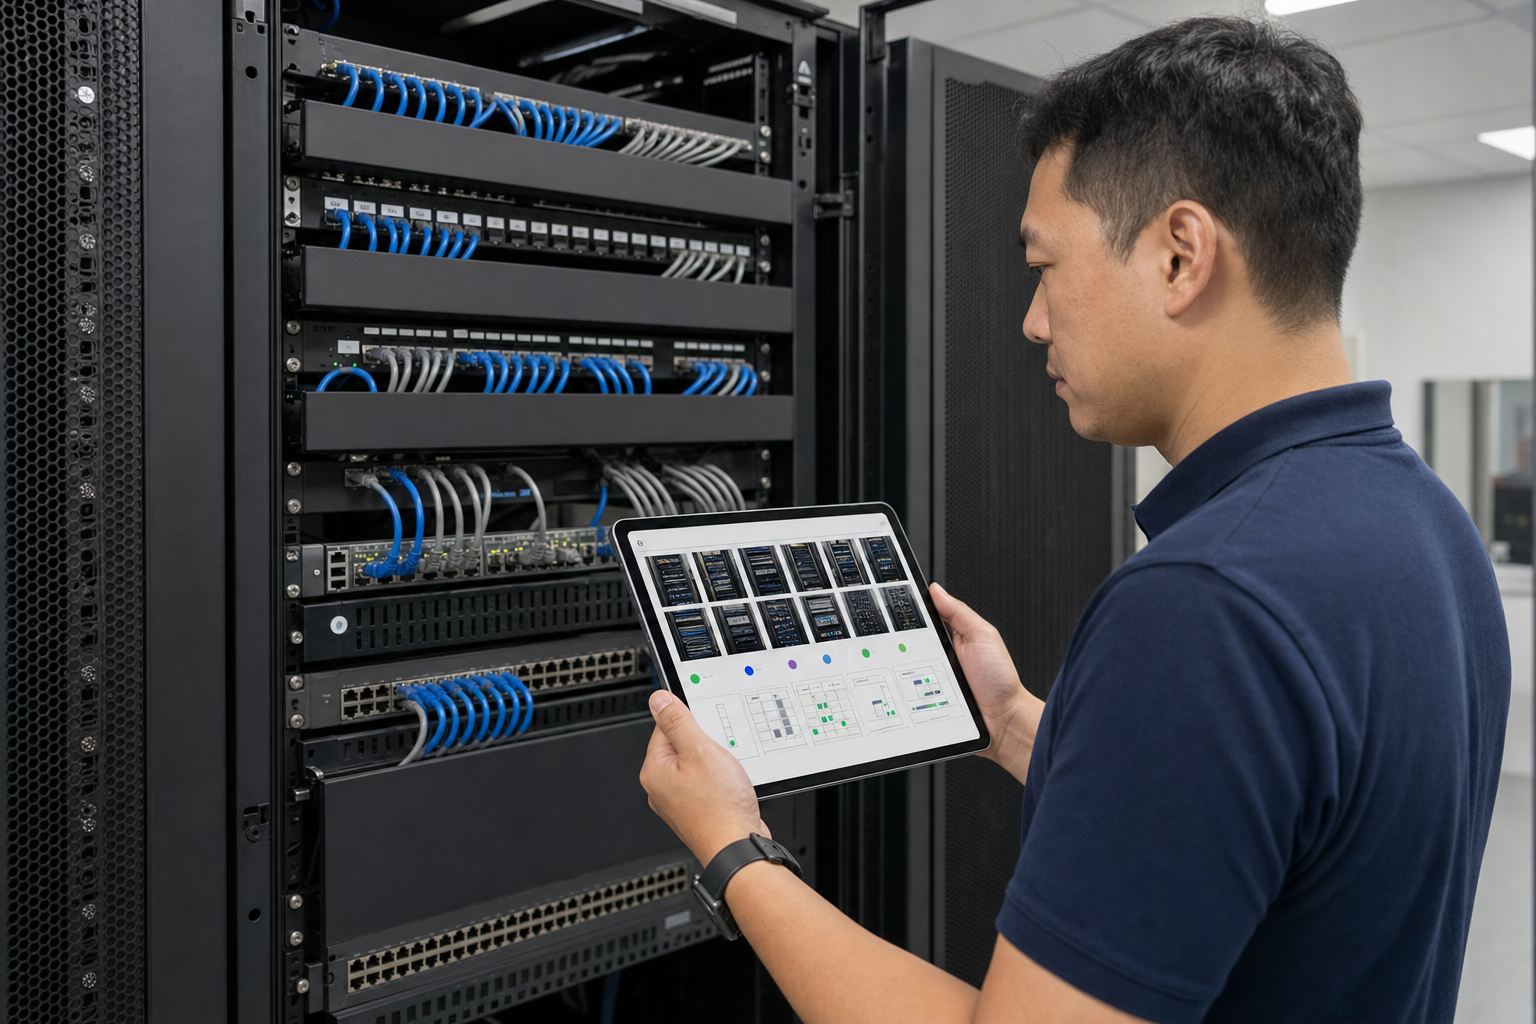
The final handoff should make sense to a technician who was not present during capture. Organize the packet in the same order a person would inspect the rack:
- Site and audit scope page
- Rack orientation images
- Panel section images in physical order
- Close-ups associated with each section
- Exception register
- Reconciliation table
- Sign-off and unresolved items
Add short captions outside the photographs rather than placing large opaque annotations over cables or ports. If an arrow is necessary, retain an unannotated version beside the marked copy.
An image-based PDF is convenient for review because it preserves ordering and can be opened on many managed devices. Combine selected pages with the image-to-PDF tool. Use a page size that keeps labels readable at normal zoom; squeezing twelve detailed rack images onto one page defeats the purpose.
For large audits, create separate packets by rack or room. A concise index can connect them. Avoid one enormous document that is slow to open beside the equipment.
Suggested Page Structure
A practical section page contains:
- Rack, panel, and port range in the page heading
- One section photograph large enough to inspect
- Two to four close-ups beneath it
- Exact source file names
- A small table for observed label, expected endpoint, status, and notes
Keep the original image identifiers visible in captions so a reviewer can request the full-resolution source. Page numbers and a revision date help when printed copies circulate during a migration window.
Run a Completeness Audit Before Leaving the Site
The most expensive missing image is the one discovered after access has ended. Review the collection while still on site, ideally on a screen larger than the camera display.
Check every rack against the capture log:
- An orientation image identifies the correct rack.
- Every in-scope panel has a section view.
- Port numbers are readable or recoverable from adjacent numbering.
- Every occupied port can be associated with a cable label or exception ID.
- Close-ups remain linked to their section.
- Reflective labels have at least one glare-free exposure.
- Both ends of in-scope cross-connects are documented where required.
- Empty ports recorded as significant are clearly visible.
- Duplicate, missing, and contradictory labels appear in the exception register.
- Critical connections have enough evidence for independent review.
Then sample files at full resolution. Thumbnail review will not reveal motion blur, focus errors, or compression damage affecting one character.
Preserve an Audit Trail After the Migration
Do not replace the pre-migration set with new photographs. Create a distinct post-migration set using the same rack, panel, and port references. The two collections should make before-and-after comparison possible.
Record any approved deviation from the migration map, including who authorized it and which evidence confirms the final state. If labels were replaced, retain photographs of the old identifiers alongside the new ones until records have been reconciled.
Apply the organization’s retention, security, and access rules. Rack photographs can reveal hostnames, addressing conventions, physical security details, device models, and network topology. Share only with intended reviewers, remove unnecessary location metadata where policy requires it, and avoid posting diagnostic images to unrestricted chat channels.
The finished record is successful when a technician can move from a rack-level view to one connection, read its observed identifier, understand any uncertainty, and find the original evidence. That standard turns a folder of rack photos into a dependable migration audit rather than a collection of images that merely looked clear on the day they were taken.